
Organize a small hand-tool box
Give everyday hand tools a safe, easy-to-find place without building a rack or buying a large storage cabinet.
What will you learn?
Give everyday hand tools a safe, easy-to-find place without building a rack or buying a large storage cabinet.
Tools
- 1 dry cloth; 1 soft brushSearch Amazon UK ↗
Materials
- 1 sound toolbox with working latches; removable dividers or tool pouches; labelsSearch Amazon UK ↗
Step by step
Photorealistic illustration · Waey
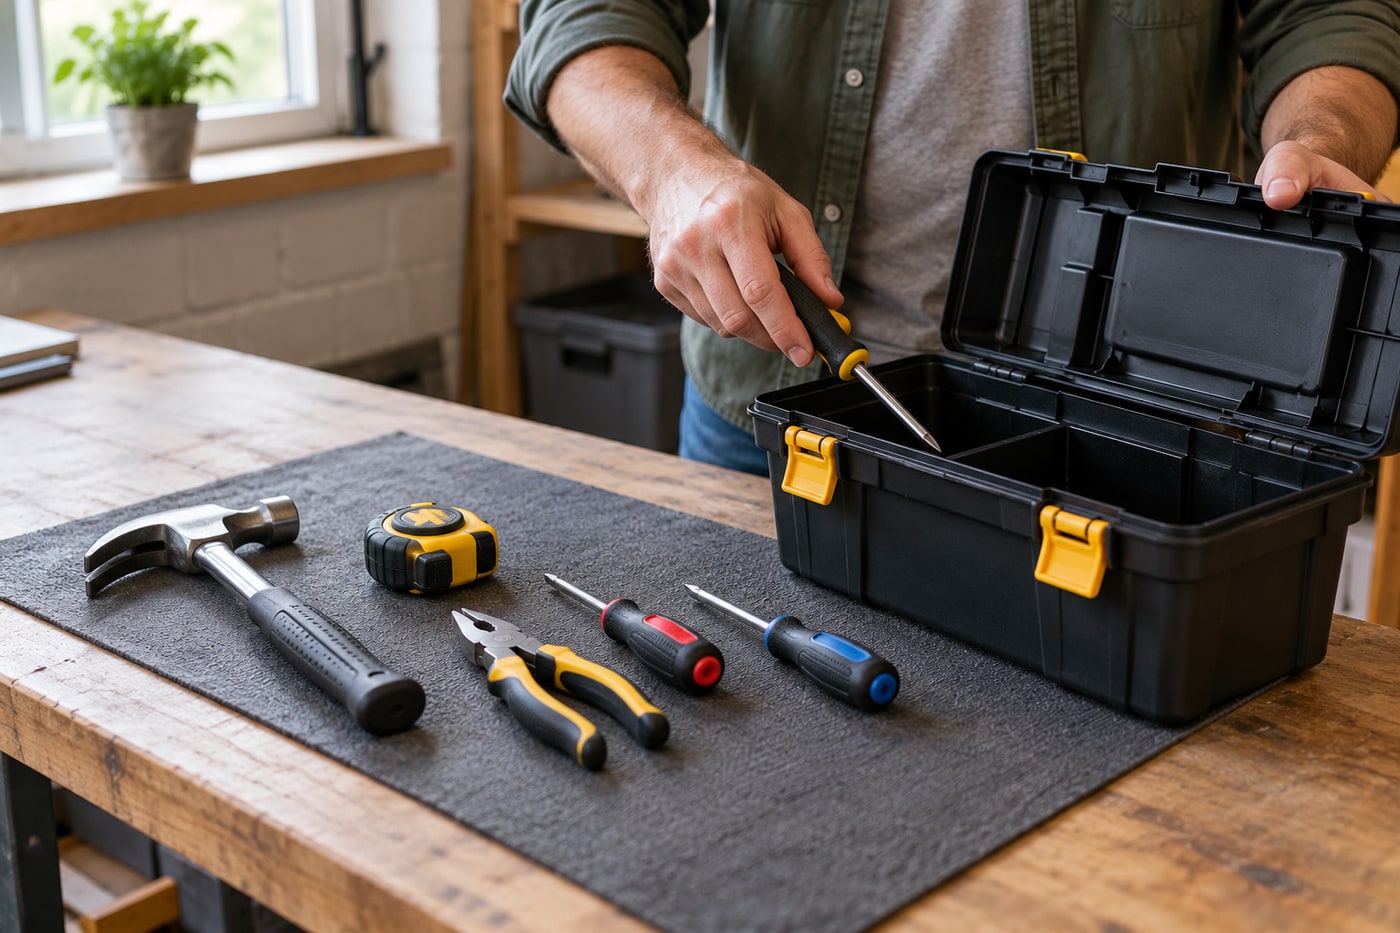
1. Empty the box onto a clear surface
Set the box on a sturdy bench and remove tools one at a time, keeping your fingers away from cutting edges. Lay the tools separately on a mat so you can see what you have. Group them by job: measuring, driving, gripping and light striking. Keep blades in their sheaths throughout. This makes missing pieces visible and avoids hidden sharp tools under a pile of handles.
Photorealistic illustration · Waey
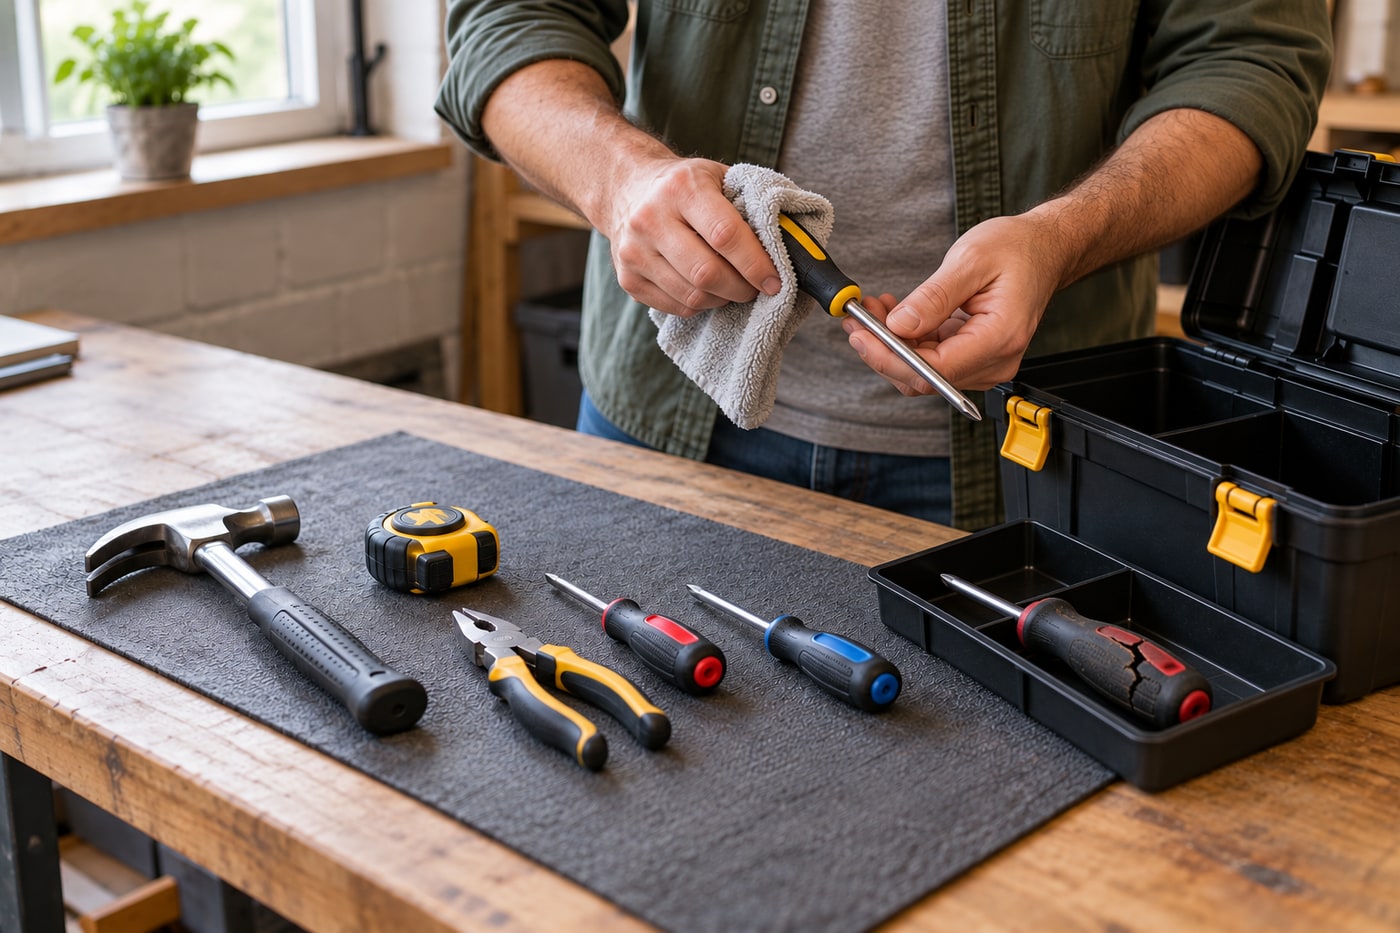
2. Clean and inspect before storing
Brush out grit and wipe dry dirt from tools and the box. Check handles for cracks, loose heads and worn tips, following each tool’s care instructions. Put anything damaged in a separate marked place for repair or replacement; tidy storage cannot make a defective tool safe. Let damp items dry fully before putting them back, because trapped moisture encourages corrosion and can spoil labels and liners.
Photorealistic illustration · Waey
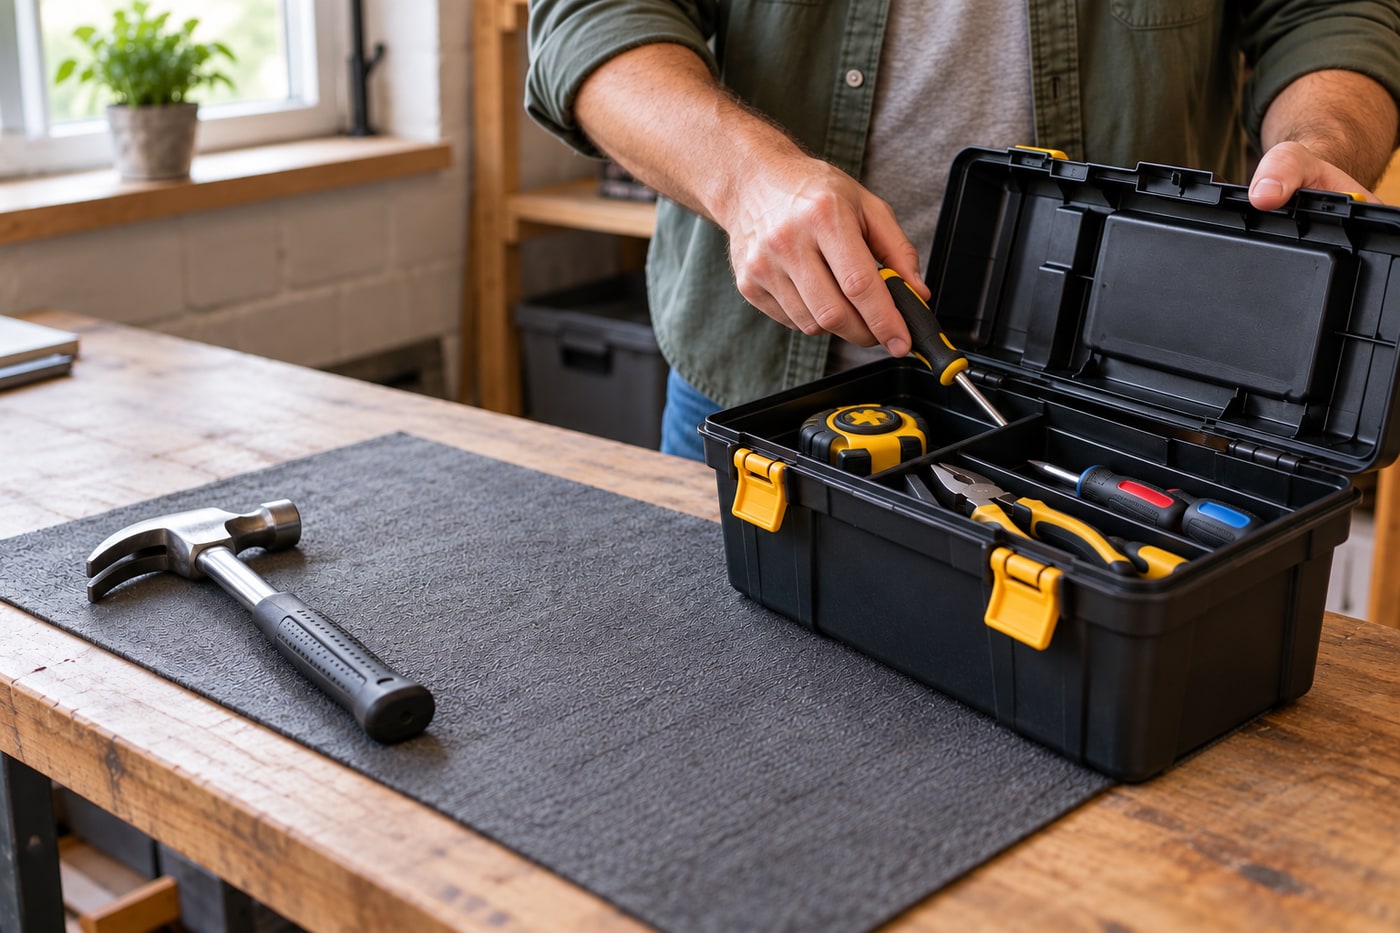
3. Build a simple, stable layout
Put heavier items in the lower section and frequently used light tools in the top tray. Use fitted pouches or dividers so tools do not roll into each other when the box moves. Keep capped sharp tools separate from loose fixings, with handles easy to grasp. Leave enough room for your fingers rather than filling every gap; safe retrieval matters more than squeezing in one extra tool.
Photorealistic illustration · Waey
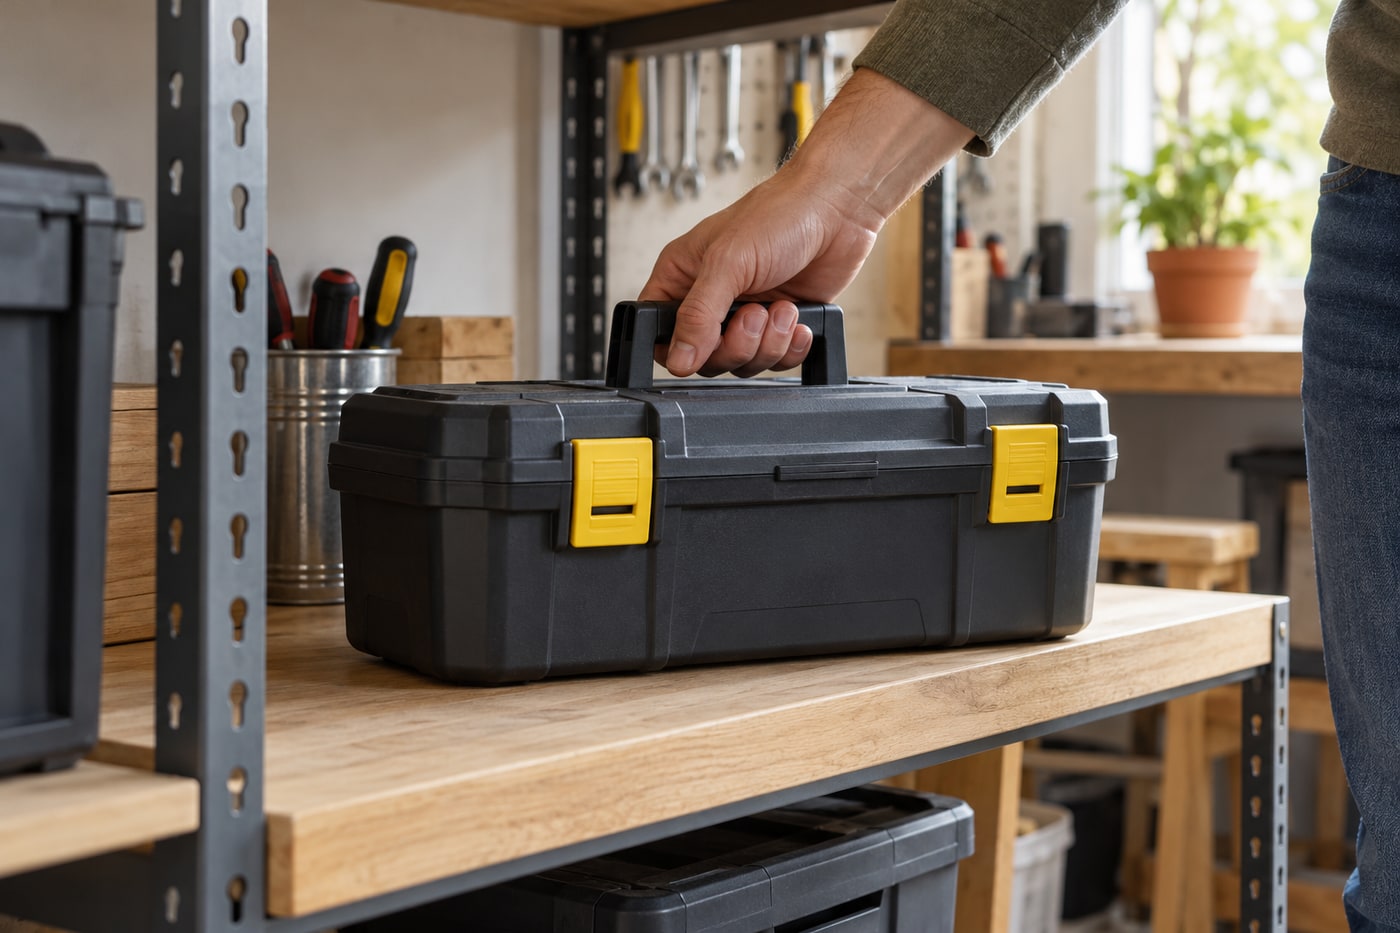
4. Close, test and maintain the layout
Check that nothing obstructs the lid and fasten every latch before gently testing the handle. If the box feels awkward or too heavy, remove seldom-used tools into a second secure container. Store it dry on a low stable shelf, and return each tool to its space after use. A quick check for empty spaces before leaving a job helps you notice a tool left behind.
Final checks
The lid closes without force, tools do not shift dangerously, and no sharp edge is exposed. Never add weight just because the box still has space.
Sources
Photographs are credited beside each image. Generated photorealistic illustrations by Waey; linked videos remain with their creators.