
Replace a compatible washing-machine inlet hose
Replace an ordinary cold-water inlet hose only where the exact appliance instructions permit owner handling and both connections are safely accessible. Match the hose and seals, isolate supplies and check both joints before normal use.
What will you learn?
Replace an ordinary cold-water inlet hose only where the exact appliance instructions permit owner handling and both connections are safely accessible. Match the hose and seals, isolate supplies and check both joints before normal use.
Tools
- Instructions and approved hose information for your exact washing machine
- Shallow traySearch Amazon UK ↗
- BucketSearch Amazon UK ↗
- Dry clothsSearch Amazon UK ↗
Materials
- New manufacturer-approved standard cold-water inlet hose of the correct length, with specified seals and filter arrangementSearch Amazon UK ↗
Step by step
Photorealistic illustration · Waey
1. Confirm permission, access and the replacement part
Find the exact model number and read its connection and servicing instructions before buying a hose. The Beko examples linked here are references, not universal permission for other models. Confirm that this is a standard single cold inlet, the approved replacement fits and you can reach both ends without shifting the appliance. Arrange competent help if any condition fails; do not substitute a safety hose or adapt a damaged socket.
Photorealistic illustration · Waey
2. Disconnect power and establish water isolation
Finish any programme and follow the manual’s shutdown instructions. With dry hands and a dry accessible socket, unplug the appliance by its plug. Close the inlet tap according to its instructions. Put a tray and cloths beneath the tap joint before carefully easing that nut only slightly to check isolation. Residual water should subside; continued flow means isolation has failed. Retighten, stop and obtain competent help rather than fully removing the hose.
Photorealistic illustration · Waey
3. Remove the old hose without disturbing other fittings
Only after isolation is established, undo the tap-end nut by hand and direct residual hose water into the bucket. Disconnect the machine end without turning or straining the fixed inlet. Leave the waste hose, appliance panels and fixed filters alone. Stop if either nut is seized, a fitting moves with it or the inlet appears cracked. Compare the removed hose with the approved new part; resemblance alone does not establish compatibility.
Photorealistic illustration · Waey
4. Seat the specified seals and connect by hand
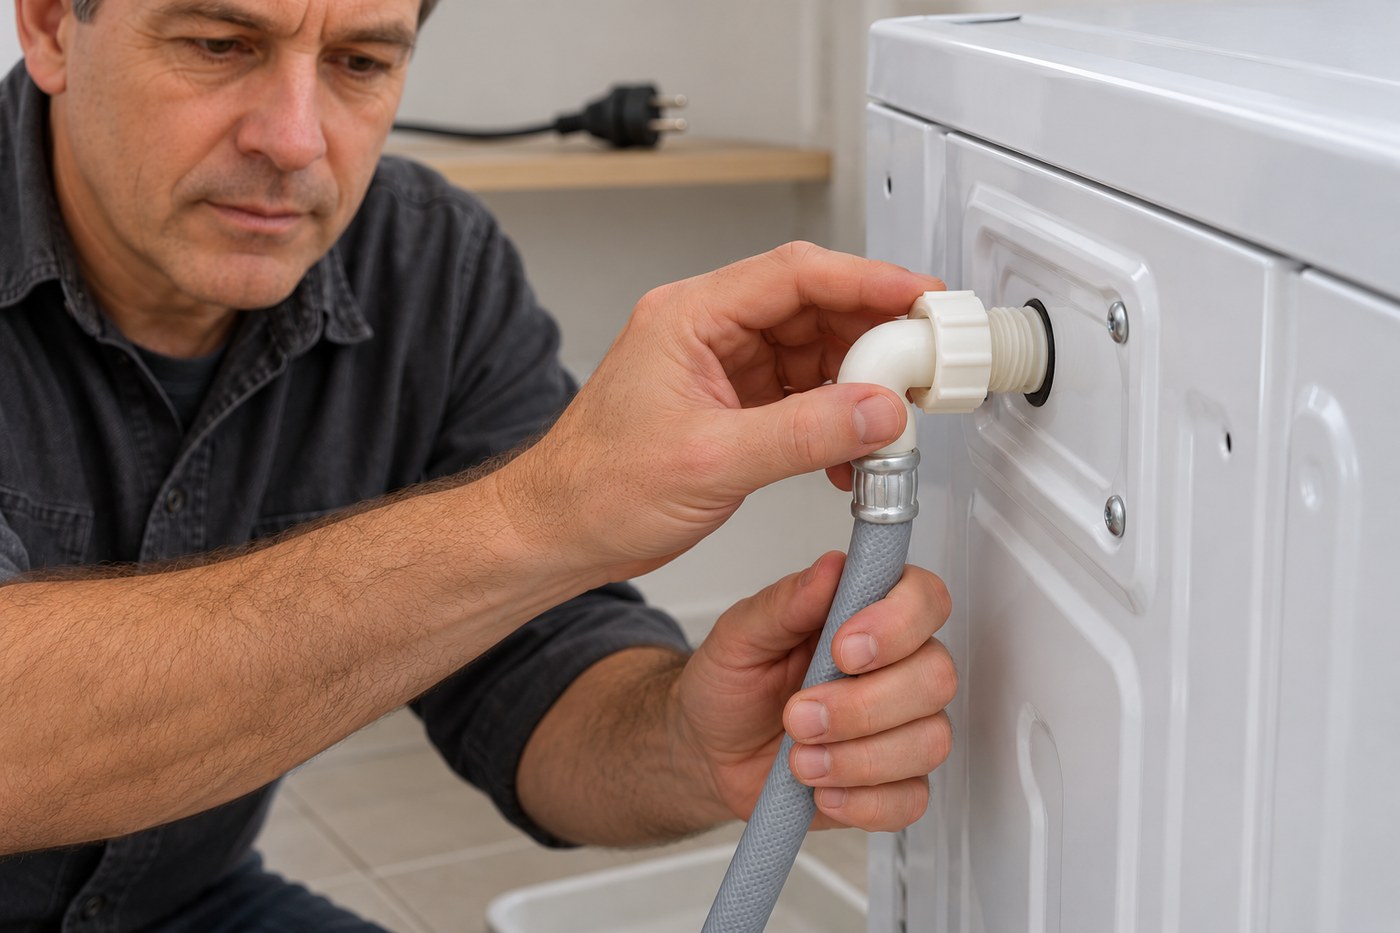
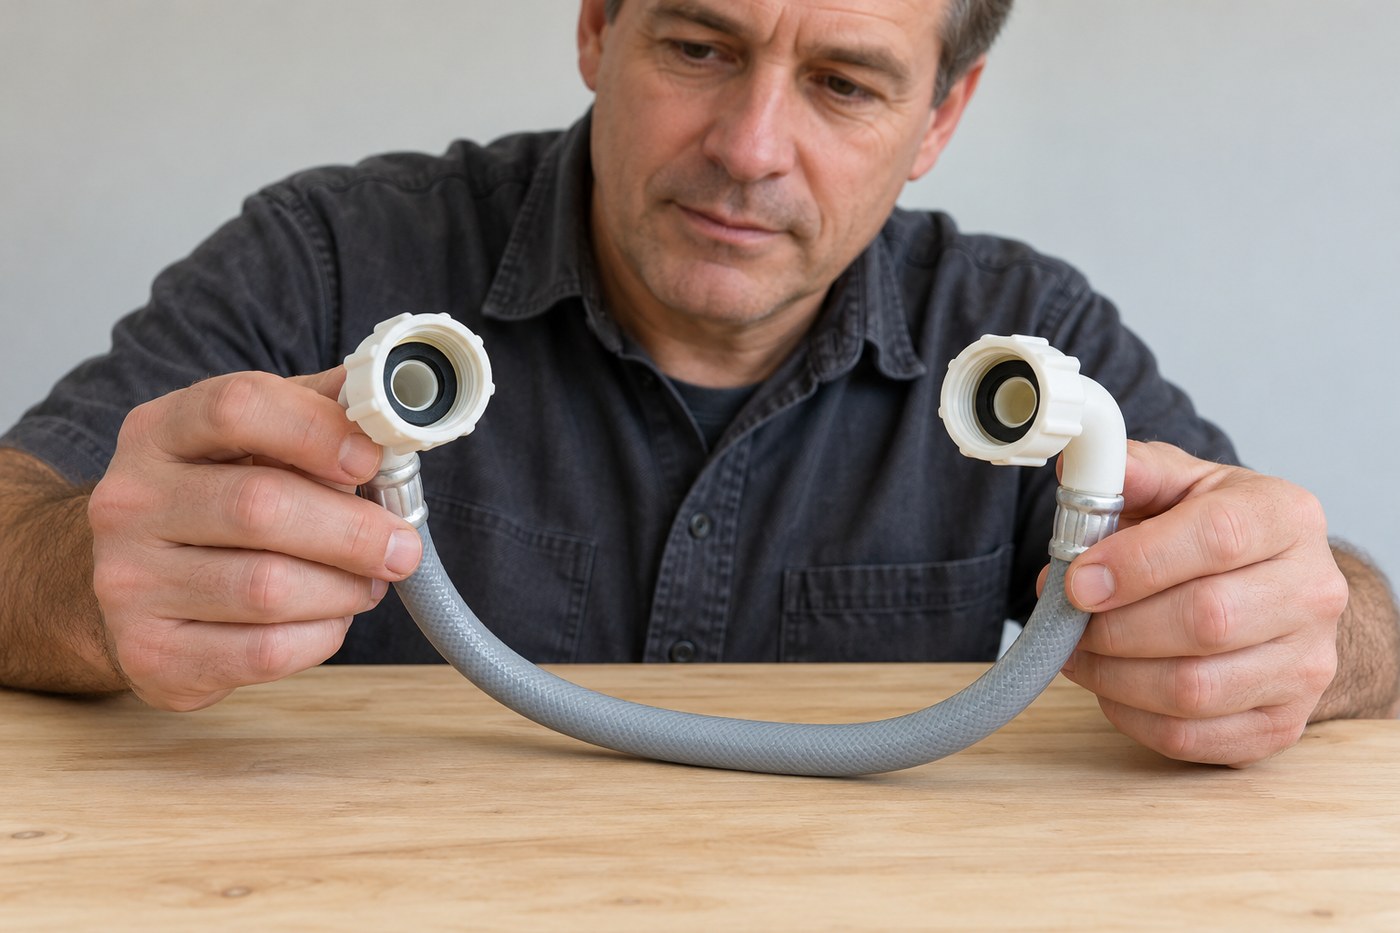
Check the new hose’s supplied seals and any specified filter arrangement against its instructions. Do not stack extra washers or add tape to disguise a poor fit. For the Beko standard-hose arrangement shown in the source, the angled end fits the machine and the straight end fits the cold tap. Start each nut squarely and tighten by hand as instructed. If threading catches or requires force, back off and reassess rather than using a wrench.
Photorealistic illustration · Waey
5. Route the hose and check static joints
Leave the hose in a relaxed route with no stretching, sharp bends or crushing, keeping the power cable clear. With the appliance still unplugged, restore water as the manual directs and inspect both joints using a dry cloth to reveal moisture. If either leaks, close the tap before disconnecting or checking its seal. Do not tighten a leaking joint under flowing water. Persistent leakage, poor threads or a damaged sealing surface require professional attention.
Photorealistic illustration · Waey
6. Run the specified check and finish safely
Reconnect electricity only when the joints, surrounding area and electrical access are dry. Follow the appliance’s prescribed test procedure or suitable programme, staying nearby to inspect filling and both accessible connections. Stop at a leak or fault and isolate safely; never reach through water to unplug. After a successful check, follow the manufacturer’s advice about closing the supply tap between uses. Recheck for dampness later; the photographs cannot prove isolation or leak-free operation.
Watch the method
How to connect your Beko Washing Machine water inlet hose to the water supply
Manufacturer connection demonstration showing hand tightening and hose routing. It does not show the full isolation and replacement sequence or grant owner-replacement permission. Use your exact appliance instructions; safety-valve hoses are outside this guide.
Beko UK · Unconfirmed; English title/description only
Watch on YouTube ↗Final checks
Exact-model permission and approved part confirmed; power disconnected during work; water isolation established; correct seals and hand-tightened joints; relaxed hose route; static and supervised operating checks passed before normal use.
Sources
BekoUK — Connect washing-machine water inlet hose ↗
Beko official manual — Connecting to water supply ↗
Beko WTG841B1W full manual — safety, installation, inlet connections and filters ↗
AI-generated representative photographic illustrations by Waey using only Waey-generated references. Manufacturer diagrams are private research, not public assets or generator inputs. External video belongs to its credited creator.