
Route a USB cable with indoor Command clear round clips
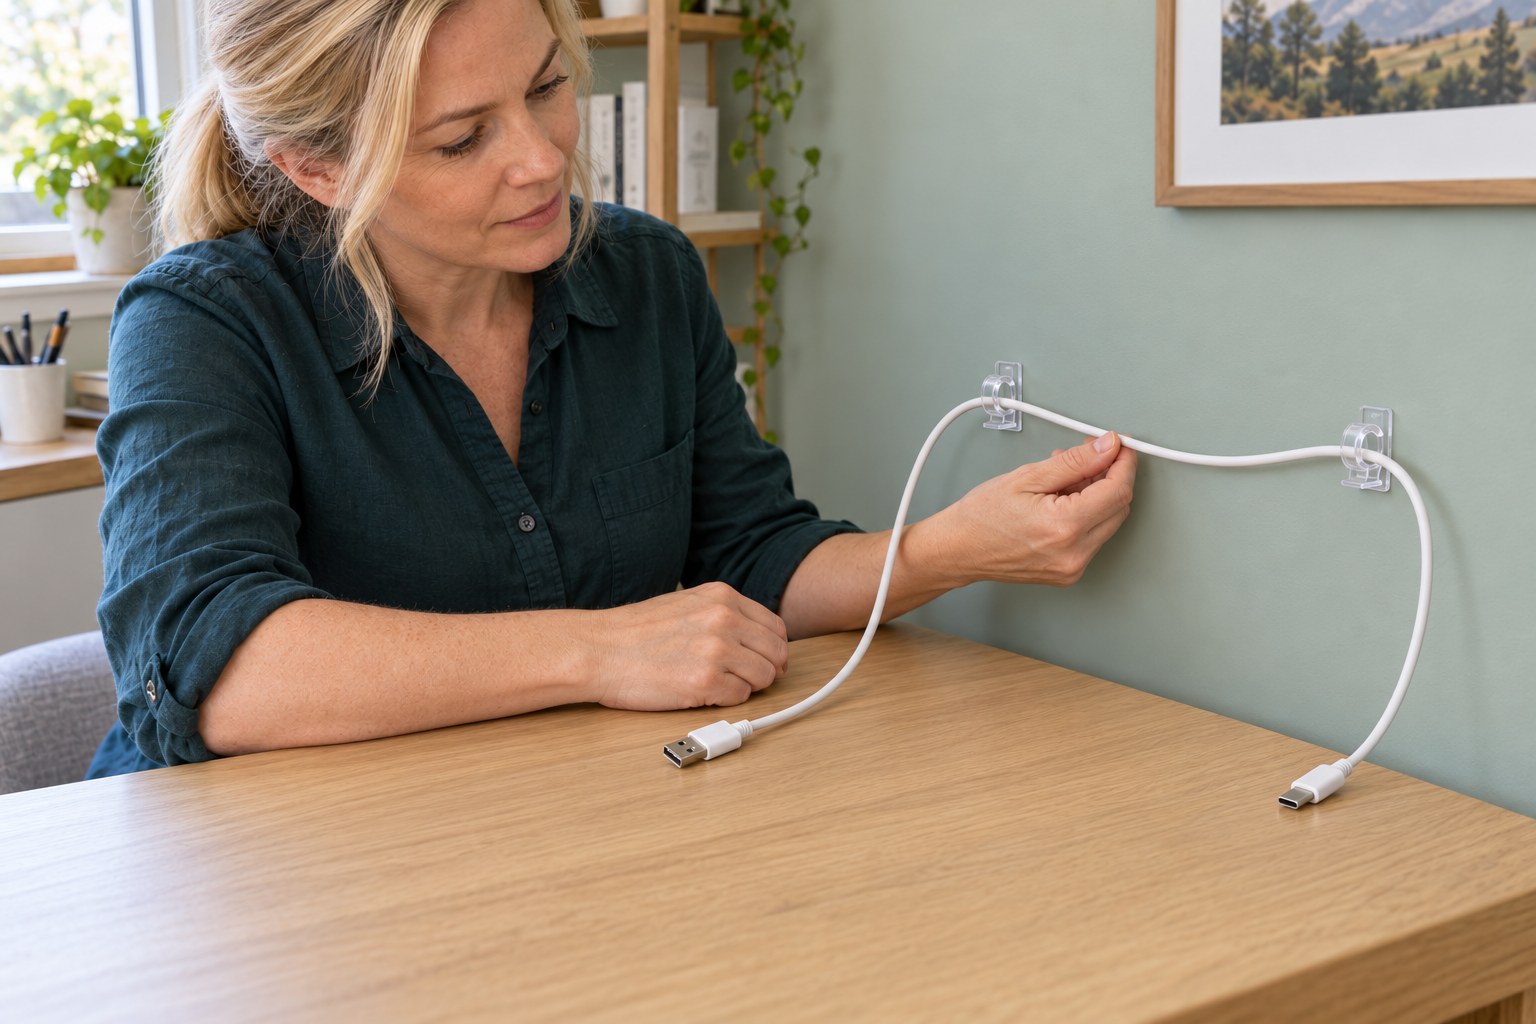
Route one disconnected USB cable on a suitable smooth indoor surface with matched clear clips, accessible release tabs and the full adhesive waiting period.
What will you learn?
Route one disconnected USB cable on a suitable smooth indoor surface with matched clear clips, accessible release tabs and the full adhesive waiting period.
Tools
- Clean lint-free clothSearch Amazon UK ↗
- Clock or timer for pressure and waiting periodsSearch Amazon UK ↗
Materials
- Indoor Command Clear Round Cord Clips17017CLR with their new correct clear strips and matched readable instructionsSearch Amazon UK ↗
- One intact USB data cable, disconnected at both endsSearch Amazon UK ↗
- Isopropyl rubbing alcohol suitable for the approved surface; follow its own precautionsSearch Amazon UK ↗
- New Command Clear Small refill strips only if remountingSearch Amazon UK ↗
Step by step
Photorealistic illustration · Waey
1. Match the indoor clips and suitable surface
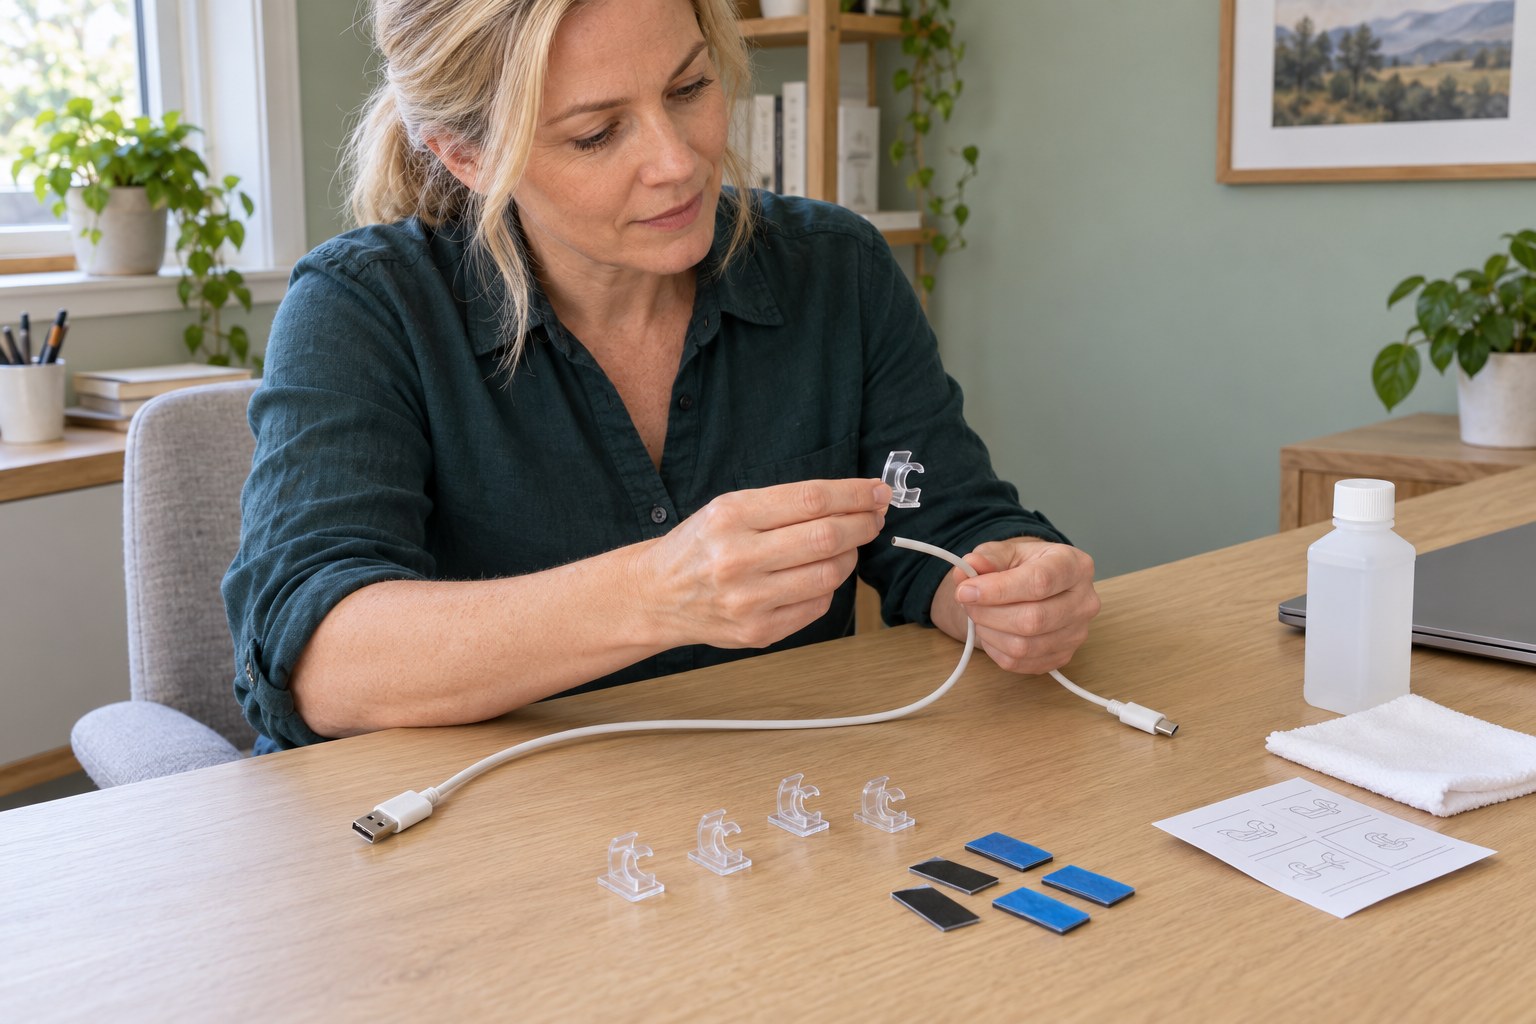
Use indoor Command Clear Round Cord Clips 17017CLR with their correct clear strips and readable instructions. This sequence follows the manufacturer’s 2017 regional sheet: apply at 10–40°C and wait at least 28 days after painting. Choose a sound, smooth vertical painted surface that also tolerates the specified cleaner. Avoid wallpaper, fragile finishes, windows and valuable objects. If your pack differs, use its instructions throughout rather than combining product revisions.
Photorealistic illustration · Waey
2. Plan a loose route with accessible release tabs
Disconnect both ends of one intact USB data cable and inspect its jacket and connectors. Lay out a route above the desk that avoids chair movement, sharp edges and hinges. Check that the actual cable fits the clip without pinching; do not force a larger cable into it. Leave gentle bends and enough free cable at each end for normal use. Reserve clear space below every clip for stretching its removal tab later.
Photorealistic illustration · Waey
3. Clean each mounting area and let it dry
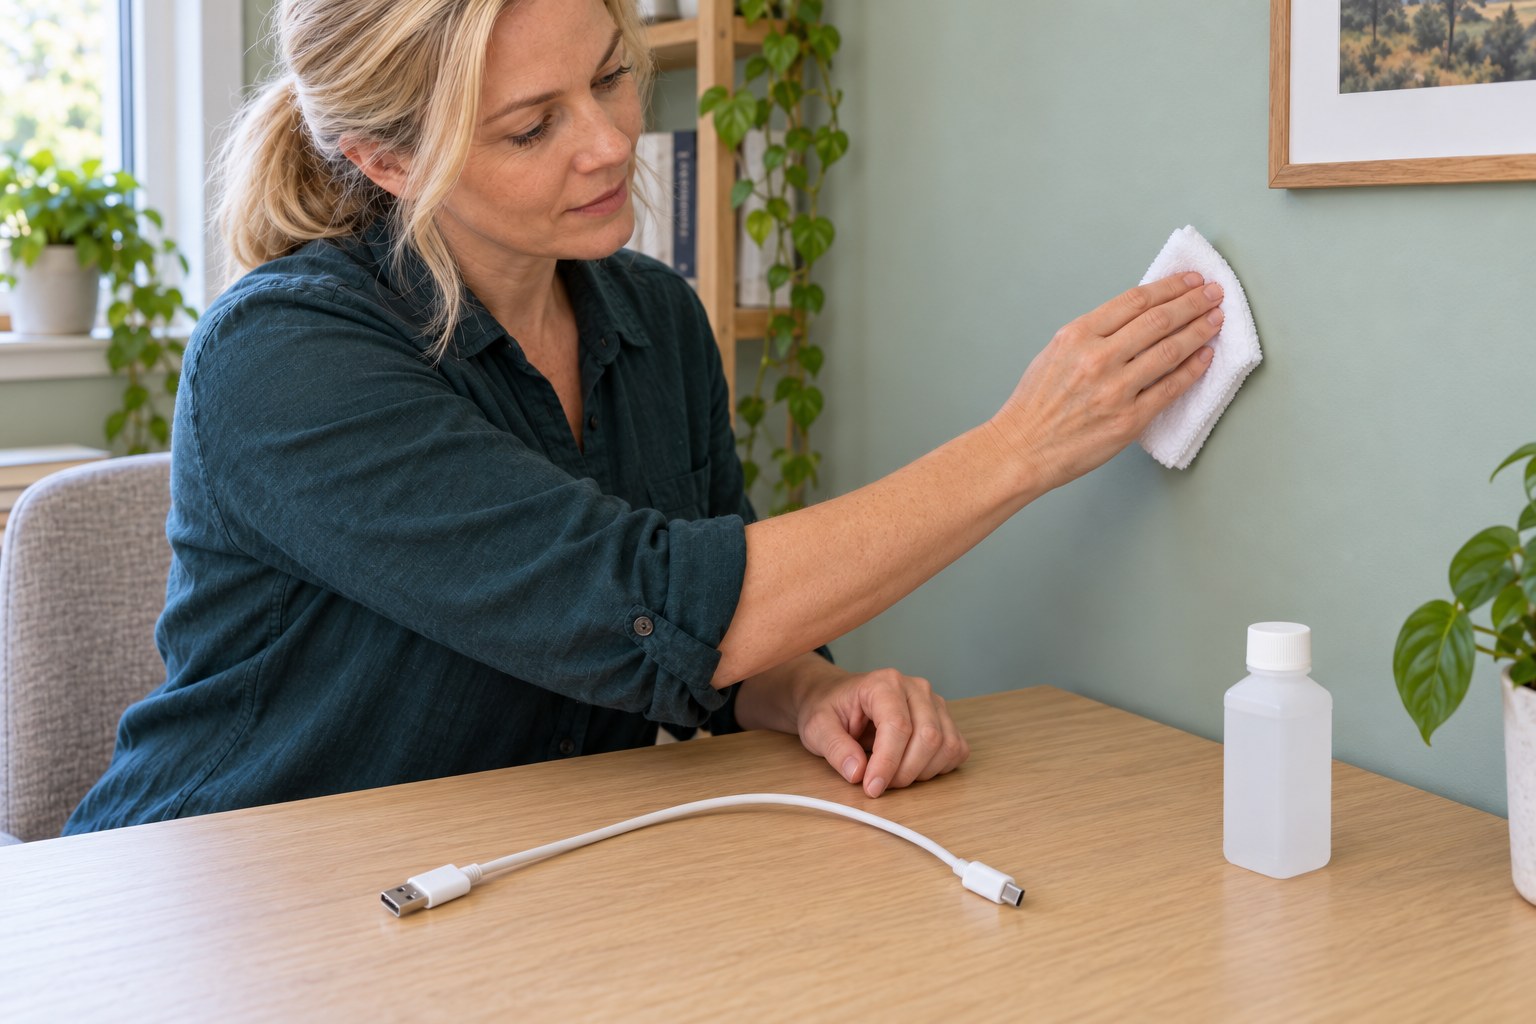
Keep the cable and devices aside. Gently wipe each proposed mounting area with isopropyl rubbing alcohol as directed by the matched pack, then let it dry completely. Follow the alcohol container’s precautions, ventilate the area and keep it away from flame or heat. Do not substitute household sprays or cleaning wipes, which can leave residue. Stop if the finish softens, transfers colour or is incompatible with alcohol; choose a different suitable routing method.
Photorealistic illustration · Waey
4. Apply the wall side of each strip
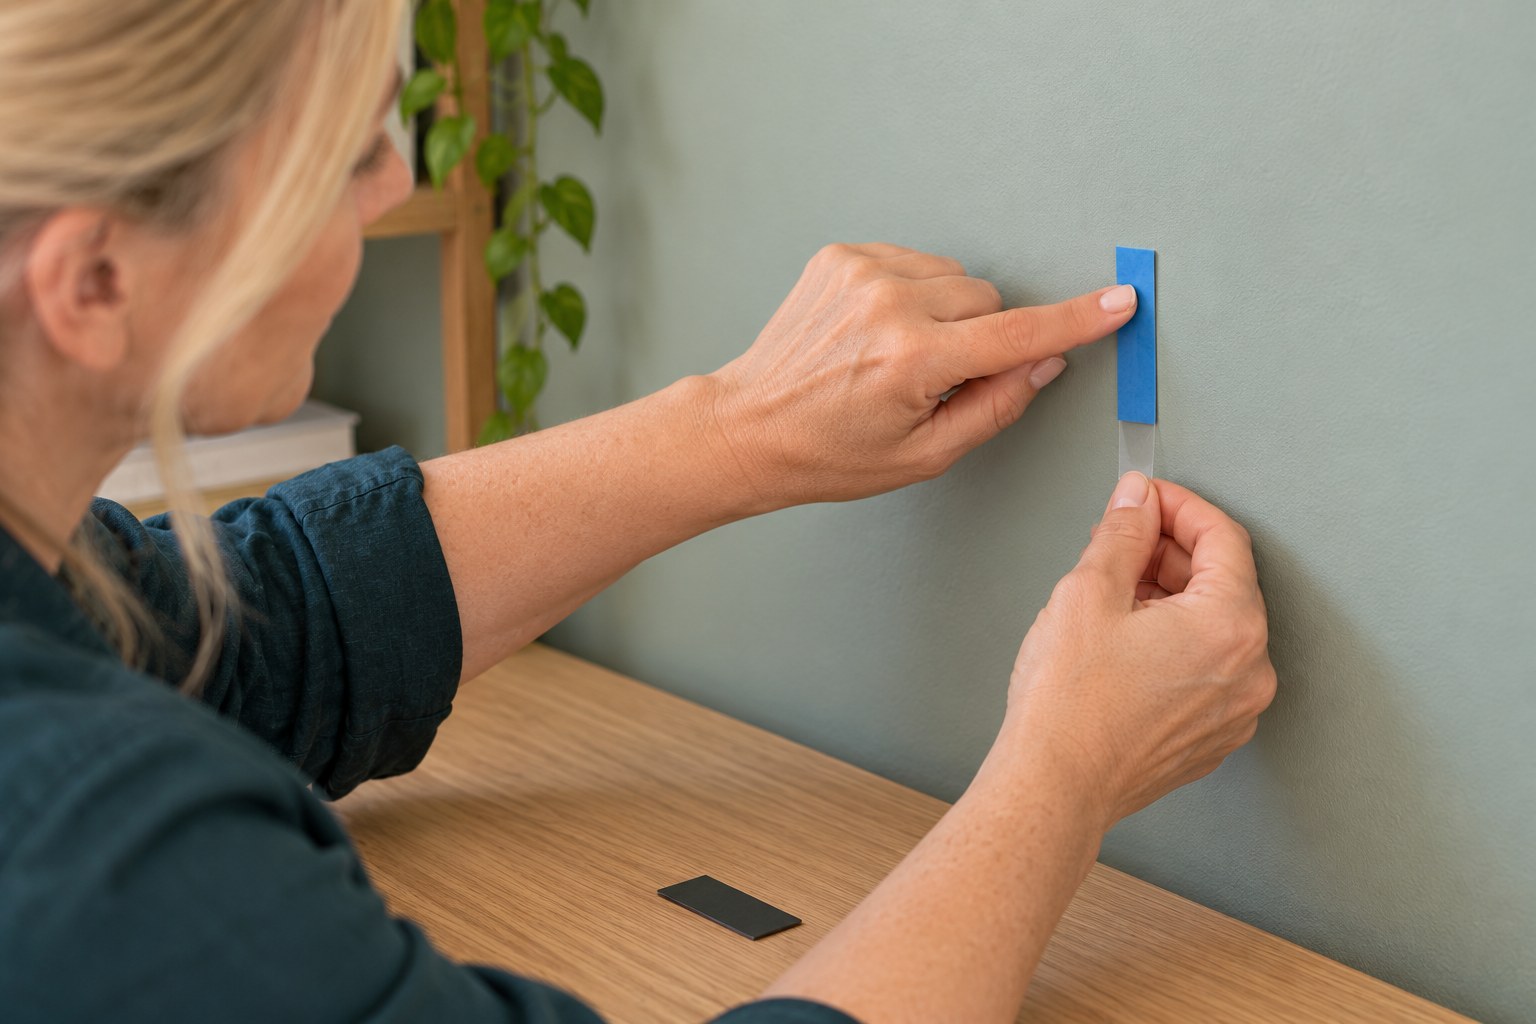
Separate a new correct clear strip without touching its adhesive. For the matched black/blue liner version, remove the black wall-side liner first. Place the strip vertically at the prepared location, leaving the unbonded release tab pointing down and easy to grasp. Press firmly along the entire strip for 30 seconds. Keep the blue front liner in place for now. Repeat only at the planned locations; do not cover release tabs with furniture or another strip.
Photorealistic illustration · Waey
5. Attach each clip and leave it unloaded
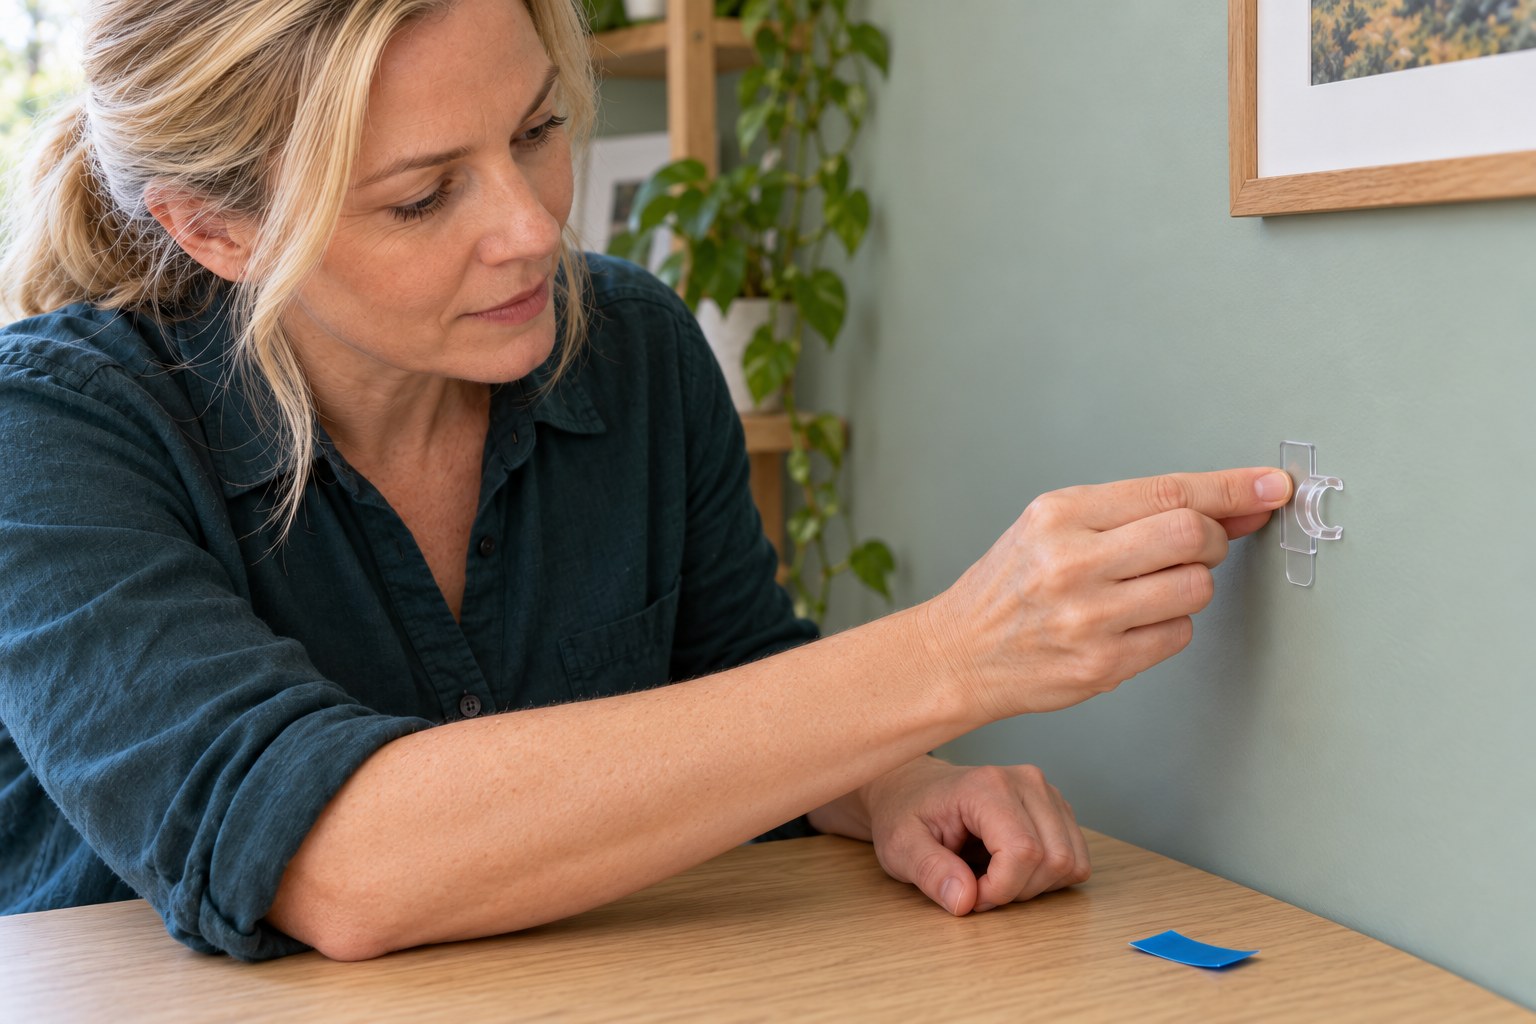
Remove the blue liner and place the flat back of the matching clear clip onto the adhesive. Keep its release tab exposed below the clip, following the pack drawing for orientation. Press firmly across the clip’s mounting area for 30 seconds without distorting the cable loop. Repeat for the other planned clips. Keep every clip empty for one full hour before inserting the cable; a photograph cannot demonstrate that this waiting period has elapsed.
Photorealistic illustration · Waey
6. Fit the cable without loading its connectors
After the hour has passed, guide the disconnected cable gently through the side opening of each loop. Do not pull it through by its connector or pry the clip wider. Keep the route loose, with smooth curves and both ends supported on the desk. If the cable is squeezed, the plastic cracks or a base lifts, remove the cable and stop. Use a correctly sized alternative or repeat mounting with new matched strips after resolving the cause.
Photorealistic illustration · Waey
7. Check slack, access and the normal desk position
Check each base without tugging the adhesive, and confirm that the release tabs remain reachable. Move only the free cable ends through the range needed for your normal desk use; nothing should pull on a clip or device port. Keep the cable away from moving furniture and walking routes. Reconnect only when everything is dry and secure. These clips organize the cable; they must not suspend a device or act as strain relief for a loaded connector.
Photorealistic illustration · Waey
8. Stretch-release safely when changing the route
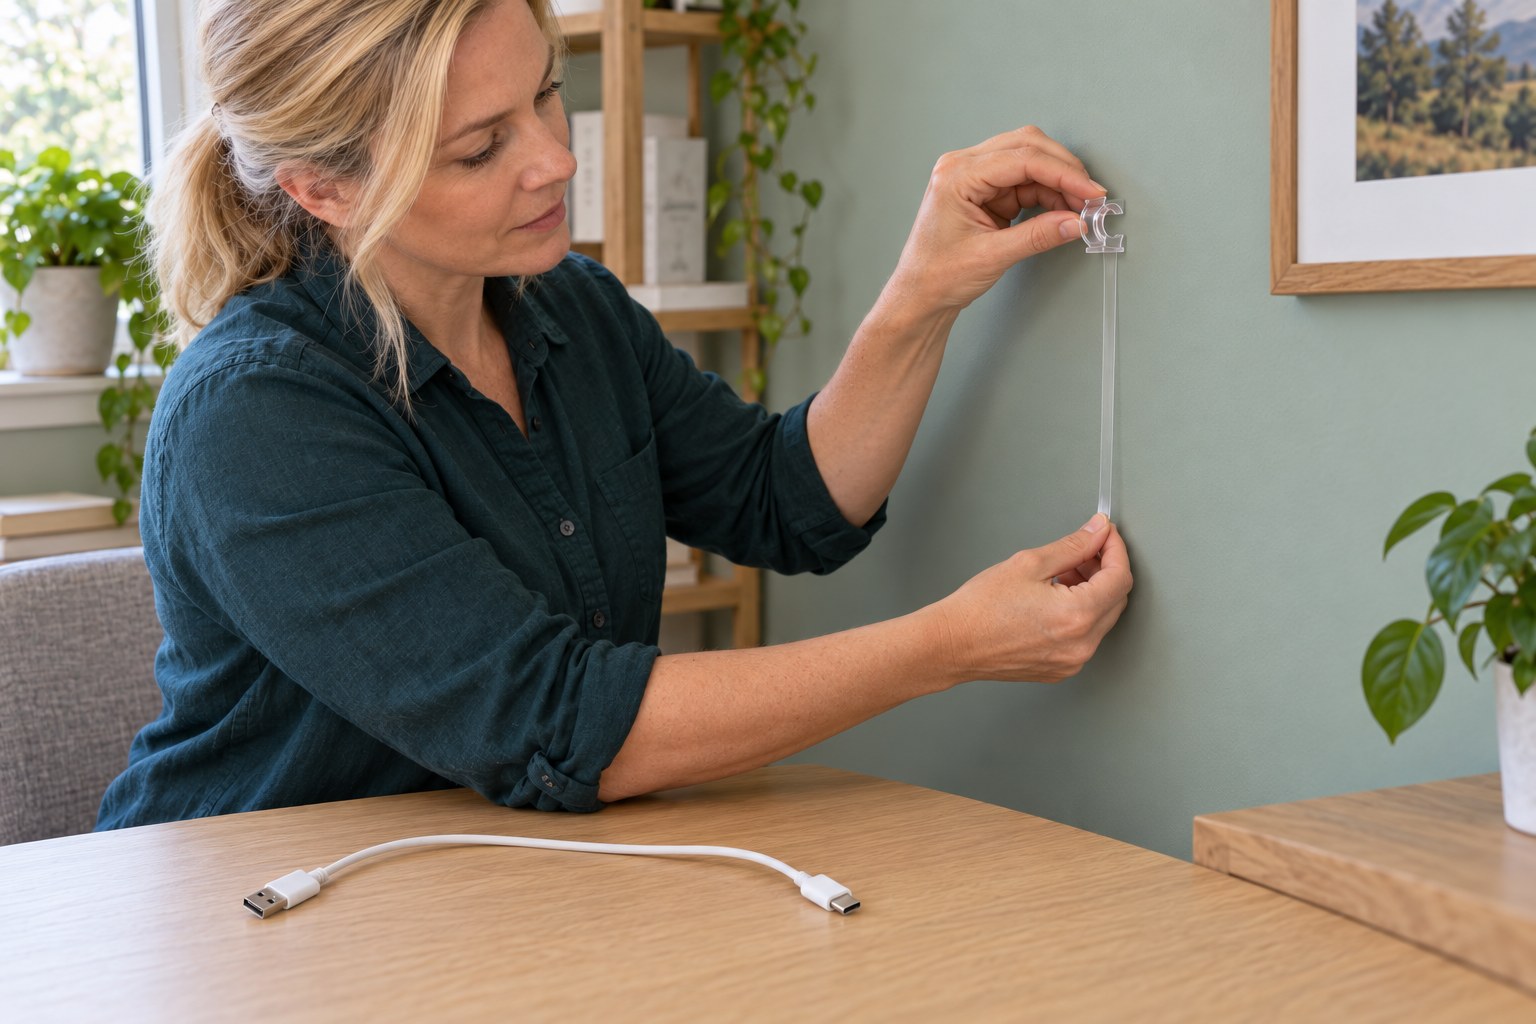
When you later need removal, disconnect both ends and take the cable out first. Hold the clip gently without pressing it against the wall. Pull its release tab slowly straight down, staying close and parallel to the wall, never outward toward you. The matched 17017CLR sheet specifies stretching at least 15 cm until release, so allow enough clearance. Do not pry a stuck or broken strip. Consult the manufacturer for that case, and reuse an intact clip only with new Command Clear Small refill strips.
Video demonstrations
3M Command Cord Clips 17017CLR Review
Model-specific cable-fitting and removal reference: packaging at3:03, removal diagram at6:07 and actual cable fit at6:53 visually checked. Older package revision; follow the matched sheet for liner order and mounting conditions. No whole-video review claimed.
Reviews By Tiger · en
Watch on YouTube ↗How to Hang & Organize with Command™ Clear Solutions
Official clear-strip technique reference:1:15 visibly compares clear and foam liners;1:27 shows a clear round clip mounted. Shared clear-strip wall-first application and downward stretch technique apply; other hooks/caddies have different load/removal guidance. Use the matched17017CLR sheet for15cm removal and exact pack conditions. Selected visual checks only, no full audiovisual assessment.
Command / 3M · en
Watch on YouTube ↗Final checks
Bases secure; no pinching, sharp bends or connector tension; all tabs accessible with removal clearance; normal desk movement remains free; one-hour wait completed before loading.
Where to find supplies
If the actual cable does not fit, choose a correctly sized cord organizer. Different clear, foam, outdoor or picture-hanging products need their own instructions. Do not use a generic hook load rating or another product’s liner order.
Sources
3M indoor Clear Round Cord Clips product ↗
3M matched 17017CLR regional instruction sheet, 2017 ↗
3M Home Cord Organization: round-clip application and tab access ↗
3M Clear Solutions: same clear-strip technique; generic hook removal distance differs ↗
Original generated instructional illustrations, reviewed individually. Approximate hardware, liner colours and static scenes do not establish exact product identity, adhesive strength, elapsed time or paint compatibility. Manufacturer drawings and video frames remain private technical references, never generation inputs or article media.