
Set a small aluminium lap joint with a hand riveter
Make a small nonstructural aluminium lap joint by matching grip range, preparing clean holes and setting blind rivets squarely.
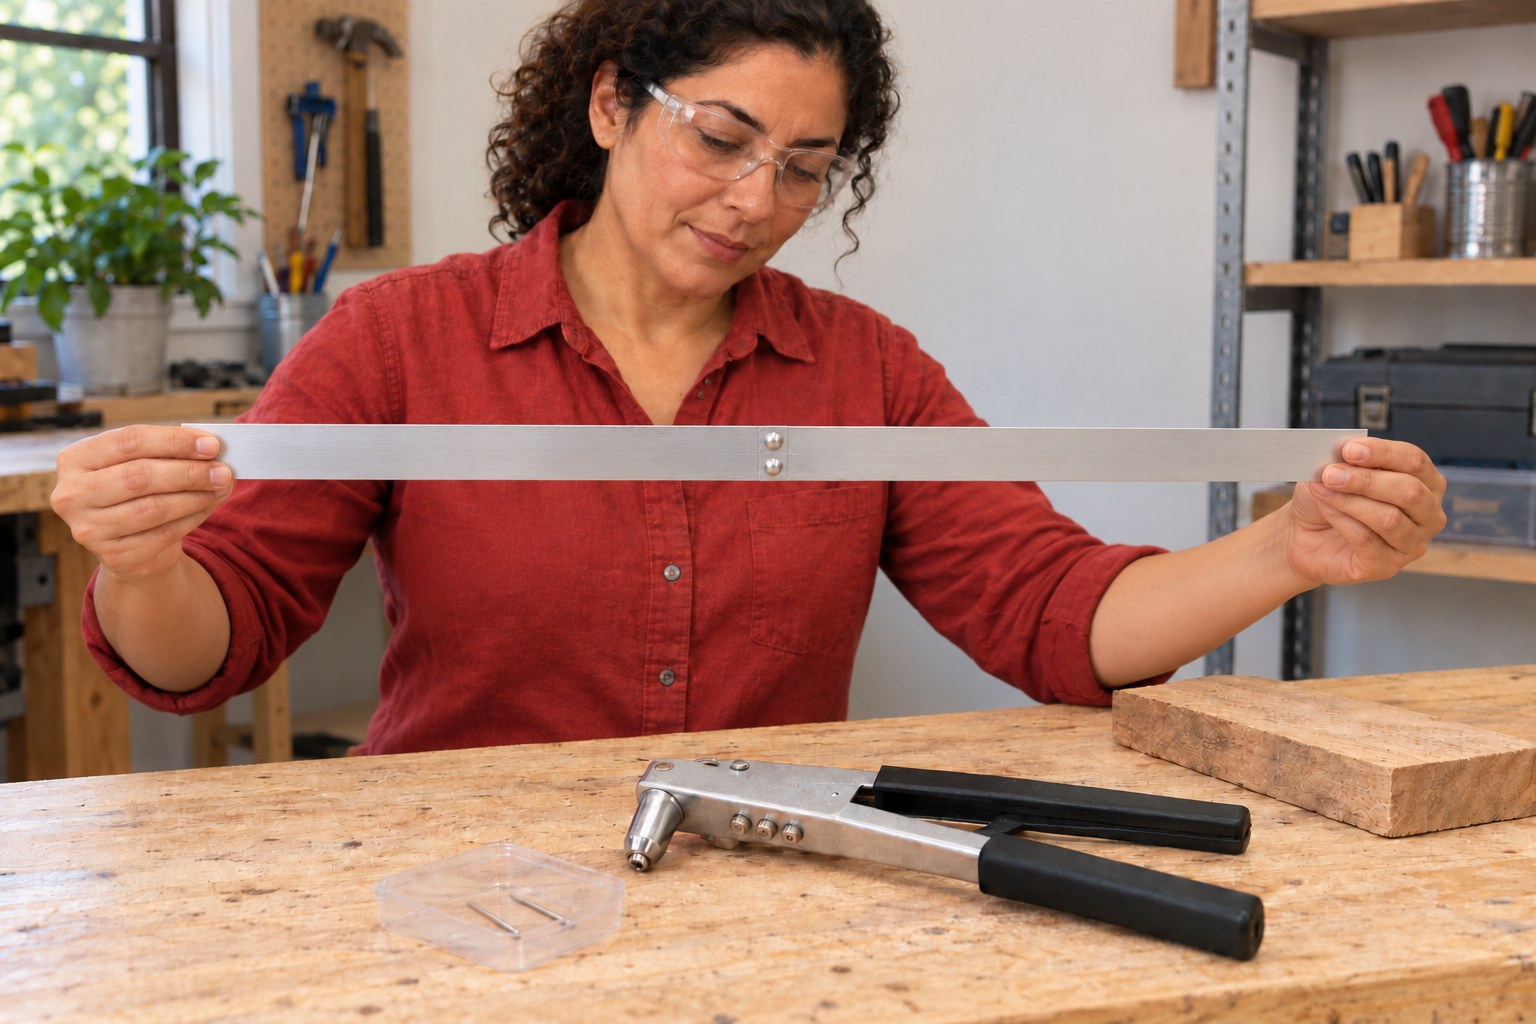
What will you learn?
Make a small nonstructural aluminium lap joint by matching grip range, preparing clean holes and setting blind rivets squarely. The worked example uses two 300 × 40 mm offcuts, each nominally 1 mm thick, with a 30 mm overlap and two Arrow RSA1/8 short aluminium rivets. Measure the actual stack; the matching short-rivet chart allows up to about 3 mm. Use the current package instructions if they differ.
Tools
- Arrow RH200/RH200S hand riveterSearch Amazon UK ↗
- Matching nosepiece and supplied wrenchSearch Amazon UK ↗
- DrillSearch Amazon UK ↗
- Package-matched 1/8-inch metal drill bitSearch Amazon UK ↗
- CaliperSearch Amazon UK ↗
- RulerSearch Amazon UK ↗
- MarkerSearch Amazon UK ↗
- ClampsSearch Amazon UK ↗
- Sacrificial wooden drilling backingSearch Amazon UK ↗
- Stable end-support blocksSearch Amazon UK ↗
- Deburring tool or suitable fileSearch Amazon UK ↗
- Eye protectionSearch Amazon UK ↗
- Swarf brushSearch Amazon UK ↗
- Container for spent mandrelsSearch Amazon UK ↗
- Handling gloves, only while the drill is stoppedSearch Amazon UK ↗
Materials
- Two smooth-edged 300 × 40 mm aluminium strips, nominal 1 mm thick eachSearch Amazon UK ↗
- Arrow RSA1/8 short aluminium rivets, with current gripdata covering the measured stackSearch Amazon UK ↗
Step by step
Photorealistic illustration · Waey
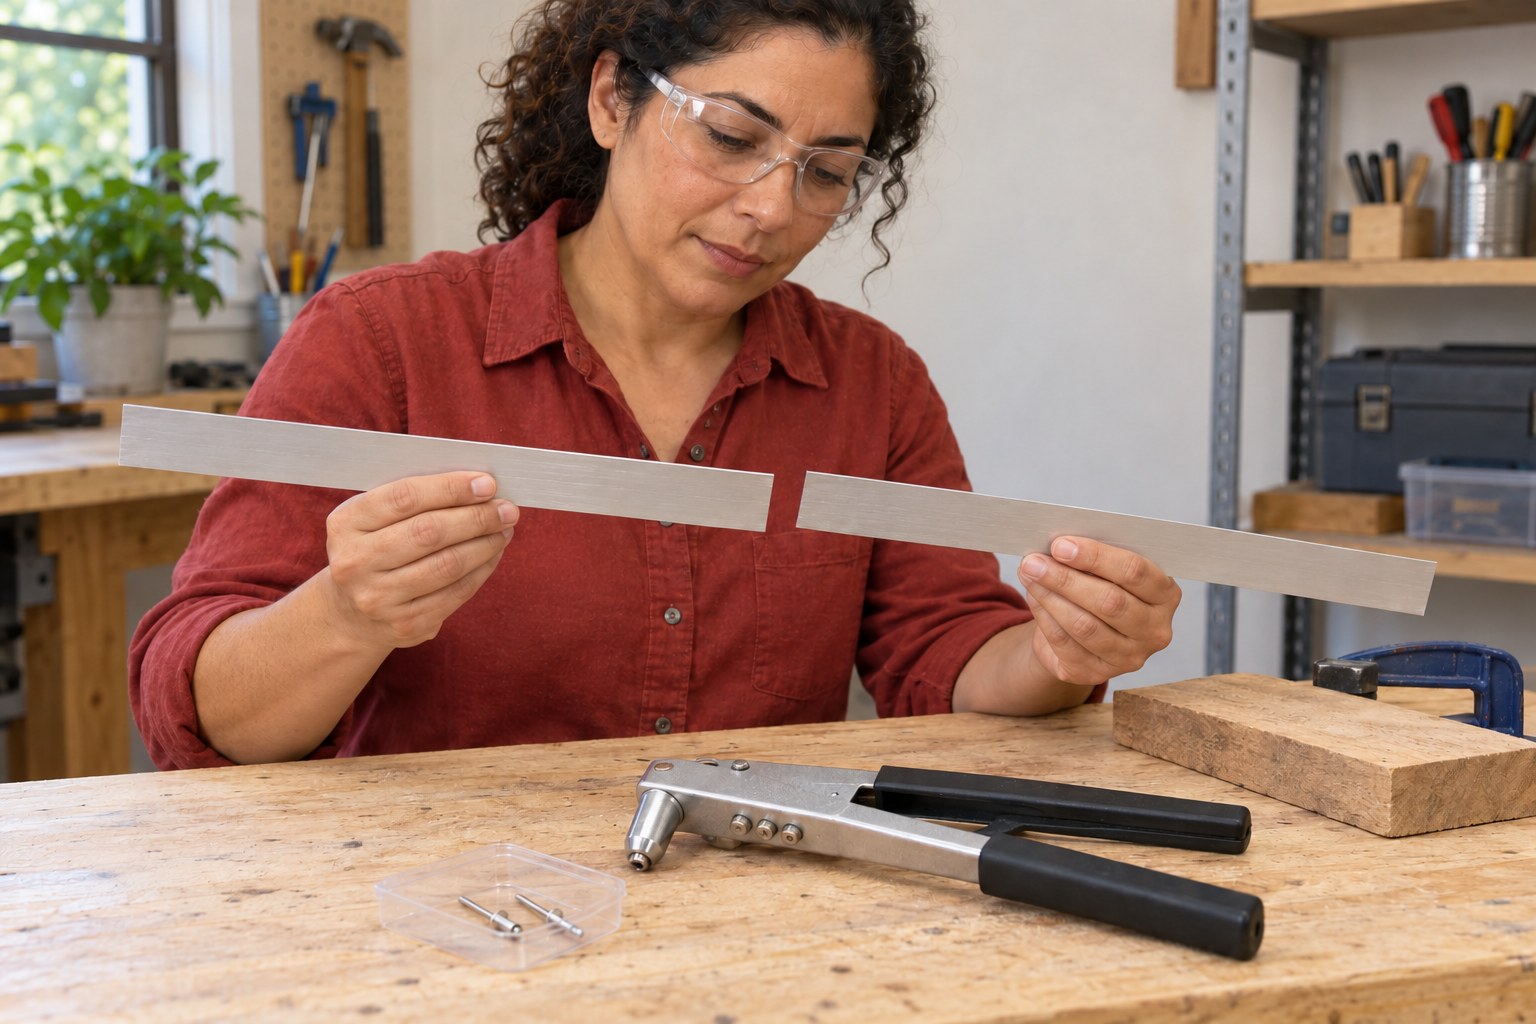
1. Choose a small practice lap joint
Use two clean, flat aluminium offcuts with safe edges and enough overlap for the selected rivet spacing. This is a practice joint, not a repair to a ladder, vehicle, pressure vessel or load-bearing part. Check that both faces will remain accessible for inspection. Read the tool instructions and rivet packaging; stop if the material, tool compatibility or intended use is uncertain.
Photorealistic illustration · Waey
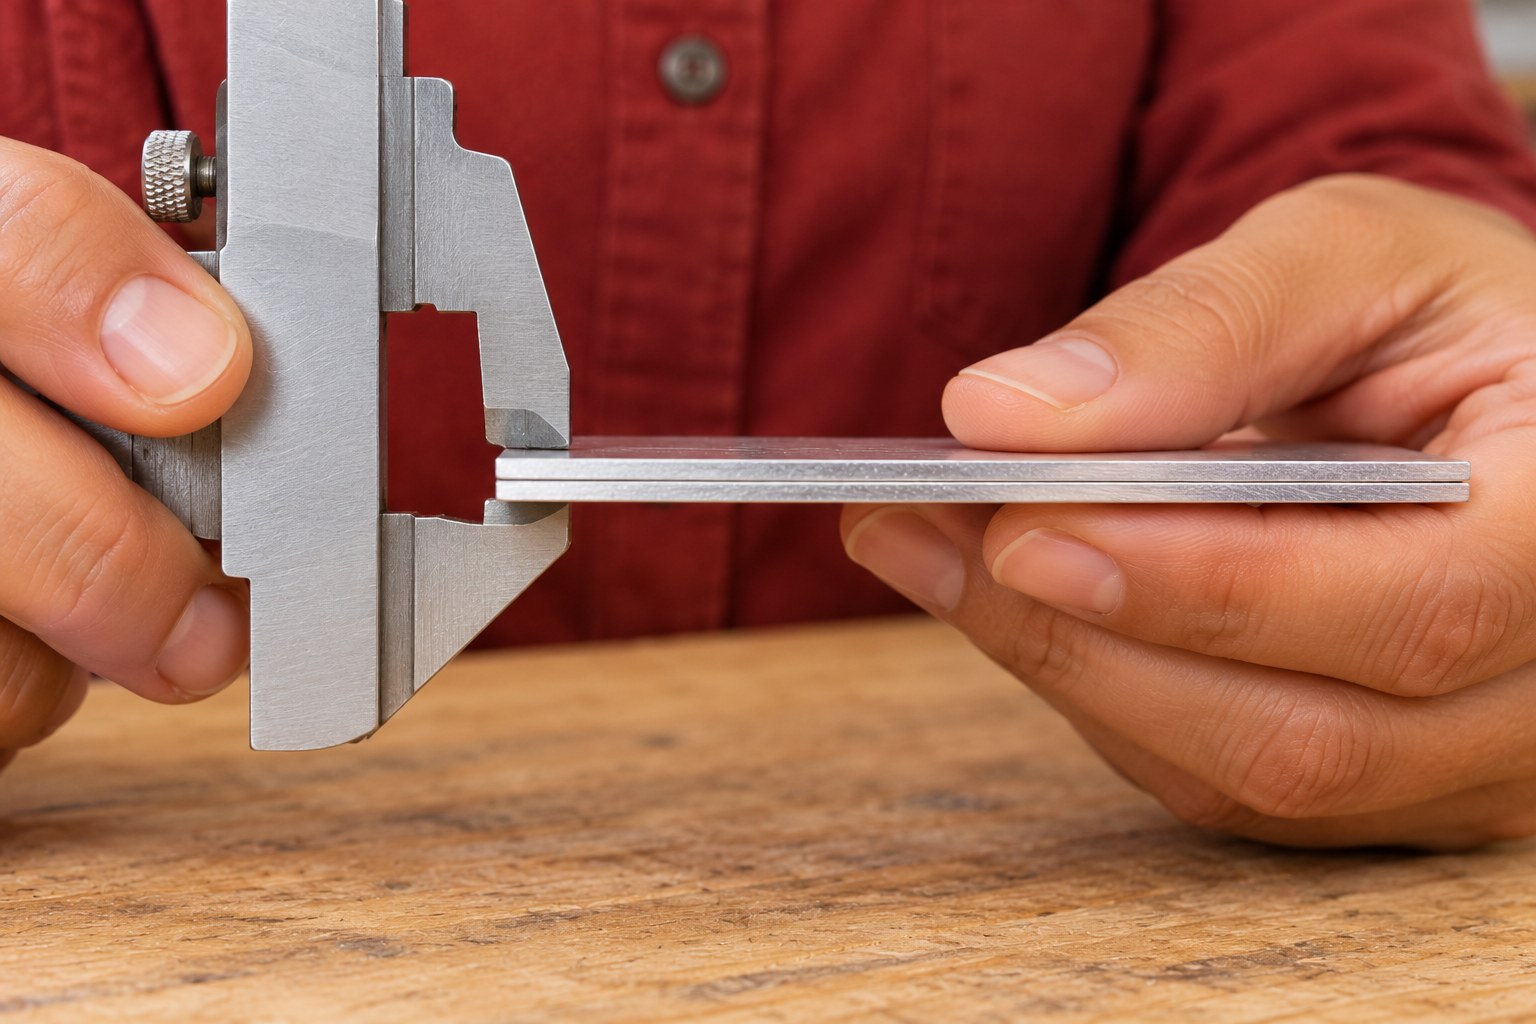
2. Match the rivet to the measured stack
Measure the combined thickness where the sheets overlap. Choose ordinary aluminium blind rivets whose published grip range includes that complete stack, including any specified backing washer. Match the rivet diameter to an available nosepiece and the tool capacity. Read the exact hole requirement for those rivets rather than treating approximate inch-to-millimetre labels as identical. Do not select a rivet merely by its overall length. For this example use the matching 1/8-inch nosepiece and 1/8-inch drill specified by the Arrow chart; do not substitute a 3 mm bit merely because the chart gives rounded metric labels.
Photorealistic illustration · Waey
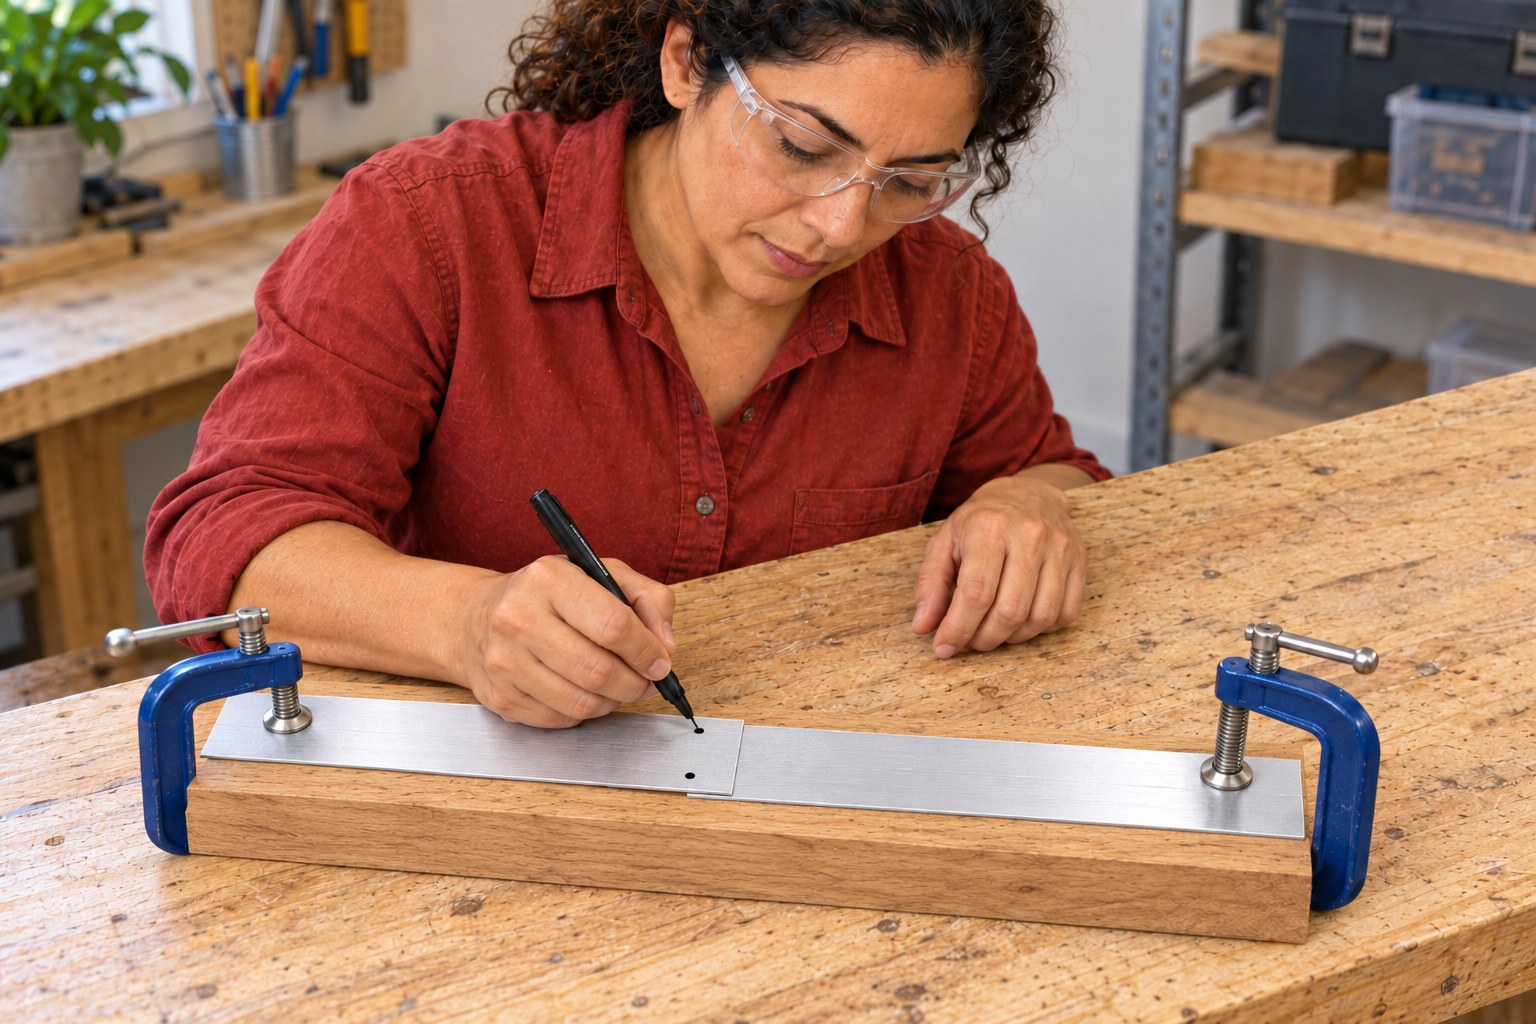
3. Mark and clamp the sheets
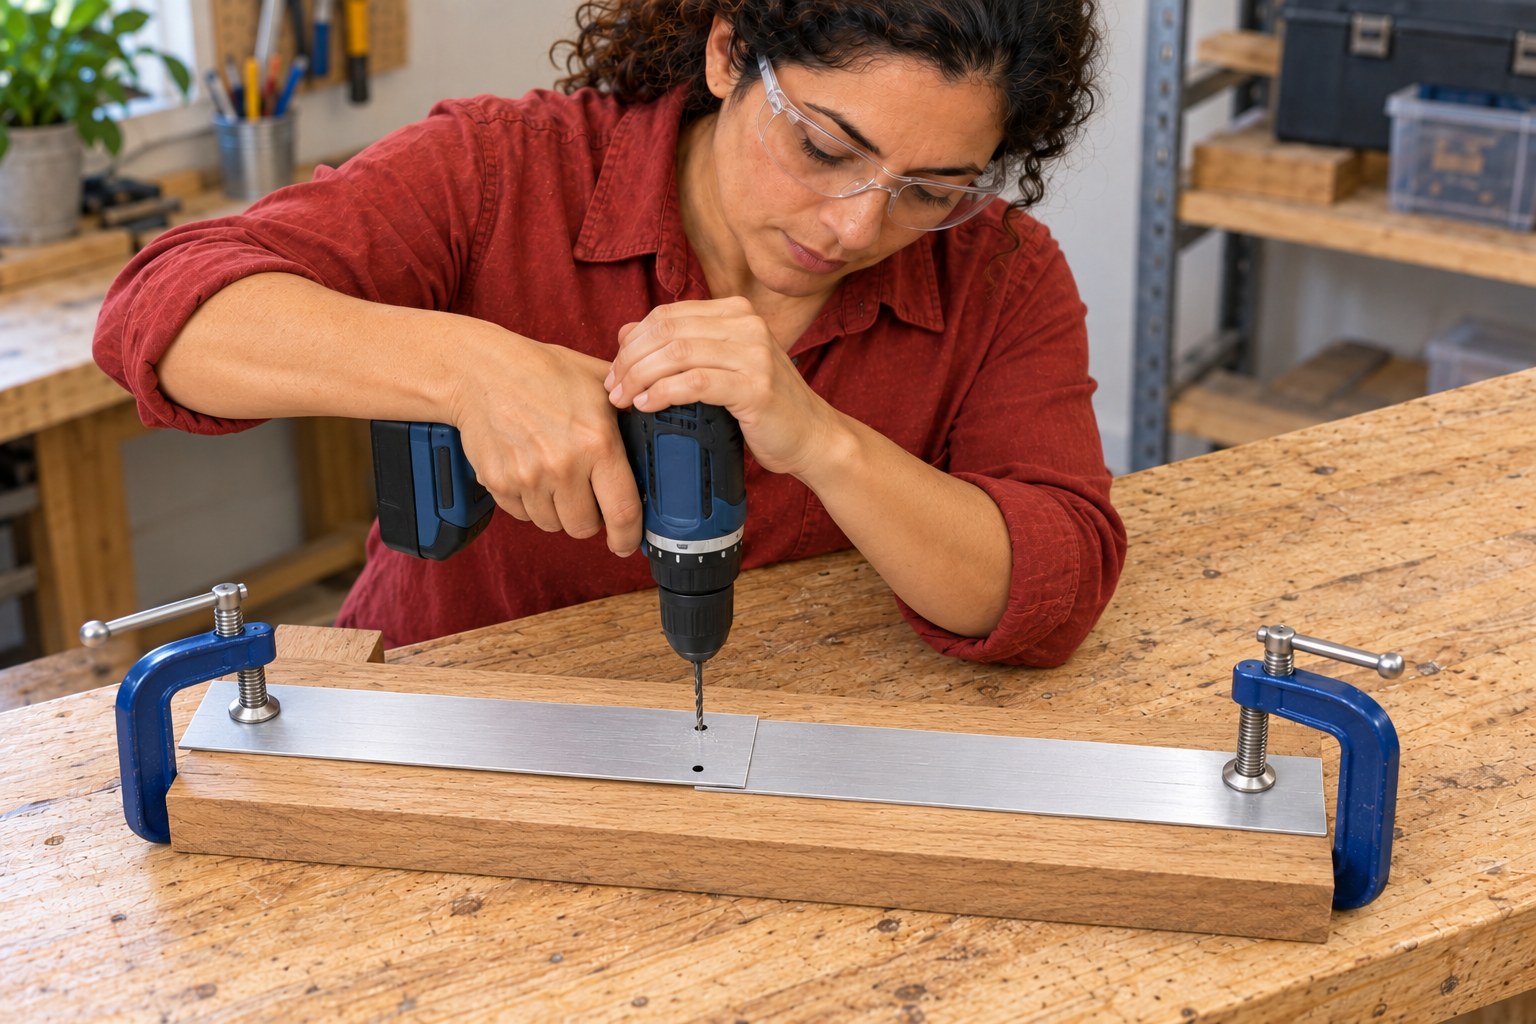
Put on eye protection and arrange the overlap on a sacrificial wooden backing. Mark two separated fixing positions with the edge distance and spacing required for the chosen fasteners; the pattern must leave sound material around each hole. Clamp both sheets firmly so neither can rotate or lift during drilling. Keep hands out of the drill path and check that the bit can pass into the backing without hitting the bench or clamps.
Photorealistic illustration · Waey
4. Drill and remove the burrs
With a suitable metal-drilling bit and the sheets clamped, drill squarely through the stack using the drill maker’s instructions. Do not hold a loose sheet in your hand. Stop the drill fully before clearing chips. Separate the pieces as needed and remove burrs from both sides without enlarging the holes. Brush away swarf, then reassemble the clean faces in their original alignment and clamp the overlap tight. Before setting any rivet, remove the drilling backing from beneath the overlap and re-clamp on stable end supports so the rivet tails have clear space to expand. Keep the sheets tight together.
Photorealistic illustration · Waey
5. Fit the correct nosepiece safely
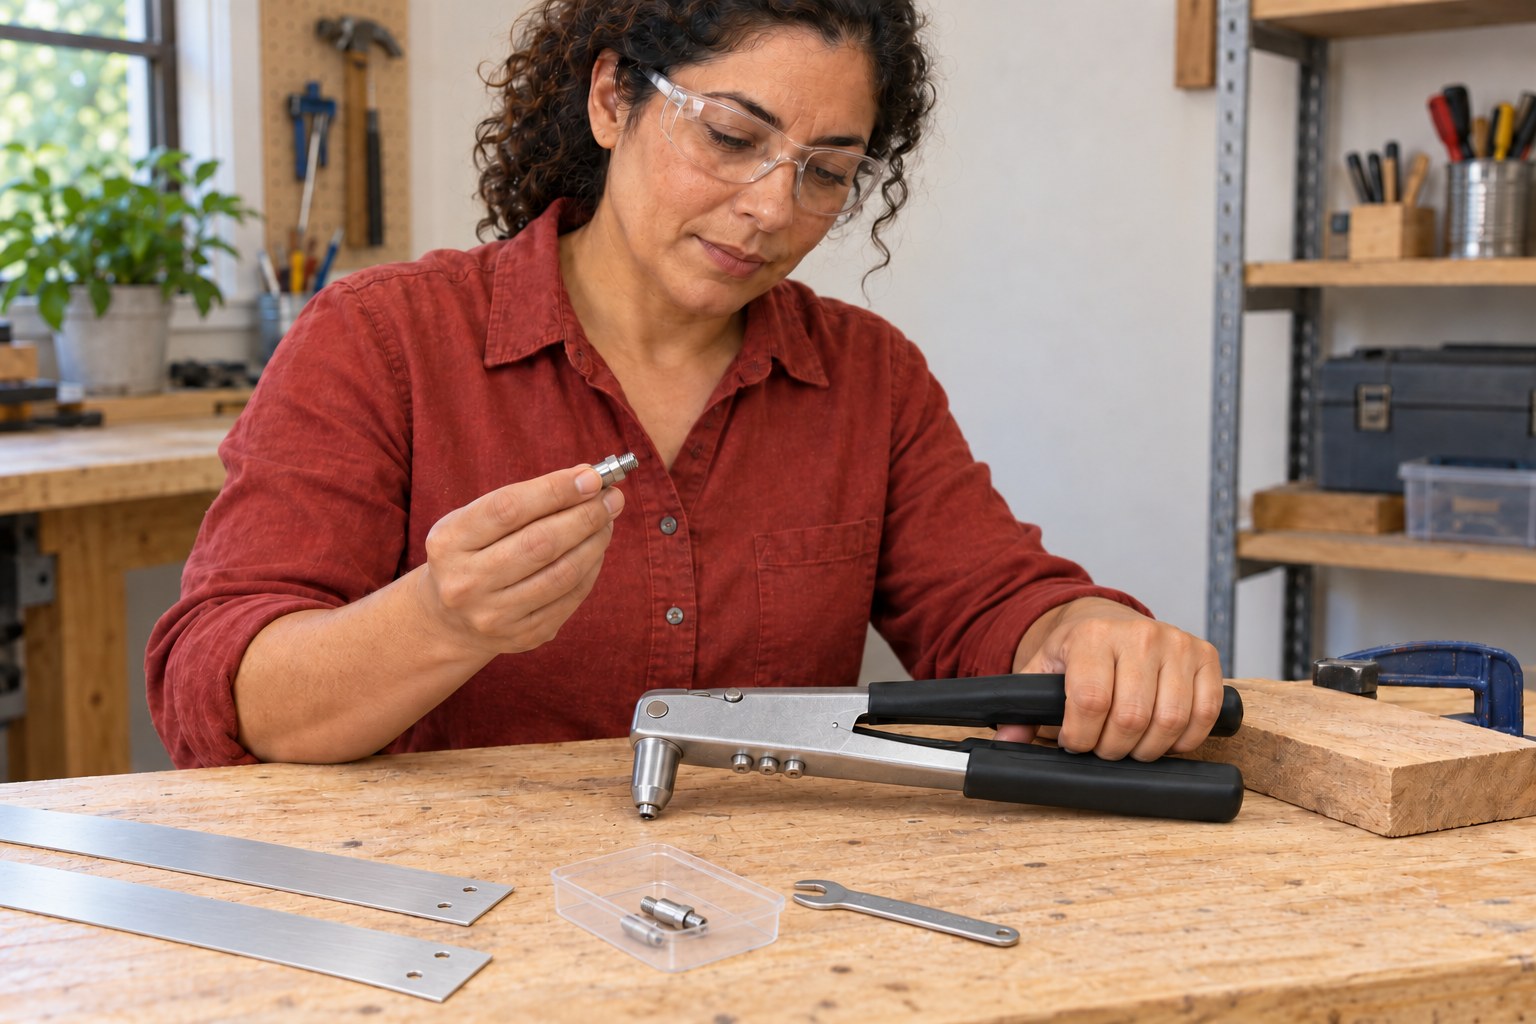
Check that the riveter is undamaged and use the nosepiece matching the selected rivet diameter. For the matched Arrow RH200 instructions, depress the handles before unscrewing a nosepiece with its wrench; an opened nose can spring out if this instruction is ignored. Keep the unloaded nose directed away from people. Refit the correct nose securely, then open the handles for loading. Do not dismantle the jaws to improvise a fit.
Photorealistic illustration · Waey
6. Load and seat the first rivet
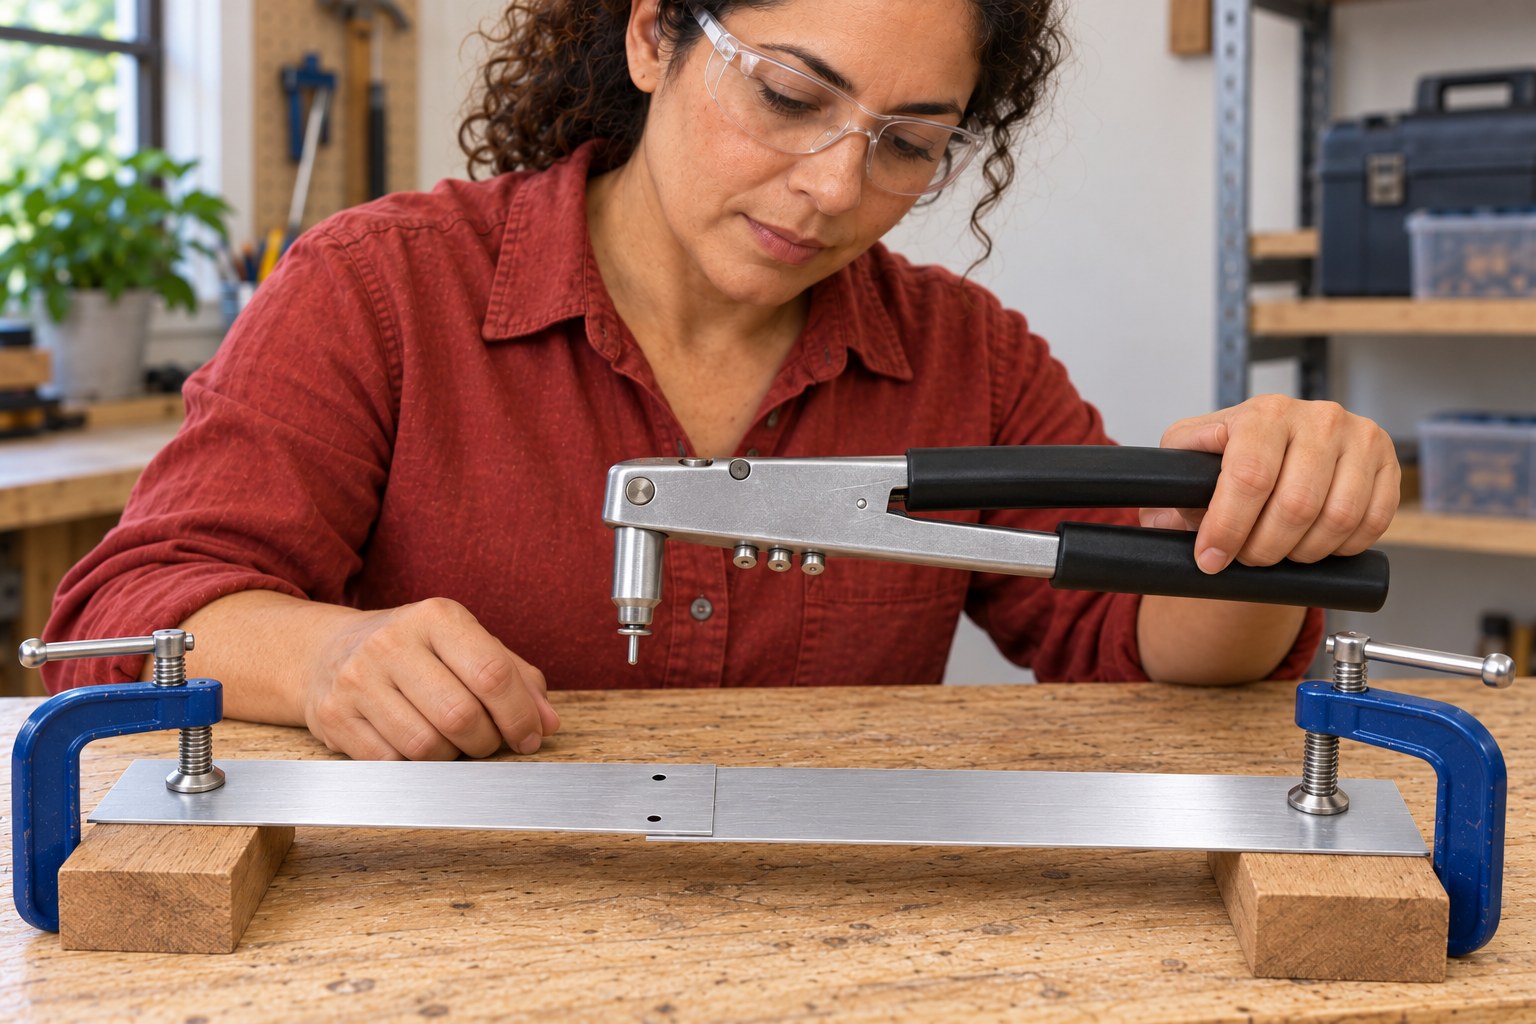
Slide the long mandrel into the open riveter until its nose meets the rivet flange. Put the rivet body through both prepared sheets and keep the flange flat against the near face. The tool nose must remain square and against the flange, while the clamped sheets stay together. If the body will not enter normally, remove it and check alignment and hole size; do not hammer the rivet into an unsuitable hole.
Photorealistic illustration · Waey
7. Set the rivets and collect the mandrels
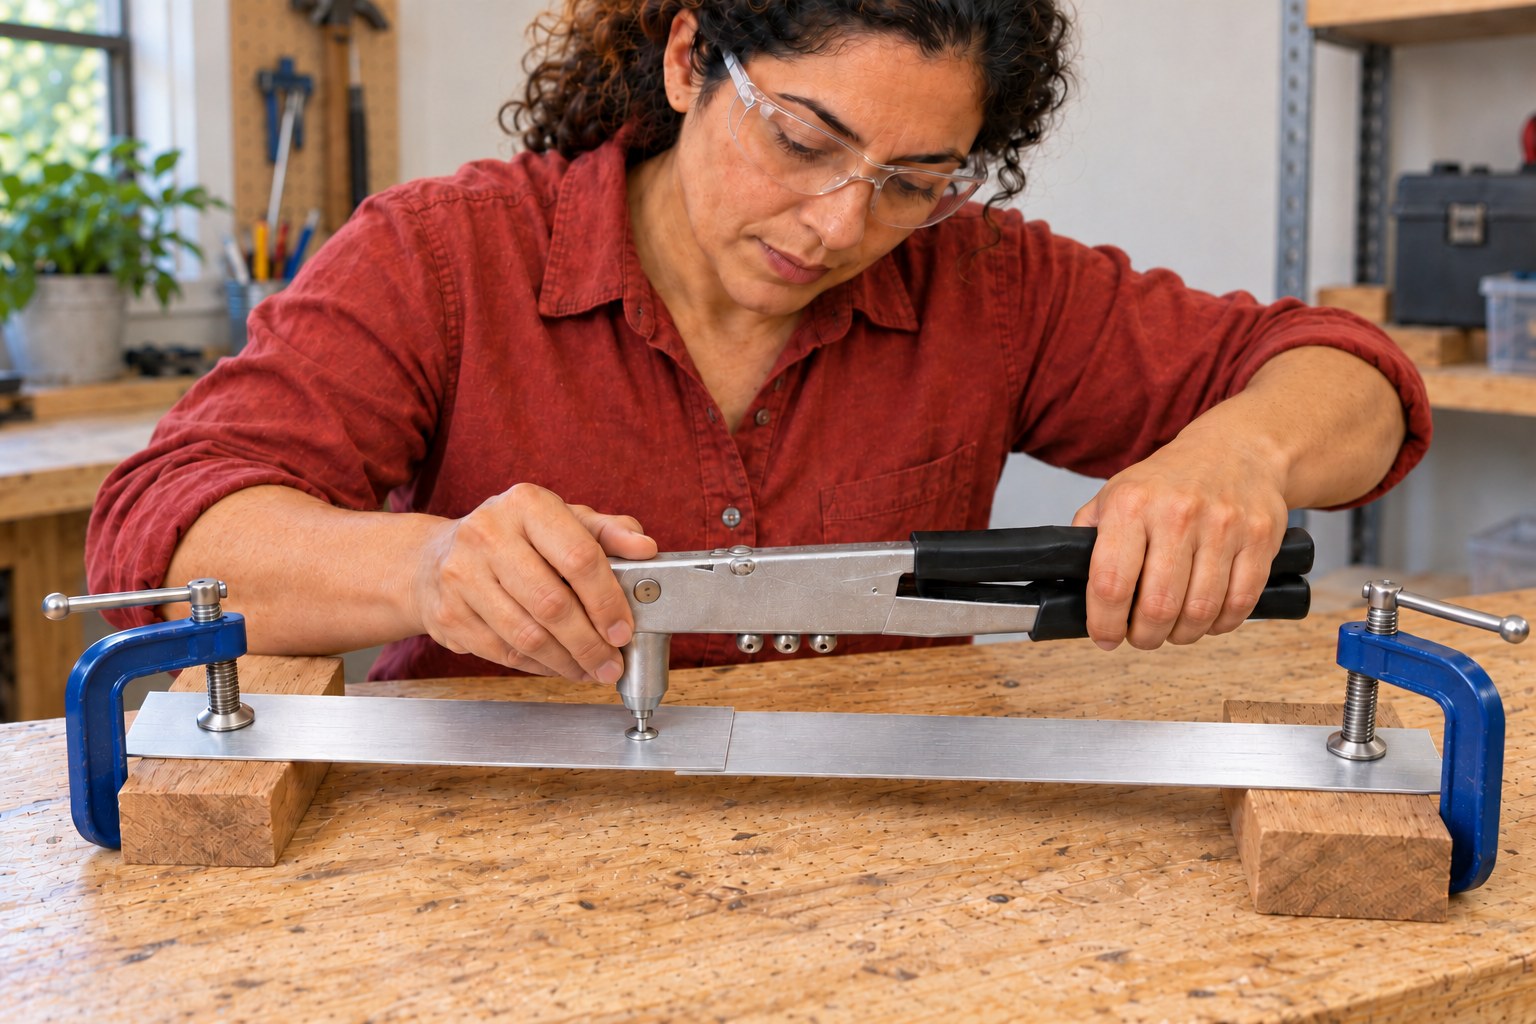
Squeeze the handles while maintaining straight pressure against the seated flange. Follow the tool’s normal stroke sequence until the mandrel breaks at its designed point; keep fingers clear of the closing handles and the tool directed away from anyone nearby. Release and eject the spent mandrel using the matched instructions into a container. Repeat at the second position without letting the sheets separate. Stop for a jam, excessive force or an unseated flange.
Photorealistic illustration · Waey
8. Inspect both sides and clean up
Remove the clamps and inspect the near flanges and formed blind heads on the back. Both sheets should be held together without visible gaps, spinning rivets, torn holes or loose movement under a gentle hand check. This check is not a load rating. Reject a faulty practice joint and correct the cause before remaking it. Collect sharp mandrels and swarf with a brush, then lock and store the empty tool as instructed.
Video demonstrations
Heavy Duty Rivet Tool
Arrow introduces the RH200S tool and its features. This is a product overview.
Arrow Fastener · English captions; narration not independently assessed
Watch on YouTube ↗How To Use A Riveter or Rivet Gun - Ace Hardware
Ace Hardware demonstrates setting a blind rivet with a Stanley hand tool. Follow the matched Arrow instructions for nosepieces, capacity and rivet sizing.
Ace Hardware · English captions; narration not independently assessed
Watch on YouTube ↗Final checks
Two seated flanges and two formed blind heads hold the clean stack without visible gaps, spinning or damaged holes. Spent mandrels and swarf are collected. A gentle inspection confirms workmanship only, not a rated load or suitability for a critical repair.
Where to find supplies
Use a removable bolted joint when future disassembly is required. Use the fastener maker’s specified backing washer and recalculate stack thickness for thin or soft materials; this example uses plain metal-to-metal overlap. A loose or damaged practice joint needs remaking after the cause is corrected.
Sources
Arrow — RH200S current manufacturer product ↗
Arrow-authored RH200 operation page rehosted by ManualsLib ↗
Albany County Fasteners original installation guide ↗
Original generated instruction illustrations created for Waey. Videos belong to their credited creators.