
Set up a UK P110 smart plug for one table lamp
Pair a matched Wi-Fi plug, test lamp control and commission a witnessed on-and-off routine.
What will you learn?
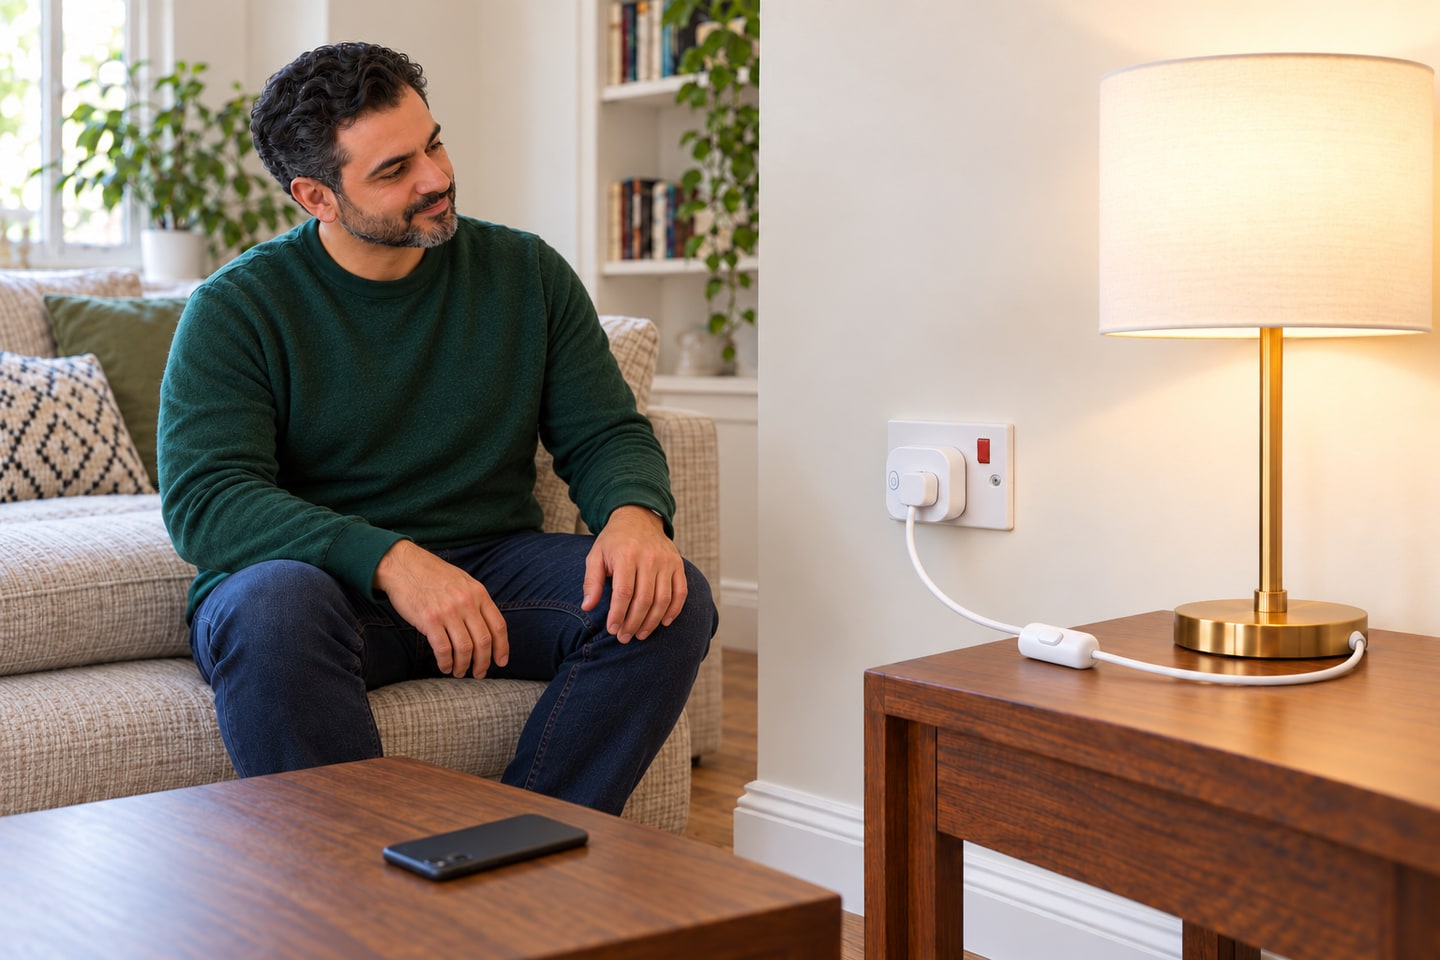
Install and commission a UK Tapo P110 V1.0 for one compatible mechanically switched table lamp. This includes the physical connection, initial pairing, manual control, timed testing and a usable routine. It does not change the lamp or wall wiring.
Tools
- Compatible smartphone
- Working 2.4GHz Wi-Fi and private account credentials
Materials
- UK Tapo P110 V1.0 with matching instructionsSearch Amazon UK ↗
- One intact compatible table lamp with a maintained mechanical switch
- Accessible intact UK indoor wall socket
Step by step
Photorealistic illustration · Waey
1. Choose a compatible plug and lamp
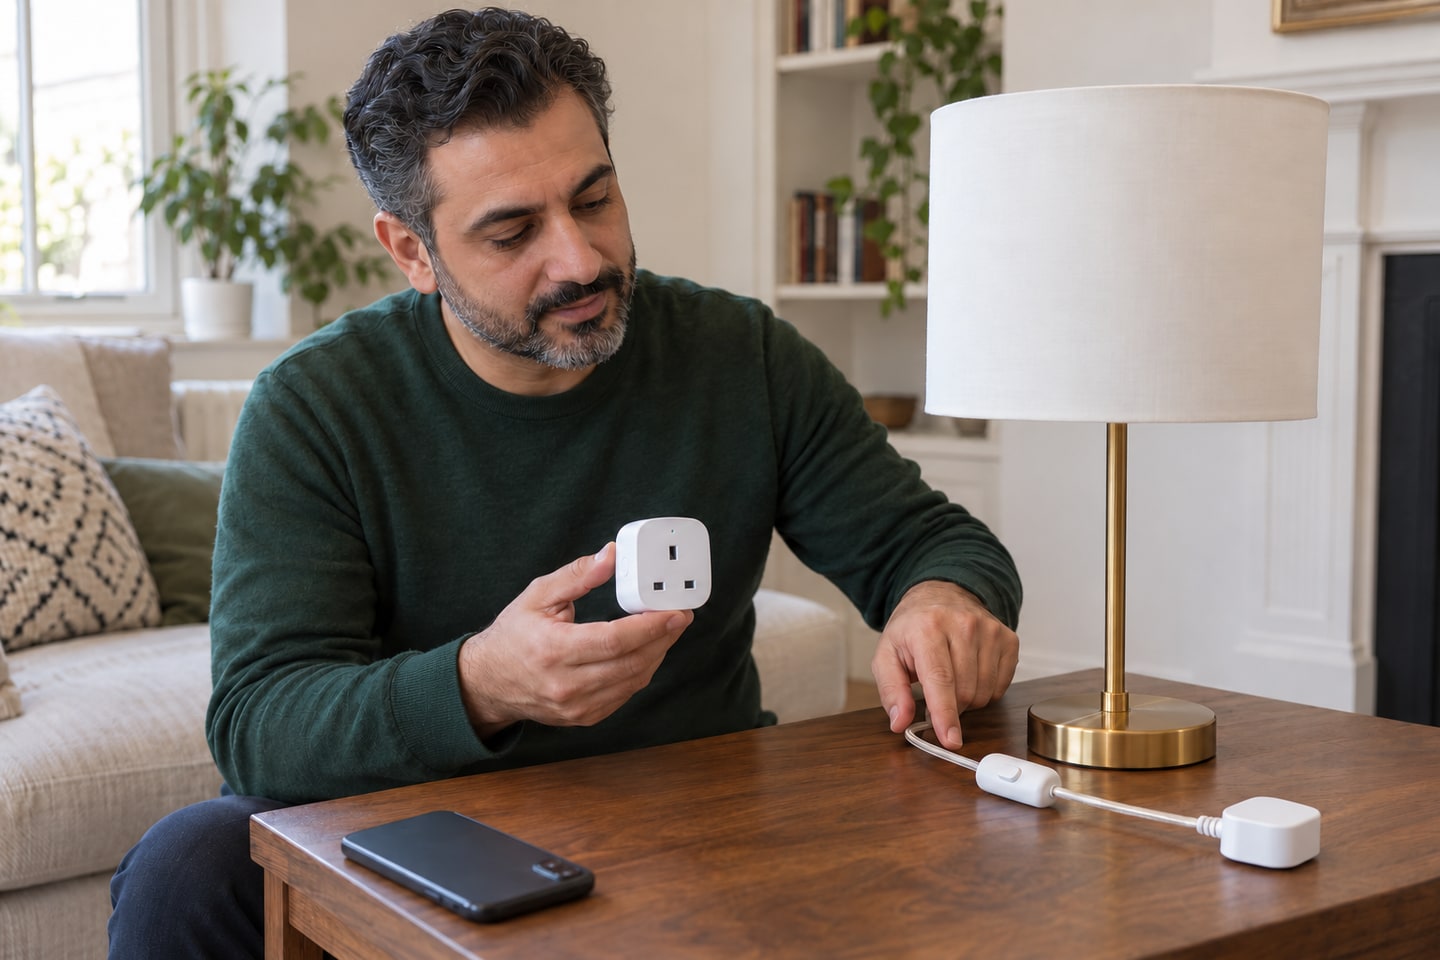
Check the actual label says Tapo P110, UK version, and note its hardware version before using the matching UK support page. This example targets V1.0 and one table lamp with a maintained mechanical on/off switch. Confirm the lamp is suitable for supply switching and within the maker’s load-type limits; the UK V1.0 table gives a desk-lamp limit of 80 W/0.75 A, much lower than the general 13 A label. Do not attach several loads through an adaptor.
Photorealistic illustration · Waey
2. Prepare the account and network
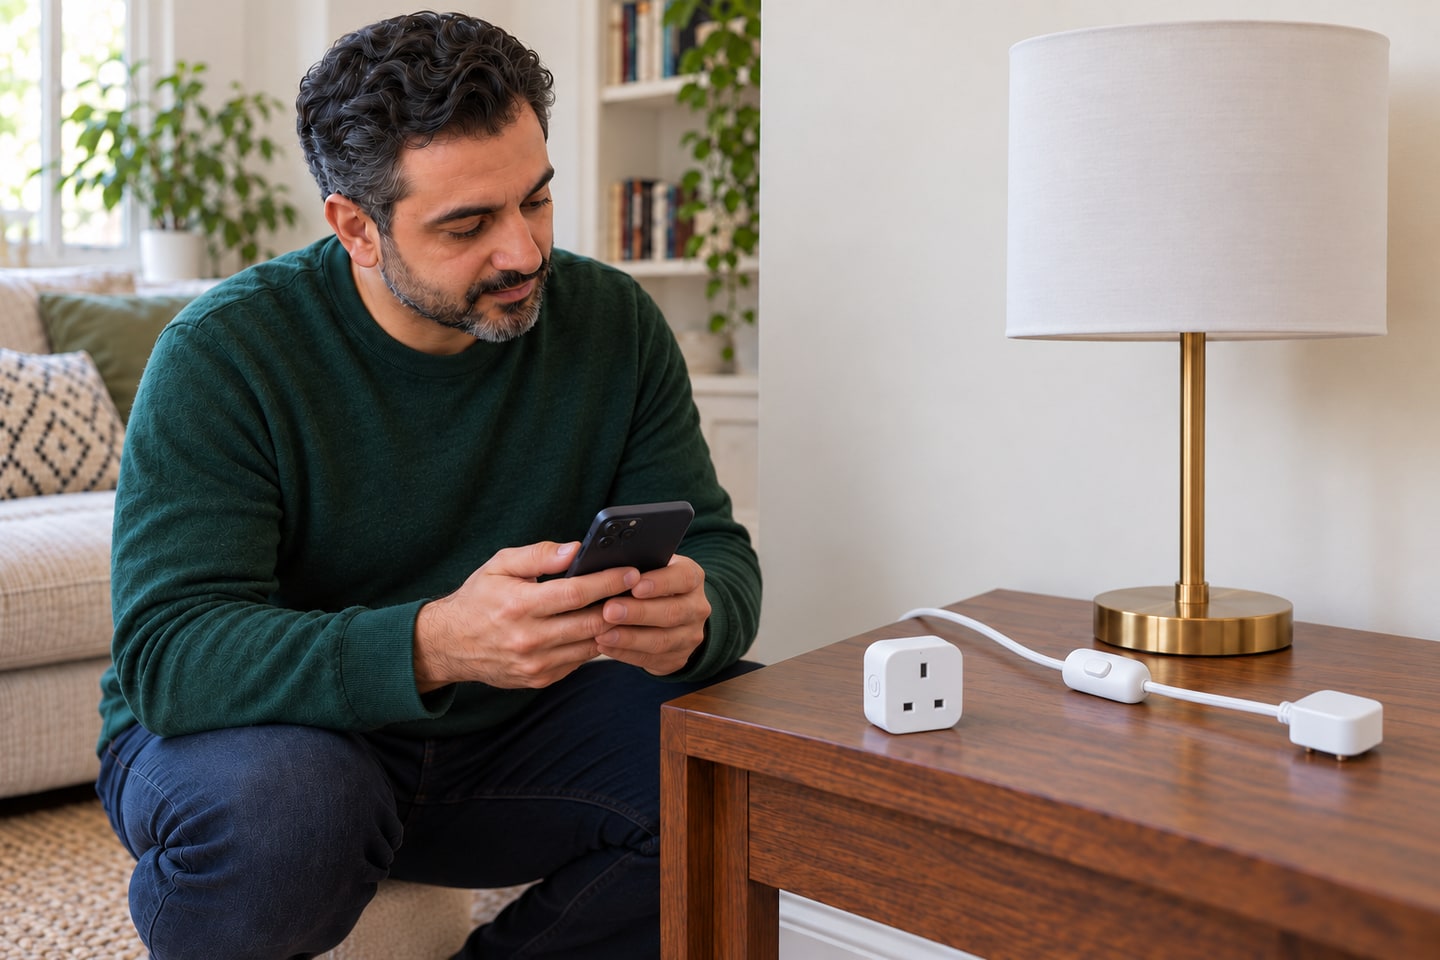
Install the genuine Tapo app from the phone’s official app store and sign in with your own TP-Link ID. Have access to a working 2.4 GHz home Wi-Fi network and its password. Keep credentials private and use only the setup permissions explained by the app. Put the phone near the intended outlet. This installation needs no separate Tapo sensor hub; the P110 connects to Wi-Fi. Match the app’s chosen model exactly rather than selecting a similar-looking plug.
Photorealistic illustration · Waey
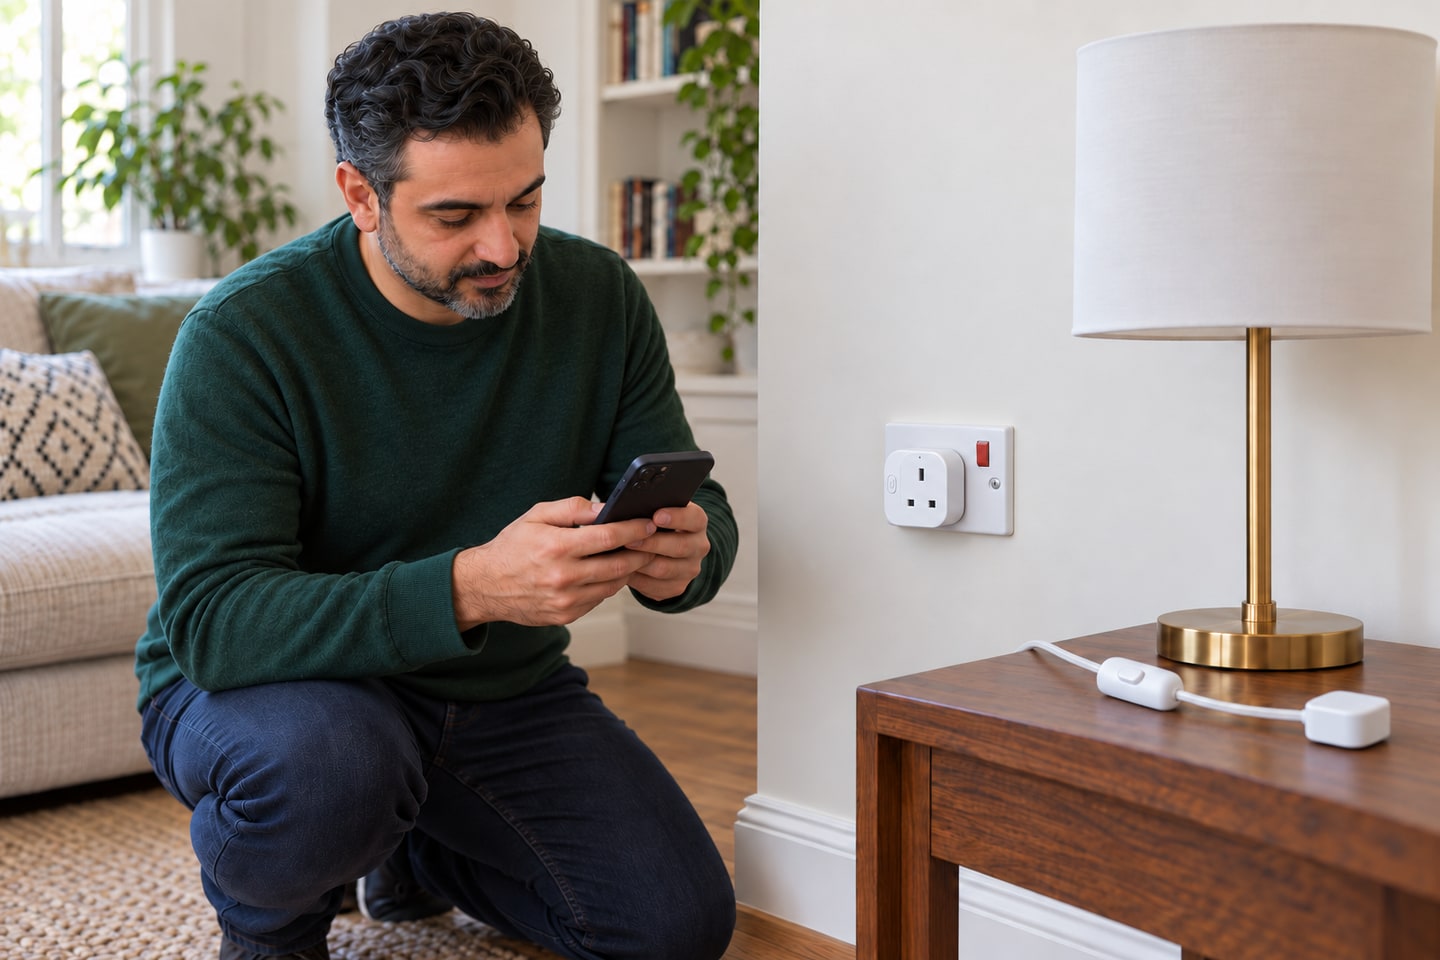
3. Inspect the location and add the empty plug
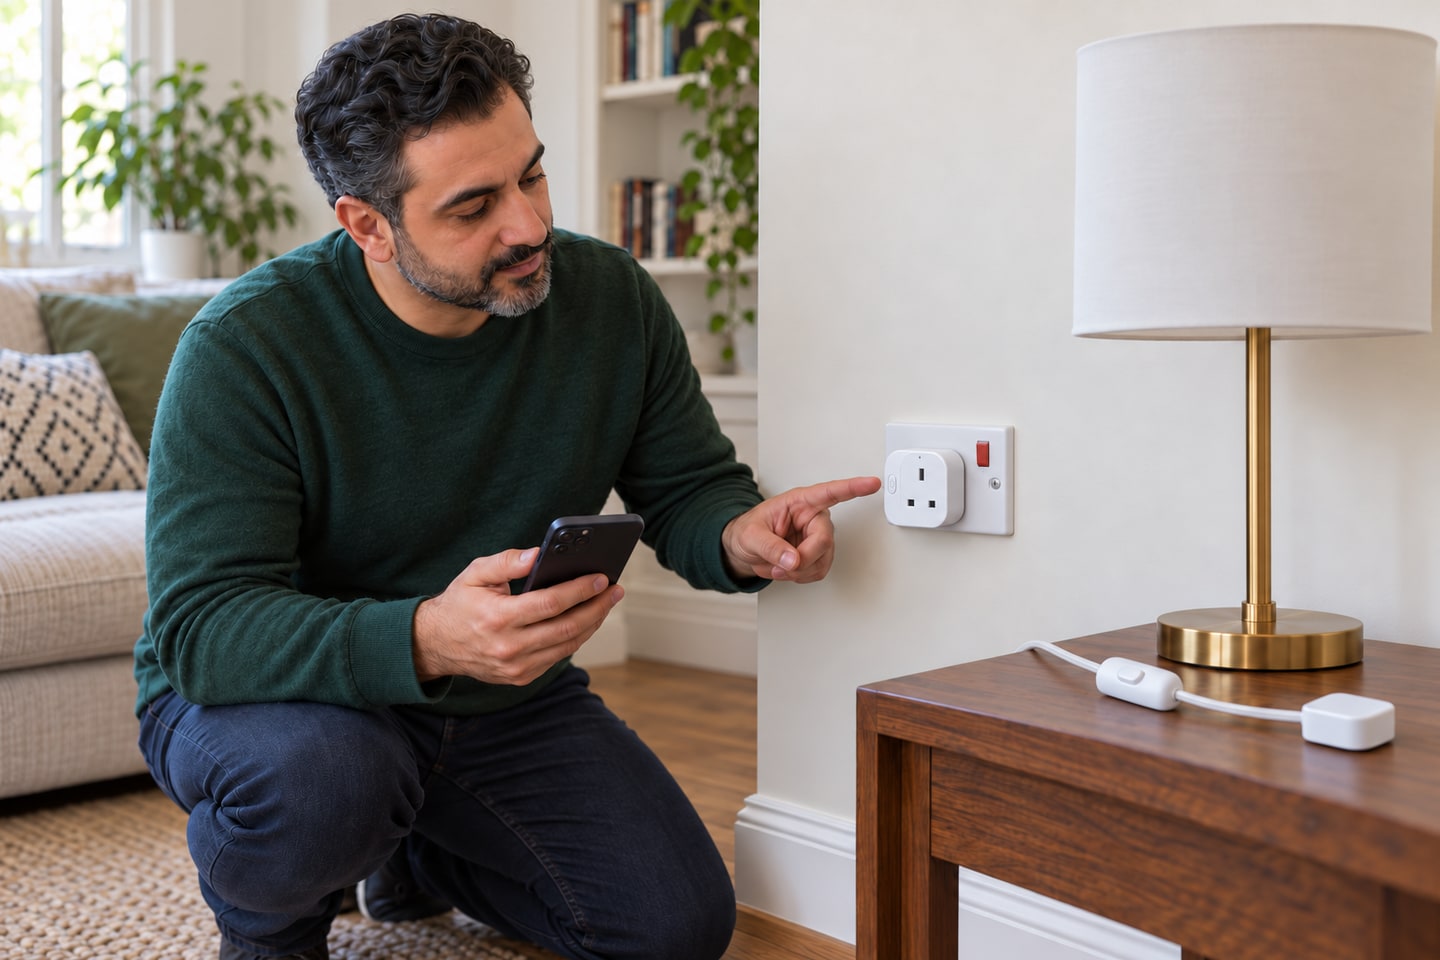
Choose an accessible indoor wall socket in a dry room, away from curtains, heat and water. Stop if the socket, smart plug or lamp cord is damaged, discoloured or loose. Leave the lamp disconnected initially. With dry hands and the wall socket switched off where provided, insert the smart plug fully, then turn the wall supply on. Keep it accessible for removal. In the app choose Add Device, Tapo, Plugs and the P110, and check the indicated setup state.
Photorealistic illustration · Waey
4. Pair, name and update the correct device
Follow the device-specific pairing flow shown by the app: hardware may use Bluetooth discovery or a temporary Tapo Wi-Fi network. Do not guess a reset sequence if the status differs; use the matching instructions. Join your 2.4 GHz home network, then give the plug a clear room-and-lamp name. Confirm the correct device responds before proceeding. Check for its offered firmware update and keep power stable while it installs; allow it to return online before connecting the lamp.
Photorealistic illustration · Waey
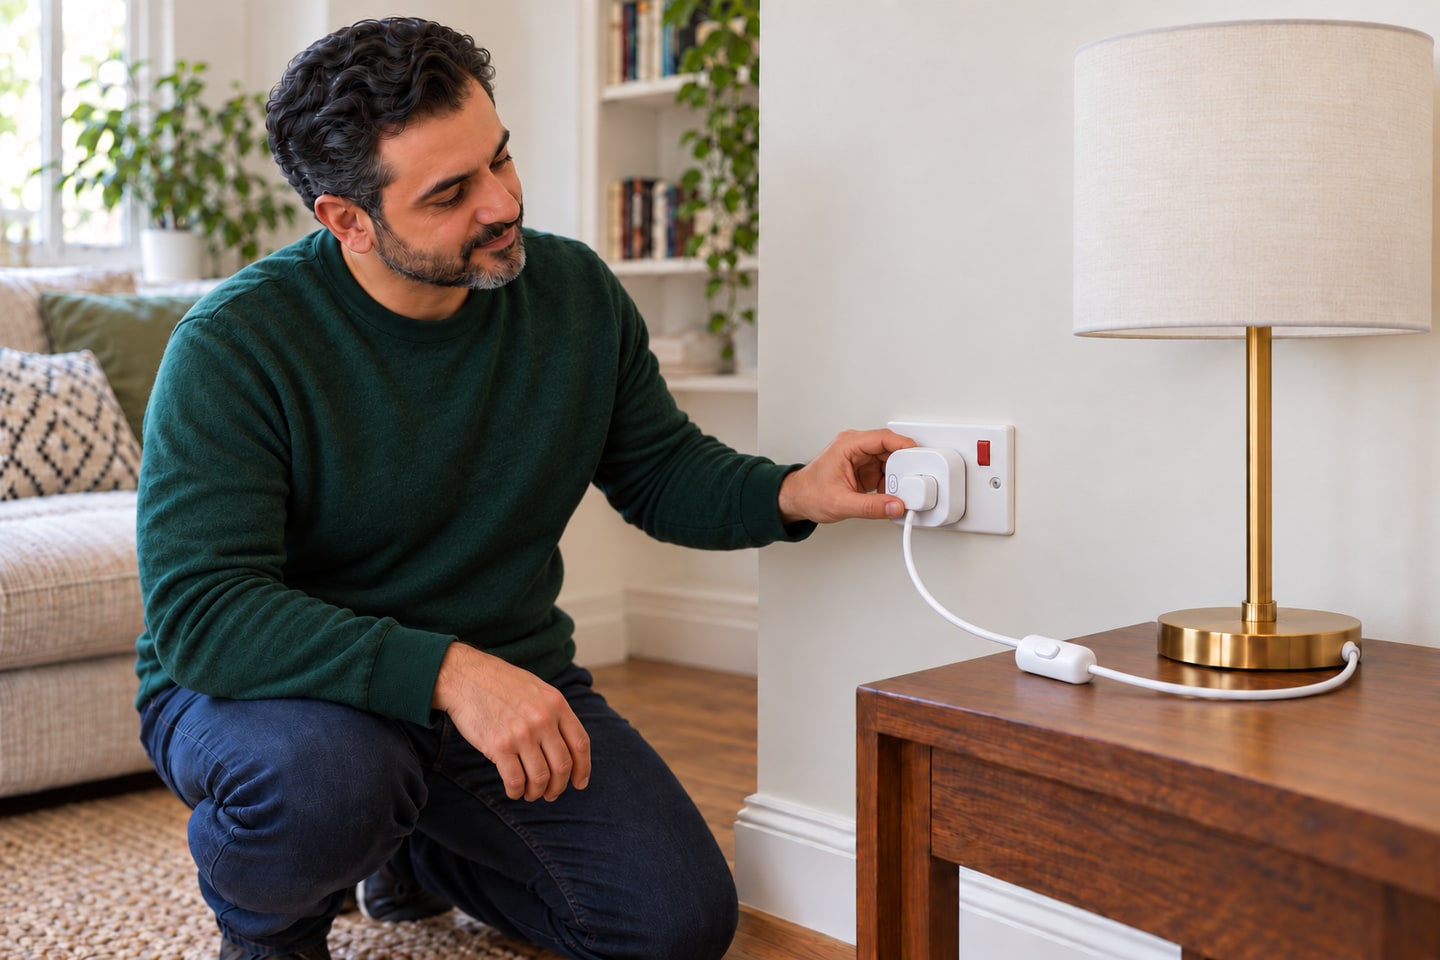
5. Connect one lamp and verify physical control
Set the output off, then switch the wall socket off; if it has no switch, unplug the smart plug before attaching the lamp. Connect only the inspected compatible lamp, restore wall power and put the lamp’s own maintained switch on. Use a short press of the smart plug’s power button to check that it turns the lamp on and off normally. Do not hold the button, which can start reset procedures. A lamp requiring a fresh electronic button press after every power loss may be unsuitable.
Photorealistic illustration · Waey
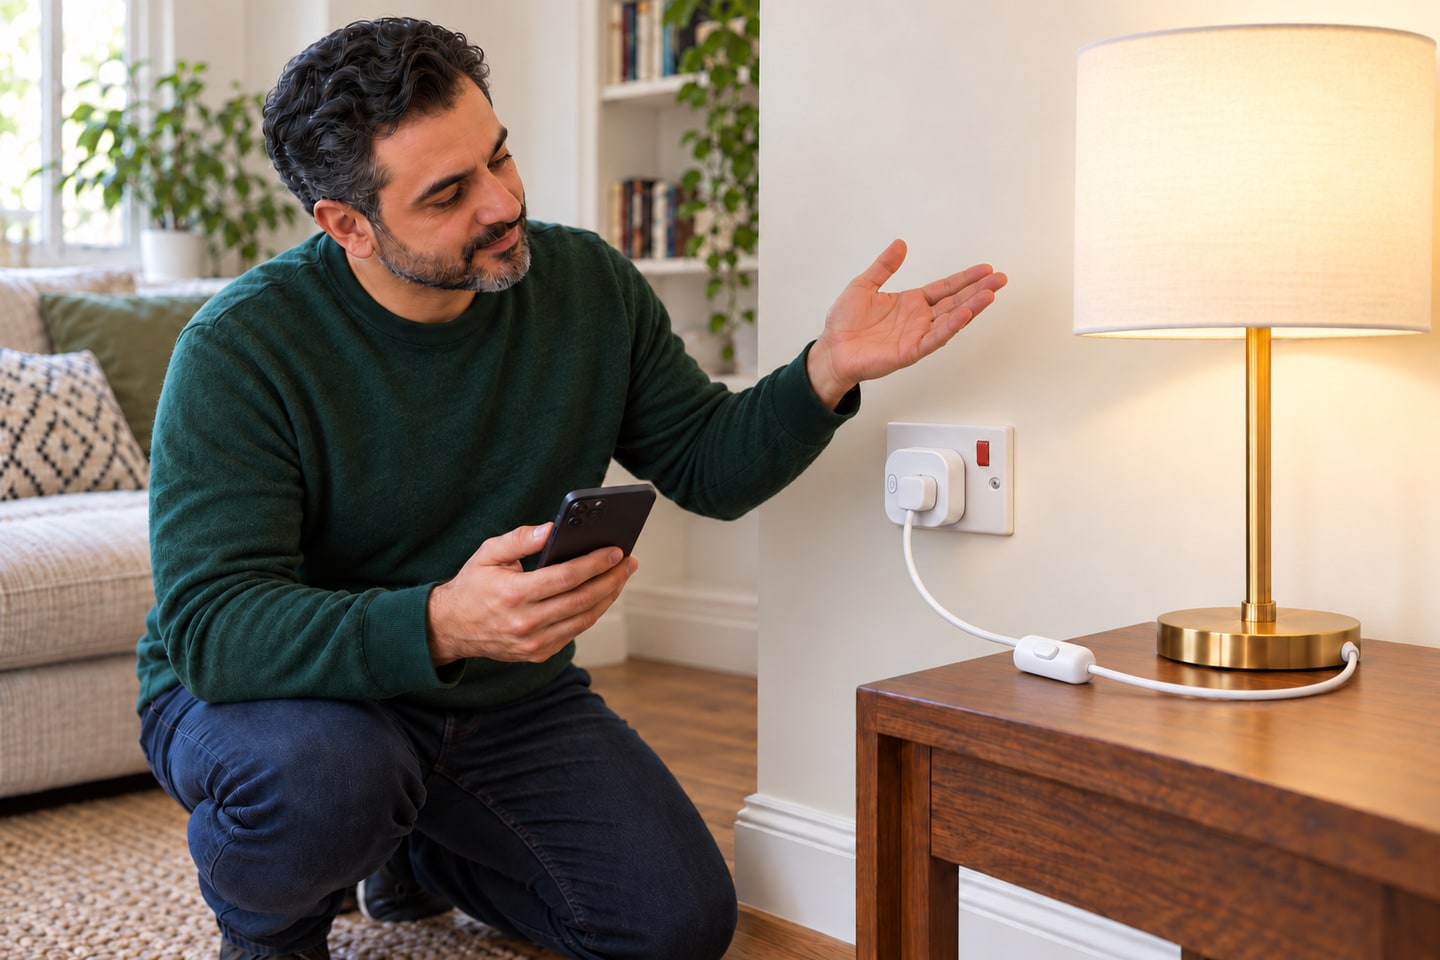
6. Check app control and the time settings
With the lamp in view, turn the named plug on and off in the Tapo app and verify the physical lamp follows each command. Leave the lamp’s own switch on for smart control and keep its cable clear of walking routes. Confirm the device’s local time zone before scheduling, following the current settings offered for that firmware. If it goes offline or the wrong lamp responds, fix identification or connectivity first. A relay click or app icon alone is not a completed check.
Photorealistic illustration · Waey
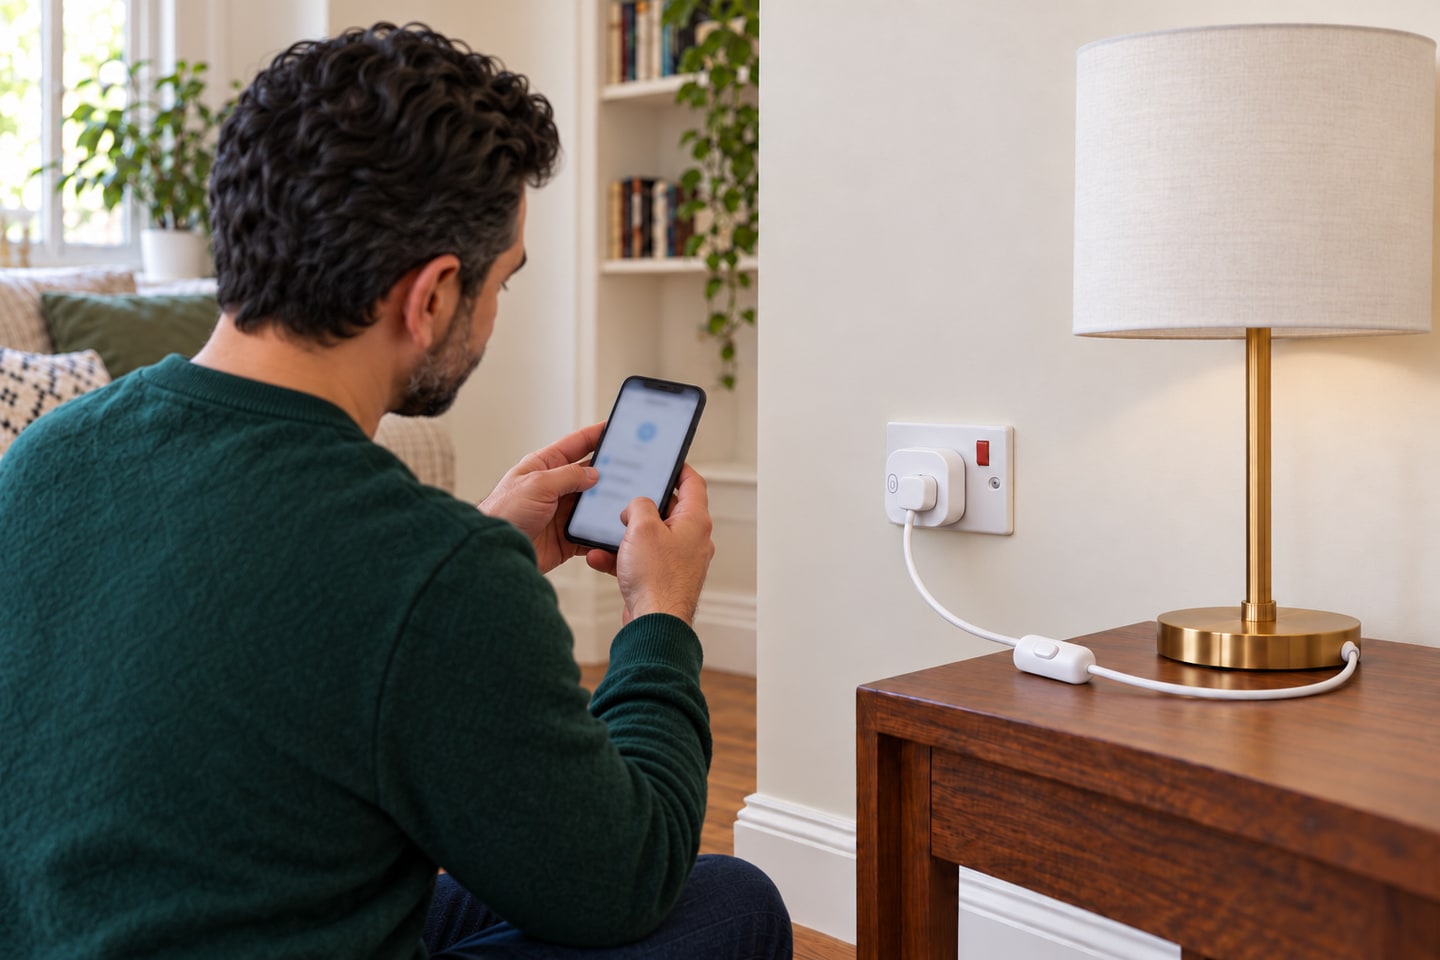
7. Create and witness an on-and-off test
On this plug’s device page, open Schedule and add a custom-time On event a few minutes ahead, plus a separate later Off event. Check today’s selected repeat day and local time, save and enable both. Disable conflicting Away, Timer or other automations during the trial. Leave the app and watch the lamp through both events. If either fails, check power, clock, schedule enablement and connection before assuming the installation works; do not leave a failed test as a working routine.
Photorealistic illustration · Waey
8. Replace the test with a usable routine
Delete or disable both temporary events, then save your chosen recurring On and Off times and review their repeat days. Keep manual off control and the wall socket accessible. After a supply interruption, confirm the device is online and its time and routine are correct before relying on them again. Tell household members that the lamp can switch automatically. For lamp servicing or bulb replacement, physically unplug the lamp: smart Off is functional switching, not electrical isolation. Do not use this routine for safety-critical lighting.
Video demonstrations
How to Set Up Your Mini Smart Wi-Fi Plug: Tapo P110
TP-Link shows P110 discovery and setup in Tapo. App menus and regional hardware may differ; Alexa integration is optional.
TP-Link Global Support · English metadata/captions; full narration not assessed
Watch on YouTube ↗How To Use (Set Up) Schedule On Tapo Smart Plug
WebPro Education shows Tapo On/Off scheduling on a P100. Use it for the app controls, with the matched P110 instructions governing your plug and lamp.
WebPro Education · English metadata/captions; full narration not assessed
Watch on YouTube ↗Final checks
The right lamp follows both physical and app commands and both timed test events. Temporary events are removed and the final repeat days checked. No electrical casing was opened; the lamp remains physically unplugged whenever serviced.
Where to find supplies
Use manual lamp control if the load or network is unsuitable.
Software & apps
Tapo; labels vary by app, hardware and firmware version.
Sources
TP-Link — P110 UK V1 support and matching documentation ↗
TP-Link — Supported load types for UK plug, P110 UK1.0 ↗
TP-Link — Current Tapo smart plug setup ↗
TP-Link — Schedule, Away Mode and Timer ↗
TP-Link — P110 regional user guide with UK appearance and isolation cautions ↗
Original AI-generated illustrations, not photos of a tested P110 installation or exact product/socket templates. The same man, sweater, room, lamp and components are maintained; the lamp base can rotate as the cable is arranged. App screens are intentionally unreadable and do not prove pairing, settings or schedule success. Actual labels, manufacturer instructions and witnessed lamp response govern. The connection photo shows an already seated insulated plug rather than exposed-pin insertion. Manufacturer manuals/screenshots were private technical references, never generation inputs or article images. Videos remain with credited creators.