
Assemble a LAUTERS floor lamp and fit a matched LED
Build the tripod, form the shade with a helper, route the cable and commission a correctly matched LED lamp.
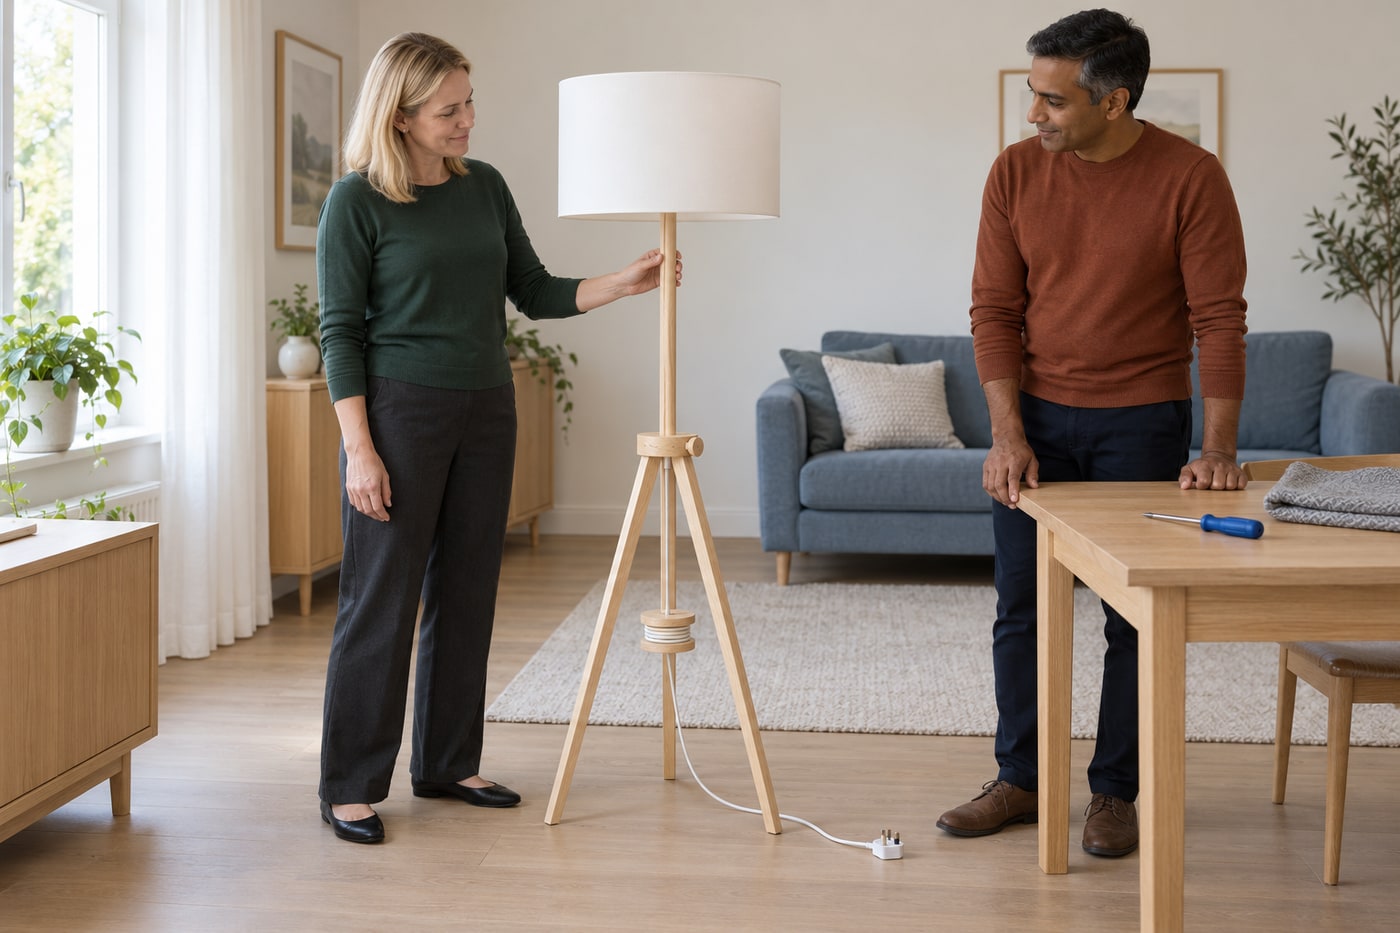
What will you learn?
Build the tripod, form the shade with a helper, route the cable and commission a correctly matched LED lamp.
Tools
- Phillips screwdriver matched to supplied screw headsSearch Amazon Ireland ↗
- Clean protective cloth for the assembly tableSearch Amazon Ireland ↗
Materials
- IKEA LAUTERS404.050.46 complete kit with original prewired assembly and supplied fastenersView at IKEA Ireland (LAUTERS 404.050.46) ↗Search Amazon Ireland ↗
- Compatible E27 opal LED: actual voltage, wattage and clearance matched to lamp labelSearch Amazon Ireland ↗
Step by step
Photorealistic illustration · Waey
1. Check the exact kit and prepare two-person assembly
Confirm the article number and use the instructions supplied with that lamp; this project follows LAUTERS404.050.46 and drawing AA-2117133-4. Compare every supplied part with the inventory before starting on a clean, protected table. Arrange a second adult for the shade assembly shown in the manual. Keep the plug disconnected throughout construction. Inspect the prewired holder, cable and plug without opening them. Stop for damage or missing parts: damaged cable replacement belongs to IKEA, its service agent or a similarly qualified person.
Photorealistic illustration · Waey
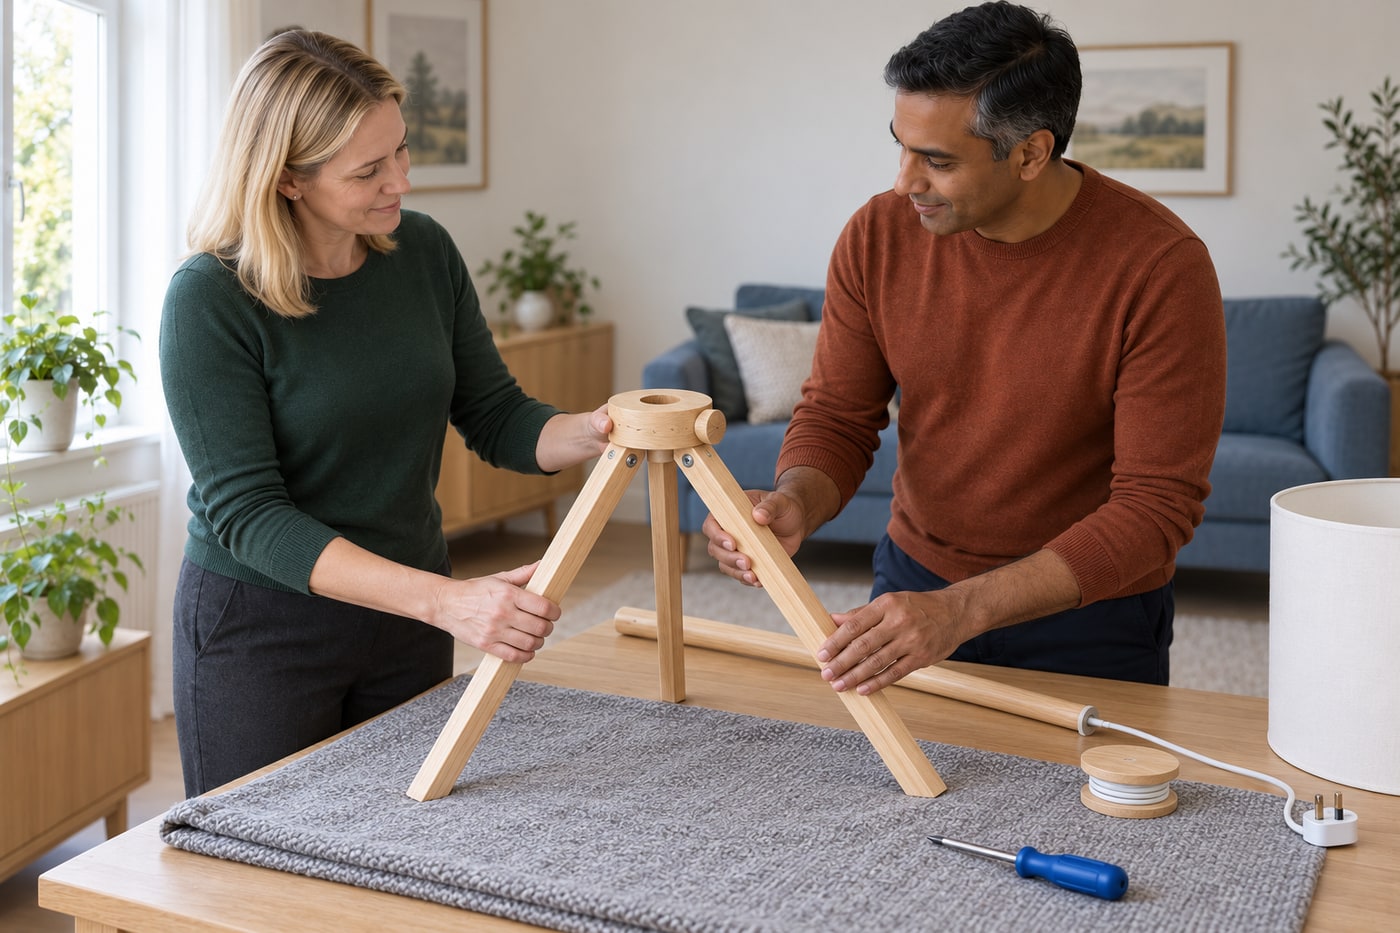
2. Locate and secure the three legs
Identify the upper wooden hub and its cord-routing notch before fitting the legs. Follow the orientation pictured in step 1: each locating feature must engage its matching position rather than being forced against the hub. Support the parts on the protected surface and fit the three supplied leg screws with a correctly fitting Phillips screwdriver. Bring each joint together evenly, then check that all three legs sit securely. Do not substitute longer screws, drill extra holes or tighten so hard that the wood splits.
Photorealistic illustration · Waey
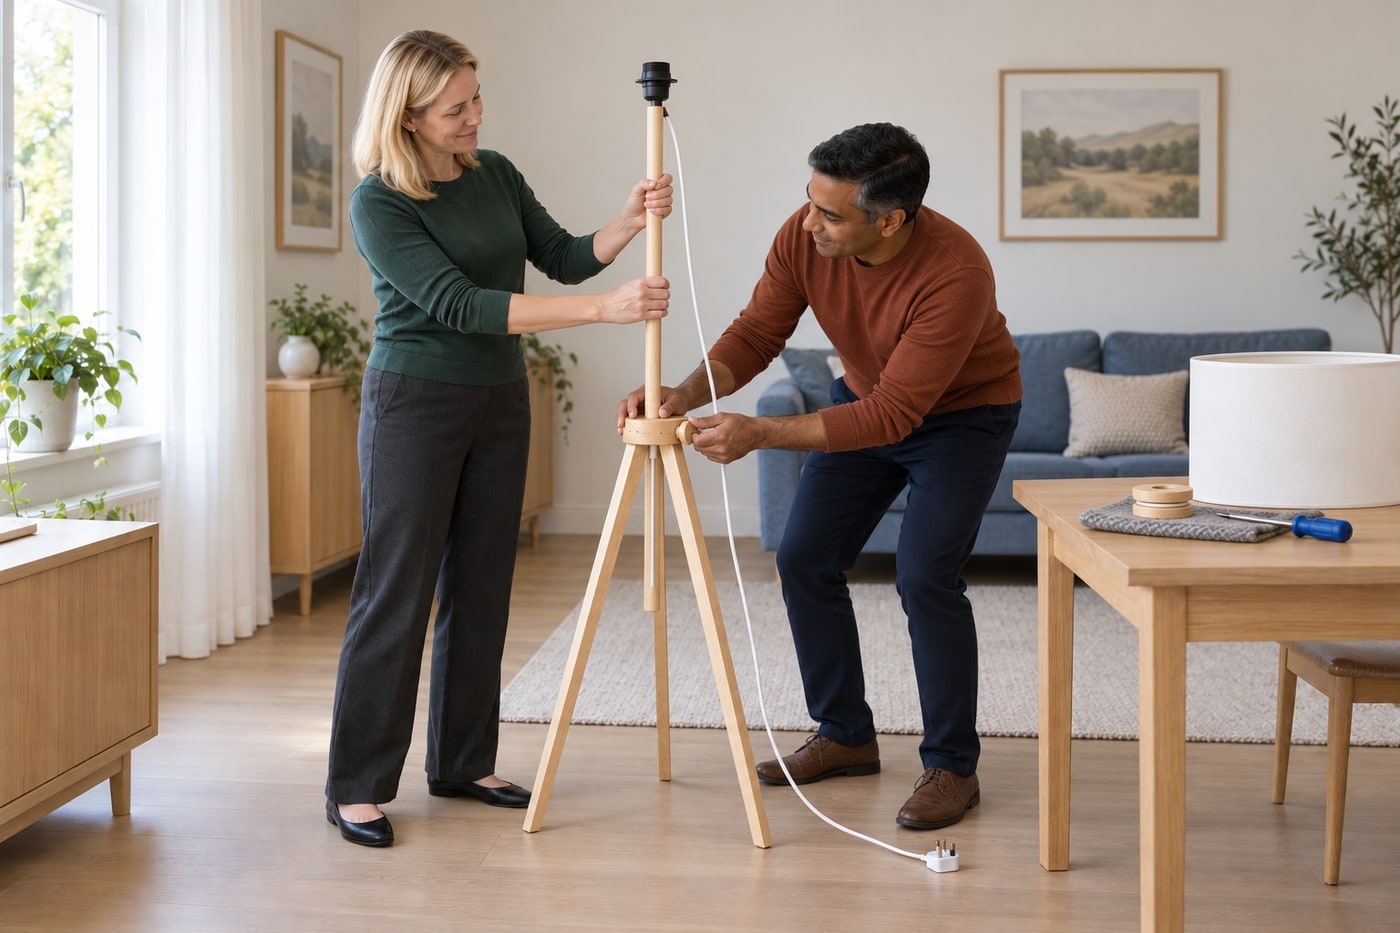
3. Fit the prewired stem and cord spool
Loosen the hub's side clamp enough to pass the prewired stem through the central opening in the direction shown. Support the stem, keep the cable clear and retighten the clamp. Install the small stop pin and the lower two-disc cord spool in the manual's sequence, using their supplied fasteners. Match the spool notch to the upper routing notch. These parts position and manage the existing assembly; they are not electrical terminals. Never pull the stem into place by its cable or dismantle the lamp holder.
Photorealistic illustration · Waey
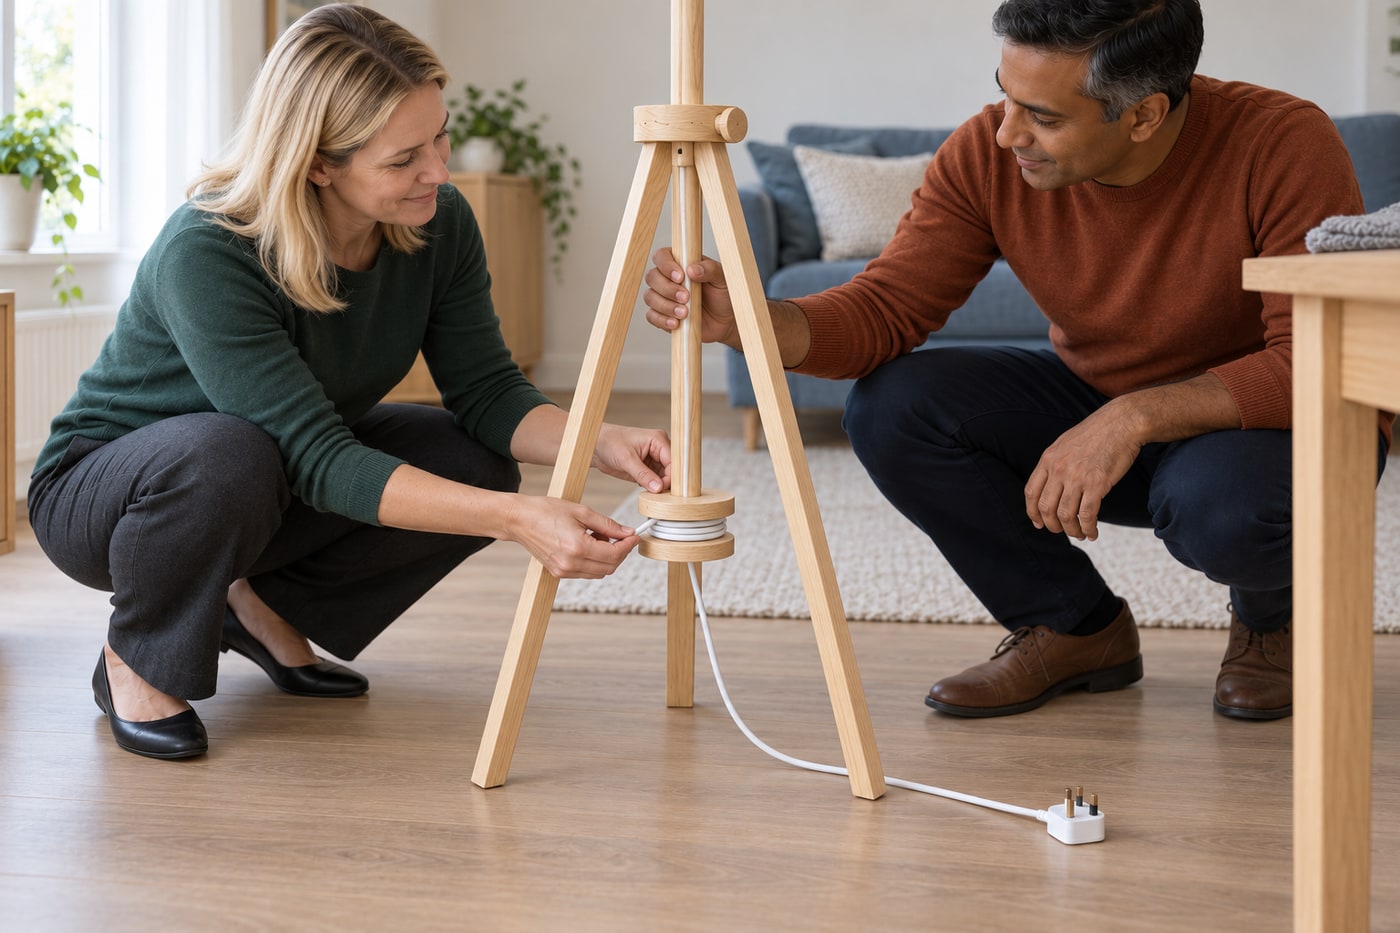
4. Route the cable and establish a stable height
Guide excess cable around the lower spool as pictured, leaving the outgoing length through the intended notch. Use loose, natural bends: cable must not lie beneath a leg, cross a clamping surface or pull against the holder. With the lamp upright on a level floor, support the stem before loosening the height clamp, adjust within the model's designed range and secure it again. Check all feet contact the floor and the stem stays put. Leave the plug disconnected while completing the shade and bulb installation.
Photorealistic illustration · Waey
5. Roll the shade onto its two rings
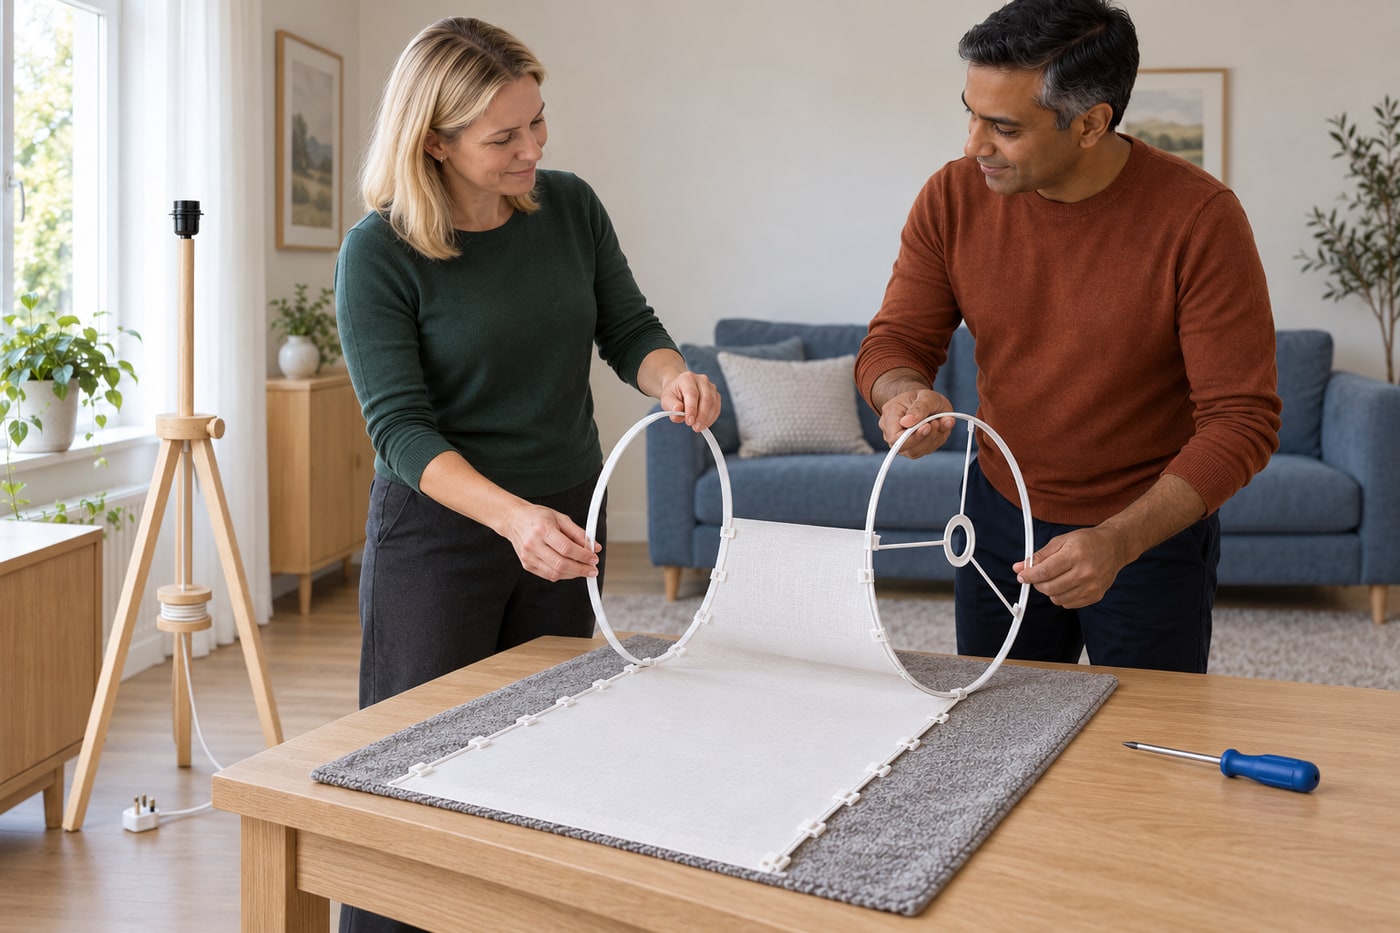
Lay the shade sheet on the protected table with its clips facing the rings, following the manual's edge and spoke-ring orientation. One adult supports each ring while the other helps roll the sheet progressively around them. Engage each clip in sequence along both edges; do not stretch the fabric to compensate for a missed clip or reverse the socket-mounting ring. Bring the seam together as shown and check the cylinder is even. If it twists or a ring escapes, lay it back down and correct the seating.
Photorealistic illustration · Waey
6. Secure the shade and choose the actual LED rating
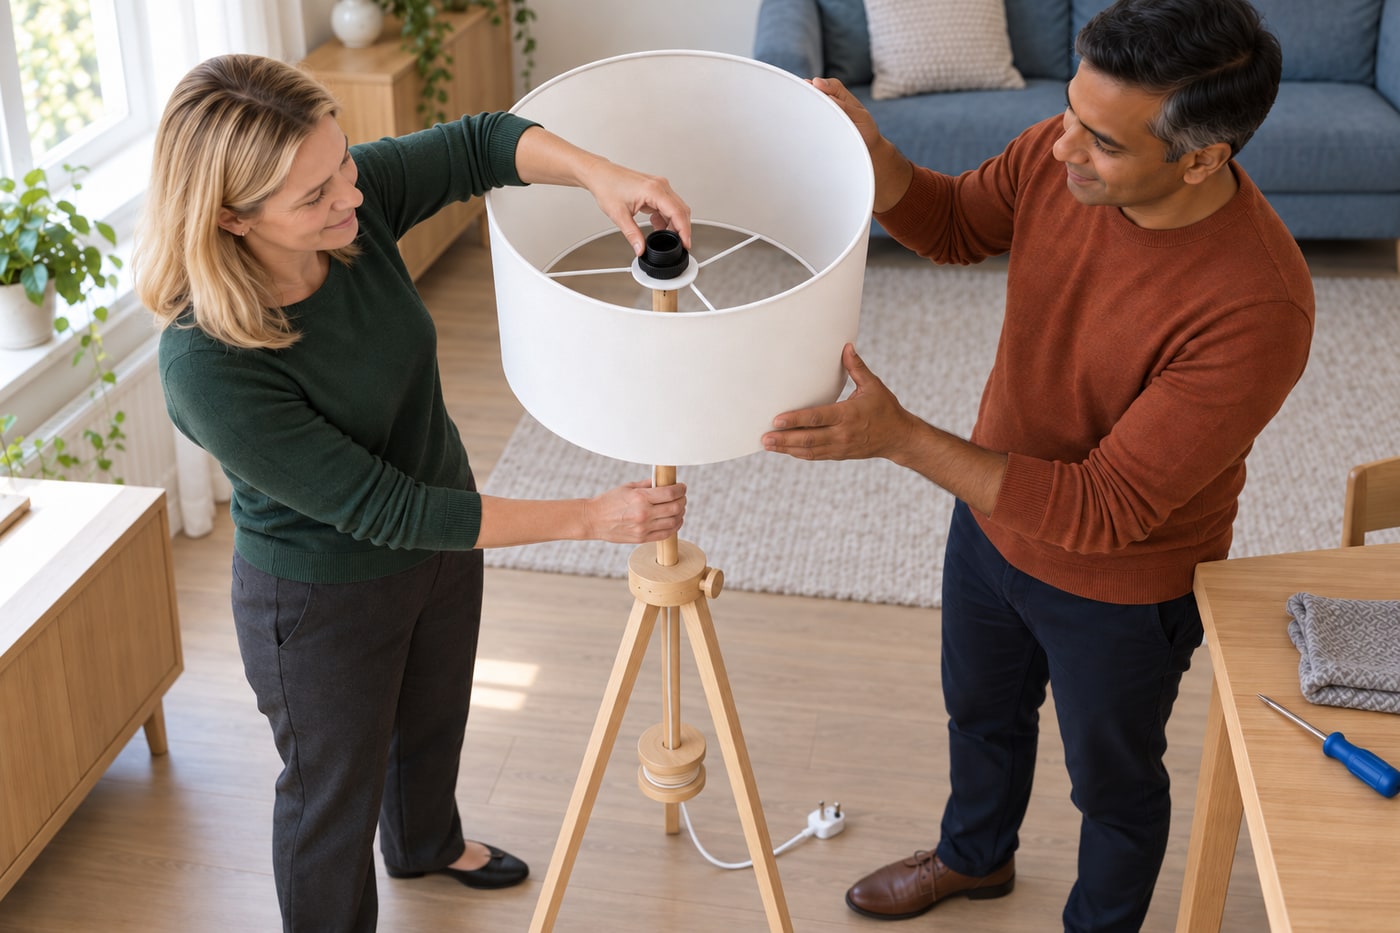
With the plug still disconnected, unscrew the shade-retaining ring from the holder's external thread. Lower the assembled shade onto its support, then replace the ring so the shade is held securely without crushing its mounting ring. Match the actual lamp label, bulb base, supply voltage and available clearance before fitting a bulb. This model's published maximum is 13 W and IKEA recommends an E27 opal globe. The Saudi SOLHETTA005.914.89 example is 2.9 W,470 lumens,2700 K and 60 mm across; confirm its actual package rather than using equivalent incandescent watts.
Photorealistic illustration · Waey
7. Install the bulb and check the complete assembly
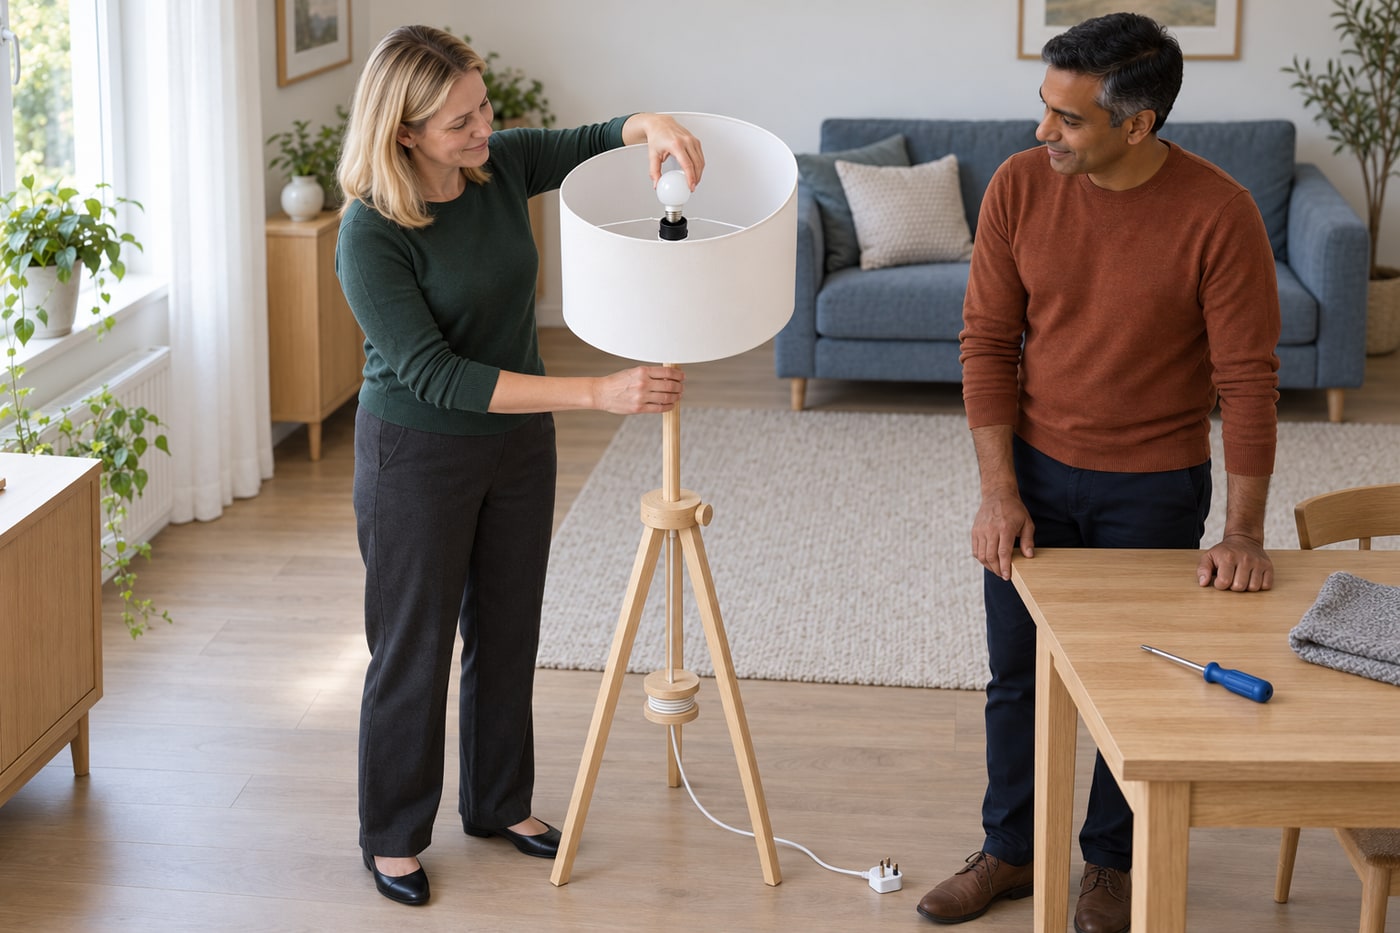
Handle the cool bulb by its housing and start its E27 thread straight, turning gently until seated without forcing it. Keep fingers away from the holder's internal contacts. Confirm the globe clears the shade, all shade clips remain engaged and the retaining ring is secure. The example SOLHETTA bulb is not dimmable, so use ordinary on/off operation without an added dimmer. Recheck the height clamp and cable route after moving the lamp to its final position, with the tripod outside a walkway and away from materials that could cover the shade.
Photorealistic illustration · Waey
8. Commission the lamp and record the matched parts
Only after the mechanical checks, connect the intact original plug directly to a sound, correctly matched outlet and operate the lamp's supplied control. Check that light is steady and the lamp remains stable;470 lumens describes the bulb's published output, not measured illumination at your chair. Stop, switch off and disconnect safely for flickering, unusual smell, crackling or visible overheating; seek appropriate service rather than opening the holder. Record the lamp and bulb article numbers for replacement. Before later cleaning, adjustment or bulb changes, disconnect the plug and let the lamp cool.
Video demonstrations
IKEA LAUTERS Lamp Assembly
Original LAUTERS assembly demonstrations. Regional plug, bulb and kit versions may differ; follow the selected written manual, including two-person shade assembly. Metadata, descriptions and playability checked; no full audiovisual review claimed.
Cliff's How To Channel · English
Watch on YouTube ↗LAUTERS floor lamp from IKEA assembly
Original LAUTERS assembly demonstrations. Regional plug, bulb and kit versions may differ; follow the selected written manual, including two-person shade assembly. Metadata, descriptions and playability checked; no full audiovisual review claimed.
Armadillozz · Not verified; assembly demonstration
Watch on YouTube ↗Final checks
All three legs and stem secure; shade clips and ring seated; cable unpinched; actual LED within lamp limit and clear of shade; original plug and supplied control intact; stable light and no warning signs.
Where to find supplies
Sources
IKEA Saudi Arabia: LAUTERS404.050.46 ↗
Seven original AI-generated photographic illustrations across eight steps; the assembled-lamp image is reused for final-check context. Images do not prove a physical installation, electrical compatibility, measured dimensions or light output. Original videos belong to their attributed creators.