
Fit a small patch of click-together outdoor tiles
Assemble nine whole plastic RUNNEN tiles with matching rounded edging on an existing sound, even outdoor concrete floor. Learn connector orientation, two edging arrangements and a removable finish without cutting or wet mortar.
What will you learn?
Assemble nine whole plastic RUNNEN tiles with matching rounded edging on an existing sound, even outdoor concrete floor. Learn connector orientation, two edging arrangements and a removable finish without cutting or wet mortar.
Tools
- Tape measureView at Screwfix Ireland (Stanley metric tape set) ↗Search Amazon Ireland ↗
- StraightedgeView at Goodwins Ireland (Draper 1200 mm, in store) ↗Search Amazon Ireland ↗
- Soft broomView at Woodie's Ireland (Dosco soft broom with handle) ↗Search Amazon Ireland ↗
- BucketView at Homesavers Ireland (single bucket; in-store) ↗Search Amazon Ireland ↗
- Soft cleaning clothView at Tesco Ireland (Killeen soft cloths, 4 pack) ↗Search Amazon Ireland ↗
- Dry clothView at Tesco Ireland (Killeen soft cloths, 4 pack) ↗Search Amazon Ireland ↗
- Kneeling pad, optionalView at Woodie's Ireland (optional Comfi kneeling pad) ↗Search Amazon Ireland ↗
Materials
- Nine whole plastic RUNNEN tiles902.381.11: one nine-piece packView at IKEA Ireland (one pack of nine tiles) ↗Search Amazon Ireland ↗
- Twelve matching RUNNEN edging strips504.941.41 with supplied rails: three four-piece packsView at IKEA Ireland (buy 3 four-piece packs) ↗Search Amazon Ireland ↗
- Four matching RUNNEN corner strips104.941.38: two two-piece packsView at IKEA Ireland (buy 2 two-piece packs) ↗Search Amazon Ireland ↗
- Mild soap suitable for the existing floor and plasticSearch Amazon Ireland ↗
- Clean water
Step by step
Photorealistic illustration · Waey
1. Check the floor and choose a safe position
Inspect the existing concrete floor before bringing out the tiles. It must already be hard, sound and even enough to support the tile bases without rocking; this overlay cannot correct settlement or drainage defects. Choose an open ground-level position away from doors, drains, steps and a through-route. Check how rainwater leaves the floor and keep that route clear. If suitability is uncertain, have the floor assessed before proceeding.
Photorealistic illustration · Waey
2. Plan three tiles across and three deep
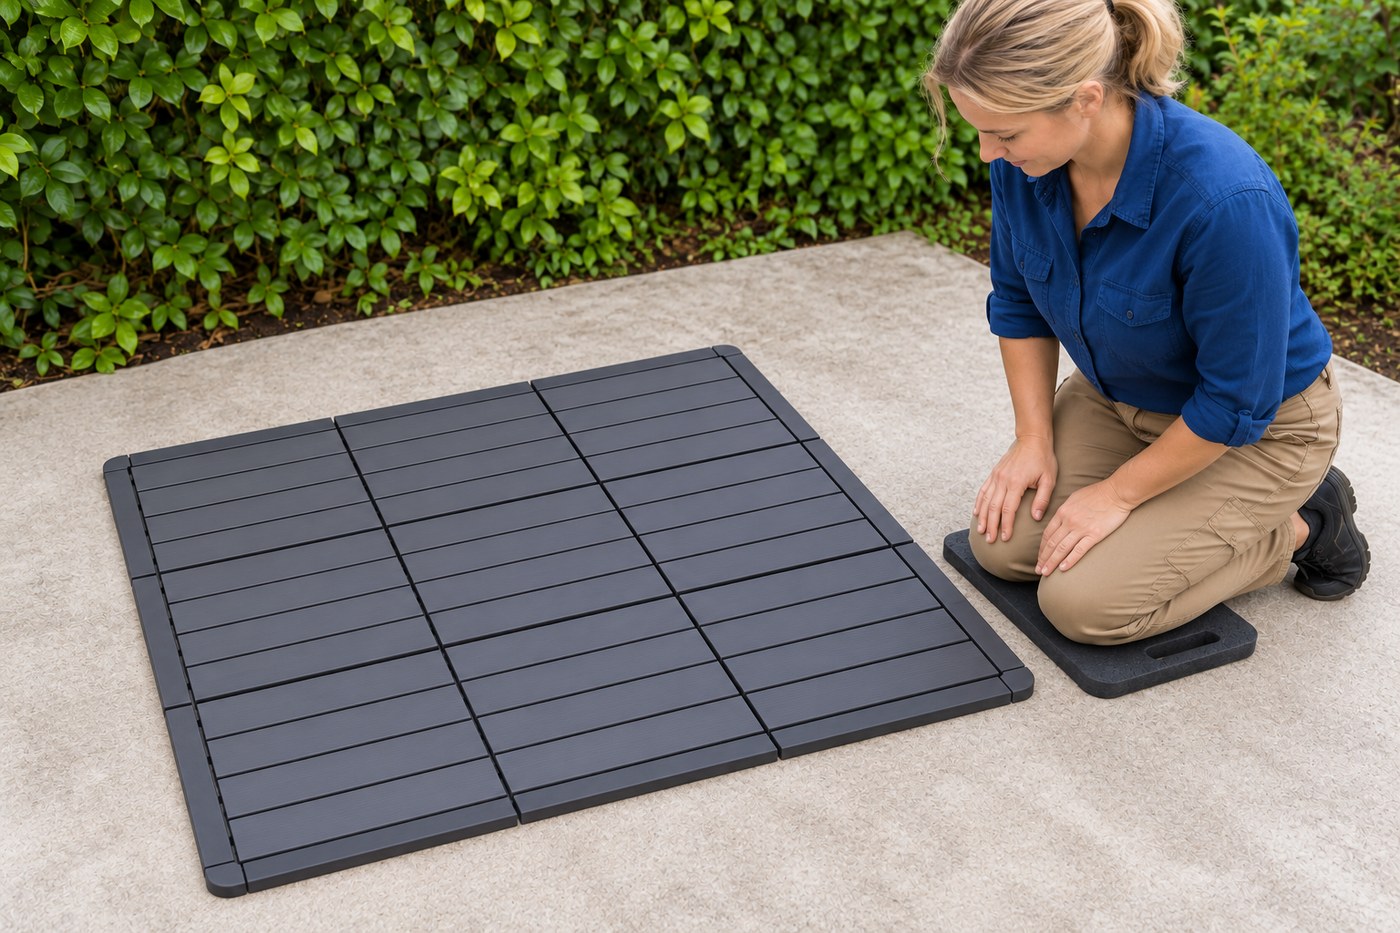
Count nine whole tiles, twelve straight edging strips and four corner pieces. Three nominal 30 cm tiles make a nominal 90 cm square before edging; the listed 3 cm edge widths suggest about 96 cm overall, but use an assembled trial to confirm the actual footprint. Leave the patch freestanding with room around it rather than wedging it between walls.
Photorealistic illustration · Waey
3. Clean and identify the connectors
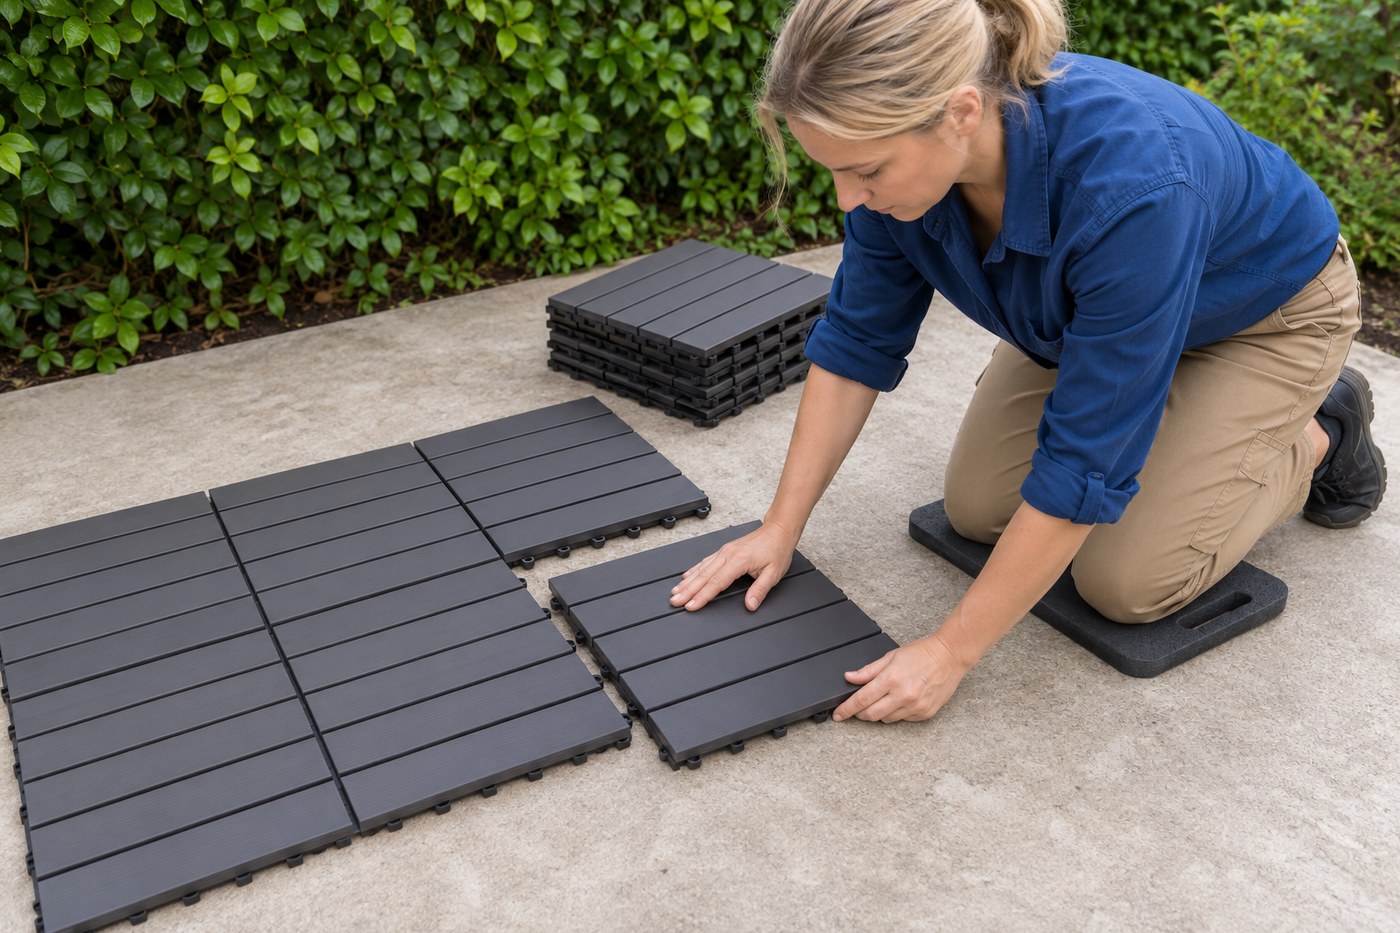
Sweep away grit and clean the existing floor with a compatible mild solution, then let it dry. Examine one tile above and below and compare its projecting and receiving connectors with the supplied tile manual. Reject cracked bases or bent clips. Choose a consistent slat direction for this first patch. Rotate a trial tile only as the illustrated connector arrangement allows; do not cut off tabs to make a joint fit.
Photorealistic illustration · Waey
4. Click the nine-tile field together
Place the first tile on the prepared dry floor. Align the next tile’s matching connectors and press down by hand as shown in the tile instructions, keeping fingertips out of the closing gap. Build the first row of three, then complete two more rows in the same orientation. Check each seam is evenly seated and each base rests on the floor. If a joint resists or a tile rocks, stop, separate carefully and check alignment or trapped grit; do not hammer it flat.
Photorealistic illustration · Waey
5. Configure the straight edging for each side
Study pages 5–8 of the matching edging manual before attaching trim: the separate connector rail has two positions for the two types of tile edge. Compare the actual tile edge with the appropriate illustration, click the rail into the illustrated position inside its trim, then press the matching pieces together by hand. Fit three straight strips along each side. Do not use the same rail position blindly on all four sides or add adhesive when a clip will not engage.
Photorealistic illustration · Waey
6. Close the four corners and inspect the perimeter
Fit a matching rounded corner at each of the four outer corners following its supplied diagram: gently lift the adjacent trim end as illustrated, position the corner connector and press the trim and corner back into engagement. Keep fingers away from the closing clips. Check that all twelve straight strips and four corners sit supported on the hard floor, with no exposed sharp connector, lifted end or loose piece. If a corner will not hold, reopen and check the rail arrangement rather than forcing it.
Photorealistic illustration · Waey
7. Check stability and keep the underside clean
With the patch dry and cool, check its whole surface and perimeter for rocking, opening seams or sliding before ordinary pedestrian use. Remove or reposition it if the edge creates a trip or obstructs drainage; edging is not a certified accessibility ramp. Clean the plastic with mild soapy water and wipe dry. Periodically dismantle from an accessible outer edge using the maker’s method to remove debris beneath, then recheck every connection after reassembly. Stop using damaged or heat-distorted pieces.
Watch the method
How to install IKEA Runnen Deck Tiles DIY
Shows plastic RUNNEN tiles and edging being joined by hand. Its balcony, cutting and plier modifications are outside this whole-tile ground-level project. Follow the matching tile, edging and corner manuals; the samples do not prove safe drainage, stability or slip resistance.
Techscrew Home · English ASR metadata; audio unconfirmed
Watch on YouTube ↗Final checks
Nine supported tiles in a 3 × 3 field; twelve secure straight trims and four secure corners; no rocking, exposed tabs, blocked water route or unsafe transition. All dimensions verified against the delivered assembled pieces.
Where to find supplies
Sources
IKEAUK — RUNNEN plastic floor tiles90238111 ↗
IKEA — RUNNEN plastic tile assemblyAA2127689 ↗
IKEAUK — RUNNEN edge strips50494141 ↗
IKEA — RUNNEN edge assemblyAA2246203 ↗
AI-generated representative photographic illustrations created for Waey with built-in image_gen, using only a Waey-generated continuity reference. Manufacturer diagrams remain private research and were not image inputs. External video belongs to its credited creator.