
Make a small mitred wooden picture frame
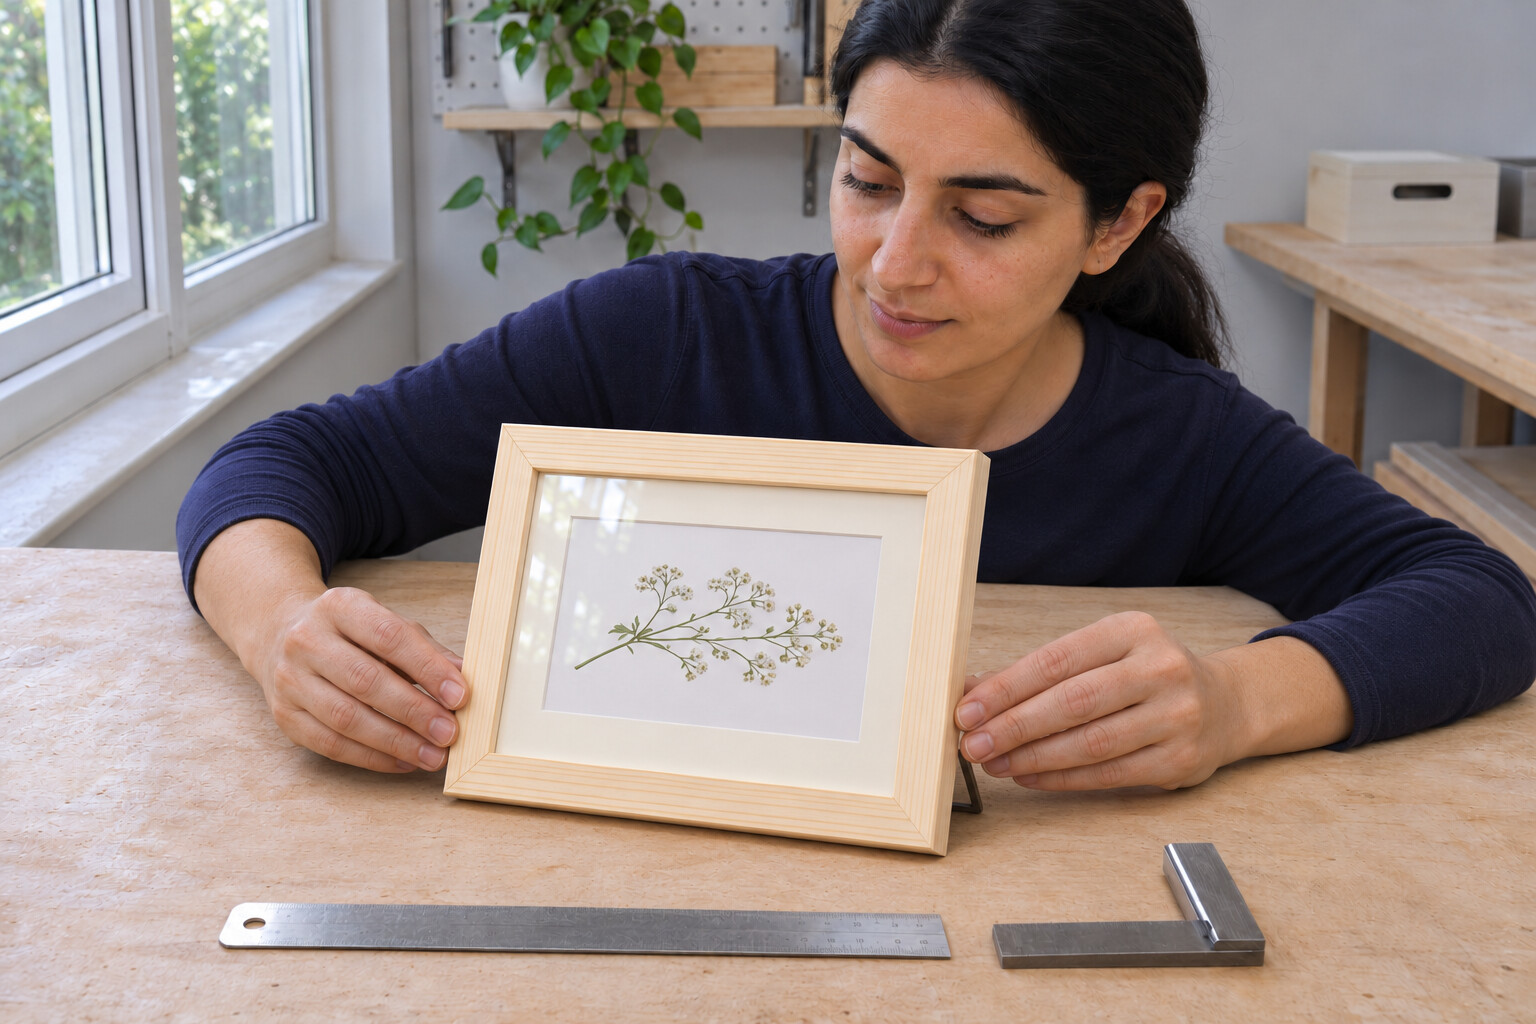
Build a small tabletop picture frame from ready-rebated softwood moulding. Match hand-cut mitres, glue and clamp the corners, fit acrylic and a practice print, then add a matched tabletop support.
What will you learn?
Build a small tabletop picture frame from ready-rebated softwood moulding. Match hand-cut mitres, glue and clamp the corners, fit acrylic and a practice print, then add a matched tabletop support.
Tools
- Hand mitre boxSearch Amazon Ireland ↗
- Fine-tooth backsawSearch Amazon Ireland ↗
- Bench clamps for the mitre box and workpieceSearch Amazon Ireland ↗
- Reliable squareSearch Amazon Ireland ↗
- Metric rulerSearch Amazon Ireland ↗
- PencilSearch Amazon Ireland ↗
- Band clamp with four corner padsSearch Amazon Ireland ↗
- Flat protected assembly boardSearch Amazon Ireland ↗
- Glue applicatorSearch Amazon Ireland ↗
- Clean clothSearch Amazon Ireland ↗
- Logan F400-1 fitting toolSearch Amazon Ireland ↗
- Flat hand-sanding blockSearch Amazon Ireland ↗
- Soft dust brushSearch Amazon Ireland ↗
- Eye protectionSearch Amazon Ireland ↗
- Suitable particulate respirator for wood dustSearch Amazon Ireland ↗
- Matching hand screwdriverSearch Amazon Ireland ↗
- Depth-measuring ruleSearch Amazon Ireland ↗
- Separate clean soft cloths for acrylic washing and dryingSearch Amazon Ireland ↗
- Clean wash basinSearch Amazon Ireland ↗
Materials
- Straight bare softwood rebated frame moulding, with spare offcutsSearch Amazon Ireland ↗
- Titebond Original Wood Glue, for this dry indoor frameSearch Amazon Ireland ↗
- Precut lightweight ACRYLITE acrylic glazing, 150×200 mm for the exampleSearch Amazon Ireland ↗
- Precut window mat sized for the practice pictureSearch Amazon Ireland ↗
- Precut backing board sized to match the glazingSearch Amazon Ireland ↗
- Practice picture copy
- Logan F11 flexible framing pointsSearch Amazon Ireland ↗
- Sandpaper appropriate to the supplied mouldingSearch Amazon Ireland ↗
- Fletcher EaselMate09-330 with original wood-frame screwsSearch Amazon Ireland ↗
- Four self-adhesive photo-mounting cornersSearch Amazon Ireland ↗
- Mild soapSearch Amazon Ireland ↗
- Clean water
Step by step
Photorealistic illustration · Waey
1. Choose the contents before cutting
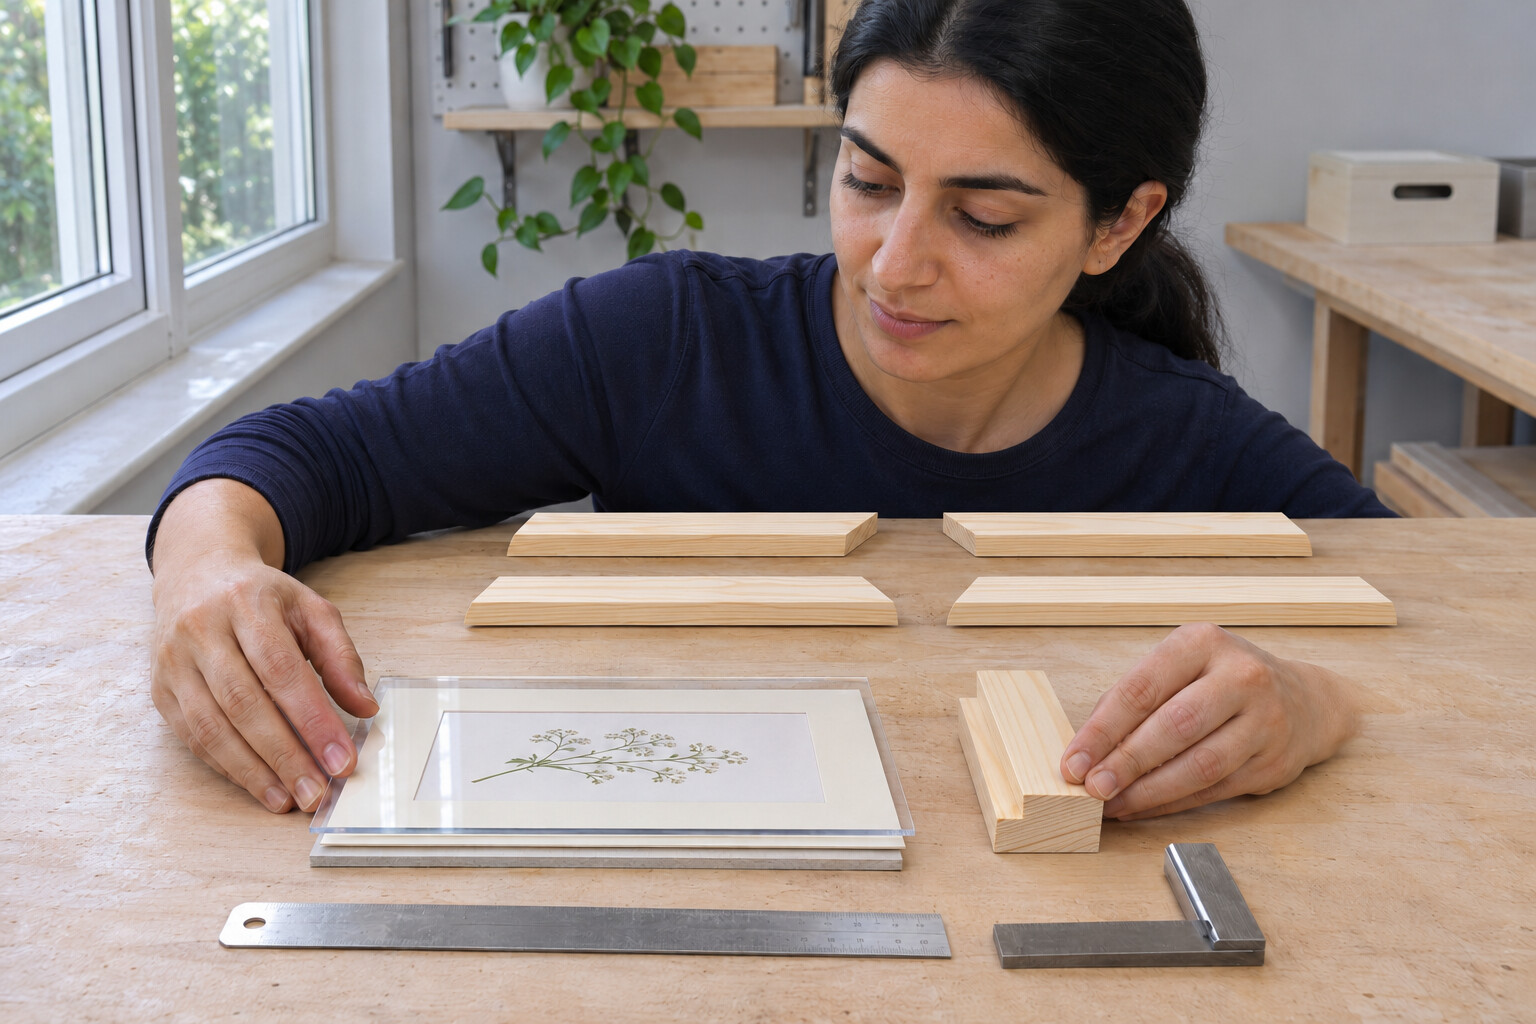
Lay out the picture, mat, lightweight acrylic and backing as one stack. Use straight, bare softwood frame moulding with a ready-cut rebate deep enough for that stack and its retainers. Check the actual pieces rather than relying on a nominal print size. Keep valuable originals aside while practising with a copy. If the stack stands proud of the back, choose deeper moulding; forcing it down can bow the backing or stress the corner joints.
Photorealistic illustration · Waey
2. Prove the mitre-box setting on offcuts
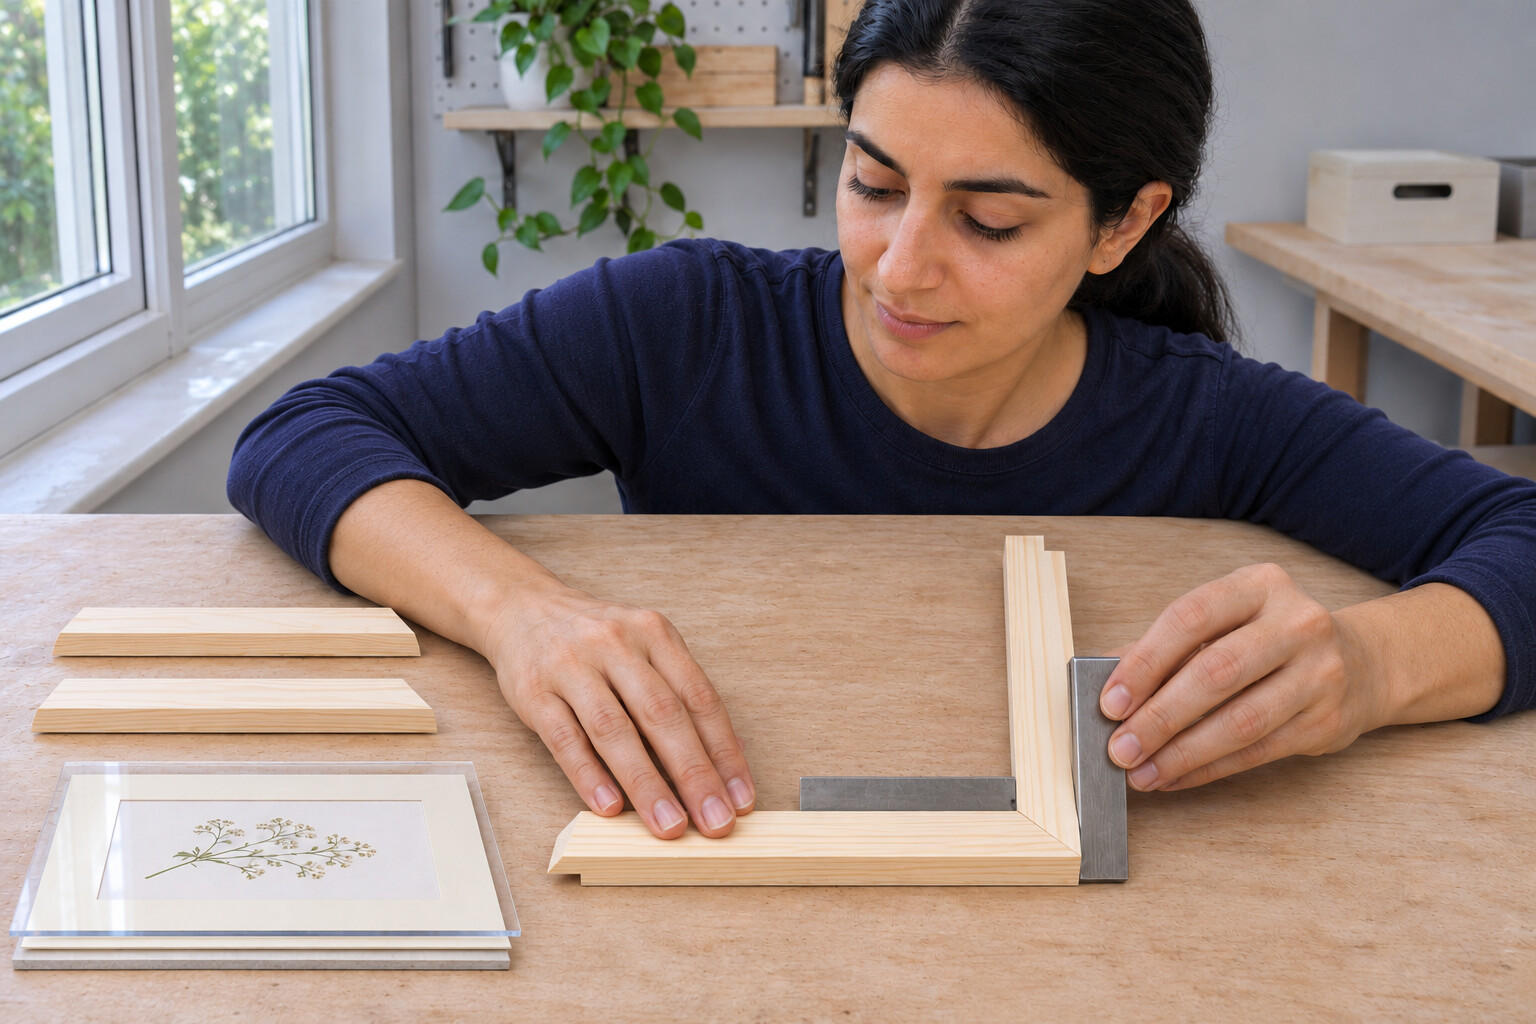
Secure the mitre box to a stable bench and support the moulding flat against its fence. Keep the rebate in the same orientation on every piece. Cut two scrap ends in the opposing 45-degree slots, with your holding hand clear of the blade path. Bring them together against a reliable square. A visible wedge-shaped gap means the setup needs correction before you cut the frame; stronger clamping will not repair a wrong angle.
Photorealistic illustration · Waey
3. Match each opposite pair before gluing
For a 150×200 mm contents stack, use a 153×203 mm rear rebate opening: 3 mm total clearance in each direction, not 3 mm on every edge. With an actual 30 mm-wide moulding and 6 mm rebate lip (measured inward from the sight edge), the long outside points are 201 mm and 251 mm. Cut two of each, keeping matching orientation. These are worked dimensions for that profile only. Dry-fit the complete rectangle, compare diagonals and try the actual stack; correct inaccurate cuts before adding glue.
Photorealistic illustration · Waey
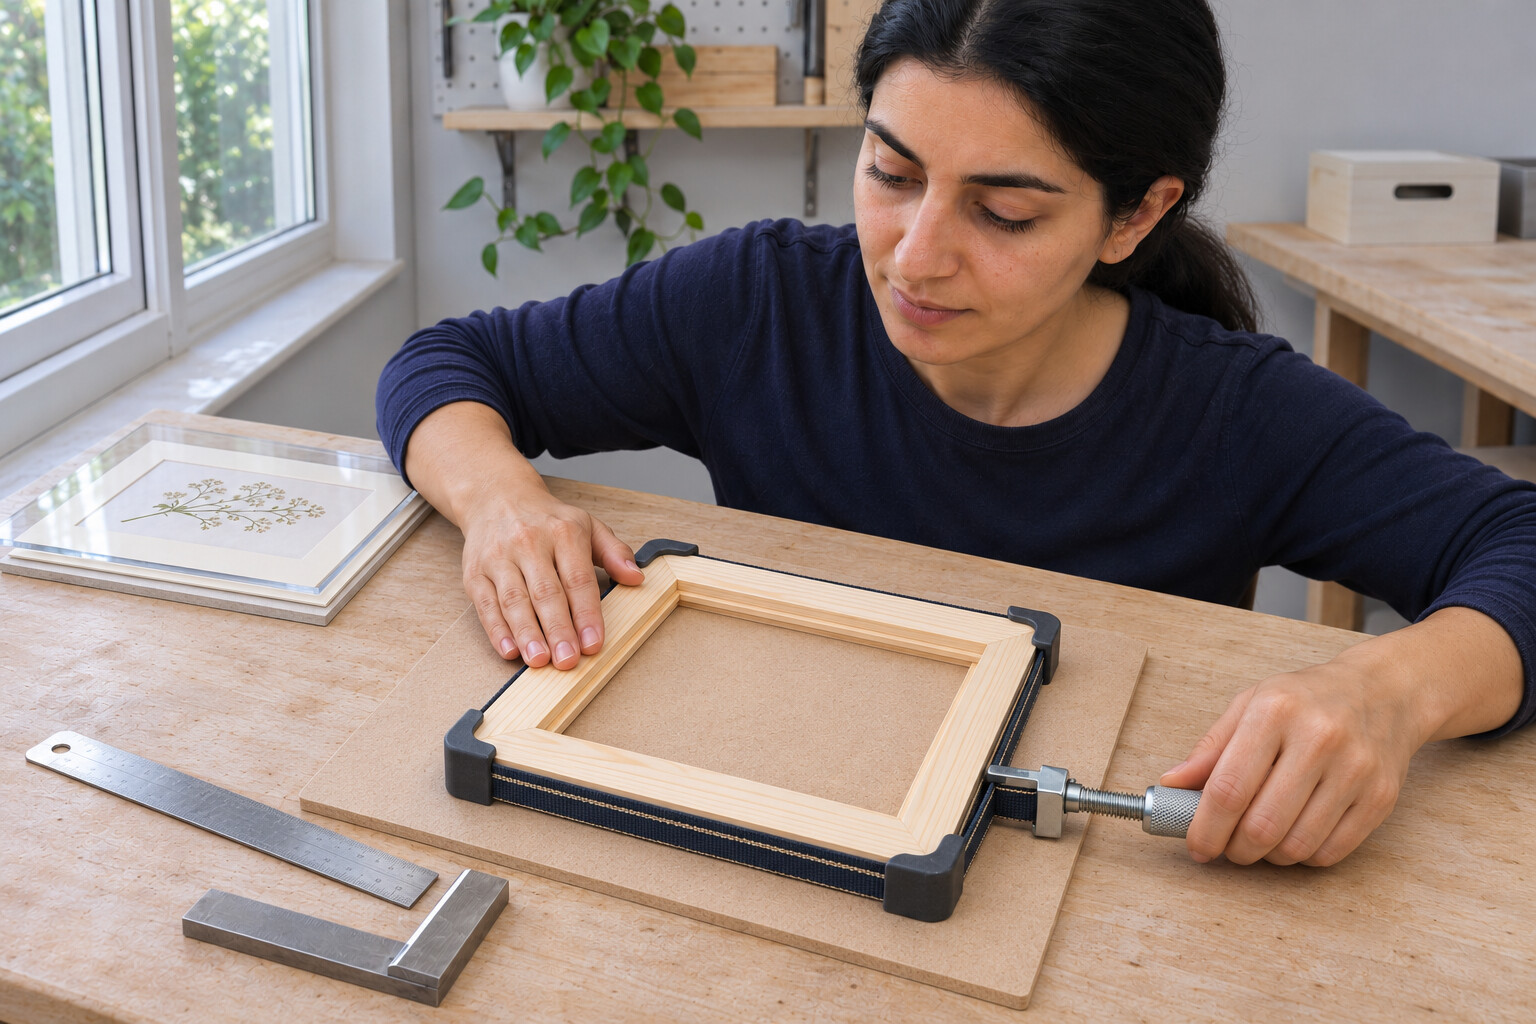
4. Rehearse the clamp, then glue the bare mitres
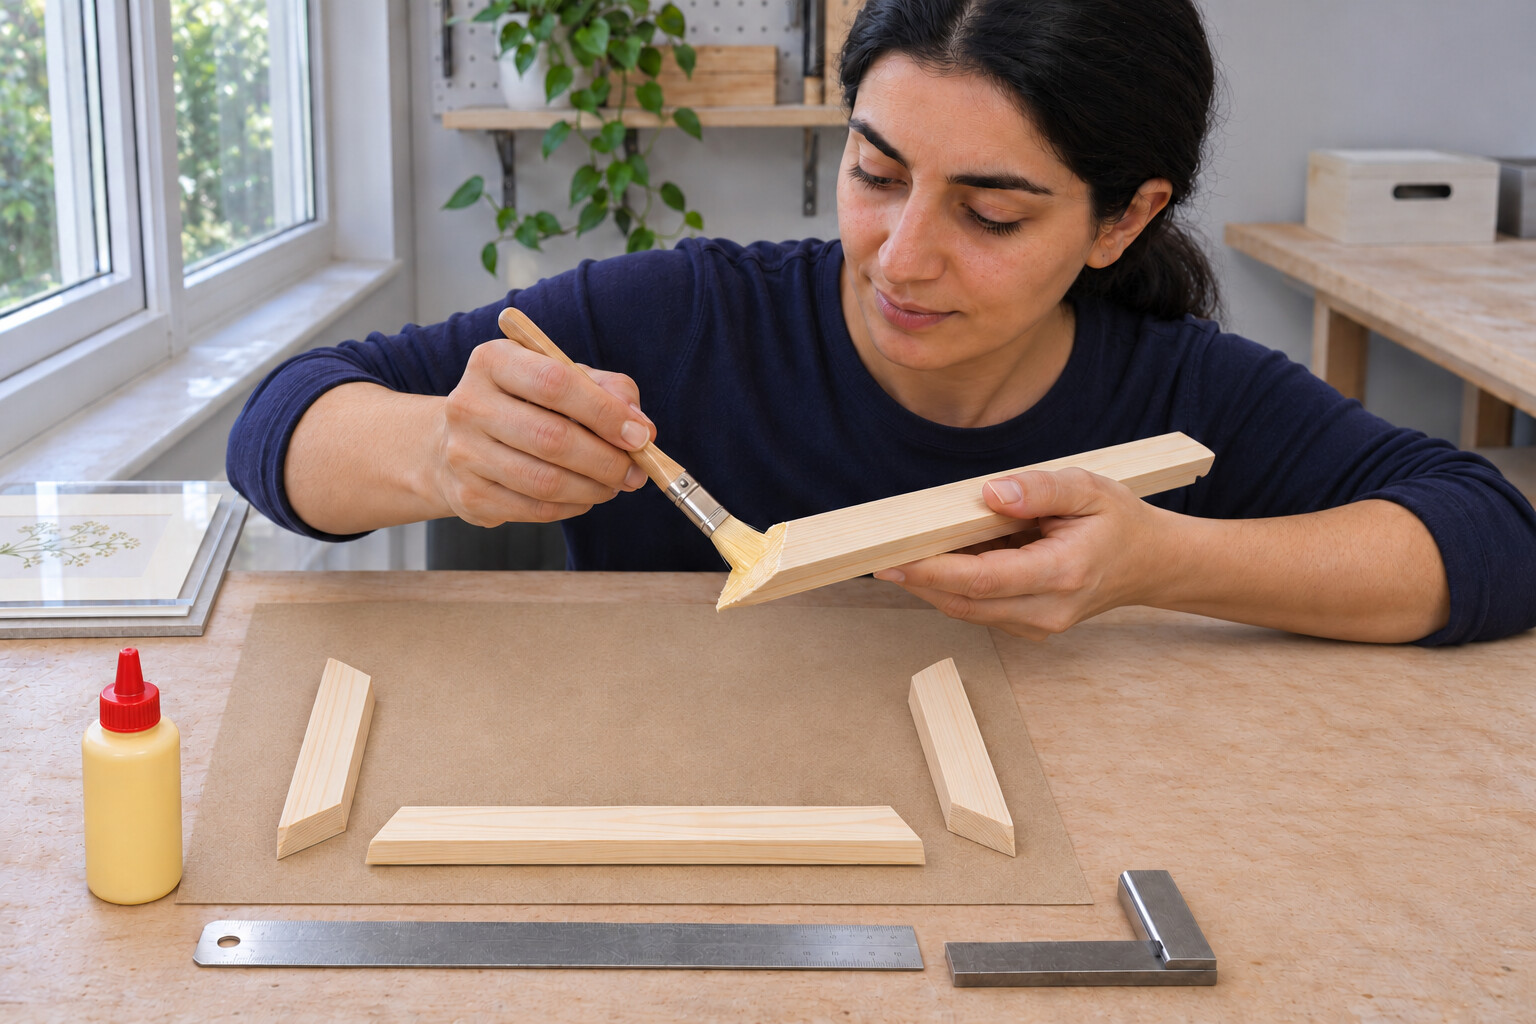
Set the band clamp around the dry frame with its corner pads seated evenly. Practise tightening while keeping all four faces level; use a protected flat board underneath. Release the clamp and spread Titebond Original Wood Glue across both bare mating faces of each joint. Keep glue, wood and room above 10°C; rehearse so assembly fits the actual label’s working time. Tighten gradually, checking corners and diagonals again. Stop if a rail lifts or a corner slides; excessive pressure cannot make an inaccurate joint sound.
Photorealistic illustration · Waey
5. Allow the joints to develop strength before fitting
Remove accessible squeeze-out without flooding the wood, then leave the frame flat and undisturbed for the glue manufacturer’s specified clamping period. Titebond’s general guidance distinguishes an unstressed joint from one being forced into shape; neither should be stressed during the first 24 hours. Follow the actual bottle and room conditions. After that wait, support the frame as you release the band. Reject opening corners or rocking rails instead of hiding them beneath finish or backing.
Photorealistic illustration · Waey
6. Smooth the cured frame without rounding the joints
Keep the contents away from sanding dust. Support the empty frame on a flat padded board, then hand-sand with a flat block along the grain, using the moulding supplier’s recommended abrasive sequence. Remove dried glue carefully without hollowing the corners or thinning the rebate lip. Dust off and inspect under side light. This version leaves the wood bare for dry indoor display; adding a coating requires its own compatible application and drying instructions before fitting the picture.
Photorealistic illustration · Waey
7. Clean the acrylic away from the woodwork
Move to a clean area after removing sanding dust. Handle the precut ACRYLITE glazing by its edges and remove its protective film. Use a clean soft cloth moistened with water for light dust. If washing is needed, use mild soap and lukewarm water with light pressure, rinse with clean water and blot dry with a clean soft cloth. Let it dry before assembly. Do not rub dry or use gritty cloths, window-cleaning spray or solvents; scratches and trapped moisture spoil the display.
Photorealistic illustration · Waey
8. Locate the practice print behind the mat
On the clean backing board, centre the practice print beneath the precut window mat. The window must overlap the print edges and hide the mounting corners without covering the intended picture. Mark the print’s corner positions lightly on the backing. Stick four self-adhesive photo corners to the backing at those marks, then slip the print into their pockets without sticking adhesive to the picture. Replace the mat and check the image is straight and the paper lies flat before loading the frame.
Photorealistic illustration · Waey
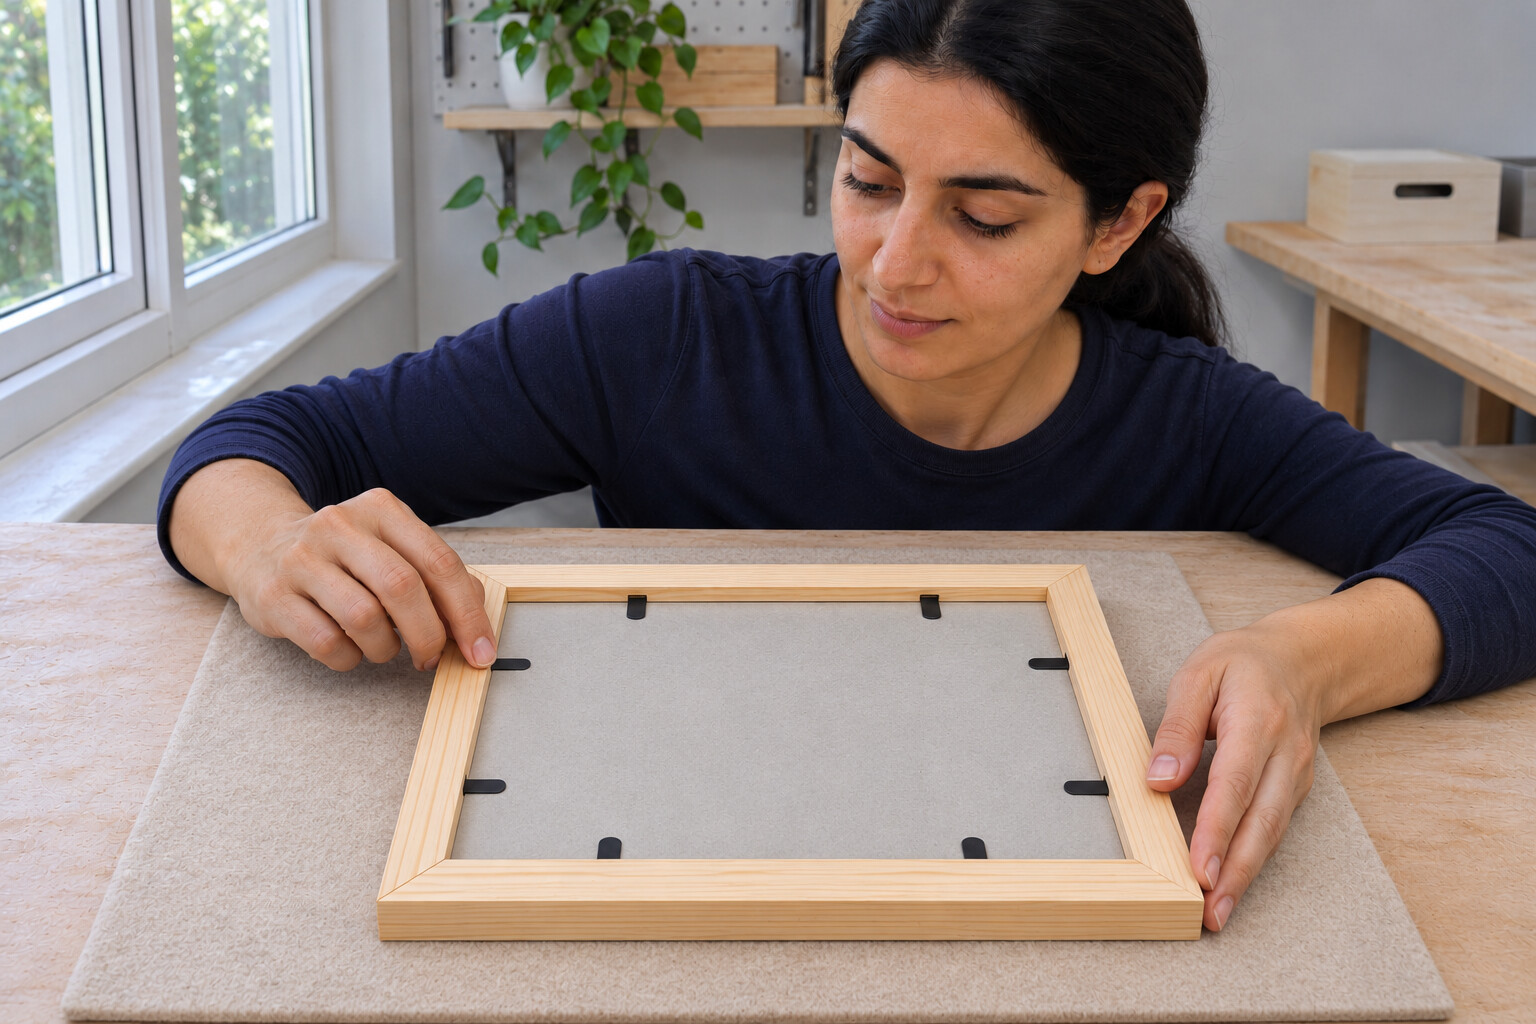
9. Load the contents and plan the flexible points
Load the clean acrylic, mat, practice picture and backing into the cured softwood frame. This small 153×203 mm rear-opening example uses eight Logan F11 flexible points: two per side, each 40 mm from an inside rebate corner. That leaves 73 mm between points on the short sides and 123 mm on the long sides. This is a small-frame layout, not universal spacing. Confirm the points retain the backing without interfering with the support bracket; never force an oversized stack into place.
Photorealistic illustration · Waey
10. Drive each point and release the tool correctly
Set the F400-1 turret for F11 points, slide its foot away and hand-load one point with its tip facing outward. Keep the body flat and resting gently on the backing; slide the bumper against the outside moulding. Squeeze until the turret meets the wood. Release the lock plate, swivel the foot clear and withdraw straight back, never upward. Repeat at the marked positions. Stop for splitting, bent points or buckled backing; never angle points downward to pinch the stack.
Photorealistic illustration · Waey
11. Attach the matched tabletop support and check stability
Choose a Fletcher EaselMate supplied for wooden frames, with its original wood-frame screws and installation sheet. Mark the centre of the lower rail and position the bracket as that sheet shows, clear of corners and retaining points. Before fastening, compare screw penetration with the solid wood available; do not let a tip reach the front or rebate. Fit both screws by hand without stripping. Open the support and check the frame on a level table, away from edges and passing hands.
Video demonstrations
5 Tips for Making Picture Frames
Different moulding, saw setup and adhesive. At 4:00, the presenter brushes glue onto a mitred end. Follow this guide’s hand-saw plan and Titebond instructions.
Rockler Woodworking and Hardware · Spoken language unconfirmed
Watch on YouTube ↗Make Perfect Frame Miters | Rockler Skill Builders
A hand plane and shooting board refine a mitre at 0:56. This differs from the mitre-box method here; those tools and jig are not required.
Rockler Woodworking and Hardware · Spoken language unconfirmed
Watch on YouTube ↗Final checks
Corners stay closed; backing remains flat; no sharp points or screws protrude; the completed stand is stable before release.
Sources
Rockler — trial mitres, matching opposite rails and web clamping; own small metric plan ↗
Woodcraft — framing construction and mitre assembly; routed/powered options excluded ↗
Titebond Original — application, indoor limits and precautions ↗
Titebond — clamp and curing guidance ↗
Logan — measuring rear rebate openings ↗
Logan — photo-corner mounting method ↗
ACRYLITE — water/soap cleaning; solvent/disinfection routes excluded ↗
Logan F11 — softwood-only loose flexible inserts ↗
Logan F400-1 — loading, driving, release and spacing manual ↗
Fletcher — EaselMate 09-330 model ↗
Tammy’s Elegant Frames — wooden-frame EaselMate installation ↗
Instruction photographs generated with OpenAI image generation and reviewed for this guide.