
Paint a new bare-wood shelf with a water-based finish
Prepare and paint one new bare-wood shelf before installation, using two primer coats and a white water-based satin finish. Learn supported brushwork, drying checks and contained cleanup.
What will you learn?
Prepare and paint one new bare-wood shelf before installation, using two primer coats and a white water-based satin finish. Learn supported brushwork, drying checks and contained cleanup.
Tools
- Flat sanding blockSearch Amazon Ireland ↗
- Suitable wood-dust respiratorSearch Amazon Ireland ↗
- Synthetic-bristle brushSearch Amazon Ireland ↗
- Paint stirrerSearch Amazon Ireland ↗
- Paint kettleSearch Amazon Ireland ↗
- Clean lint-free clothSearch Amazon Ireland ↗
- Stable padded supportsSearch Amazon Ireland ↗
- Drop sheetSearch Amazon Ireland ↗
- Lidded container for paint wash waterSearch Amazon Ireland ↗
- Chemical-resistant nitrile gloves selected to both current product safety sheetsSearch Amazon Ireland ↗
- Side-shield safety glasses for paint handlingSearch Amazon Ireland ↗
- Properly fitted EN140 respirator with A/P2 filters or better, as specified by the primer safety sheetSearch Amazon Ireland ↗
Materials
- New knot-free untreated solid-wood shelf boardSearch Amazon Ireland ↗
- Sandpaper matched to timber supplier instructionsSearch Amazon Ireland ↗
- Dulux Trade Quick Dry Wood Primer UndercoatSearch Amazon Ireland ↗
- Dulux Trade Quick Dry Satinwood, Pure Brilliant WhiteSearch Amazon Ireland ↗
- Clean water
- Mild soap for brush cleanupSearch Amazon Ireland ↗
- Offcut from the same timber for a coating trial
Step by step

Photorealistic illustration · Waey
1. Check the bare board and the coating system
Work on a new uninstalled shelf board, not an unknown previously painted surface. Choose dry, sound untreated timber without knots, wax or grease. Reject loose fibres, splits or contamination before painting; a coating cannot make a weak shelf safe. Check the exact primer and finish labels together and prepare an offcut from the same timber for a trial. Keep this project separate from choosing brackets or fixing a shelf to the wall.
Photorealistic illustration · Waey
2. Prepare a supported, dust-free surface
Protect the working area and place the board on stable supports so it cannot rock while you work. Hand-sand along the grain using the timber supplier’s abrasive sequence, keeping a flat block on broad faces instead of hollowing them with fingertips. Ease sharp splinters without changing the shelf’s fit. Control and remove the sanding dust, then wipe with a damp lint-free cloth and allow the timber to dry fully before any coating.
Photorealistic illustration · Waey
3. Apply the first primer coat without runs
Stir the selected Dulux Trade Quick Dry Wood Primer Undercoat thoroughly. Work above its 10°C minimum and follow the actual label for brush application and any permitted thinning; do not guess a water ratio. Coat the prepared faces and edges in a controlled sequence, checking the underside of edges for runs. Keep wet coating clear of support contact points. Let one side dry sufficiently before turning the board onto clean supports to coat the other side.
Photorealistic illustration · Waey
4. Complete the bare-wood primer system
This primer’s current data sheet specifies two coats on new bare wood. Allow at least two hours between them, with its stated 2–4-hour recoat interval dependent on drying conditions; a cold or damp room can extend the wait. Inspect the first coat before continuing. Do not bury dust, runs or raised defects under another wet coat. Resolve them using the coating instructions, remove residue and let the surface dry before applying the second primer coat.
Photorealistic illustration · Waey
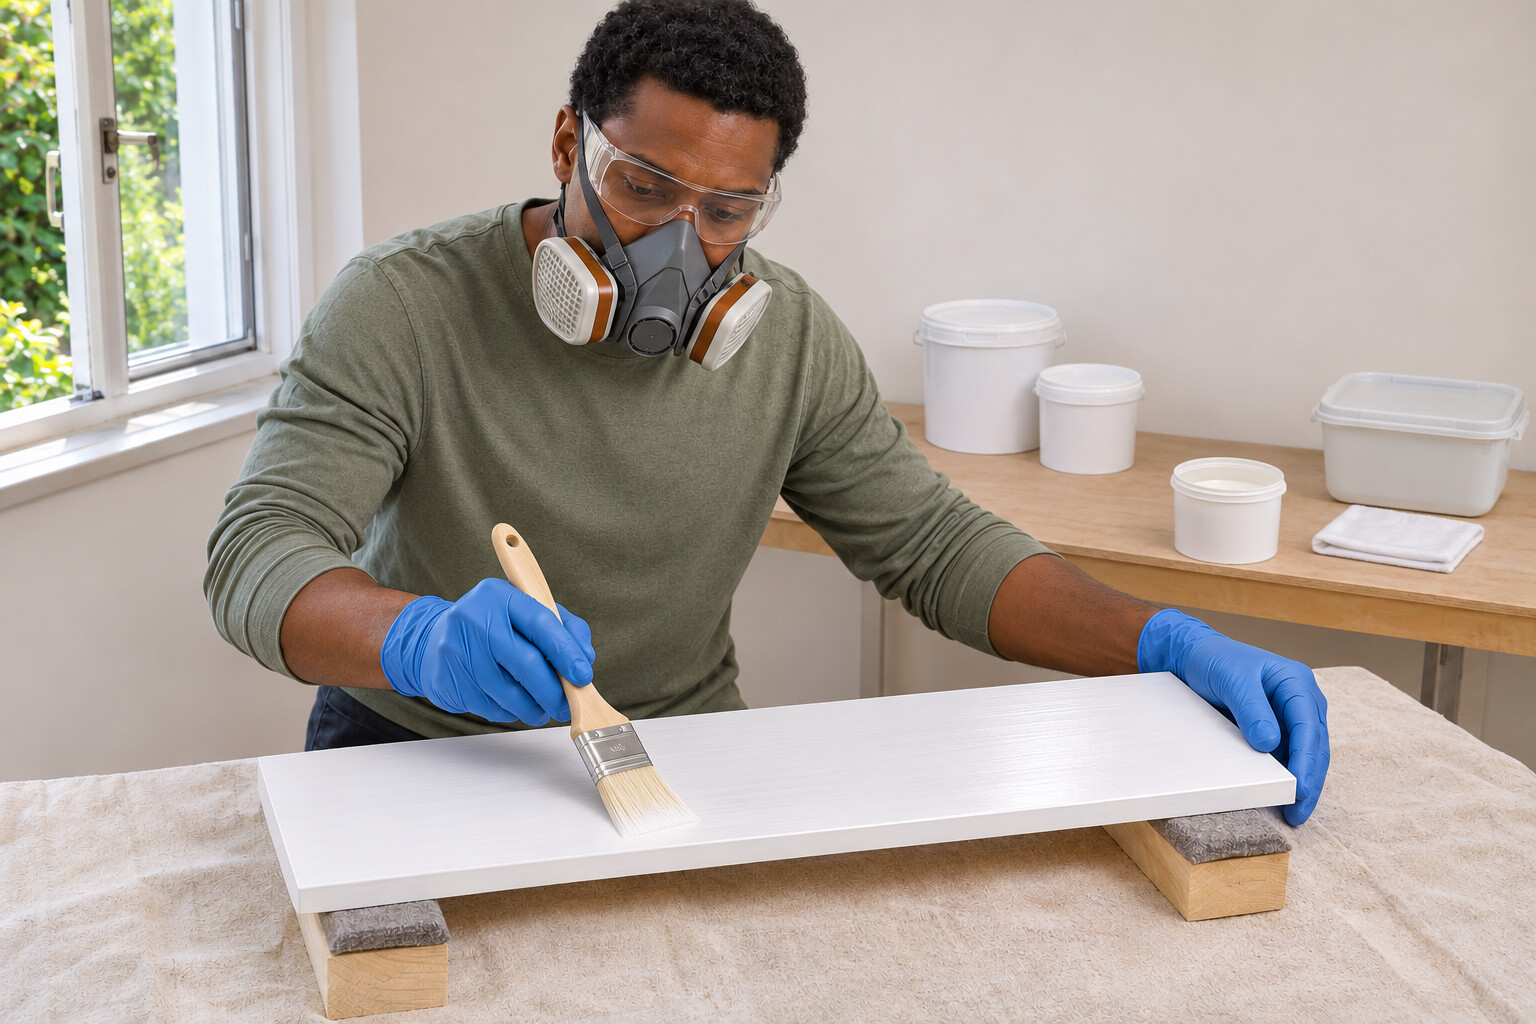
5. Brush the first satin coat evenly
Once the primer is ready for overcoating, stir the white Dulux Trade Quick Dry Satinwood thoroughly. Use a good synthetic brush intended for water-based paint, lightly dampening the brush and surface as its data sheet advises. Work along the board with an even film, watching edges for runs. Avoid repeated brushing once the coating starts to set. Keep coated faces off the supports and let each face dry sufficiently before turning; rubbing a tacky surface will spoil it.
Photorealistic illustration · Waey
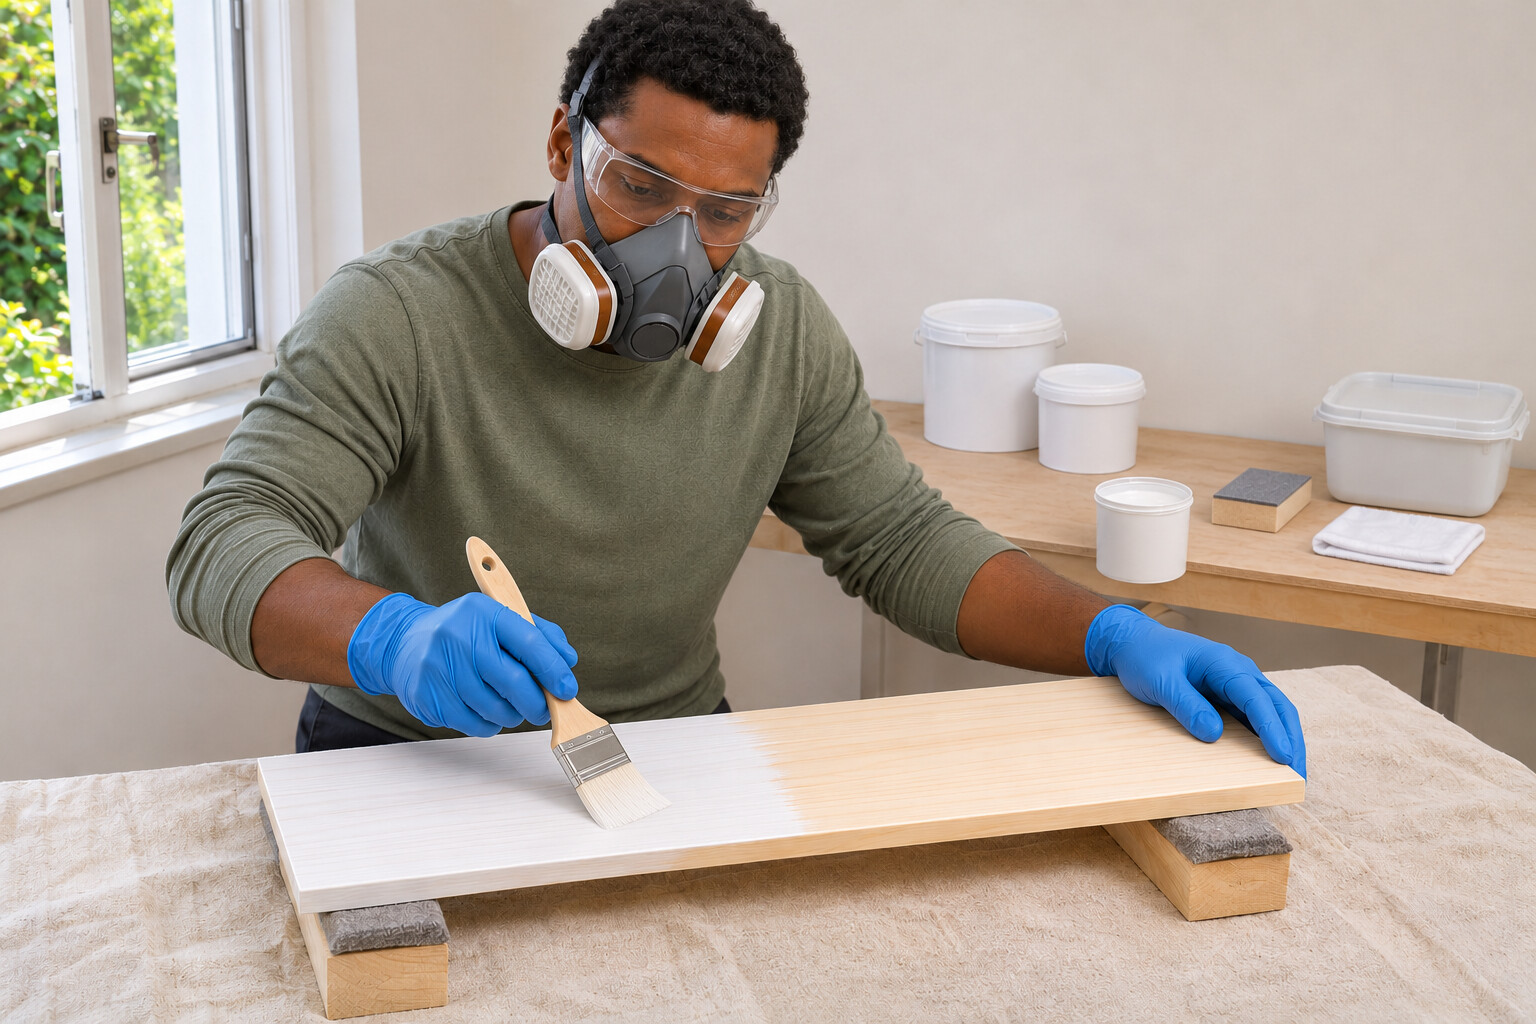
6. Wait, inspect and apply the second satin coat
The selected satinwood’s normal system is two full finishing coats. Its stated recoat interval is 4–6 hours, with drying affected by temperature and humidity; this is not a promise that the shelf can be loaded then. Check the first coat under side light before continuing. Deal with dust nibs or runs using the product instructions and clear the residue. Apply the second coat evenly, keeping the same turning sequence so supports do not mark a wet face.
Photorealistic illustration · Waey
7. Protect the new finish before using the shelf
Leave the board supported in a clean, ventilated place while the finish develops. Follow the current pack’s full-drying and return-to-service advice, asking the manufacturer if none is given, before moving it onto brackets or putting objects on it; recoat time and surface dryness are different checks. Do not stack boards or lay plastic coverings against a soft finish. If the coating is still tacky or marks under gentle handling, wait and investigate the conditions rather than hiding the problem beneath another coat. Shelf installation remains a separate job.
Photorealistic illustration · Waey
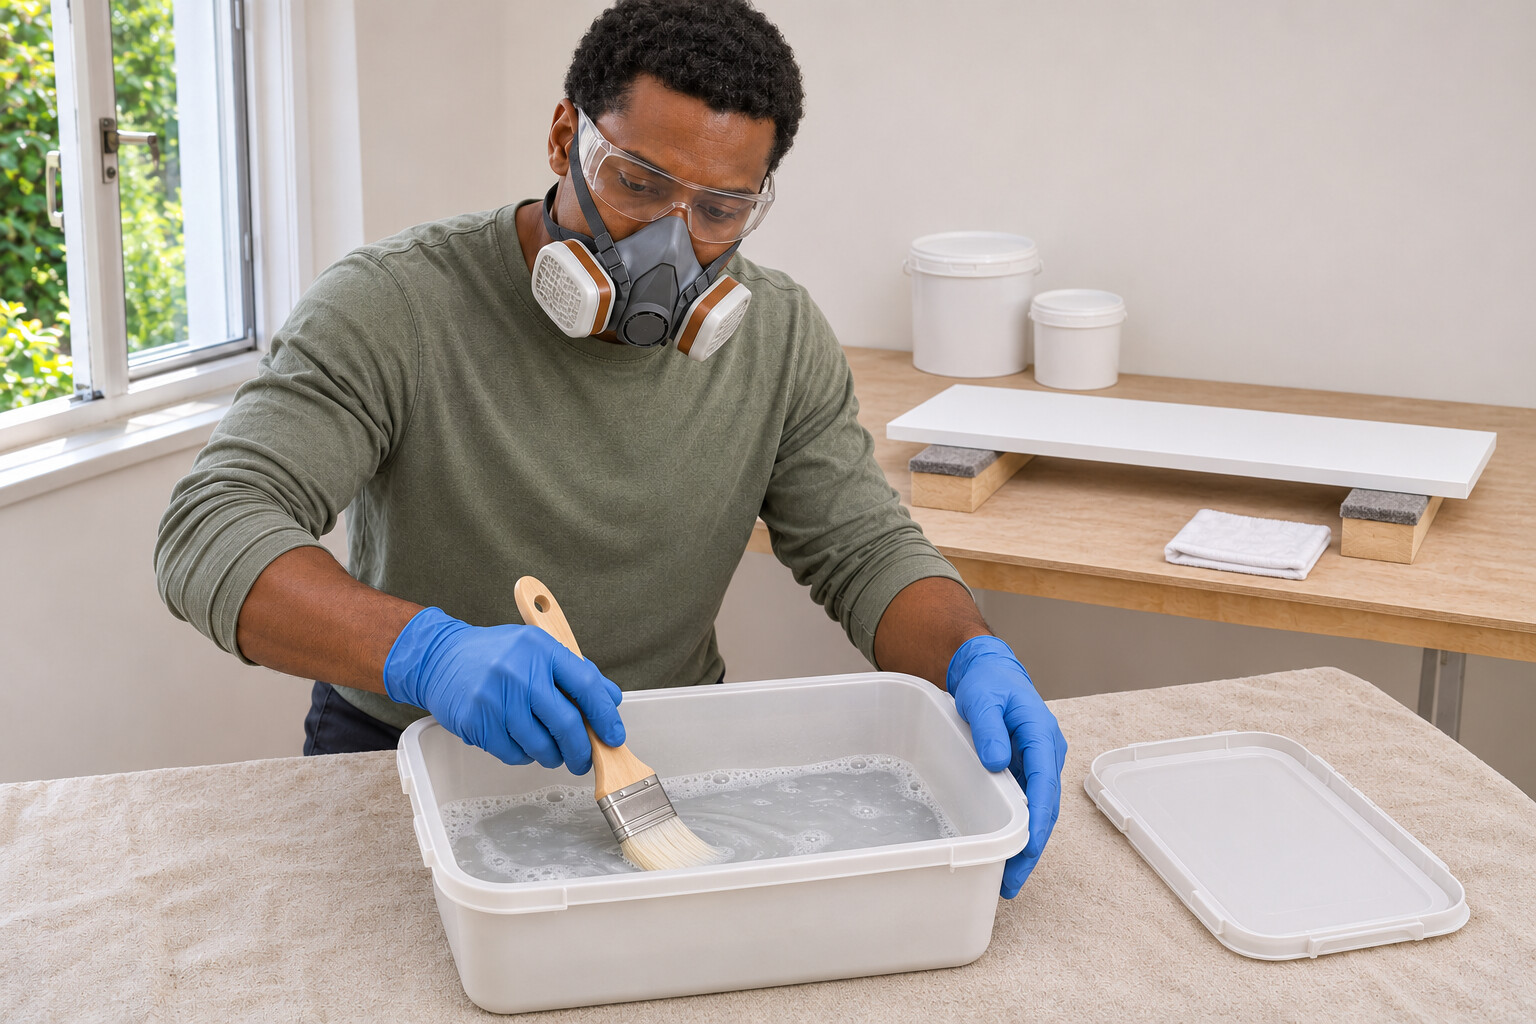
8. Clean the brush and contain the wash water
After the final use, remove excess paint from the brush back into a suitable paint container. Clean the brush with warm soapy water in a separate lidded tub and rinse into that container, not down the sink. Allow the brush to dry naturally in a dust-free place. Keep the collected liquid contained for reuse or disposal through the local paint-waste route. Close and store the labelled paint upright, protected from frost, and keep the work area inaccessible to children while materials remain out.
Video demonstrations
How to Apply the 2nd Coat of Primer Undercoat to Woodwork
Shows brushwork on a skirting board at 2:06. Follow this guide’s new bare-wood shelf method and current primer instructions; the video gives no shelf-loading time.
Paint Like A Pro · Spoken language unconfirmed
Watch on YouTube ↗Dulux Quick Dry Satinwood
Shows a small roller applying paint to trim at 0:10. This retail Dulux film uses a different product and method from the Trade brush system here.
Dulux UK · Spoken language unconfirmed
Watch on YouTube ↗Final checks
No runs or trapped dust; coating ready for the next stage; no support marks. Recoat time is not loading time.
Sources
Dulux Trade primer system202, issued09/25 — new wood, two coats, conditions and cleanup ↗
Dulux Trade satinwood551, issued09/25 — synthetic brush, two finishing coats and recoat interval ↗
Selected primer safety sheet — exposure controls and handling ↗
Selected Pure Brilliant White finish safety sheet — exposure controls and handling ↗
Instruction photographs generated with OpenAI image generation and reviewed for this guide.