
Replace and recommission a Levoit Core 300S air-purifier filter
Replace the matched dry cartridge, clean the chamber, lock the cover and test airflow before resetting the correct filter reminder.
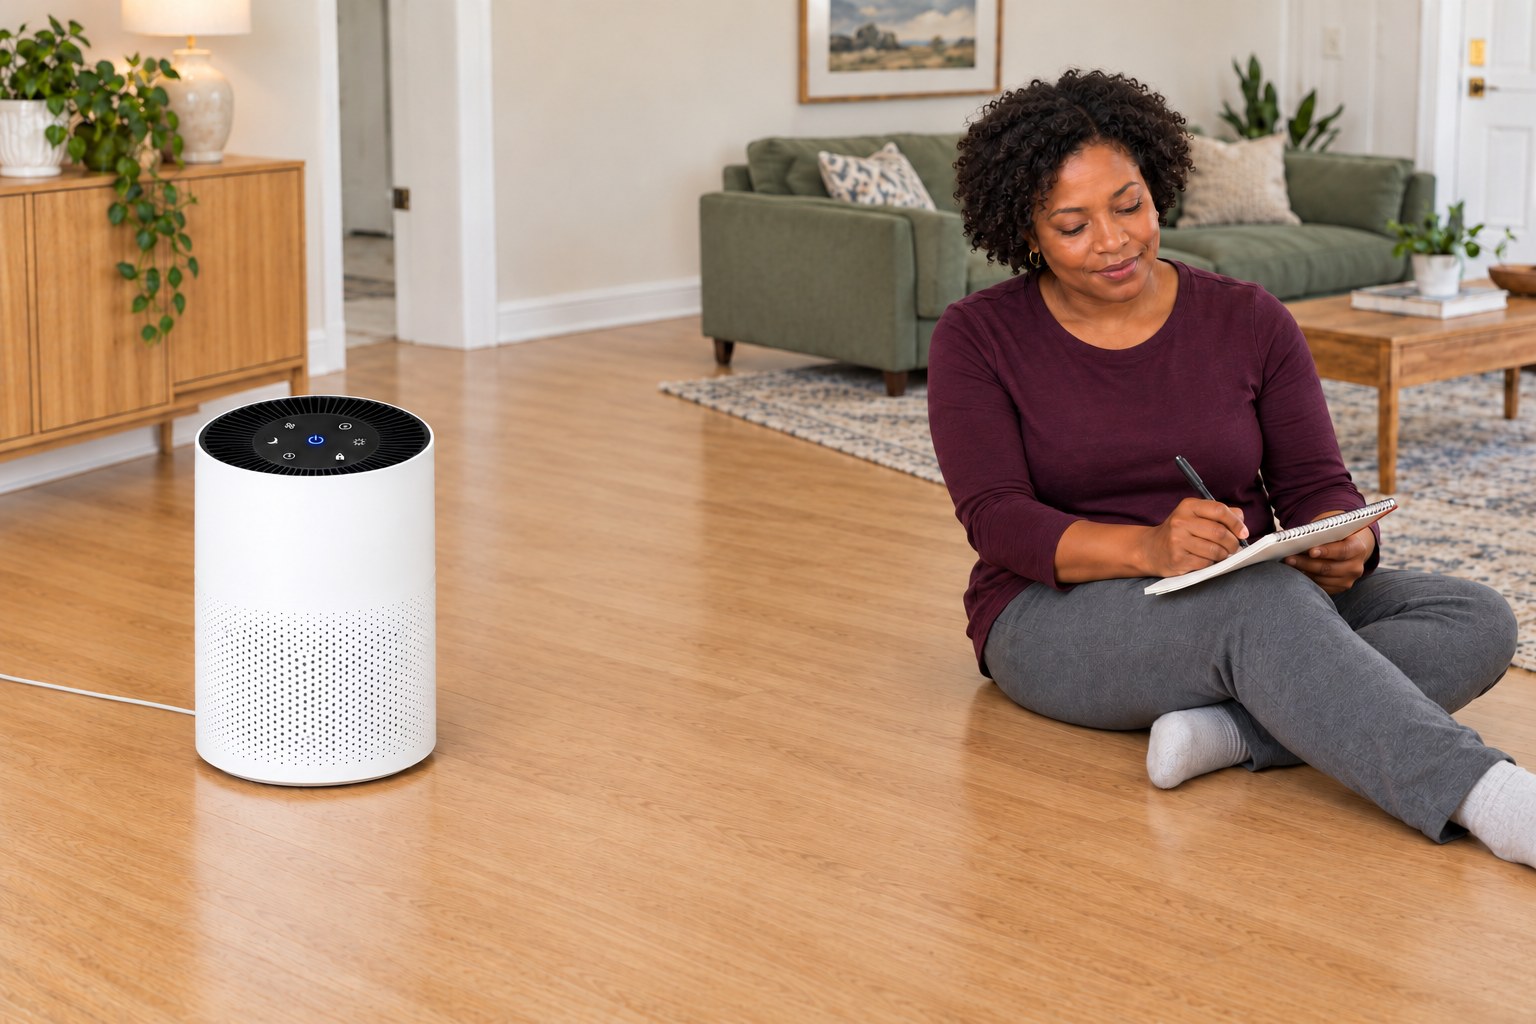
What will you learn?
Replace the matched dry cartridge, clean the chamber, lock the cover and test airflow before resetting the correct filter reminder.
Tools
- Vacuum cleaner with hoseSearch Amazon Ireland ↗
- Soft clean dry clothSearch Amazon Ireland ↗
- NotebookSearch Amazon Ireland ↗
- PencilSearch Amazon Ireland ↗
Materials
- Genuine dry replacement cartridge explicitly listed for the matched Core300SSearch Amazon Ireland ↗
- Disposal bag for the old cartridgeSearch Amazon Ireland ↗
Step by step
Photorealistic illustration · Waey
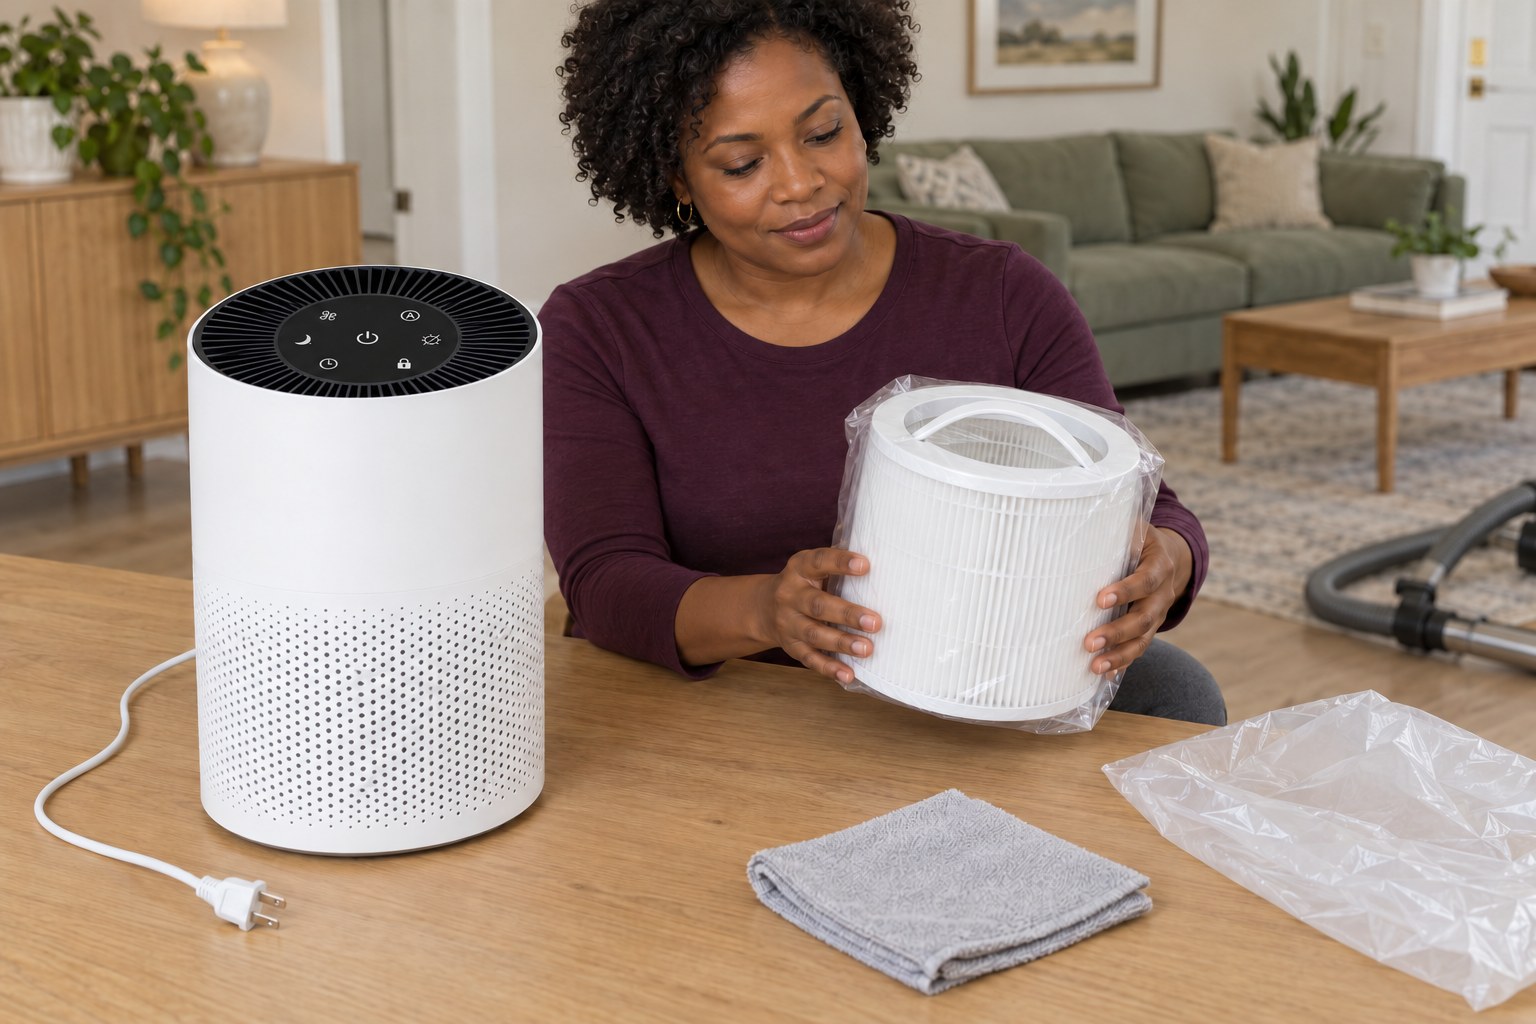
1. Match the purifier, replacement and reason for changing it
Check the purifier’s model label and its regional manual before opening the filter compartment. This guide follows the Core 300S model in the linked Core 300S-P US manual, with a removable twist-lock bottom cover. Choose a genuine replacement explicitly listed for that model. A check-filter light is a reminder to inspect, not proof that the cartridge has failed. Replace a visibly clogged filter or one due for replacement under the matched instructions; investigate persistent unusual noise or odors separately.
Photorealistic illustration · Waey
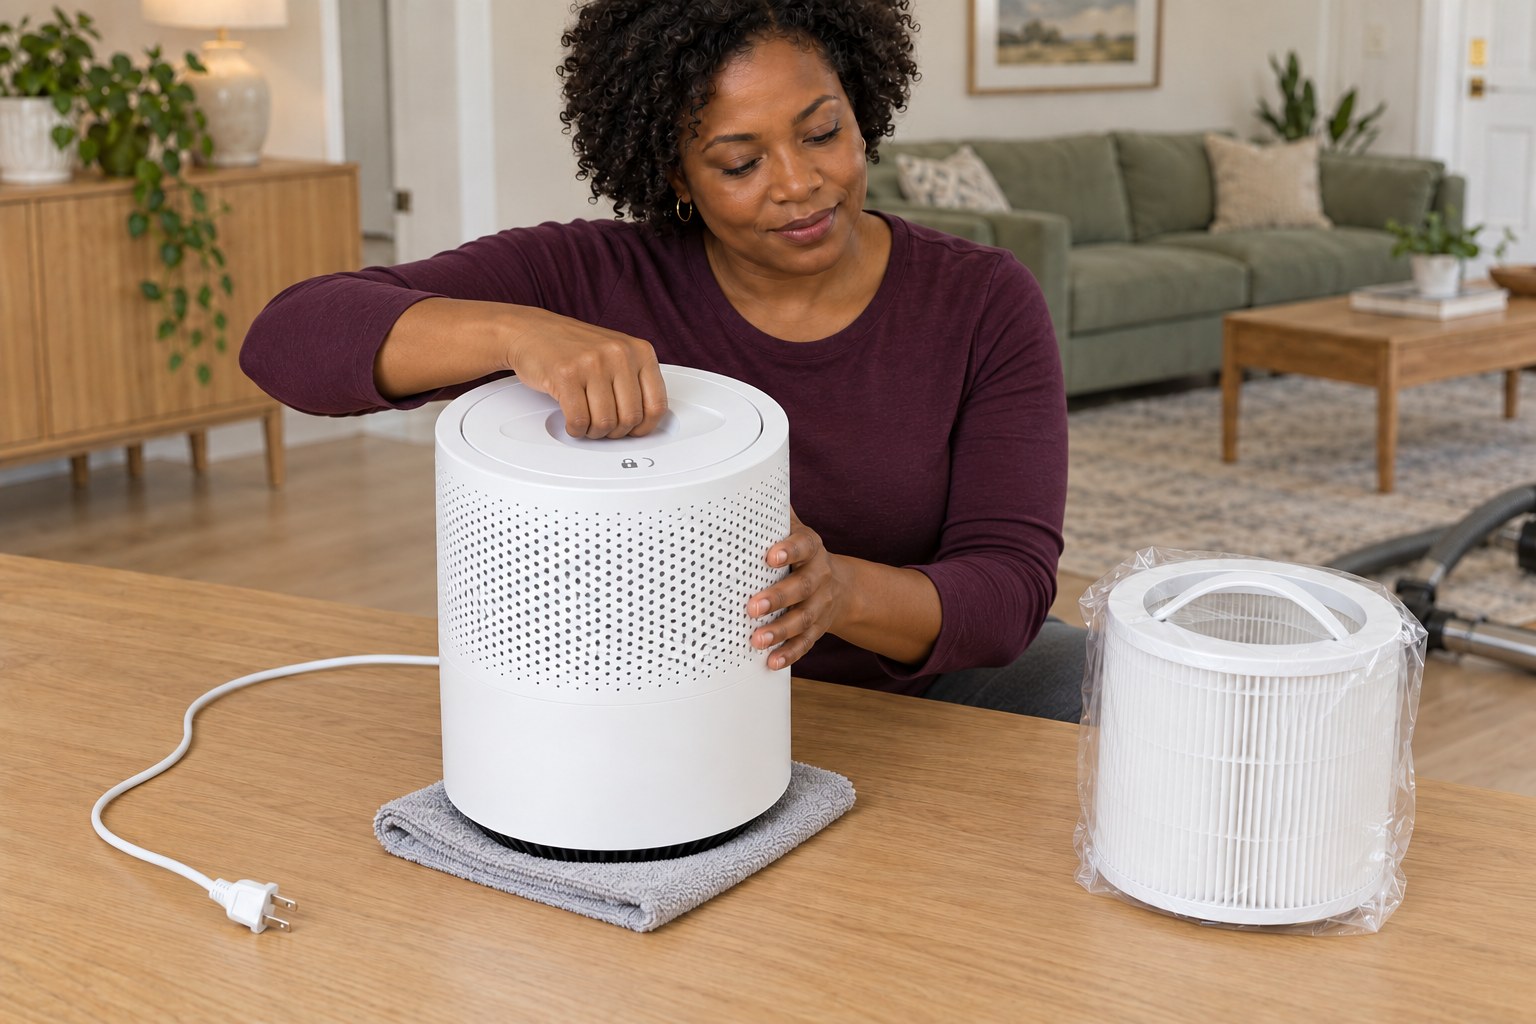
2. Switch off, unplug and open the bottom cover
Switch the purifier off and pull its plug from the outlet with dry hands. Put a clean soft cloth on a stable dry work surface, then carefully turn the unplugged unit upside down without pulling its cord or pressing the control panel against a hard surface. Hold the body steady and turn the bottom cover counterclockwise to unlock it. Lift the cover away; do not remove housing screws or open the motor compartment.
Photorealistic illustration · Waey
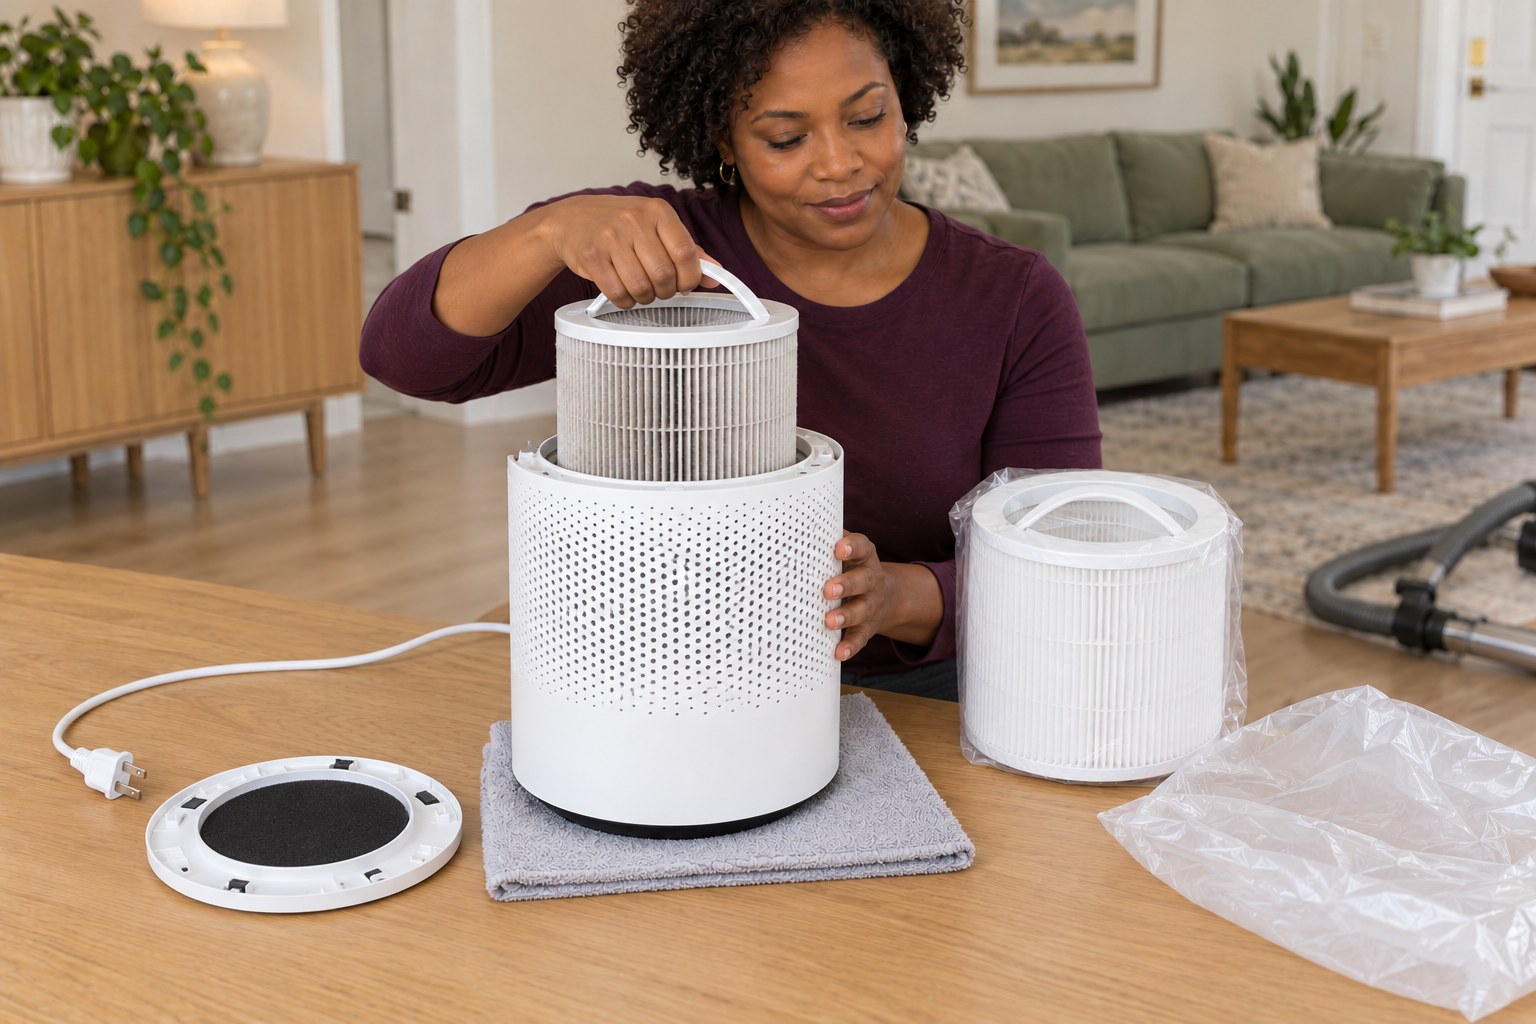
3. Remove the used filter without spreading its dust
Lift the old cartridge from the inverted housing using its handle, keeping it level and avoiding contact with the pleated media. Set it straight into a disposal bag and close the bag without shaking, brushing or beating the cartridge. Keep the old filter separate from the new one and away from children and pets. Do not wash the main filter or try to restore it with water, solvents or compressed air.
Photorealistic illustration · Waey
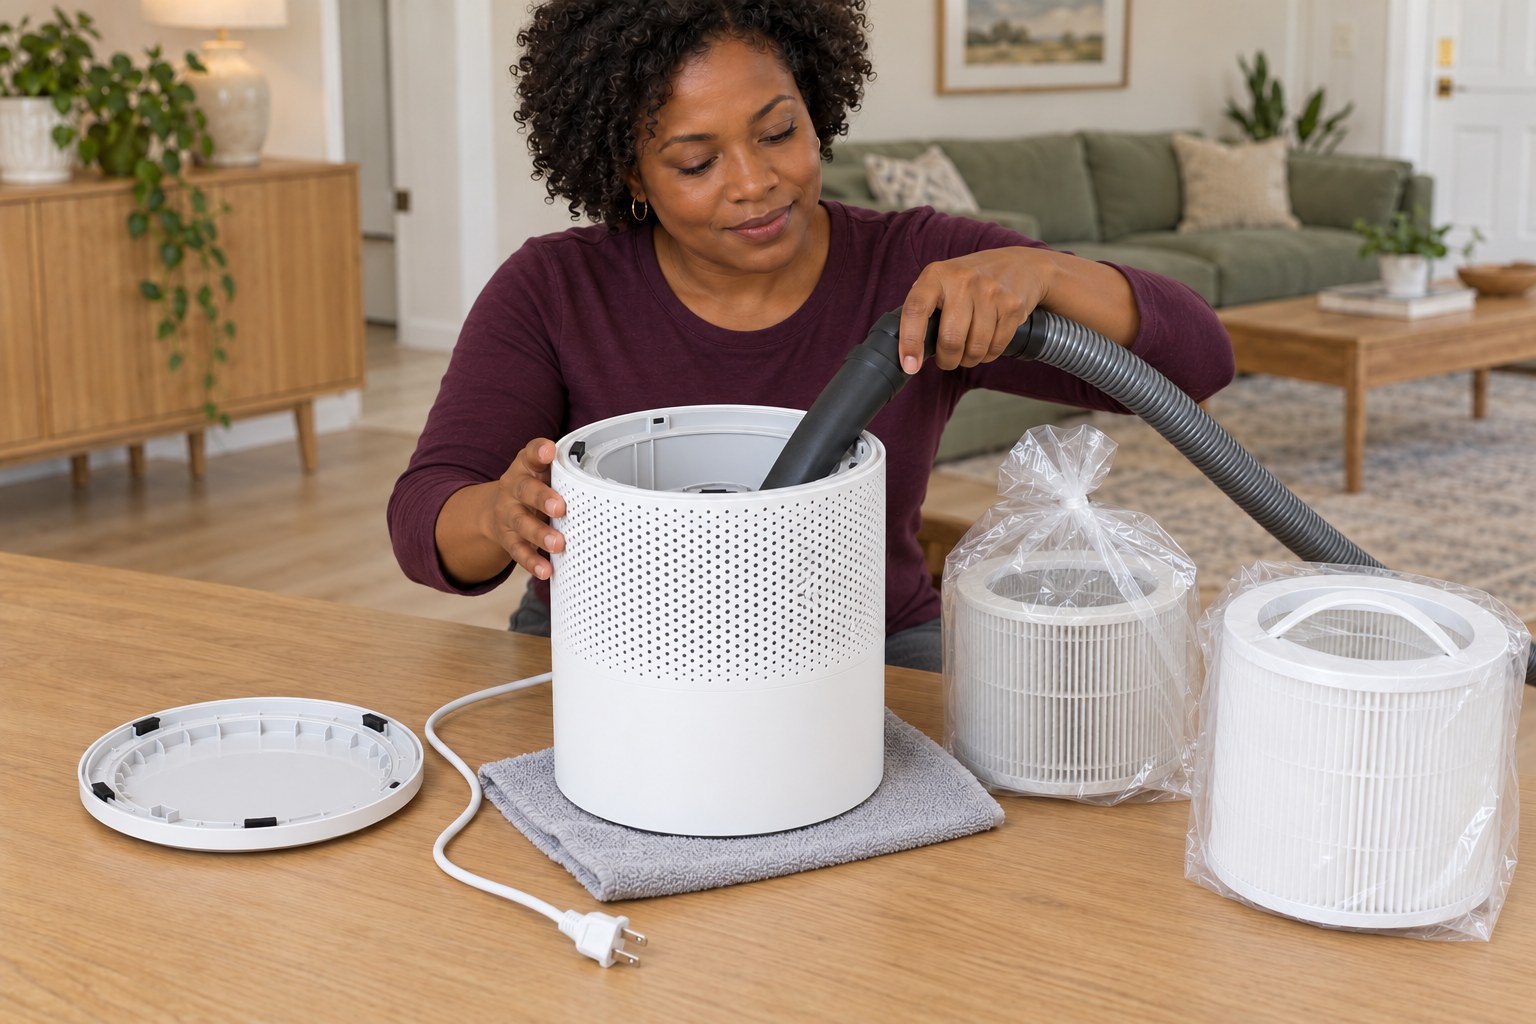
4. Vacuum loose dust from the empty compartment
Keep the purifier unplugged and the filter compartment open. Use a vacuum hose to collect loose dust and hair remaining inside the accessible chamber, without forcing the nozzle into the fan or dismantling anything. Do not add water, cleaning sprays, abrasive chemicals or flammable cleaners. Wipe the exterior with a soft dry cloth as needed. Stop for damage, moisture, a damaged cord or persistent burnt odor; a fresh cartridge does not repair an electrical fault.
Photorealistic illustration · Waey
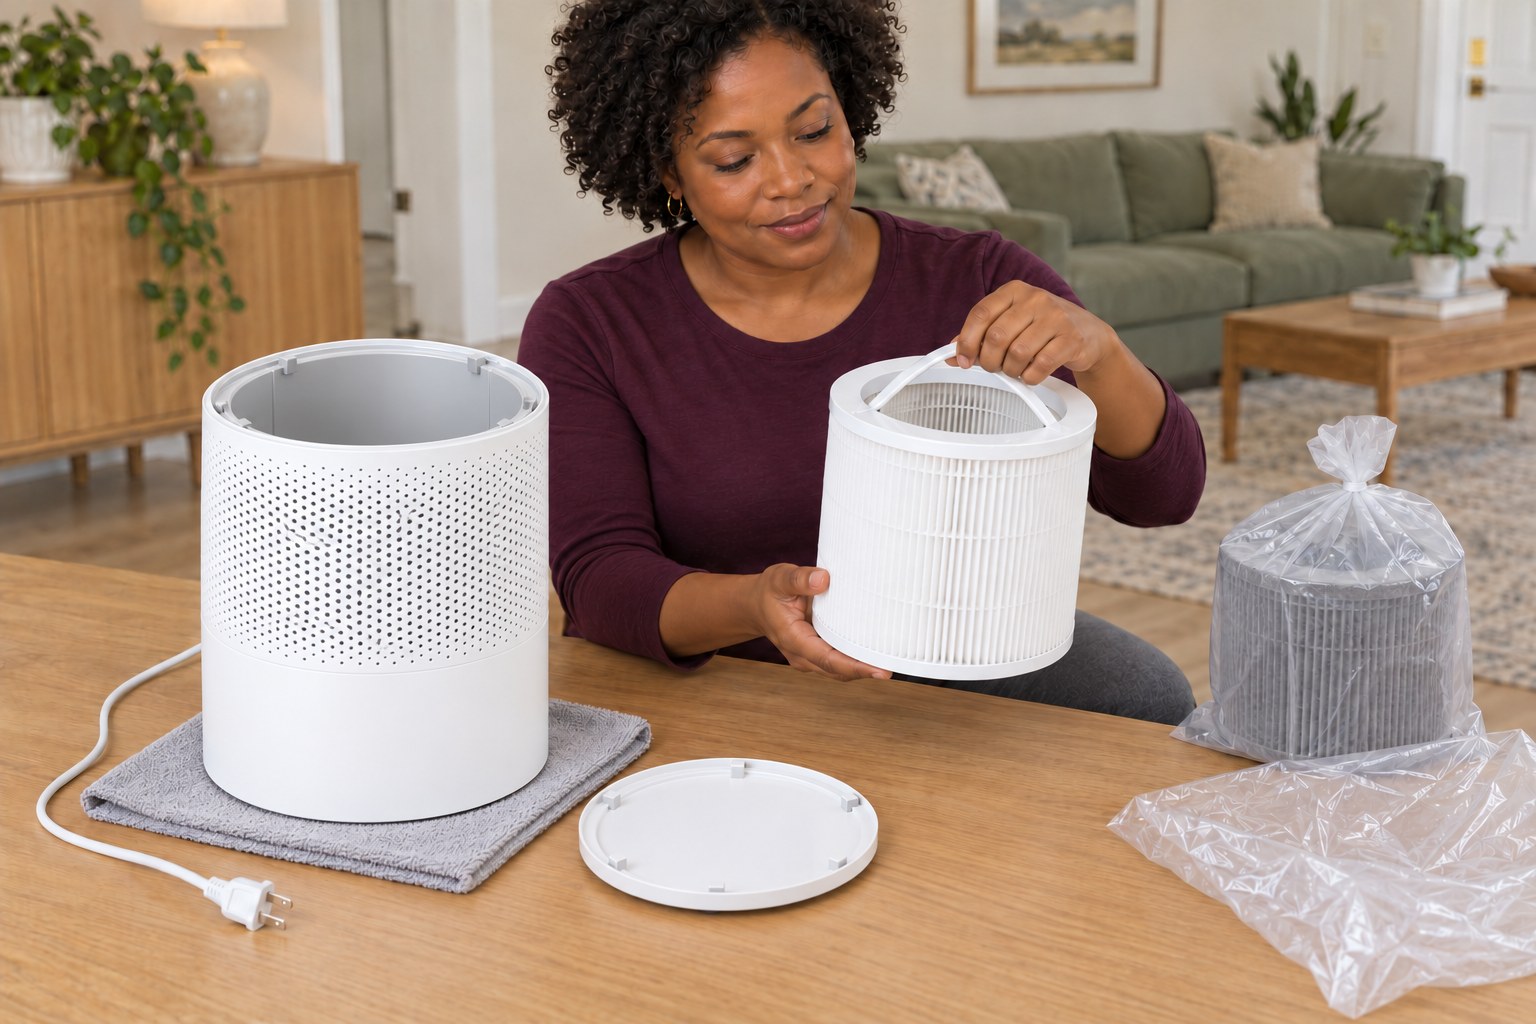
5. Unwrap and inspect the matched new cartridge
Check the replacement package against the purifier model again, then remove all plastic packaging from the new cartridge before installation. Keep the clean filter on a dry surface and handle it by its rigid rim or handle rather than crushing the pleats. Compare its shape and seating surfaces with the matched instructions, not just the old cartridge’s apparent size. Stop if it is damaged, damp or the wrong type. Put loose packaging out of children’s reach.
Photorealistic illustration · Waey
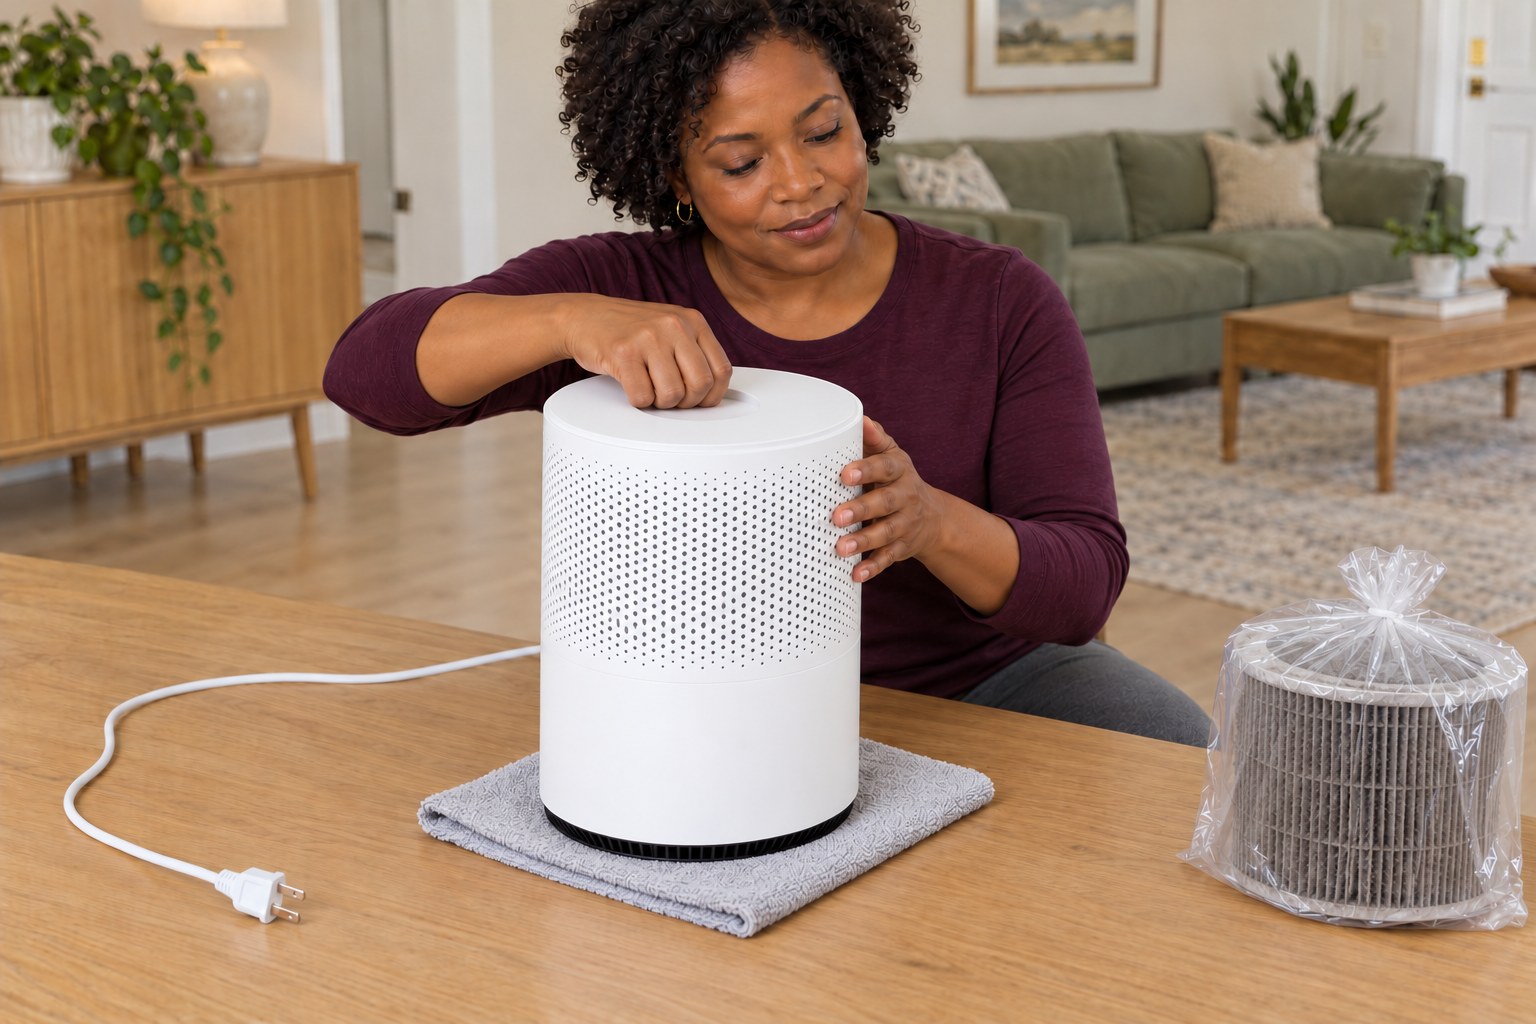
6. Seat the cartridge and lock the cover
With the purifier still upside down and unplugged, lower the unwrapped new filter fully into its chamber with the handle facing up toward you, as shown in the matched manual. Check that the rim sits evenly and no packaging or cord is trapped. Replace the bottom cover and turn it clockwise until it locks and snaps shut. Use the actual cover markings to confirm its position; do not force a cover that will not seat.
Photorealistic illustration · Waey
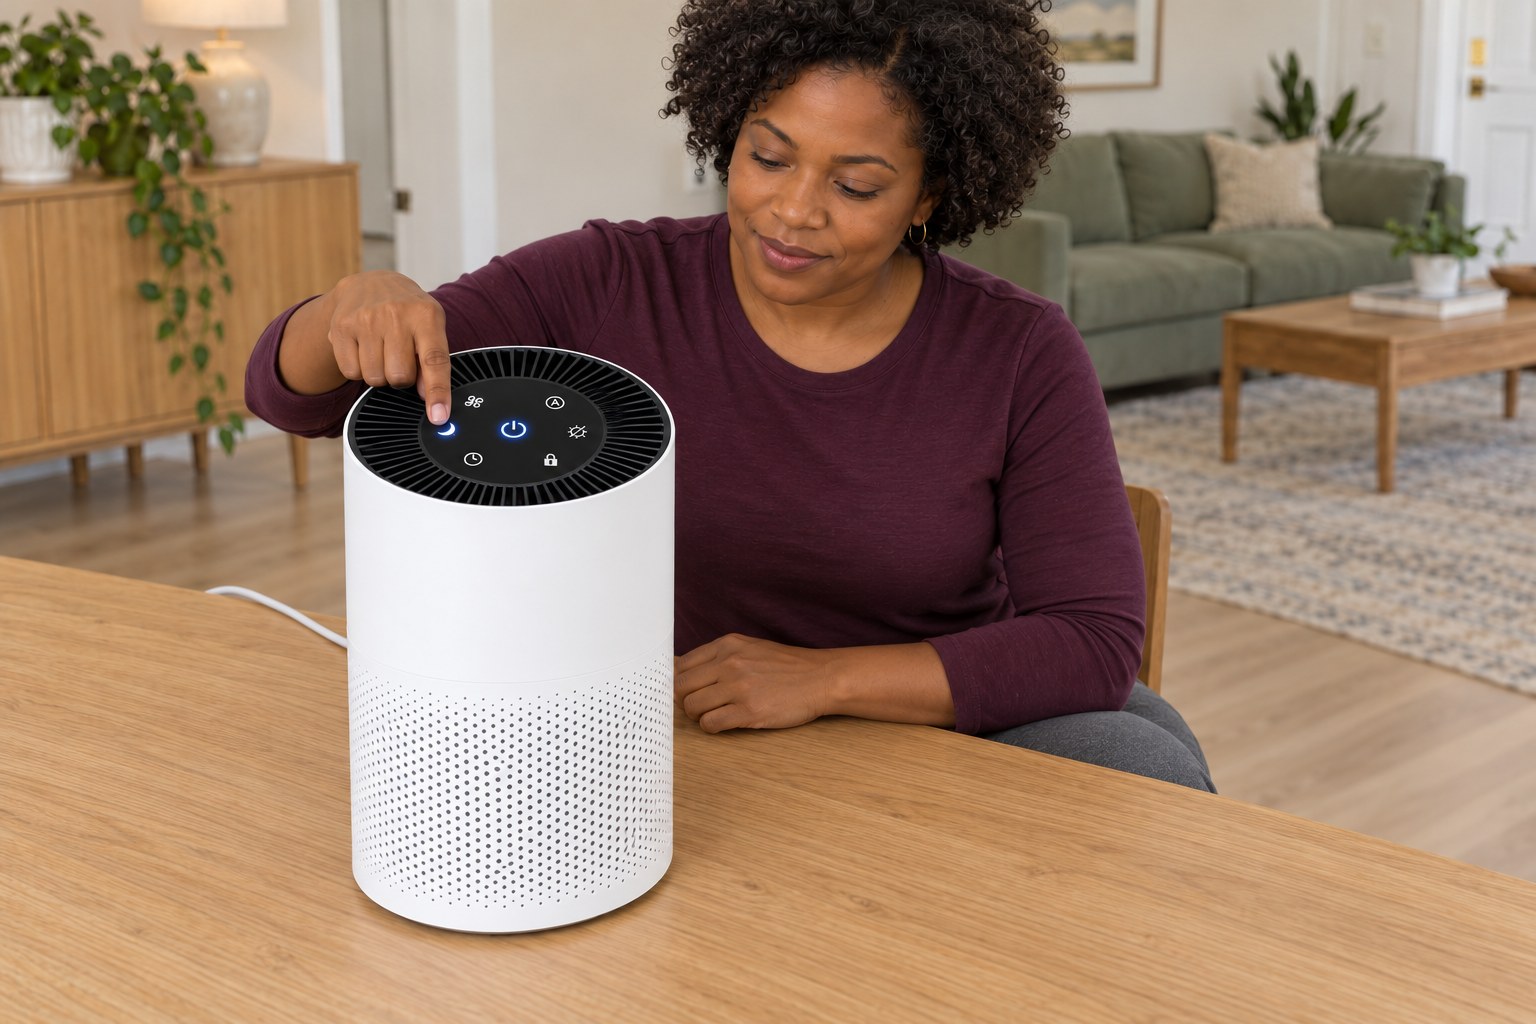
7. Return upright, test the fan and reset the reminder
Turn the closed purifier upright and place it on a flat stable surface with the display up and at least 15 inches or 38 cm clear on all sides. Keep curtains and other objects away from its airflow. Confirm the label matches the local supply, plug in and switch on. Check normal airflow and sound, then hold the crescent-moon Sleep Mode button for three seconds to reset the check-filter reminder. The filter-shaped indicator is not the reset button.
Photorealistic illustration · Waey
8. Confirm the reset and record the replacement
Confirm that the check-filter indicator turns off after the reset; when replacing early, the manual describes a brief three-second flash before it clears. Test the fan-speed control and leave the unit at a suitable setting with the air inlets and outlet clear. Record the cartridge type and replacement date, dispose of the bagged old filter appropriately and wash your hands. If airflow, noise or the indicator remains abnormal, switch off, unplug and follow model-specific troubleshooting instead of repeatedly resetting the light.
Video demonstrations
Levoit Core 300S Smart Air Purifier | Change the Filter Replacement | BEST Tutorial
HouseFresh shows the Core 300S bottom cover and cartridge replacement. Follow the matched manual for cleaning, packaging removal and reset.
HouseFresh · No caption track returned; narration not independently assessed
Watch on YouTube ↗How to Replace a Filter on a Smart Levoit Air Purifier Core 300S
Neal O shows Core 300S cover handling and the removable cartridge. Use the manual for installation checks and the correct reset control.
Neal O · English automatic captions available; narration not independently assessed
Watch on YouTube ↗Final checks
Packaging fully removed; handle correctly oriented; cover locked; upright operation with38cm clearance all around; normal airflow and sound; indicator clears after the matched Sleep-button reset. Record the actual date. A cleared light does not prove filtration performance.
Where to find supplies
If the reminder calls only for inspection, the outer pre-filter can be dry-cleaned according to the manual; do not reset merely to hide a warning. Main filter washing is not permitted. Use matched manufacturer support for a cover that will not close or persistent faults. This is maintenance, not an air-quality or medical assessment.
Software & apps
VeSync optional; local controls suffice for this replacement
Sources
Levoit — Core300S-P US manual, controls and filter replacement ↗
Levoit — Core300S-P model identity and linked manual ↗
Levoit — Core300/300S replacement compatibility and packaging removal ↗
Original generated instruction images individually reviewed. Manufacturer diagrams remain private technical references and are never generation inputs. Illustrations do not prove power isolation, actual filter fit, clearance or filtration performance. Videos belong to the credited creators.