
Replace the cabin filter in a matched 2020 Corolla sedan
Remove the supported glove box and filter tray, fit a VIN-matched UP-marked cartridge, restore every retainer and test the parked blower.
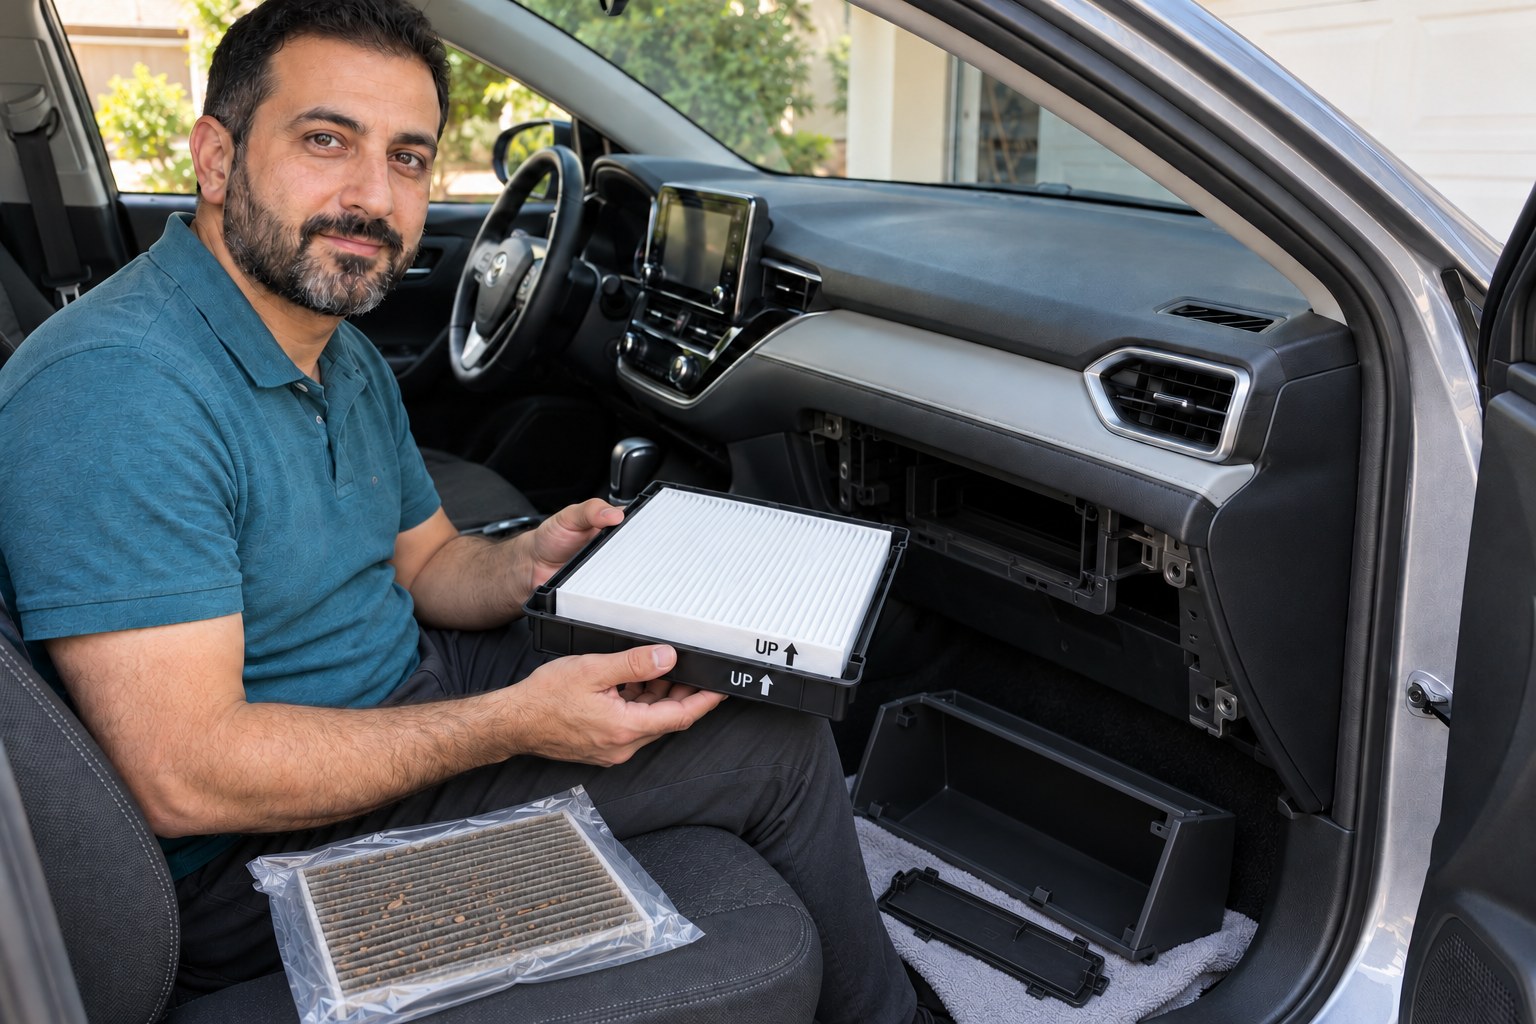
What will you learn?
Remove the supported glove box and filter tray, fit a VIN-matched UP-marked cartridge, restore every retainer and test the parked blower.
Tools
- Clean soft dry clothSearch Amazon Ireland ↗
- Small light for inspecting the accessible tray and latchesSearch Amazon Ireland ↗
- NotebookSearch Amazon Ireland ↗
- PencilSearch Amazon Ireland ↗
Materials
- VIN-confirmed cabin filter for the matched2020 Corolla sedan, using the UP-marked style described hereSearch Amazon Ireland ↗
- Disposal bag for used filter and loose debrisSearch Amazon Ireland ↗
Step by step
Photorealistic illustration · Waey
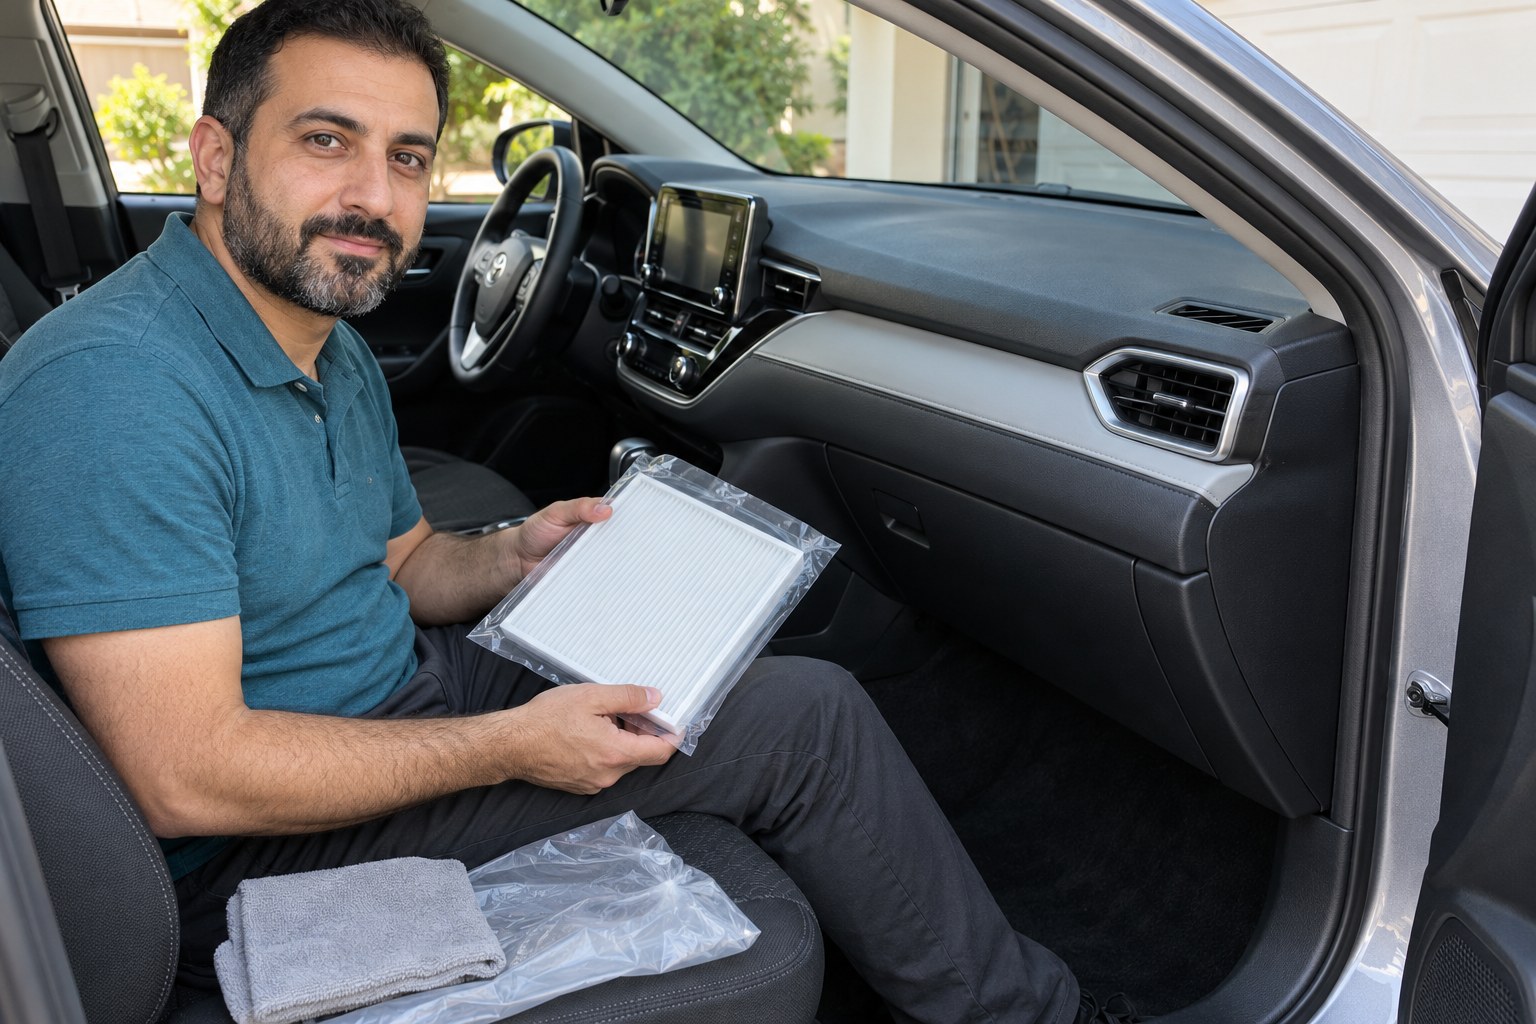
1. Match the sedan, manual and UP-marked replacement
This guide follows the US-market 2020 Corolla sedan glove-box and filter-tray arrangement on printed page 457 of the owner’s manual. Confirm the vehicle, production variant and replacement by VIN through Toyota’s parts system or a dealer; year alone does not select every filter option. Use a matched genuine-style cartridge marked UP for the procedure below. Park securely, apply the parking brake, switch the engine and blower off and empty the glove box. Stop if the actual arrangement differs.
Photorealistic illustration · Waey
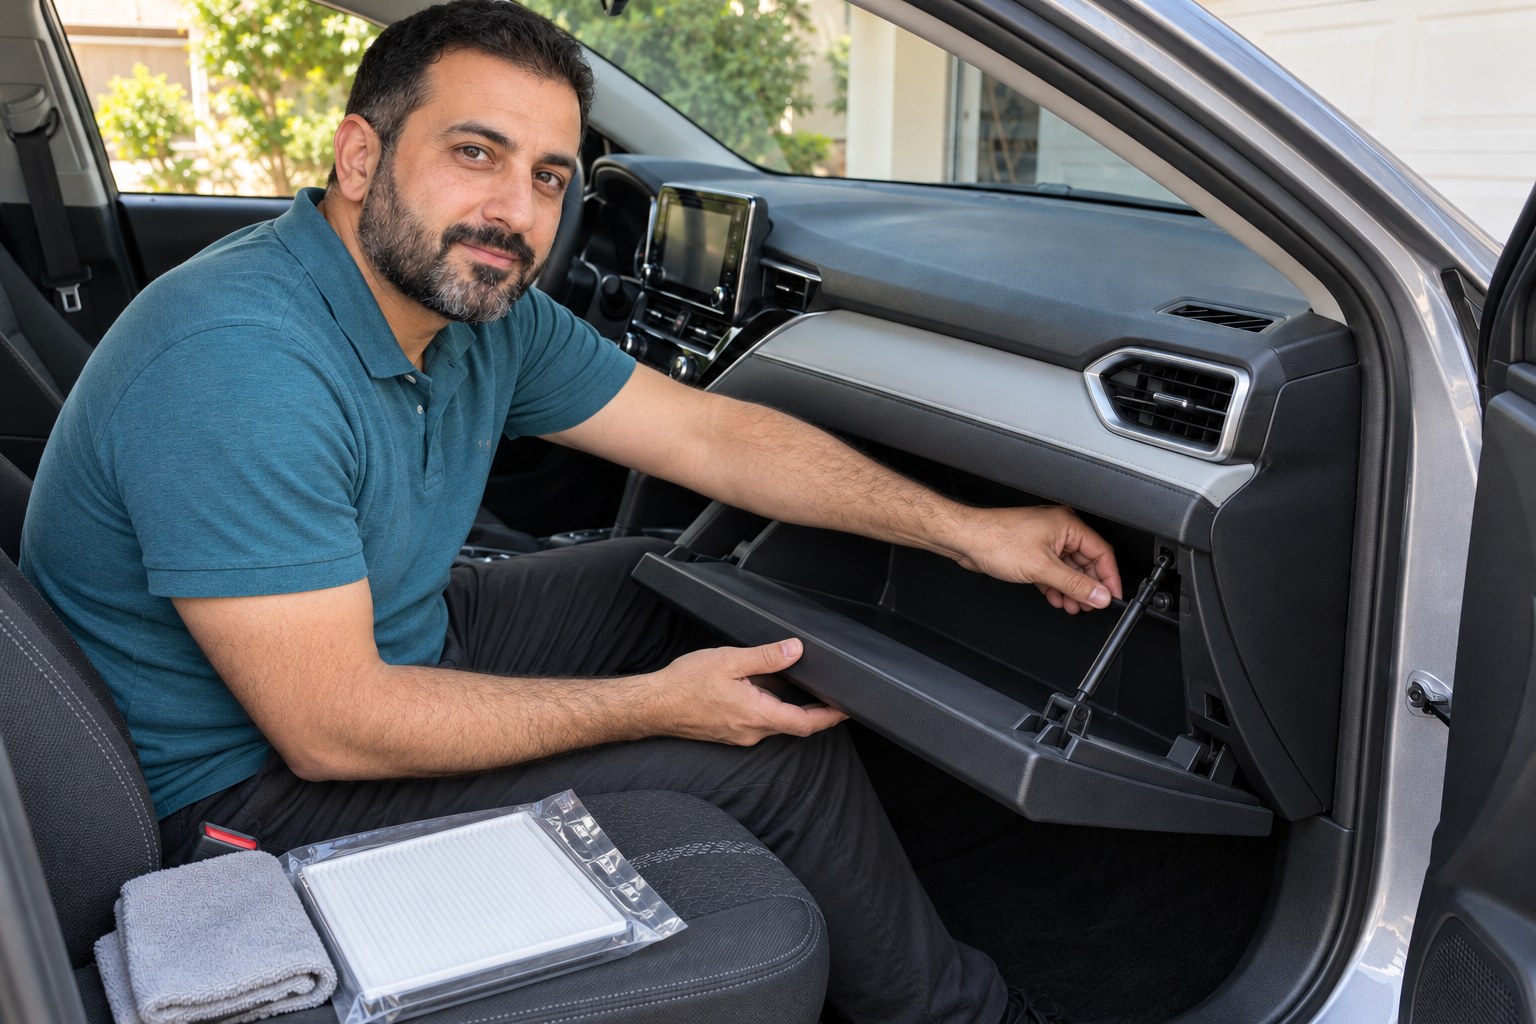
2. Support the glove box and release its damper and claws
Open the empty glove box and support it so it cannot drop. Slide the damper eye off its peg if the vehicle has the damper shown in the manual. Press the glove-box side on the vehicle’s outer, passenger-door side inward to release its retaining claws. Then draw the glove box outward to disengage its lower claws. Work gently; do not pull the damper rod, force the hinges or remove the surrounding dashboard or airbag trim.
Photorealistic illustration · Waey
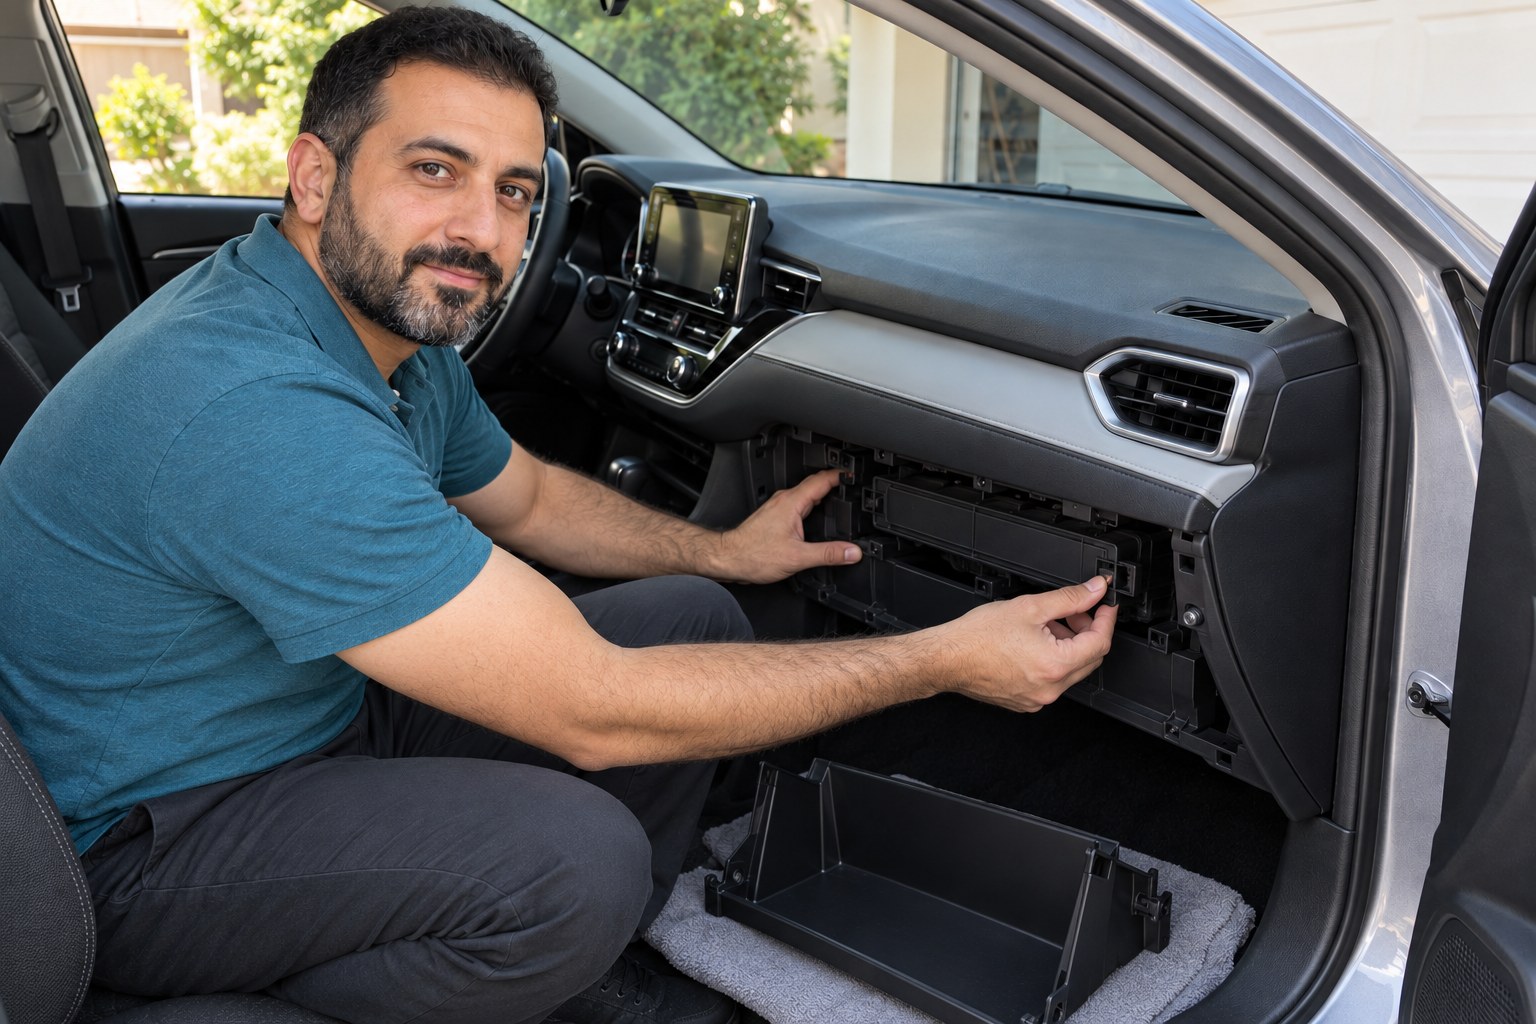
3. Remove the rectangular filter cover by its own latches
Locate the filter compartment behind the removed glove box and identify its separate rectangular cover. Compare the actual latch with the manual’s A release and B retaining-claw drawing. Release A, draw the cover out of the B claws and remove it, keeping track of its orientation. Do not treat the housing’s UP mark as an airflow arrow. Avoid nearby wiring and stop if a clip is broken, the cover does not release gently or the housing differs.
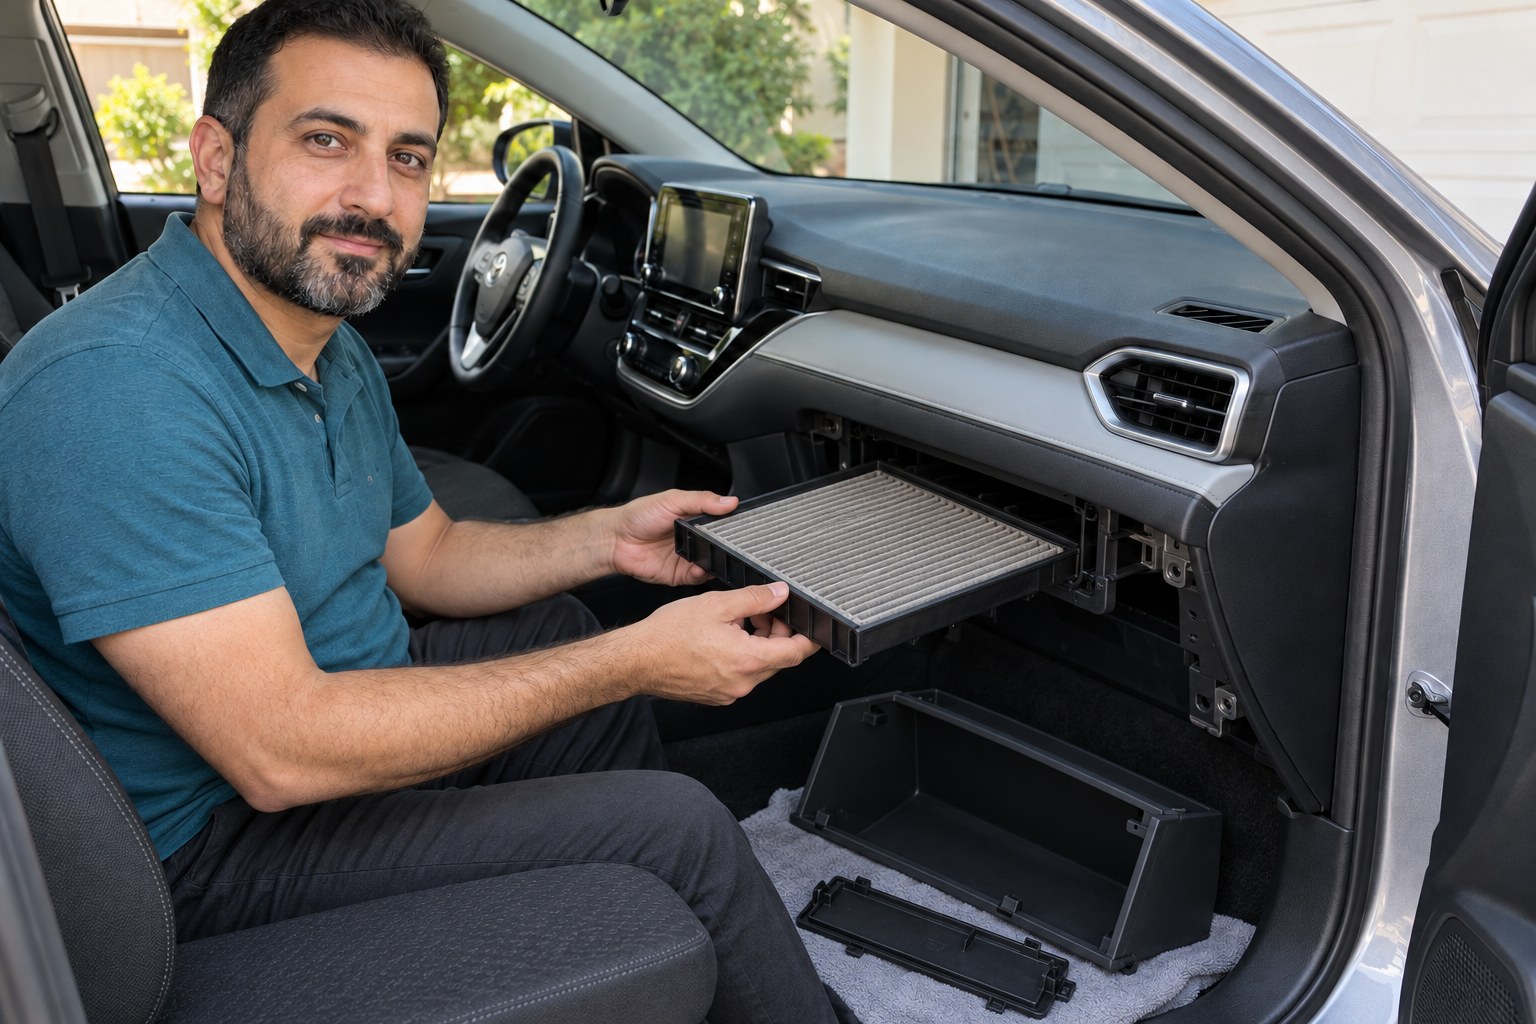
Photorealistic illustration · Waey
4. Withdraw the tray and contain the used filter
Slide the filter case straight out of the opening, noting how it sits and where its UP mark points. Keep the tray level so loose leaves and dirt remain on it rather than falling into the blower below. Lift the used filter from the tray and place it directly in a disposal bag without shaking it. Remove loose debris from the accessible tray gently; do not reach into the blower, spray cleaner into the housing or operate the fan with the opening exposed.
Photorealistic illustration · Waey
5. Fit the new cartridge with both UP marks upward
Confirm the replacement again before removing its protective packaging. Compare its perimeter and seating edges with the tray; fit it without crushing pleats, folding edges or leaving gaps. For the UP-marked cartridge used here, point the filter’s UP arrow upward and keep the case’s UP mark upward too. UP describes physical orientation. If the replacement instead says AIR FLOW, stop and use its vehicle-specific instructions; never automatically copy the UP arrow direction onto an airflow arrow.
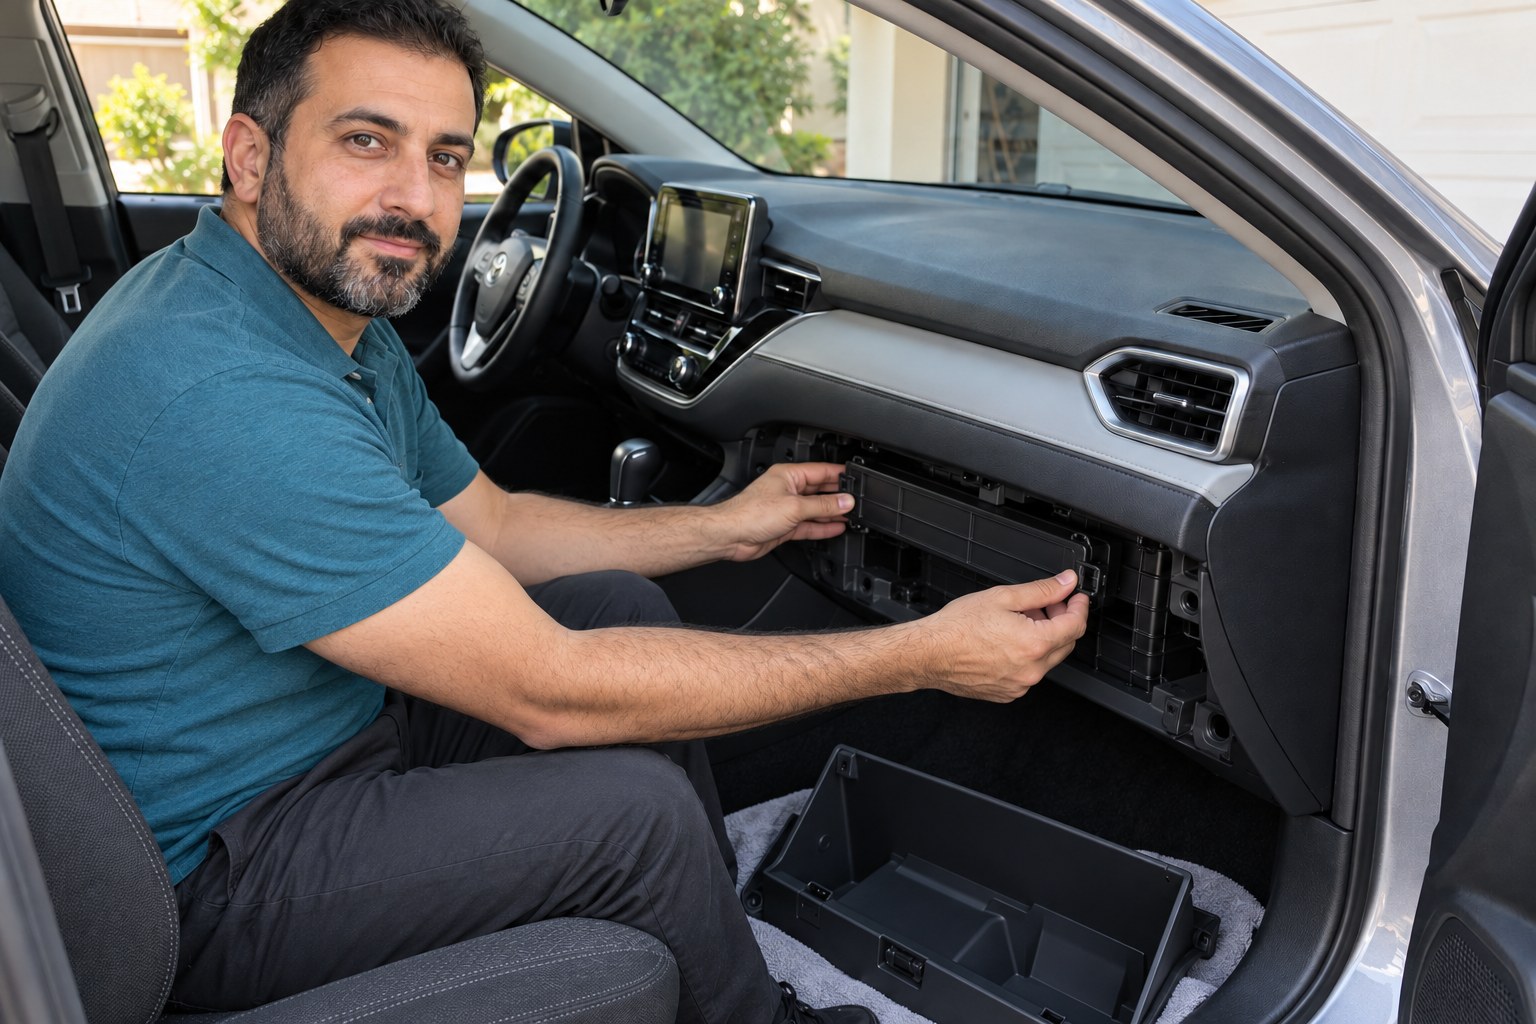
Photorealistic illustration · Waey
6. Return the case and secure the filter cover
Slide the loaded case back into its original guides, keeping its UP mark upright and the filter seated evenly. Do not force a tray that catches; withdraw it and check alignment and cartridge fit. Refit the separate cover with its retaining claws engaged and latch it securely. Check that the cover sits evenly and cannot pull free with a gentle check. Do not switch the blower on until the case and cover are correctly installed.
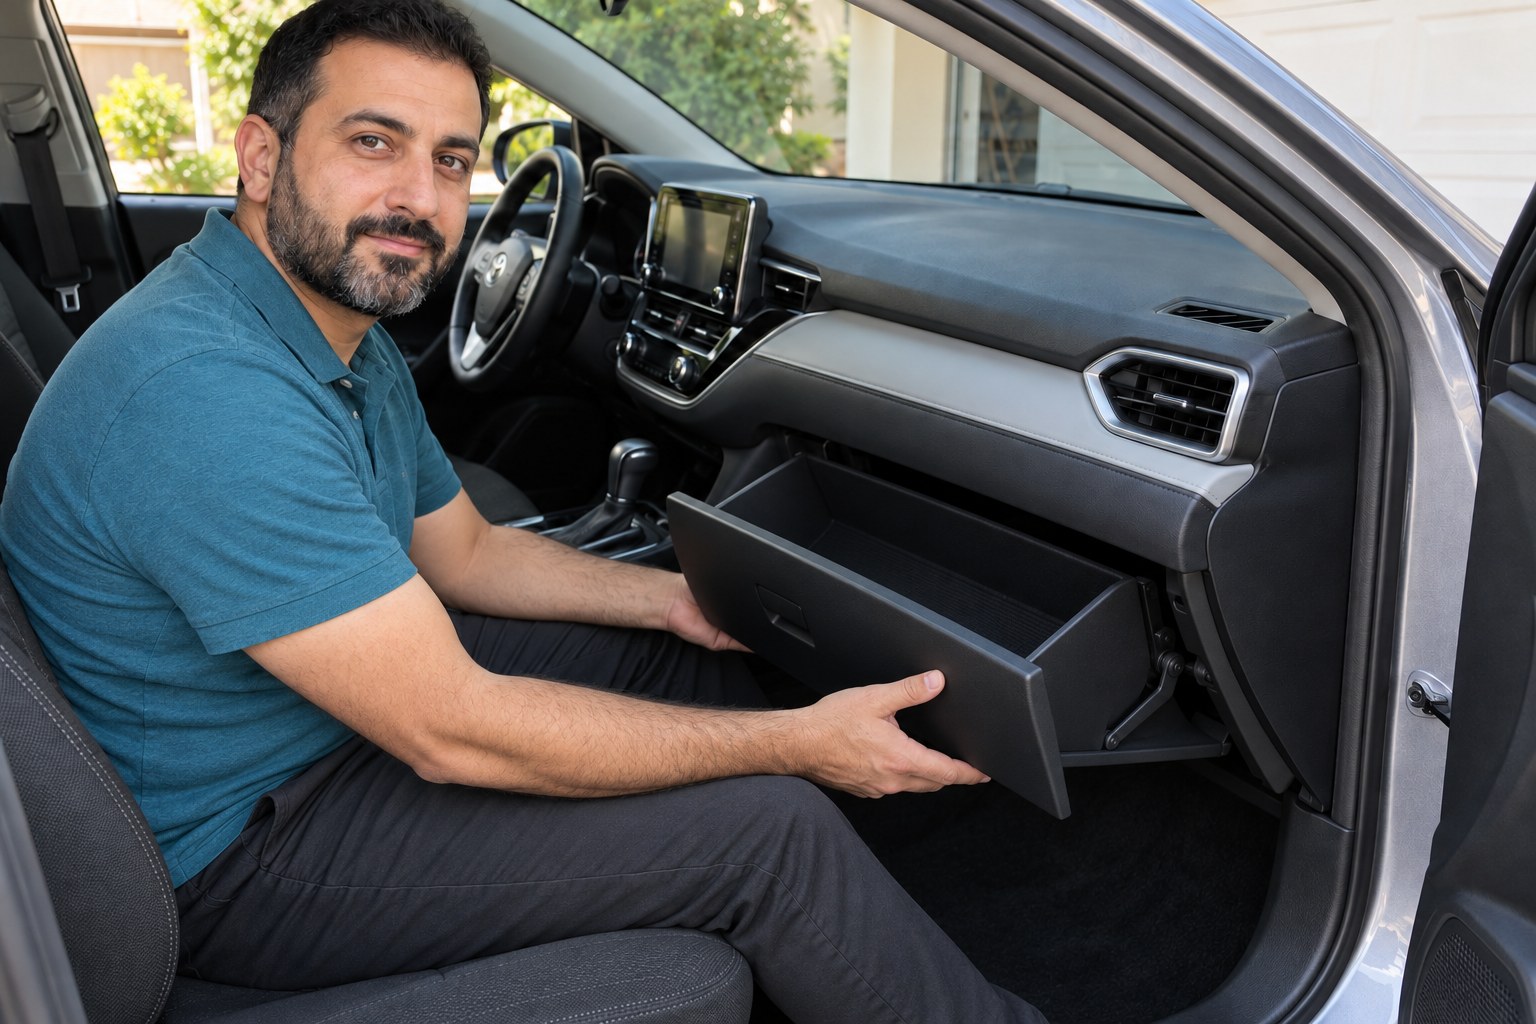
Photorealistic illustration · Waey
7. Refit the lower claws, side retainers and damper
Support the glove box, align its lower claws with their original mounting points and seat them gently. Return the side retaining claws into position without bending them beyond the movement used for removal. Reattach the damper eye to its peg if fitted, without twisting or stretching the rod. Open and close the empty glove box slowly to confirm smooth support and a secure latch. Stop for a loose hinge, missing damper connection, rubbing or a lid that will not latch.
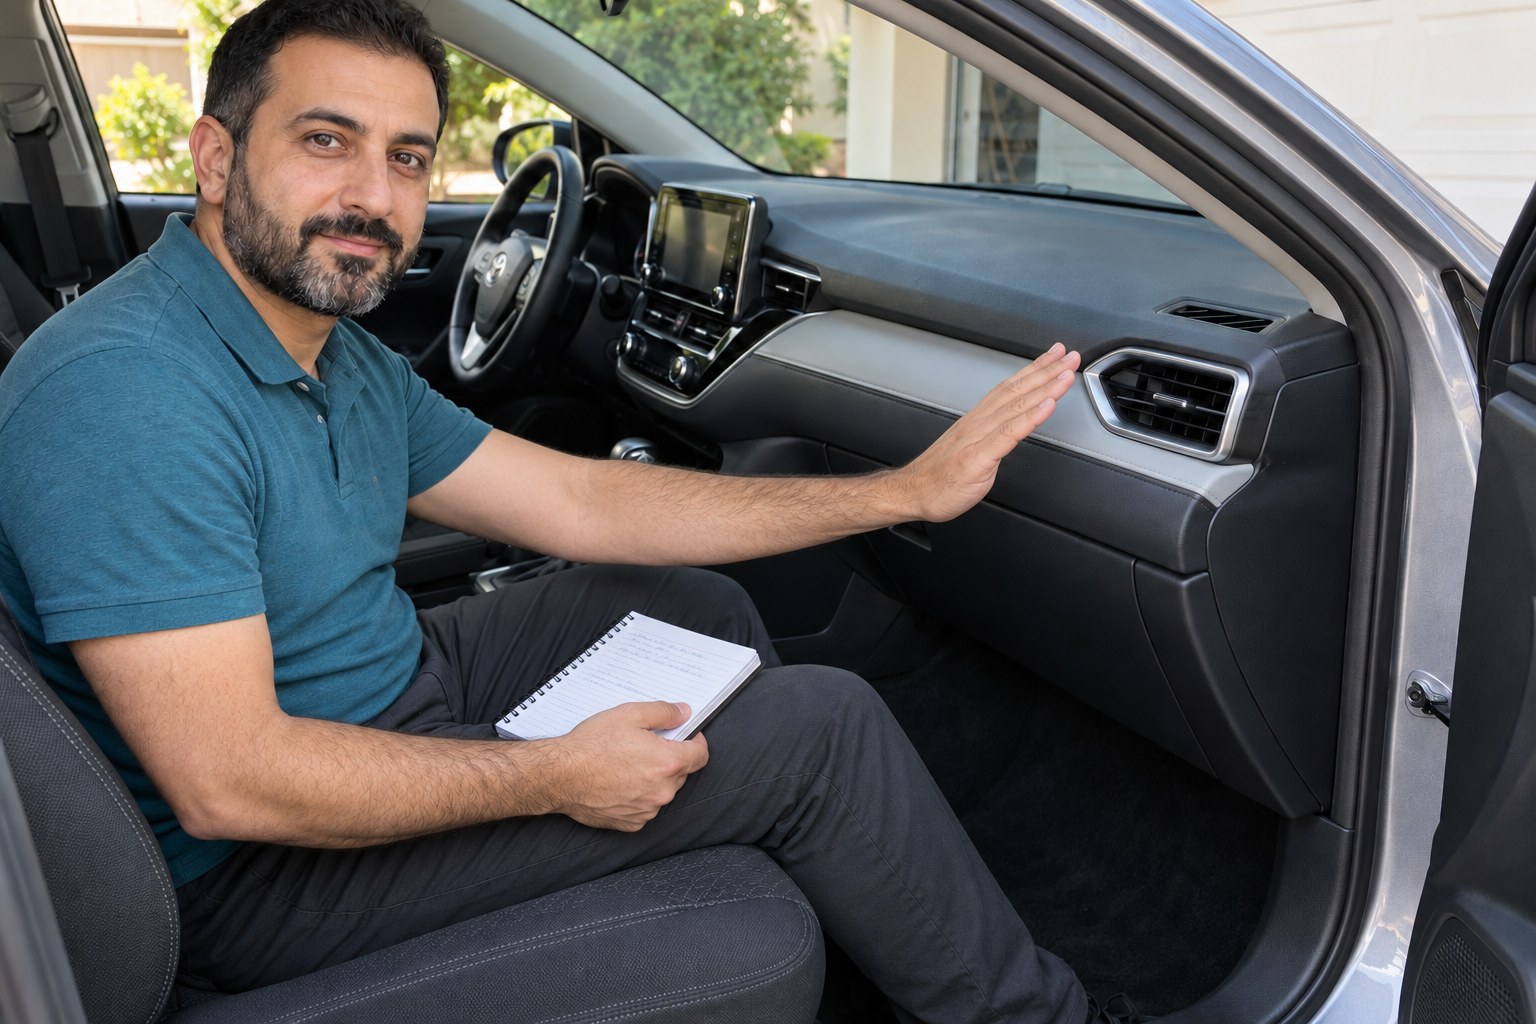
Photorealistic illustration · Waey
8. Test the blower while parked and record the change
With the filter cover and glove box closed, briefly use the normal ignition-ON, engine-off mode to test the blower at low and then another fan speed. Keep hands and loose items away from vents and listen for scraping or unusual noise. Check ordinary airflow without treating it as a filtration-performance test. Switch the vehicle and blower off afterward, return the glove-box contents and record the date and confirmed filter part. Investigate abnormal noise or restricted airflow before driving.
Video demonstrations
Toyota Corolla 2020 Cabin Air Filter Replacement | AQ1262
Filterheads shows access to the Corolla cabin-filter tray. Its aftermarket AIR FLOW arrows point down; this guide uses a matched UP-marked cartridge pointing up.
Filterheads · English automatic captions available; narration not independently assessed
Watch on YouTube ↗2020 Toyota Corolla Ac Cabin Air filter replacement how to location
Oil Light Reset shows glove-box access and tray removal/refitting on a2020Corolla. Confirm your vehicle arrangement and replacement markings first.
Oil Light Reset · English automatic captions available; narration not independently assessed
Watch on YouTube ↗Final checks
Filter and case UP marks upright; cartridge seated without folds/gaps; tray and separate cover secure; glove-box lower/side claws and optional damper restored; smooth opening and latching; normal brief engine-off blower test. Record the actual confirmed part and date.
Where to find supplies
Production origin, equipment and part supersessions affect selection; use VIN confirmation instead of a universal part number. For an AIR FLOW-marked filter follow its own matched instructions. Stop for a different glove-box or tray arrangement, broken latch or persistent blower fault; obtain model-specific service support.
Sources
Toyota-authored 2020 Corolla manual, printed457 diagram in third-party viewer ↗
Toyota Parts and Service — cabin filter application chart with production variants ↗
Frontier Toyota — genuine pollen-filter family and current substitution information ↗
Original generated instruction illustrations created for Waey. Videos belong to their credited creators.