
Clean a Bosch TAT3A011GB toaster and refit its crumb tray
Clean accessible crumbs, the original tray and the exterior of a cool unplugged TAT3A011GB/01, then refit and return to normal supervised use.
What will you learn?
Clean accessible crumbs, the original tray and the exterior of a cool unplugged TAT3A011GB/01, then refit and return to normal supervised use.
Tools
- Clean dry firm-bristle brush for the accessible warming-rack areaSearch Amazon Mexico ↗
- Soft well-wrung damp cloth and a separate dry clothView at The Home Depot México (HDX soft microfibre, 12 pack) ↗Search Amazon Mexico ↗
Materials
- Intact previously used TAT3A011GB/01 and its original crumb tray
- Absorbent paper to collect loose crumbsView at Soriana México (Regio Rinde+ toallas de papel) ↗Search Amazon Mexico ↗
- Plain sliced bread for the normal return-to-use checkView at Grano de Oro México (Bimbo pan blanco, catálogo) ↗Search Amazon Mexico ↗
Step by step
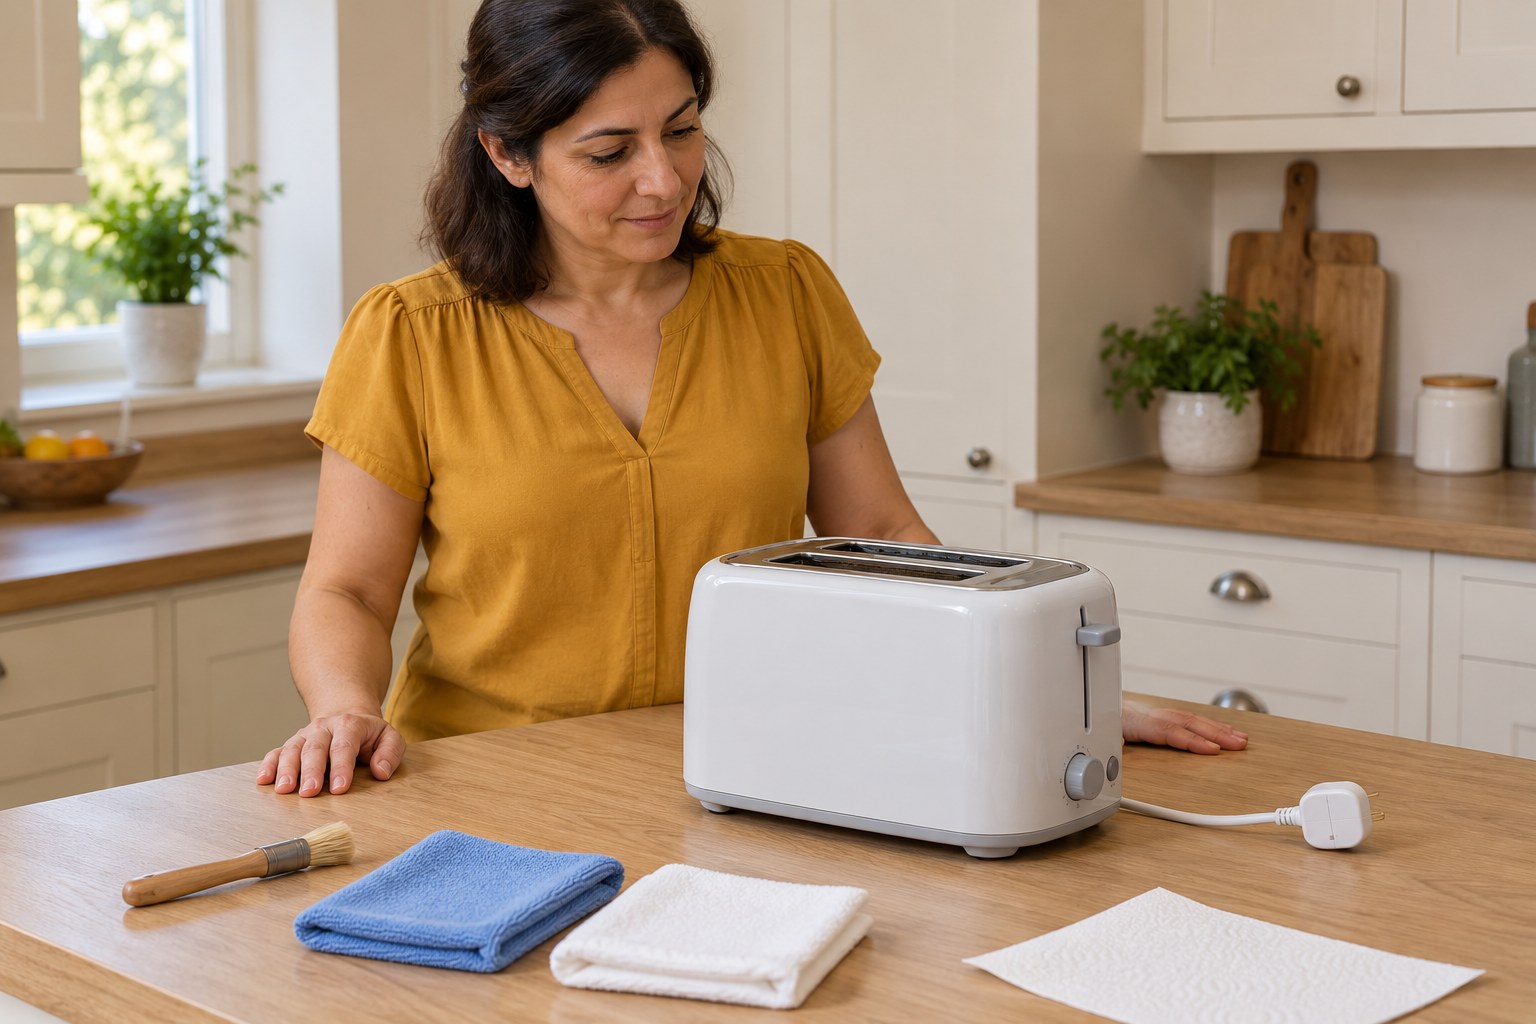
Photorealistic illustration · Waey
1. Disconnect, cool and match the toaster
Finish or cancel any toast cycle, unplug by holding the plug and let the toaster cool completely. Check the label for TAT3A011GB/01 and use the compact two-slot diagram in its matched manual. Place it upright on a dry counter away from water and inspect the cord, plug and body. Stop for damage or a stuck mechanism; this is routine cleaning of an intact, previously used toaster, not an internal repair.
Photorealistic illustration · Waey
2. Clear accessible crumbs beneath the warming rack
With power still disconnected, use the dedicated warming-rack control if needed to reach the accessible area beneath the rack. Use a clean dry firm brush to remove those loose crumbs gently, following the matched diagram. Keep the brush and your fingers outside both toast slots; do not push tools toward the heating elements. Leave inaccessible deposits for manufacturer advice rather than shaking the appliance, bending the rack or opening the casing.
Photorealistic illustration · Waey
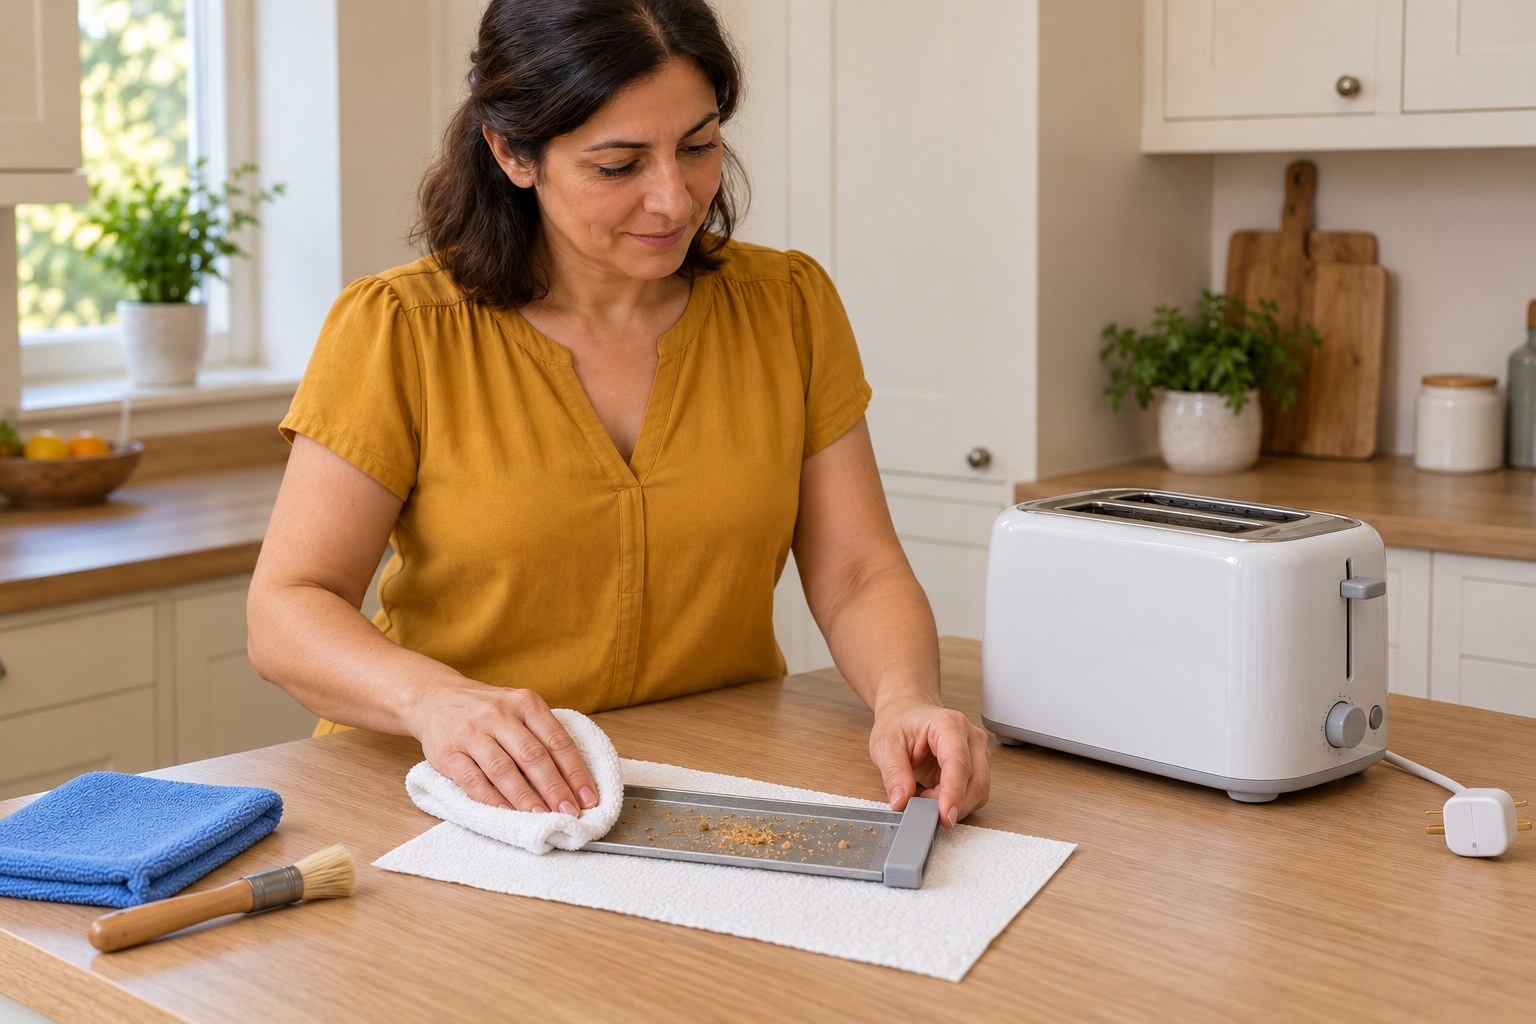
3. Remove, empty and wipe the crumb tray
Identify the original crumb-tray handle, labelled7 in the compact diagram. Draw the tray out gently along its existing guides while keeping it level over absorbent paper, then empty the loose crumbs into a bin. Wipe the detached tray clean with a dry cloth and check that it is sound. Do not force a jammed tray or assume that generic advice to soak or dishwash a tray applies to this model.
Photorealistic illustration · Waey
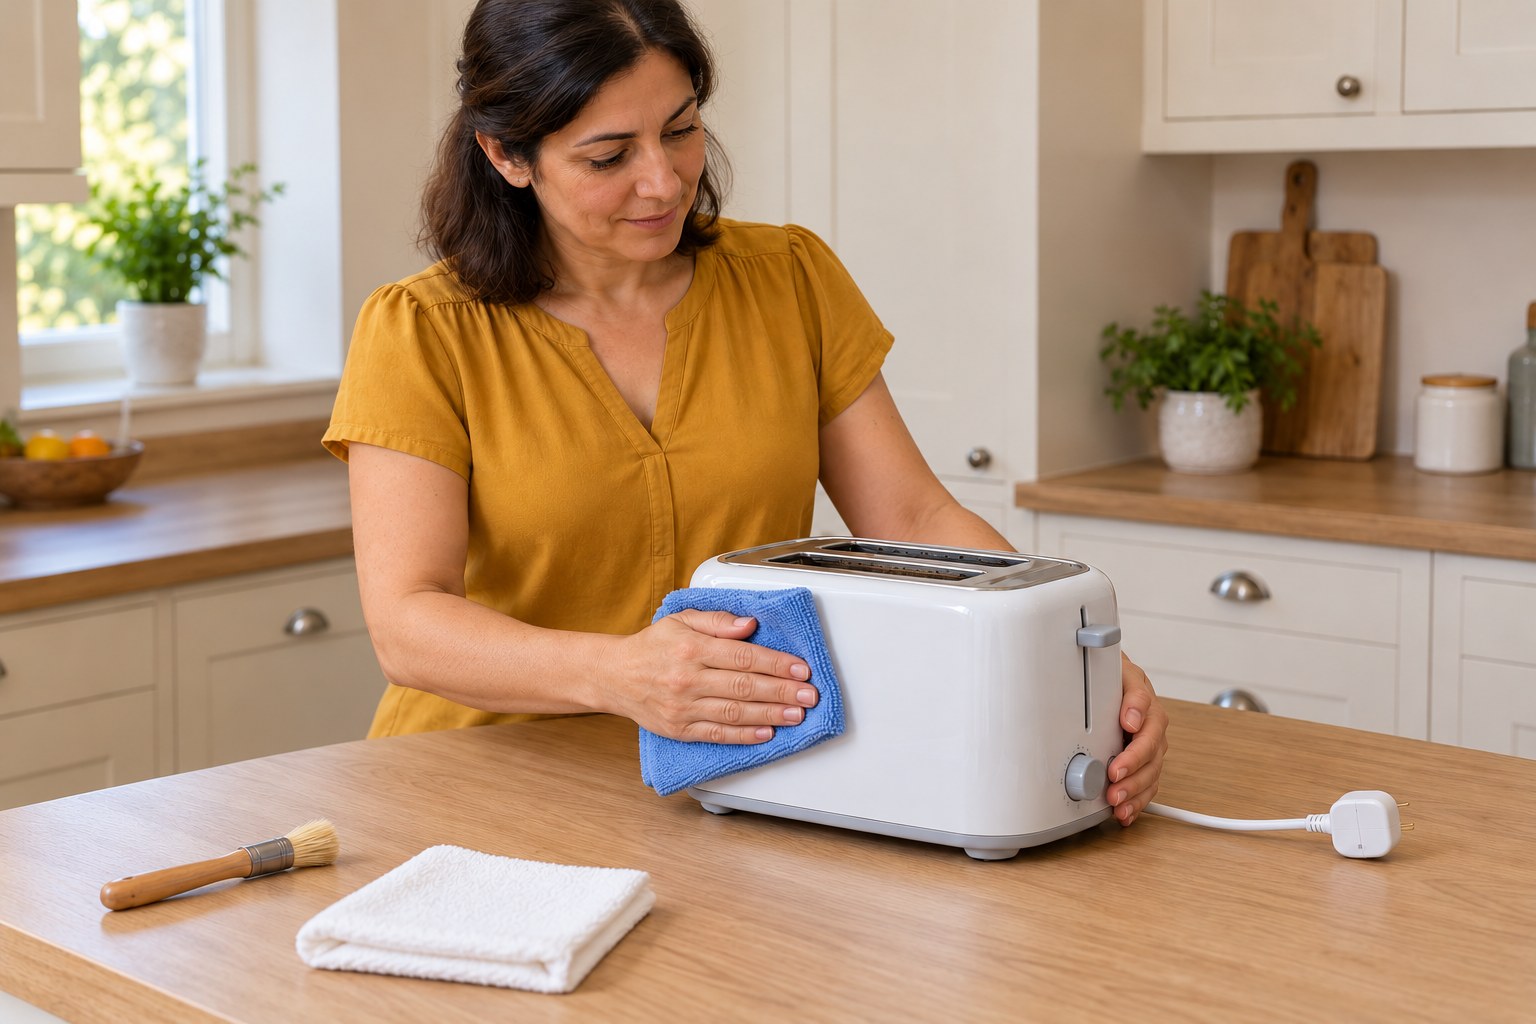
4. Wipe the exterior and let everything dry
Use a soft well-wrung damp cloth on the outside of the cold, disconnected body, then wipe it dry. Keep moisture away from the slots, controls, cord entry and plug. Do not immerse the toaster, put it in a dishwasher, steam-clean it or use oven/grill spray, strong cleaners or abrasives. Keep the tray clean and dry and allow all cleaned exterior areas to dry completely before reconnecting power.
Photorealistic illustration · Waey
5. Refit the tray and check the work area
With the plug still disconnected, slide the clean dry original tray back along its guides until seated correctly; check its fit without forcing it. Never operate this toaster without the tray. Clear away the brush, cloths, paper and spilled crumbs, then place the toaster upright on a stable dry surface away from curtains and other flammable items. Check that both slots are clear and the intact cord is safely routed.
Photorealistic illustration · Waey
6. Return to normal use under supervision
Once everything is dry and correctly refitted, reconnect to the supply specified on the actual label. Use plain sliced bread that fits and your usual browning setting; choose a lower setting for one slice. Stay beside the toaster. The bread should rise and the Stop light go out at the end; use Stop to finish early if needed. Stop and unplug for unusual smoke, smell or malfunction. Unplug after use and let it cool before storage.
Video demonstrations
Clean Toaster Crumb Tray - Tech Tips from Repair Clinic
RepairClinic generic crumb-tray demonstration visually checked at0:20: a detached tray with dry crumbs is drawn out. Different toaster shown; this supports the removable-tray concept only, not Bosch geometry, cleaning chemistry or a model-specific procedure. Matched Bosch manual governs. No complete audiovisual review.
RepairClinic.com · English ASR caption track listed; selected visual sample reviewed, speech not fully assessed
Watch on YouTube ↗Best Compact Toaster? BOSCH TAT3A011 Review
TAT3A011 family review visually checked at0:45 showing two separate slots and raised toast. This supports compact-slot geometry and return-to-use context only. Different regional label/supply may apply; the exact GB/01 manual governs. The1:40 end-card was not counted as useful instruction. No complete audiovisual review.
RANDOM REVIEWZ · English on-screen text in selected sample; no caption tracks listed, speech not fully assessed
Watch on YouTube ↗Final checks
Tray clean/dry and fully seated; no tools or moisture in slots; exterior dry; cord intact; ordinary supervised toast ends normally; unplugged after use.
Where to find supplies
Other models and long-slot variants need their own diagrams. This is owner cleaning of an existing used toaster, not first-use burn-in, slot scrubbing, stuck-bread extraction, electrical repair or tray soaking.
Sources
Exact TAT3A011GB/01 official service page ↗
Current service-linked English/German/Arabic family manual9001674164_A ↗
Three original generated instruction illustrations reviewed individually and in the final JPEG sequence. Preparation is reused for cooling, brush preparation, refitting checks and return-to-use preparation; no brush is shown inside the slots. Detached tray dry-wiping and exterior-only wiping are separate illustrations. All pictures remain cold and unplugged; they do not prove exact tray withdrawal/locking, electrical label or plug rating, dry interior, control layout or successful powered toast. Actual matched manual governs. Manufacturer images/manual drawings and video frames remain private references and were never generation inputs.