
Try a cup plunger on a slow bathroom basin
Make one short controlled attempt to clear a small local basin blockage with a flat-cup plunger and a sealed overflow. Check drainage and leaks afterwards, and stop for chemical use, wider drain problems or an unsuccessful attempt.
What will you learn?
Make one short controlled attempt to clear a small local basin blockage with a flat-cup plunger and a sealed overflow. Check drainage and leaks afterwards, and stop for chemical use, wider drain problems or an unsuccessful attempt.
Tools
- Dedicated clean sink plunger with a flexible flat cupSearch Amazon Mexico ↗
- Clean jug or scoopView at Ideen Stores (jarra plástica con asa, 1 L) ↗Search Amazon Mexico ↗
- BucketView at Soriana México (cubeta Cubasa de 10,5 L) ↗Search Amazon Mexico ↗
- Damp cloth for covering the overflowView at The Home Depot México (HDX soft microfibre, 12 pack) ↗Search Amazon Mexico ↗
- Protective towelView at IKEA México (VÅGSJÖN absorbent towel, 40x70 cm) ↗Search Amazon Mexico ↗
- Tray for the wet plungerView at Al Natural México (rigid transplant tray, 35 × 26 cm) ↗Search Amazon Mexico ↗
- Household glovesView at IKEA México (RINNIG natural latex gloves, Small) ↗Search Amazon Mexico ↗
- Eye protectionView at Uline México (Uvex Stealth goggles, minimum 2) ↗Search Amazon Mexico ↗
- Separate dry cloth for checking pipe jointsView at The Home Depot México (HDX soft microfibre, 12 pack) ↗Search Amazon Mexico ↗
Materials
- Small amount of clean cool or comfortably warm water
- Disposable tissueView at Walmart México (pañuelos Kleenex, una caja) ↗Search Amazon Mexico ↗
- Suitable waste bag for debrisView at Walmart México (bolsas medianas Great Value) ↗Search Amazon Mexico ↗
Step by step
Photorealistic illustration · Waey
1. Check that this is a safe local attempt
Ask whether any drain product or other cleaner has been used, including by someone else. If the answer is yes or uncertain, do not plunge or scoop the liquid; seek advice and disclose the product. Confirm that only this basin is slow and there is no backflow, crack, active leak or loose connection. Several affected fixtures suggest a wider problem that needs a plumber or landlord, rather than stronger pressure at this basin.
Photorealistic illustration · Waey
2. Prepare the basin without opening pipework
Turn the tap off, remove nearby toiletries and put a towel and tool tray within reach. Lift only a simple removable plug that comes out normally; stop if the stopper needs force or mechanism work. With gloves and eye protection, collect visible loose debris into a bag. If ordinary non-chemical water is high, scoop surplus into a bucket, leaving room to work without overflowing. Do not unscrew the trap or insert sharp tools.
Photorealistic illustration · Waey
3. Seal the overflow and fill the plunger head
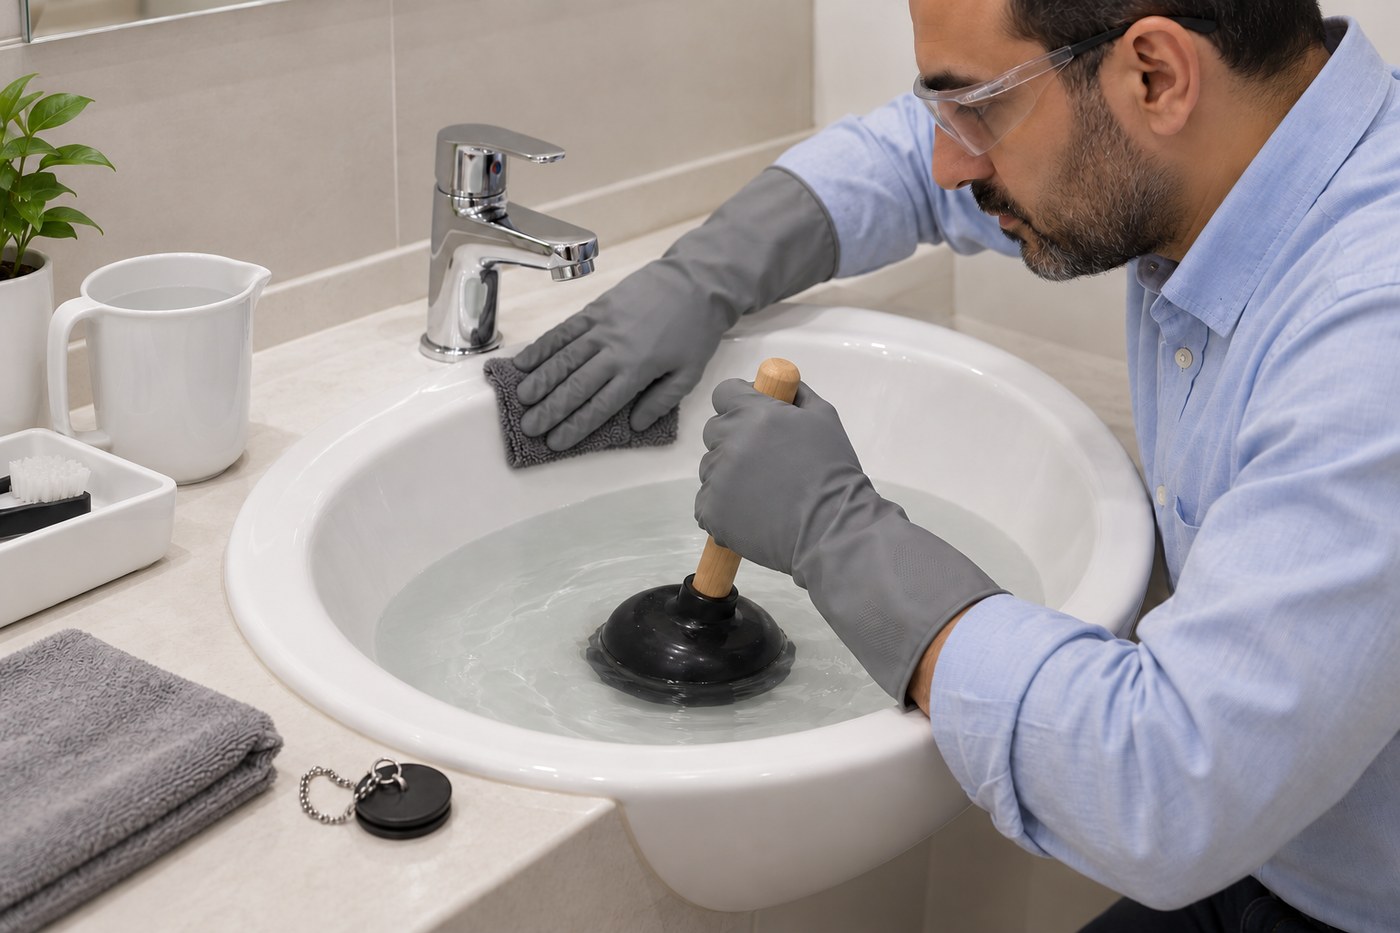
Hold a folded damp cloth firmly over the accessible overflow opening without pushing it inside. Keep enough water in the basin to cover the plunger’s base, adding only a little if needed. Angle the cup into the water so air can escape and the head fills, then centre it fully over the drain. Choose a cup that seals on the smooth basin surface; if you cannot maintain both seals comfortably, stop and obtain help.
Photorealistic illustration · Waey
4. Use one short, even pulse
Keep the overflow covered and move the handle in even, controlled up-and-down strokes for about 10–15 seconds, following the plunger’s instructions. Start gently to avoid splashing trapped air or water. Keep the cup rim seated and your face back; this is not a test of maximum force. Stop immediately for a moving fitting, leak, unusual resistance or splash risk. Do not replace the small plunger with a pressure blaster to force the blockage onward.
Photorealistic illustration · Waey
5. Release carefully and assess the result
Ease the cup edge sideways to break the seal without jerking it toward your face. Let the water settle and watch whether it drains; lift any returned debris into the waste bag rather than pushing it back. If the basin remains sound and chemical-free, one further short controlled attempt is reasonable. If drainage does not clearly improve after that, stop and arrange assistance; repeated force can turn a blockage into a leak.
Photorealistic illustration · Waey
6. Test with a small amount of clean water
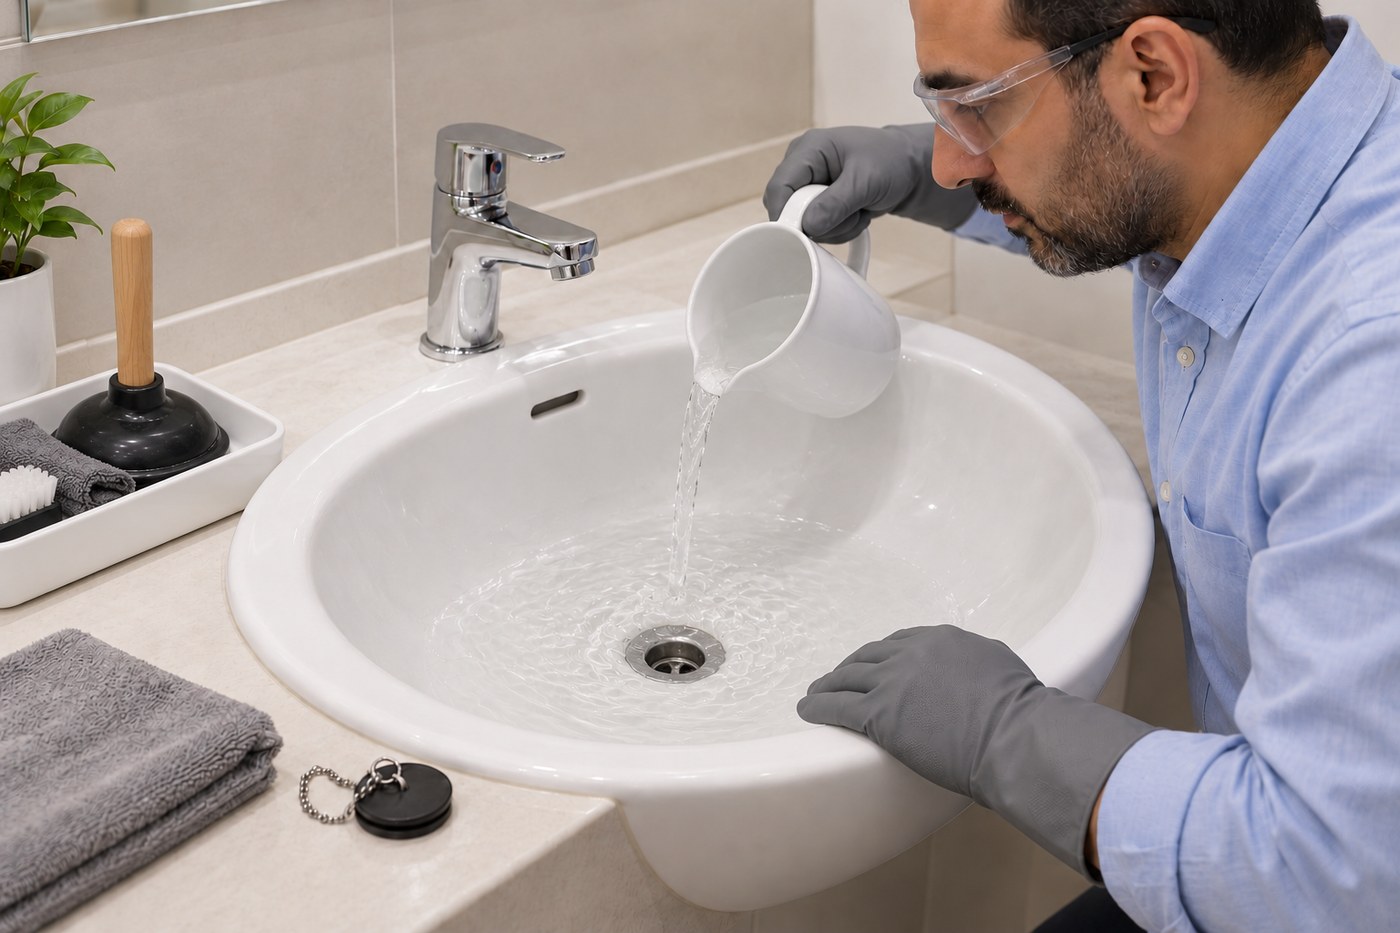
Remove the overflow cloth and put the plunger on its tray. Pour a small amount of clean water from the jug and watch the open drain before adding more. If flow is normal, run a modest amount of comfortably warm tap water while checking accessible waste joints for drips without loosening anything. Stop the water promptly if it backs up or leaks. A single successful pour does not rule out a deeper or recurring drain problem.
Photorealistic illustration · Waey
7. Clean up and recognise when to call
Bag the collected debris, empty ordinary non-chemical wastewater into a suitable functioning household drain without causing another overflow, and clean the basin, tool, tray and cloths according to their care instructions. Wash your hands after removing gloves. Return the simple plug only after checks are complete and keep the overflow clear. Recurring slow flow, odour, leakage or another affected fixture needs assessment; report symptoms and anything previously poured into the drain instead of adding a chemical cleaner.
Watch the method
How To UNCLOG a Sink With a Plunger
Shows a cup plunger used on a bathroom basin. Follow the written chemical screening, overflow closure and gentle short attempts. Bathtub and trap-removal branches are outside this guide; the samples do not establish the condition of your pipework or a successful clearance.
How To Fix It Workshop · English auto-caption metadata; spoken audio unconfirmed
Watch on YouTube ↗Final checks
Overflow uncovered again; no loose fittings or leaks; small-water and modest-flow checks satisfactory; tools cleaned. Stop and seek help for no improvement, recurrence, chemicals, backflow or multiple affected fixtures.
Where to find supplies
Sources
Korky — Sink plunger instructions ↗
Bron Afon housing — Blocked sink or basin and multi-fixture escalation ↗
Wickes — Related sink-plunger method ↗
Drano — Manufacturer warning against plunging after chemical drain opener ↗
AI-generated representative photographic illustrations by Waey using only Waey-generated references. Manufacturer images are research only. External video belongs to its credited creator.