
Install cabinet pulls with a drilling jig and correct screw fit
Fit a two-screw pull to a sound removable timber front: prove the jig on scrap, drill supported holes, choose compatible screws and check the refitted front.
What will you learn?
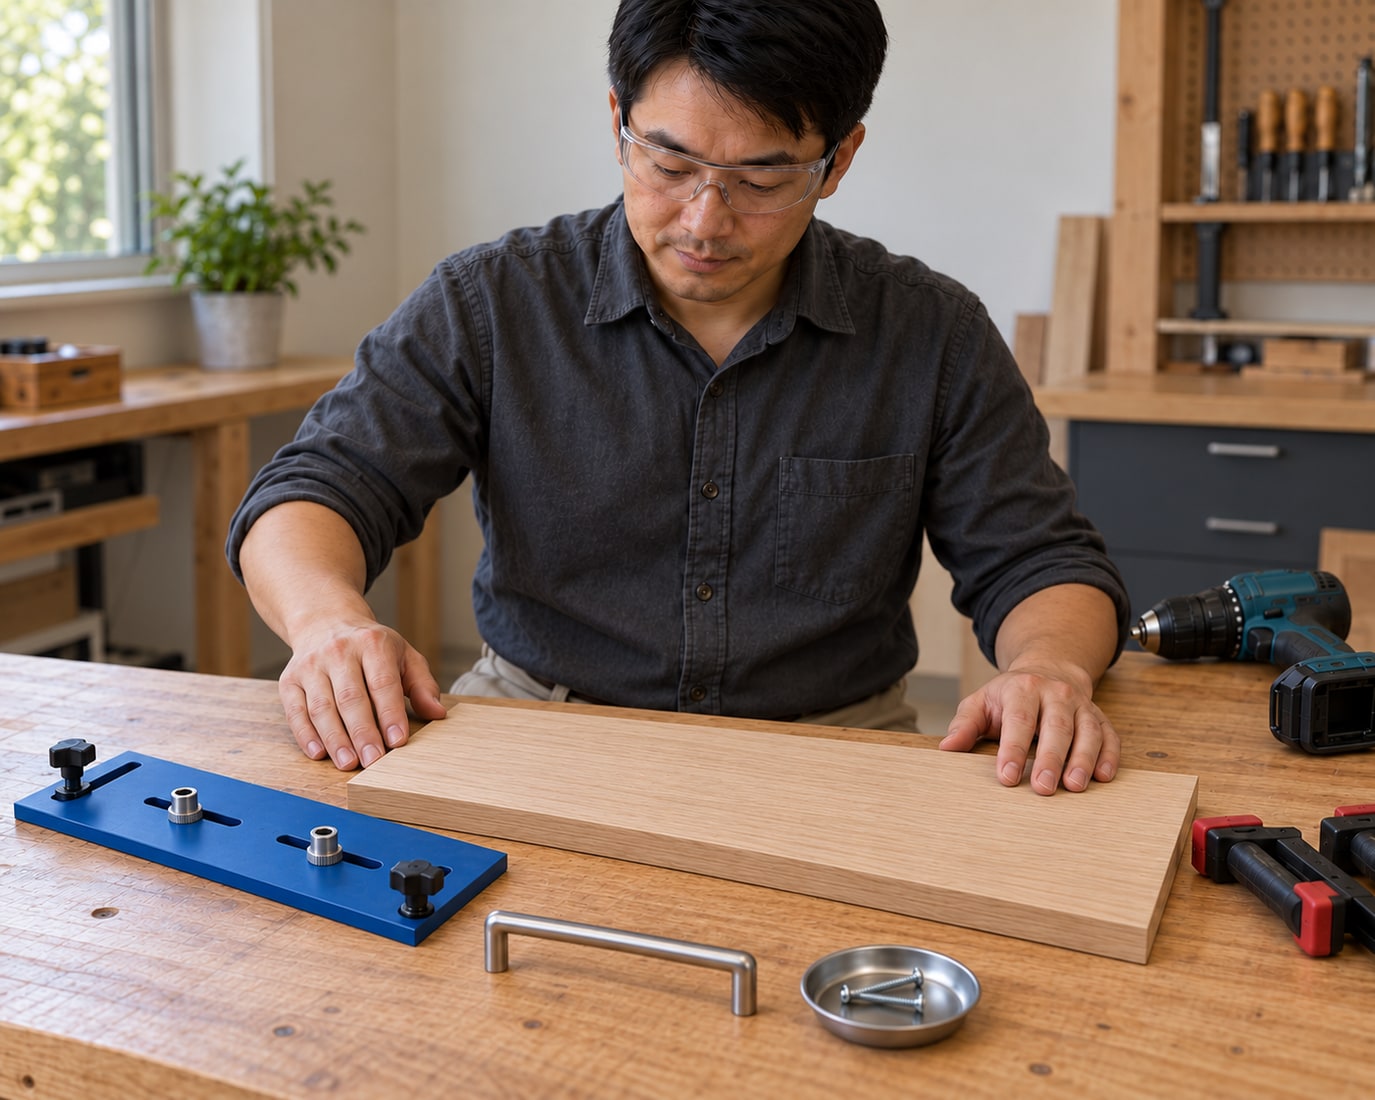
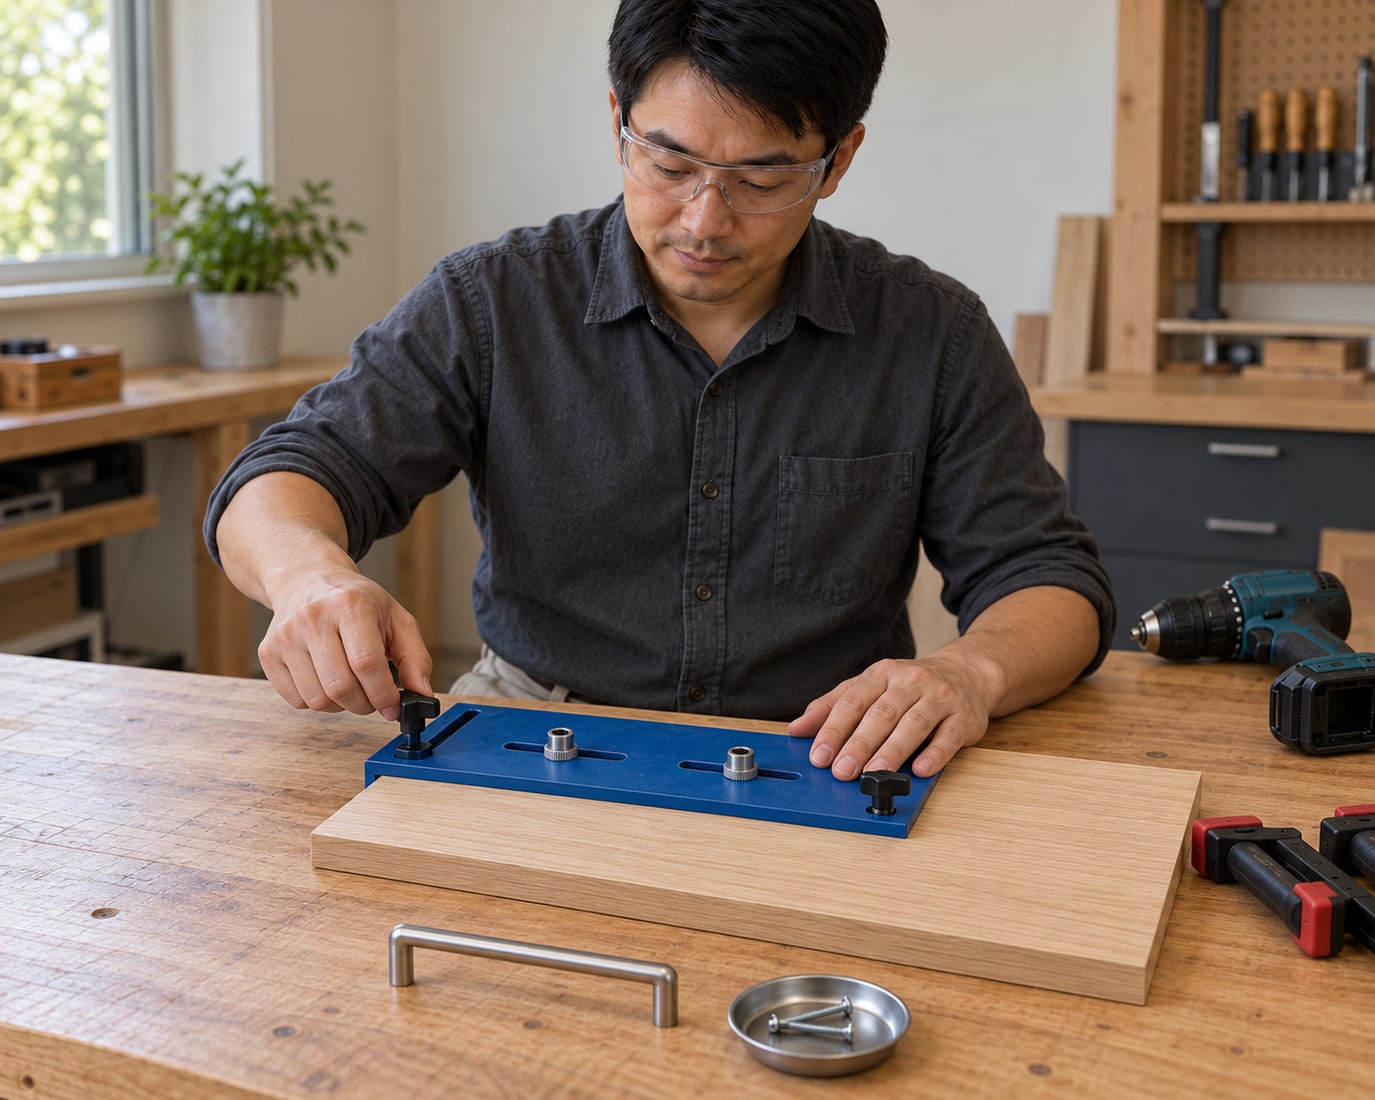
Fit a two-screw pull to a sound removable timber front: prove the jig on scrap, drill supported holes, choose compatible screws and check the refitted front. The illustrated jig is generic; your actual jig’s manual determines its indexing, edge-stop alignment, guide diameter and clamping positions. The support-preparation photograph is taken before clamping; drill only after securing the complete setup.
Tools
- Cabinet hardware drilling jig with two lockable guide bushings and edge stopView at Inovatools México (Kreg KHI-PULL) ↗Search Amazon Mexico ↗
- Cordless drill and exact compatible clearance-hole bit specified for the jig and pullSearch Amazon Mexico ↗
- Correct hand screwdriver; ruler or tape, square, pencil and thickness gaugeSearch Amazon Mexico ↗
- Suitable padded clamps for the jig, front and backer; stable bench; eye protectionSearch Amazon Mexico ↗
Materials
- One two-screw pull with verified centre spacing, thread and installation instructionsSearch Amazon Mexico ↗
- Two matching machine screws of the maker-approved length; specified washers only if requiredSearch Amazon Mexico ↗
- Sound removable timber slab front; matching trial scrap and a clean sacrificial timber backerSearch Amazon Mexico ↗
- Finish-compatible low-tack marking tape and clean protective padsSearch Amazon Mexico ↗
Step by step
Photorealistic illustration · Waey
1. Choose the installation route before buying
Inspect the front and its rear face. This project covers an accessible, removable, sound timber slab front; confirm its construction and removal instructions with the cabinet maker. For a replacement, measure the existing screw centres and buy an exact match, then skip new drilling. For a previously undrilled front, follow the complete jig-and-backer sequence below. Do not force a slightly different spacing, enlarge damaged holes or drill an unknown assembled cabinet. Hole repair and refinishing need a separate plan.
Photorealistic illustration · Waey
2. Match the handle, screws and front thickness
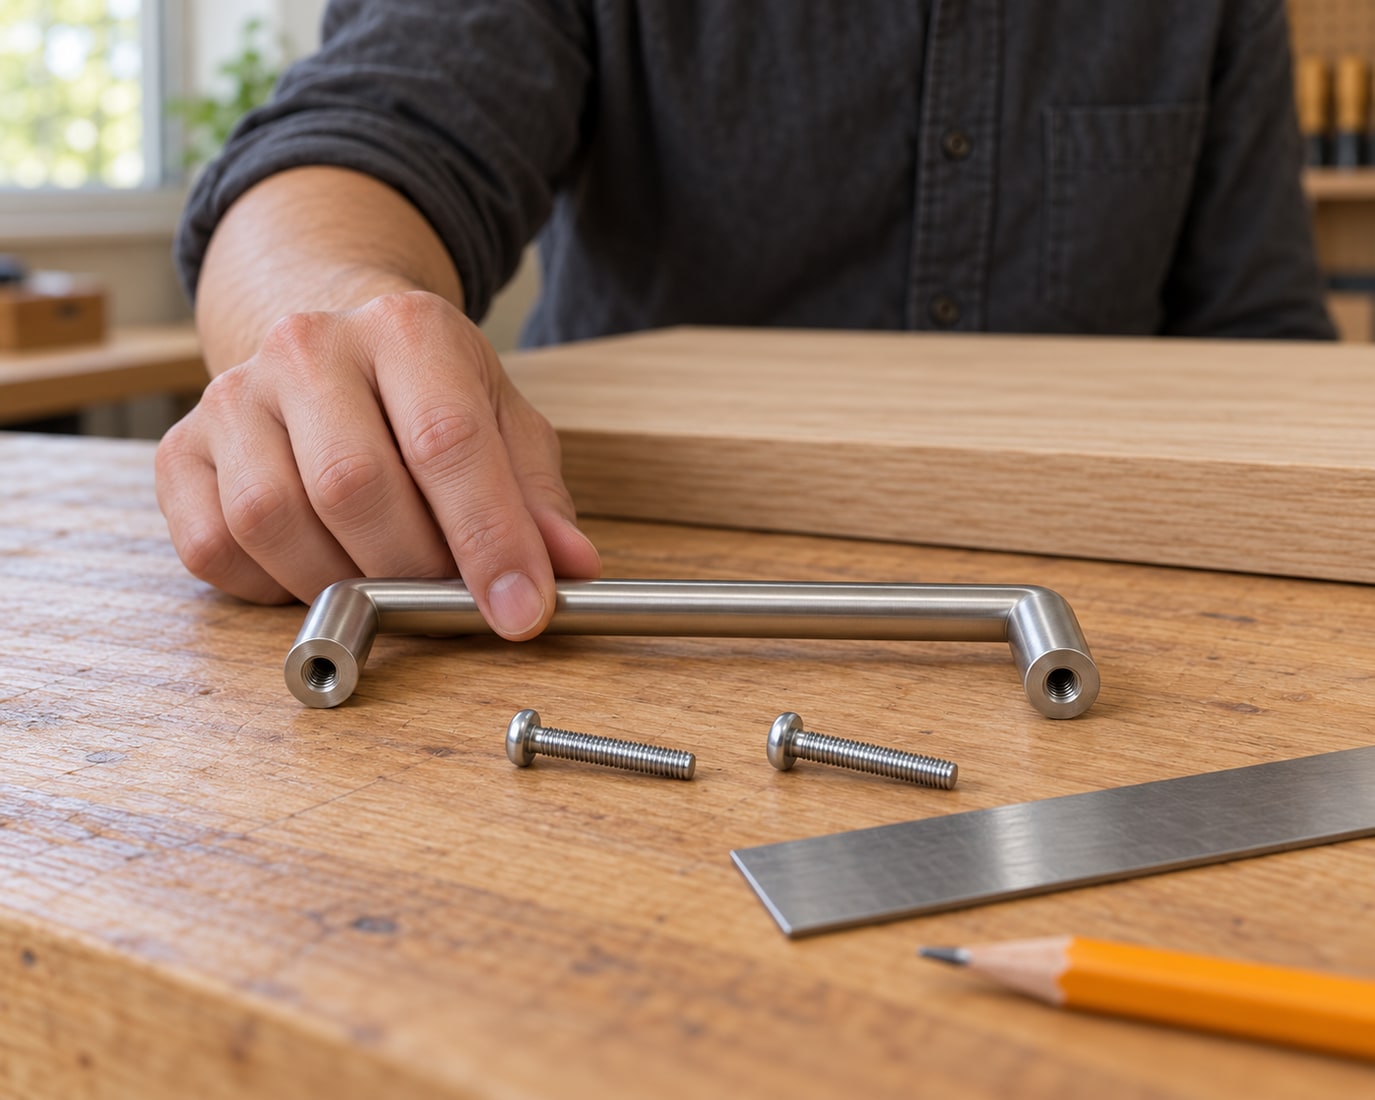
Measure between the centres of the handle’s threaded mounting holes, not its overall ends. Check the actual supplied thread: metric M4 and imperial 8-32 screws are not interchangeable. Measure the whole thickness the screw will pass through, including any drawer-box layer and specified washer. Choose the maker’s screw length and engagement for that stack and the handle’s blind thread depth. A screw that bottoms out can leave a loose handle despite feeling tight; a short screw may barely engage.
Photorealistic illustration · Waey
3. Set the position and check opening clearance
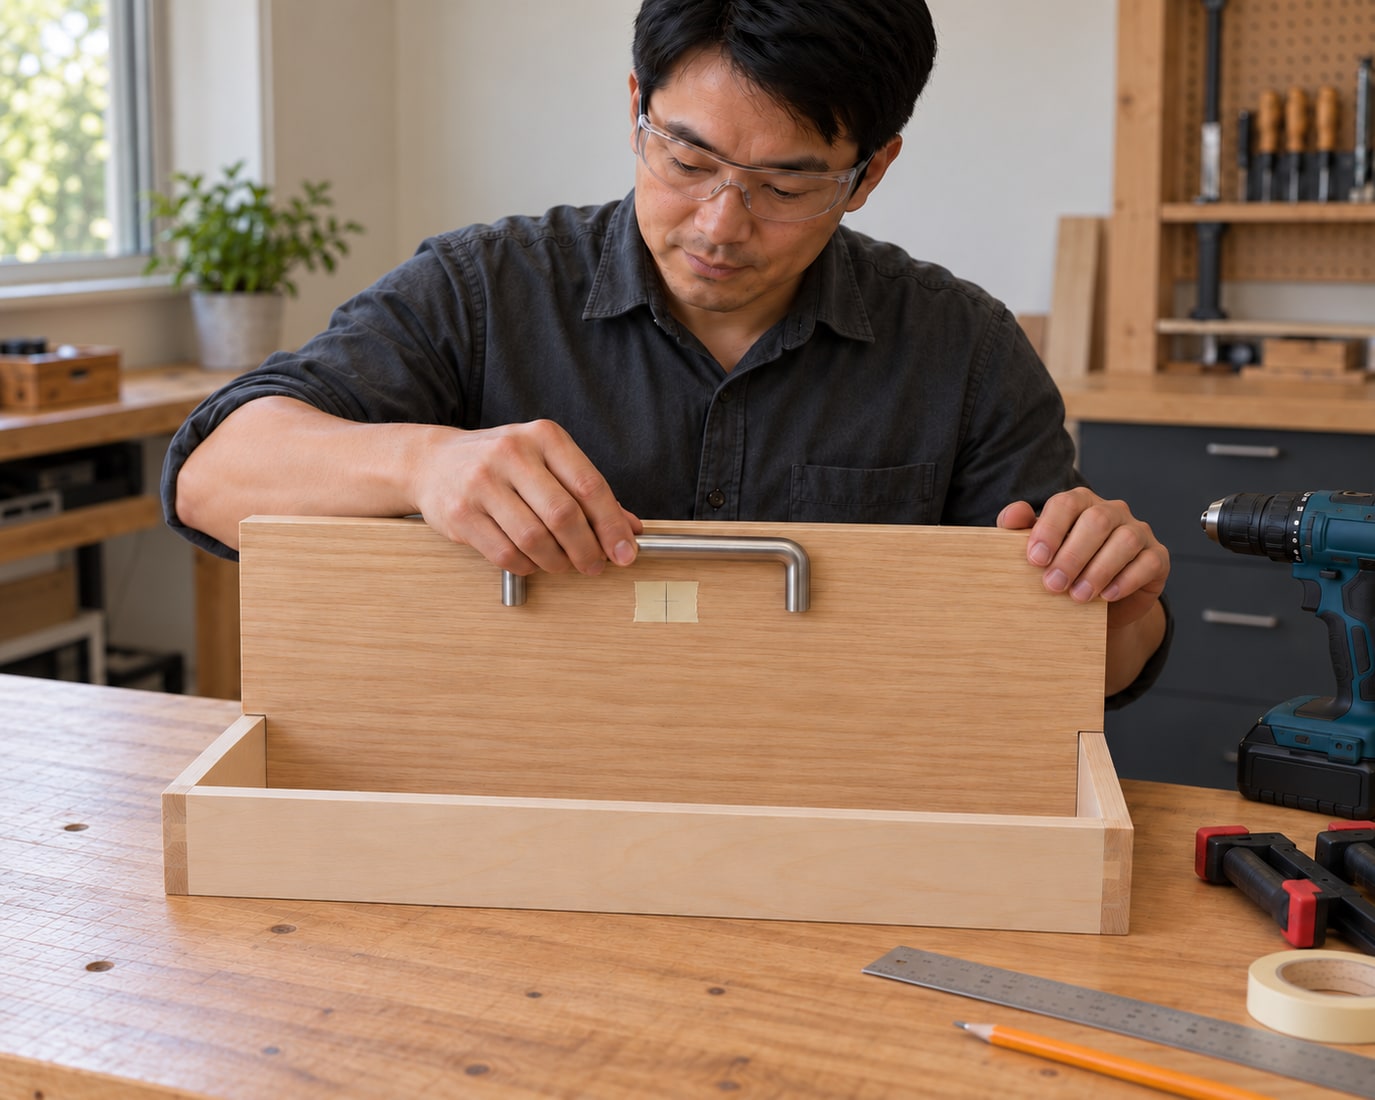
Hold the pull in its proposed position with the front still fitted, without drilling. Check hand clearance and whether the pull could strike a wall, adjacent door or another handle throughout normal opening. Mark the chosen centreline and reference edge on low-tack tape tested on an inconspicuous part of the finish. For a horizontal drawer pull, establish the drawer centre from both sides. Record each front’s orientation; reversing the reference edge later can put an accurately spaced pair of holes in the wrong place.
Photorealistic illustration · Waey
4. Remove and support the front safely
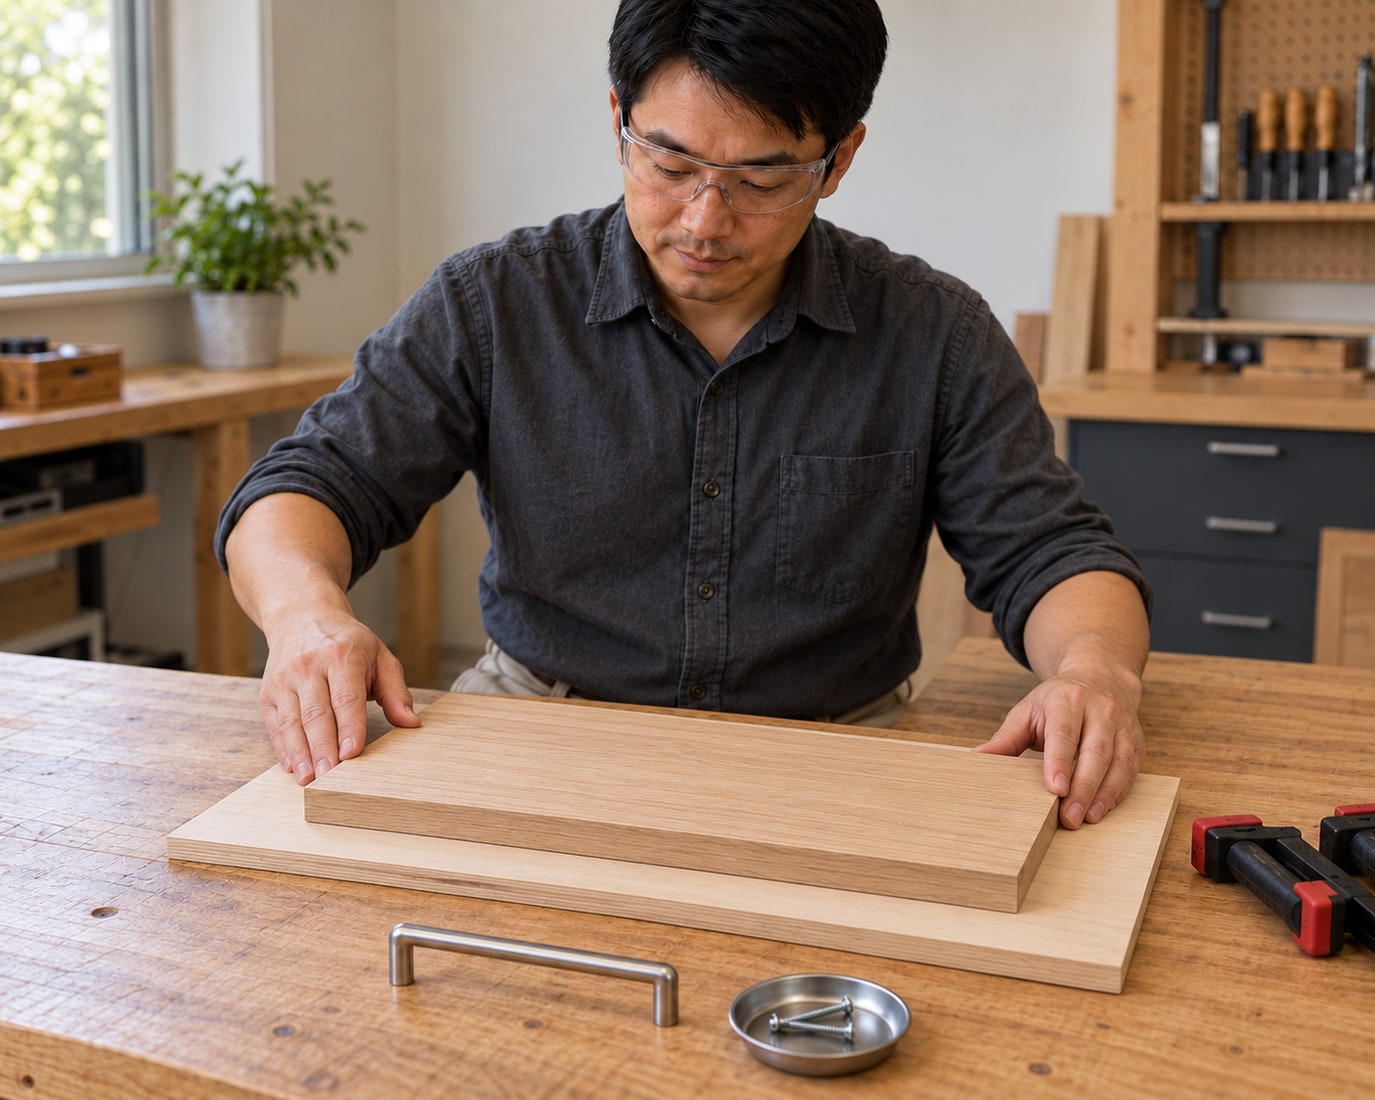
Follow the cabinet maker’s procedure to remove the accessible front, supporting it before releasing its original fixings. Label and retain the fixings and any adjustment positions. If removal is unclear or the front is too heavy to control, stop rather than improvise. Place the known timber front face-up on a clean sacrificial backer over a stable bench. Inspect both sides for screws, brackets and other obstructions. Arrange padded clamps and support so the panel cannot rock and the drill cannot reach the bench or your body.
Photorealistic illustration · Waey
5. Set and lock a compatible drilling jig
Set the jig’s two guide centres to the verified handle spacing and its edge stop to the chosen offset. Use the correct scale and indexing positions for that model, then lock every adjustment. Select the exact drill bit specified for both the guide bushings and the hardware’s clearance holes; similar metric and inch sizes are not automatic substitutes. Disconnect the drill battery while fitting the bit. A generic illustration does not establish a branded jig’s settings, bit size or capacity: its current manual controls these choices.
Photorealistic illustration · Waey
6. Prove the setup on matching scrap
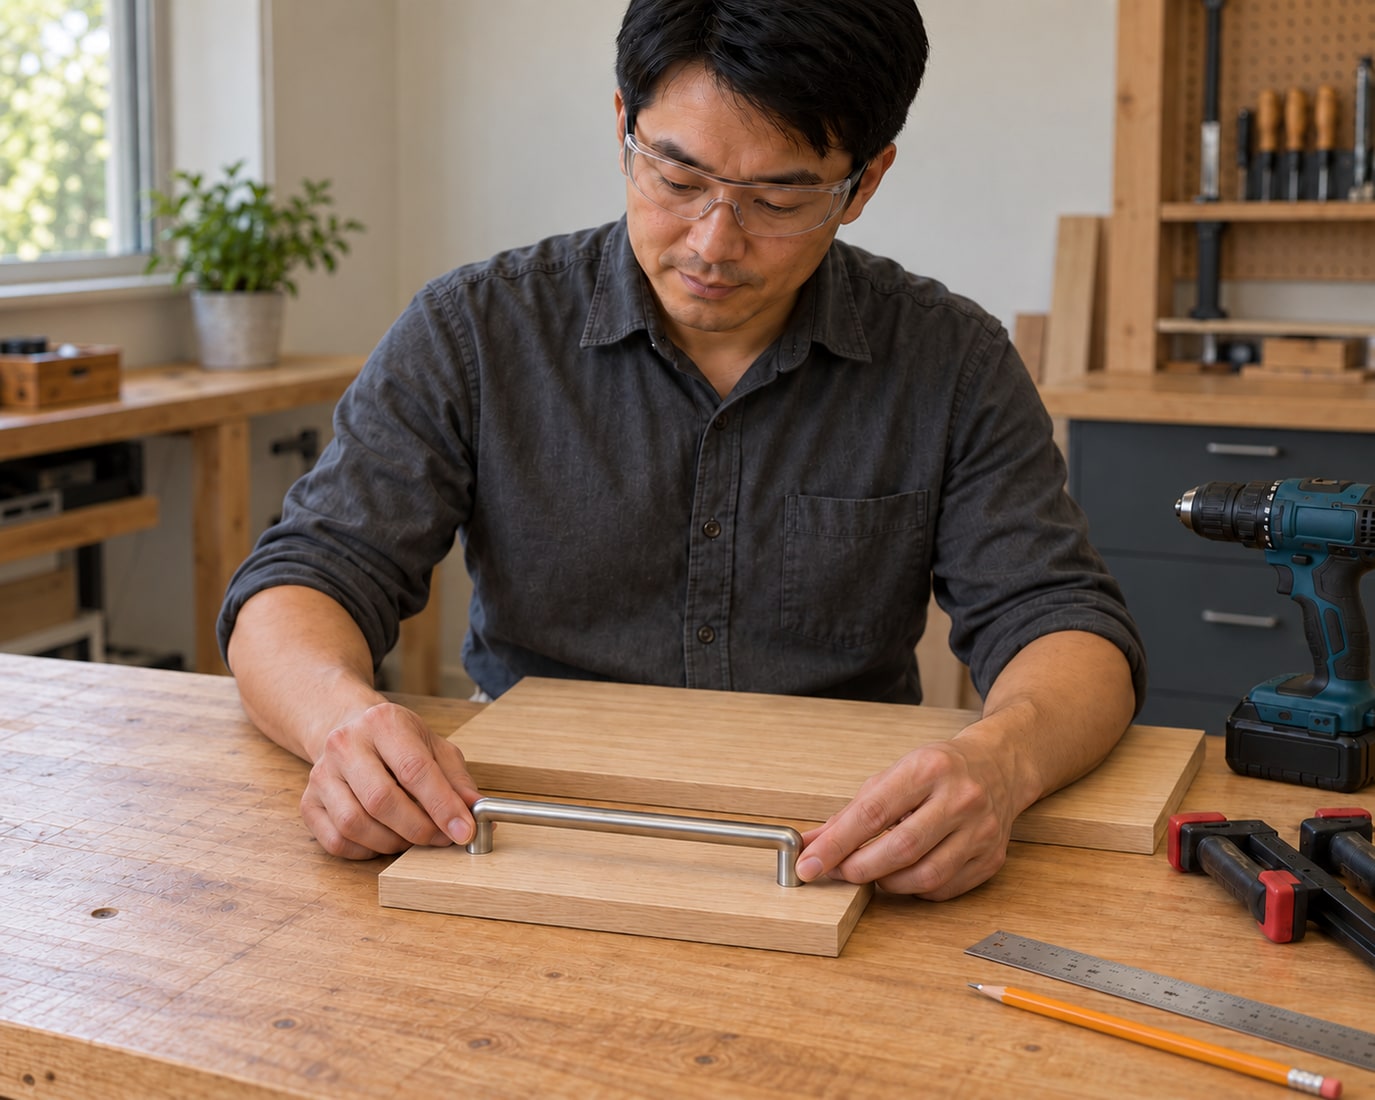
Use scrap with the same thickness and construction as the front. Clamp it firmly against a sacrificial backer, seat the jig against the reference edge and clamp the jig too. Drill the trial pair with eye protection and both hands clear of the exit face, following the drill and jig instructions. Check the real pull and chosen screws on this sample: both screws should enter freely and the handle should sit flat. Correct spacing, offset, breakout or screw-fit problems here before making irreversible holes in the finished front.
Photorealistic illustration · Waey
7. Clamp the proven setup onto the real front
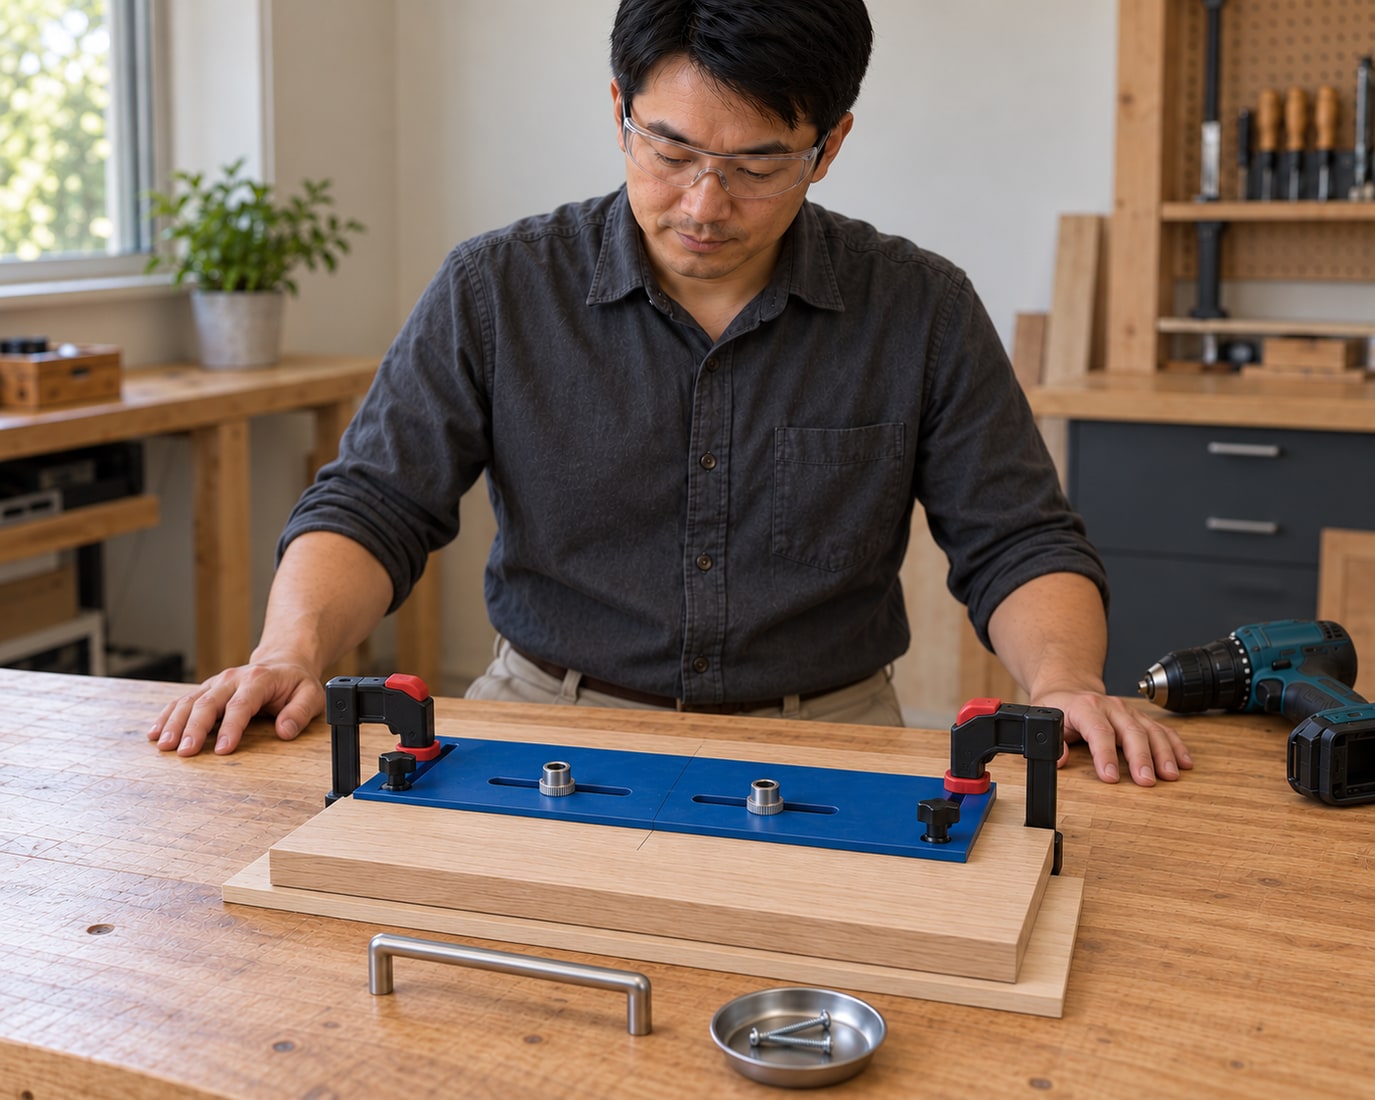
Transfer the proven settings without loosening the jig’s spacing or edge stop. Align its centre mark with the front’s marked centreline and seat the stop fully against the correct edge. Clamp a clean backer tightly against the rear face directly beneath both drilling positions, then secure the work and jig with protected clamp pads. Recheck the orientation, marks and clamp clearance independently. Never hold the jig by hand, place fingers beneath a future exit hole or rely on masking tape to prevent rear-face breakout.
Photorealistic illustration · Waey
8. Drill the two clearance holes with control
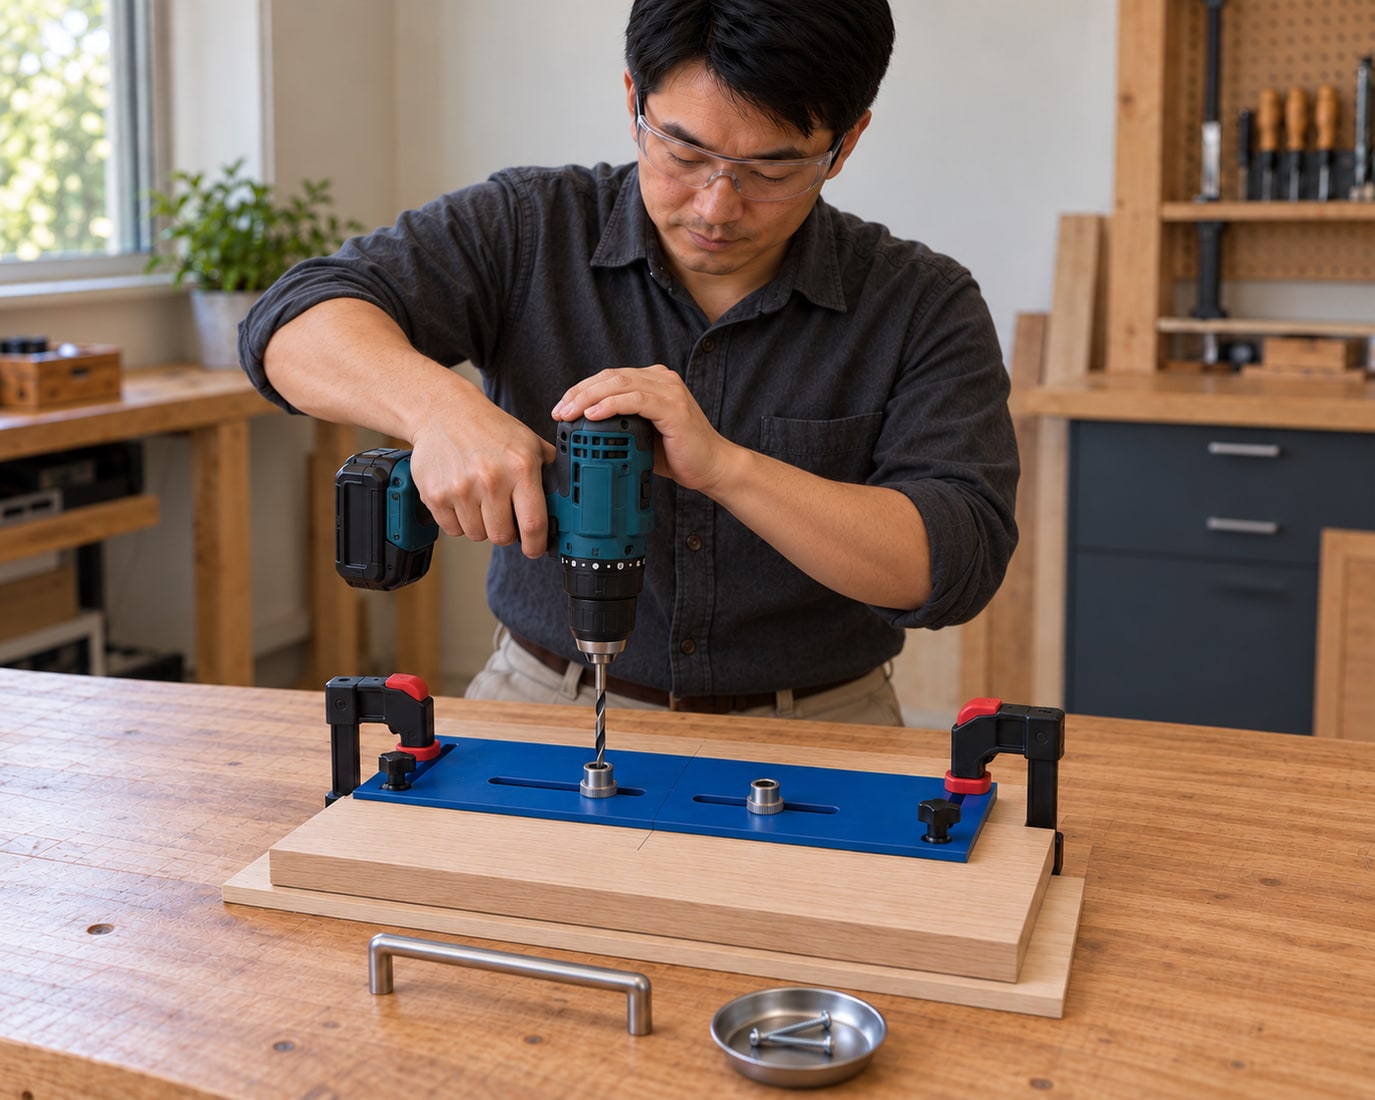
Wear eye protection, secure loose hair and clothing, and keep hands away from the rotating bit. With hammer action off, guide the bit squarely through the first bushing using controlled pressure and the drill maker’s appropriate setting. Ease the pressure as the bit exits into the tightly fitted backer; stop after clearing the front rather than drilling deeply into the support. Withdraw under control as the drill instructions require, then release the trigger and let the bit stop before moving the drill away. Check the jig has not shifted before drilling the second hole, then disconnect the battery before handling the bit.
Photorealistic illustration · Waey
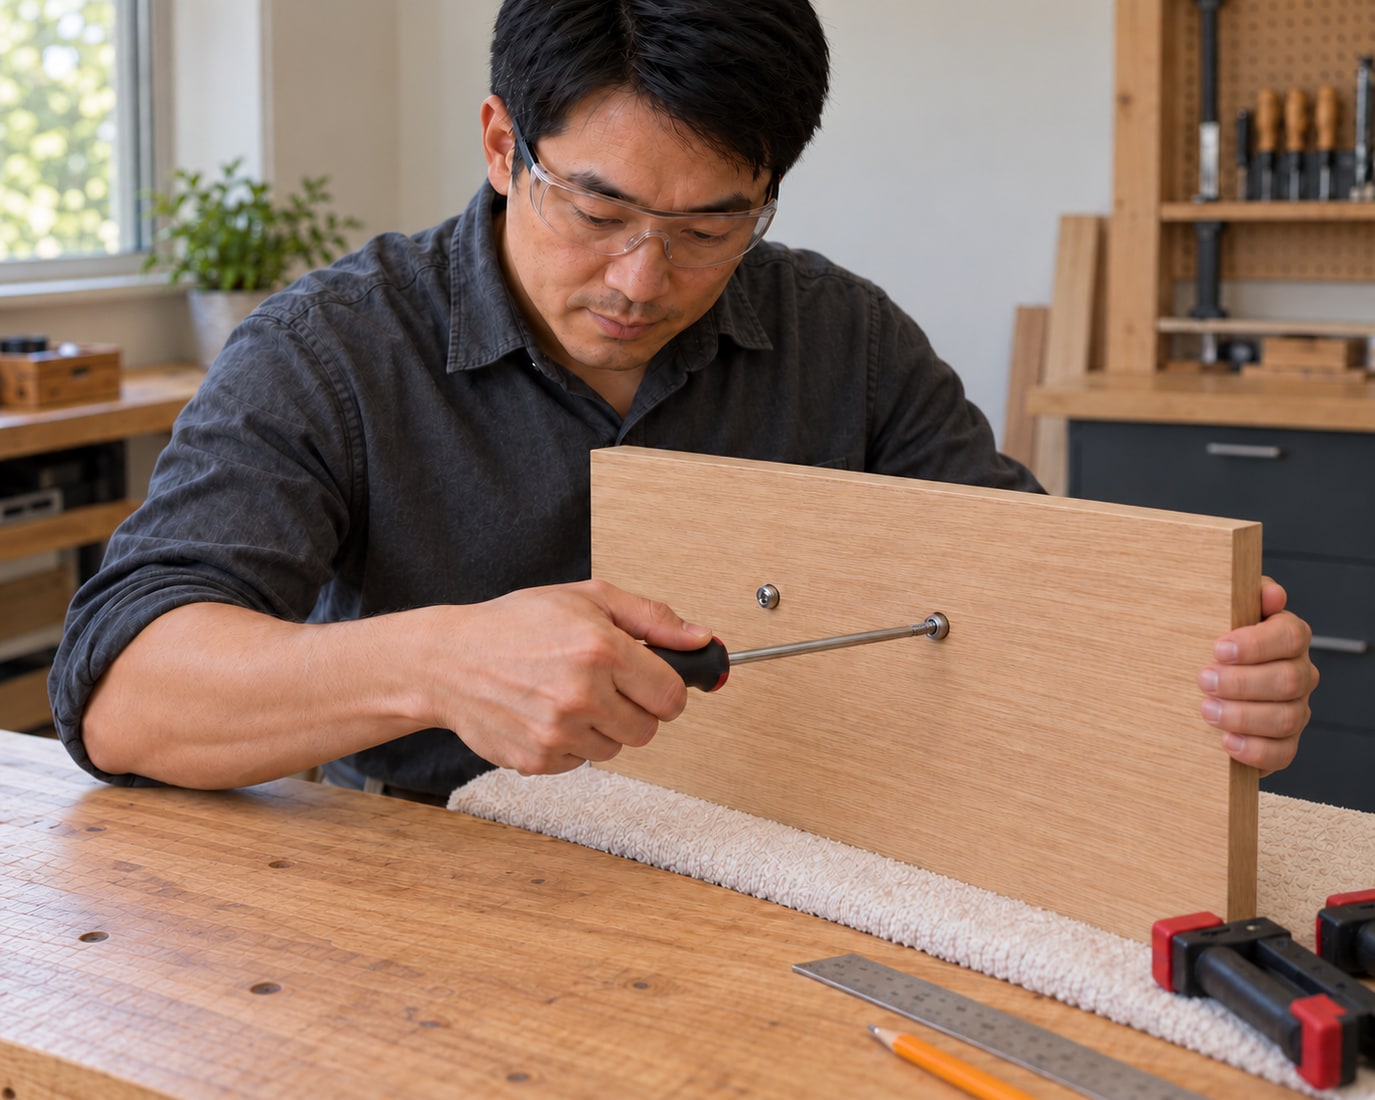
9. Fit the pull without damaging the threads
Remove the clamps and loose shavings, then inspect both hole edges and the surrounding finish. Hold the pull against the face and insert its specified machine screws from the rear. Start both by hand before tightening either, so a misaligned hole or wrong thread becomes apparent without force. Alternate small turns with the correct hand screwdriver until the bases sit evenly and firmly. Do not use the drill to pull a crooked handle into place, countersink the decorative face or overtighten until the timber or finish dents.
Photorealistic illustration · Waey
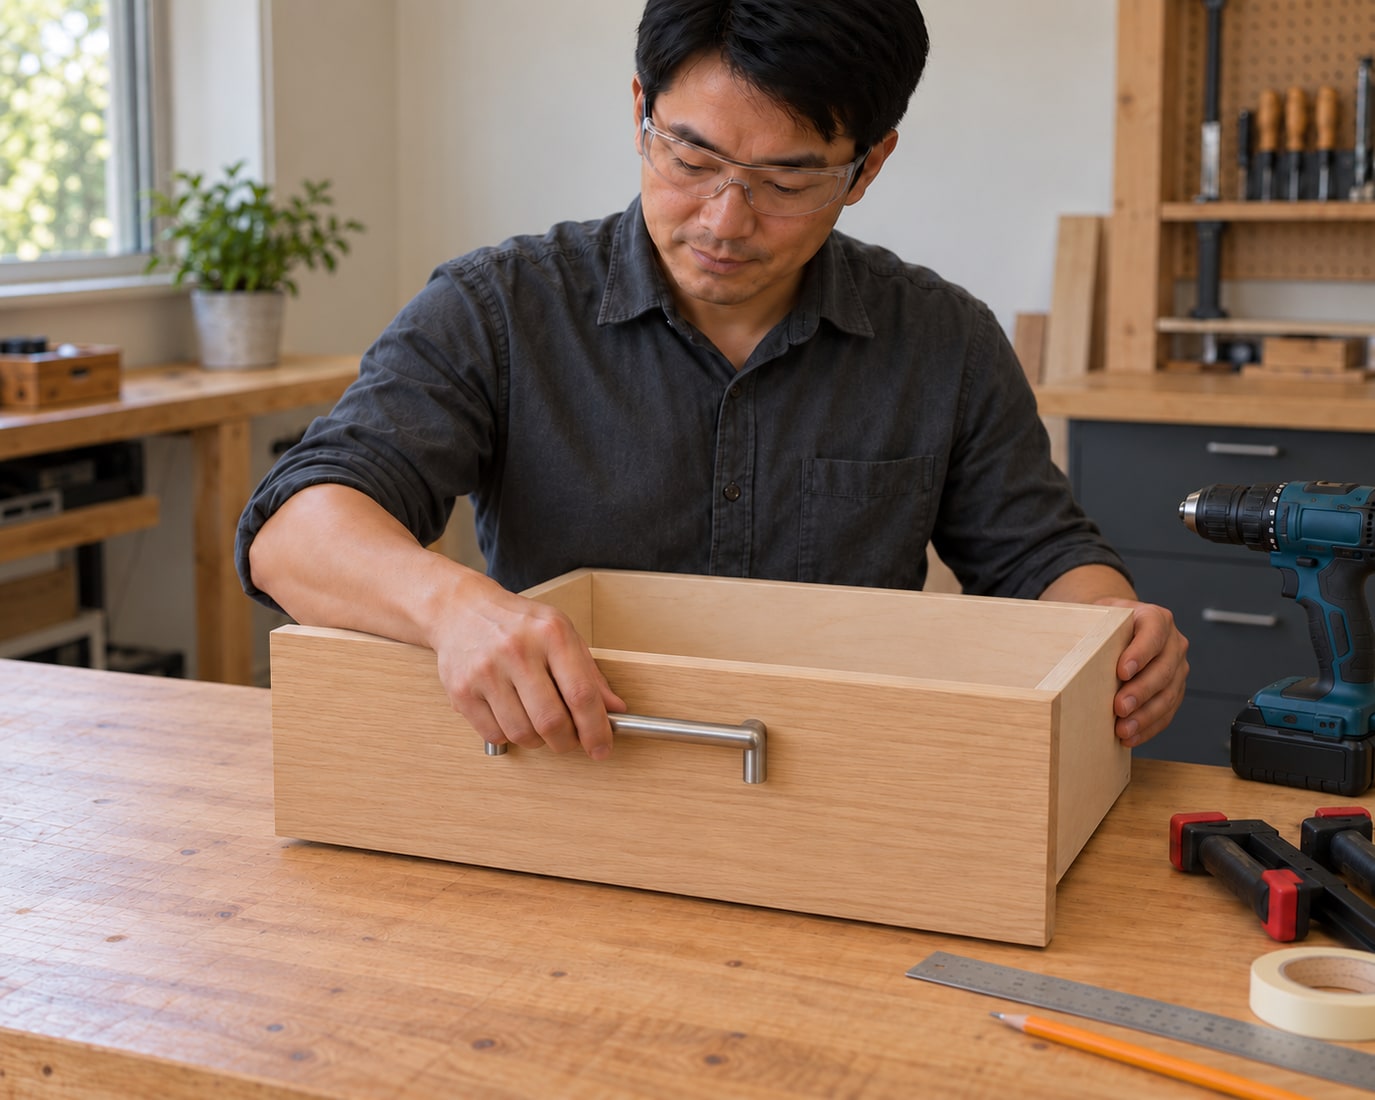
10. Refit, test and diagnose a loose result
Refit the front using its original fixing system and the cabinet maker’s adjustment procedure. Open and close it slowly through its normal range, checking alignment, hand clearance and that neither screw head fouls the cabinet. Gently pull in the normal direction: the handle should not rock or turn. If it stays loose, remove it and inspect screw engagement, bottoming-out, damaged threads and crushed material; do not simply tighten harder. Complete and approve this first front before repeating the locked jig settings on matching fronts.
Video demonstrations
Cabinet Hardware Jig - Easily Install Cabinet Knobs and Pulls
Original Kreg jig demonstration. Its indexing, guide diameter and capacity are model-specific; use its current manual and clamp the jig.
Kreg Tool · English
Watch on YouTube ↗Liberty - Cabinet Drawer Pull Installation - Align Right Template
Liberty drawer-pull installation using an AlignRight marking template. A marking template is not the same as the clamped steel-bushing drilling jig used in this guide.
Liberty Hardware Brands · English
Watch on YouTube ↗Easy and Accurate Jig to Install Cabinet Knobs and Pulls | Rockler
Rockler Jig-It Pro setup with the actual pull used to set spacing. This is a different jig; do not transfer its adjustments or bit specification to another model.
Rockler Woodworking and Hardware · English
Watch on YouTube ↗Final checks
Both screws start without force; the bases sit flat, the front and finish remain sound, and the refitted front opens freely. Stop for mismatched threads, enlarged holes, cracking, binding or a handle that remains loose despite correct engagement.
Where to find supplies
Sources
Kreg KHI-PULL original owner manual ↗
Amerock installation and screw information ↗
Original AI-generated photographic illustrations by Waey. Videos belong to their credited creators.