
Bind an A5 notebook with a three-hole pamphlet stitch
Fold a single paper section, align and pierce its spine, then sew a secure three-hole binding with the knot inside the centre spread.
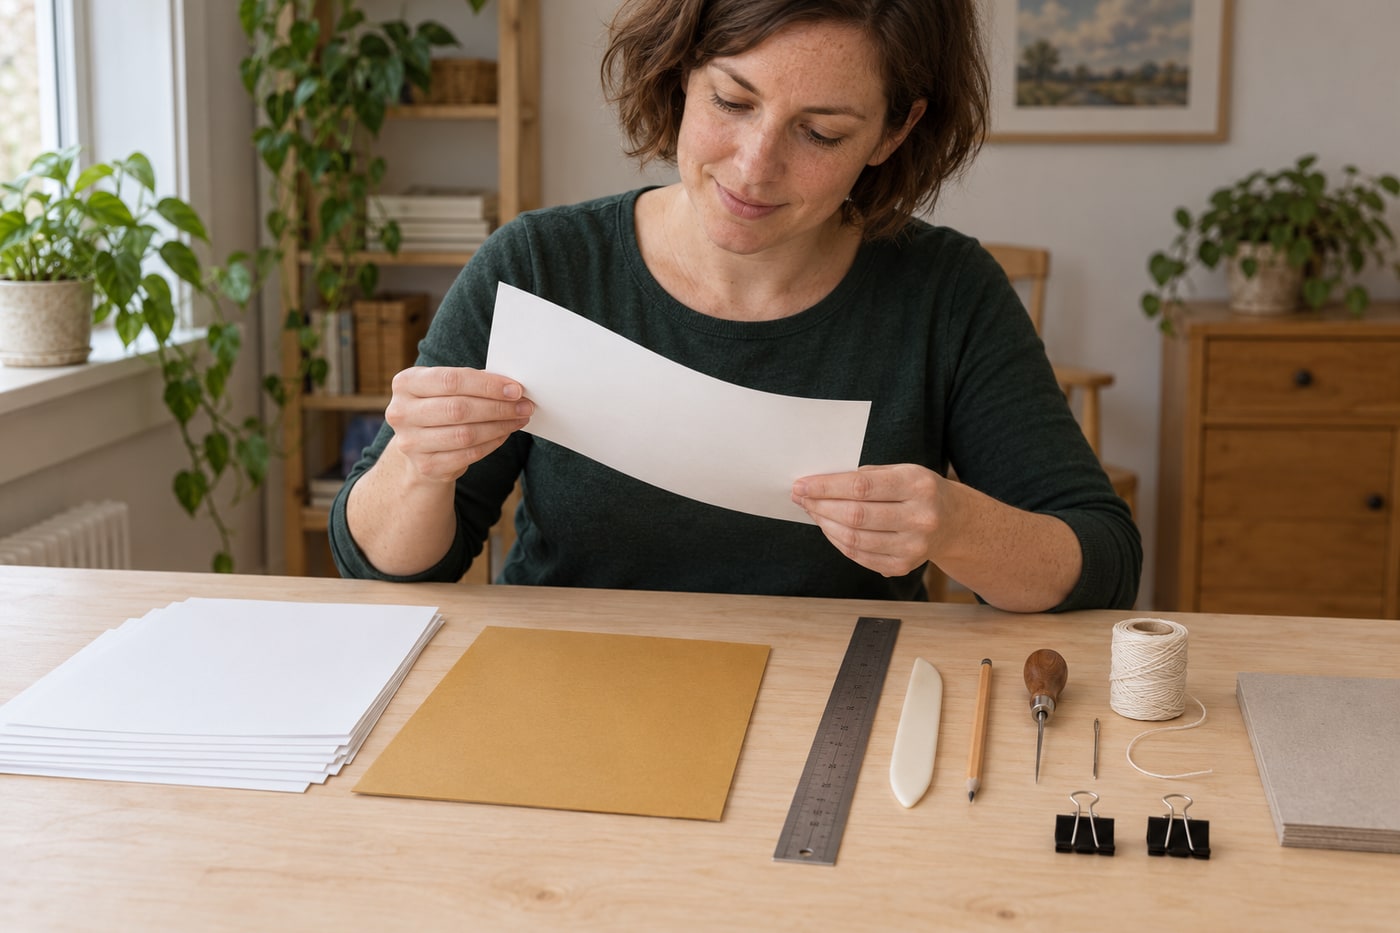
What will you learn?
Fold a single paper section, align and pierce its spine, then sew a secure three-hole binding with the knot inside the centre spread.
Tools
- Bone folderSearch Amazon Saudi Arabia ↗
- RulerSearch Amazon Saudi Arabia ↗
- PencilSearch Amazon Saudi Arabia ↗
- Two binder clips with scrap-paper protective padsSearch Amazon Saudi Arabia ↗
- Bookbinding awlSearch Amazon Saudi Arabia ↗
- Blunt bookbinding needle that fits the threadSearch Amazon Saudi Arabia ↗
- ScissorsSearch Amazon Saudi Arabia ↗
- Piercing cradle or thick folded waste card on a protected surfaceSearch Amazon Saudi Arabia ↗
- Light flat board for pressing the closed notebook
Materials
- Eight A4 sheets, approximately 80–100 gsm, with grain parallel to the 210 mm spineSearch Amazon Saudi Arabia ↗
- One flexible A4 card cover, approximately 160–220 gsm, with grain parallel to the spineSearch Amazon Saudi Arabia ↗
- Scrap-paper strip for the 210 mm hole template
- About 70 cm of fine waxed linen bookbinding thread suitable for the paper and needleSearch Amazon Saudi Arabia ↗
Step by step
Photorealistic illustration · Waey
1. Check grain and prepare a modest section
Gently bend a sheet in each direction without creasing it; paper usually bends more easily along its grain. Arrange the grain parallel to the future spine so the pages open and fold comfortably. Eight A4 sheets folded in half give sixteen leaves or thirty-two writing pages, before the cover. Test the chosen card too: a stiff cross-grain cover can spring open even when the sewing is correct.
Photorealistic illustration · Waey
2. Fold sheets individually and nest them
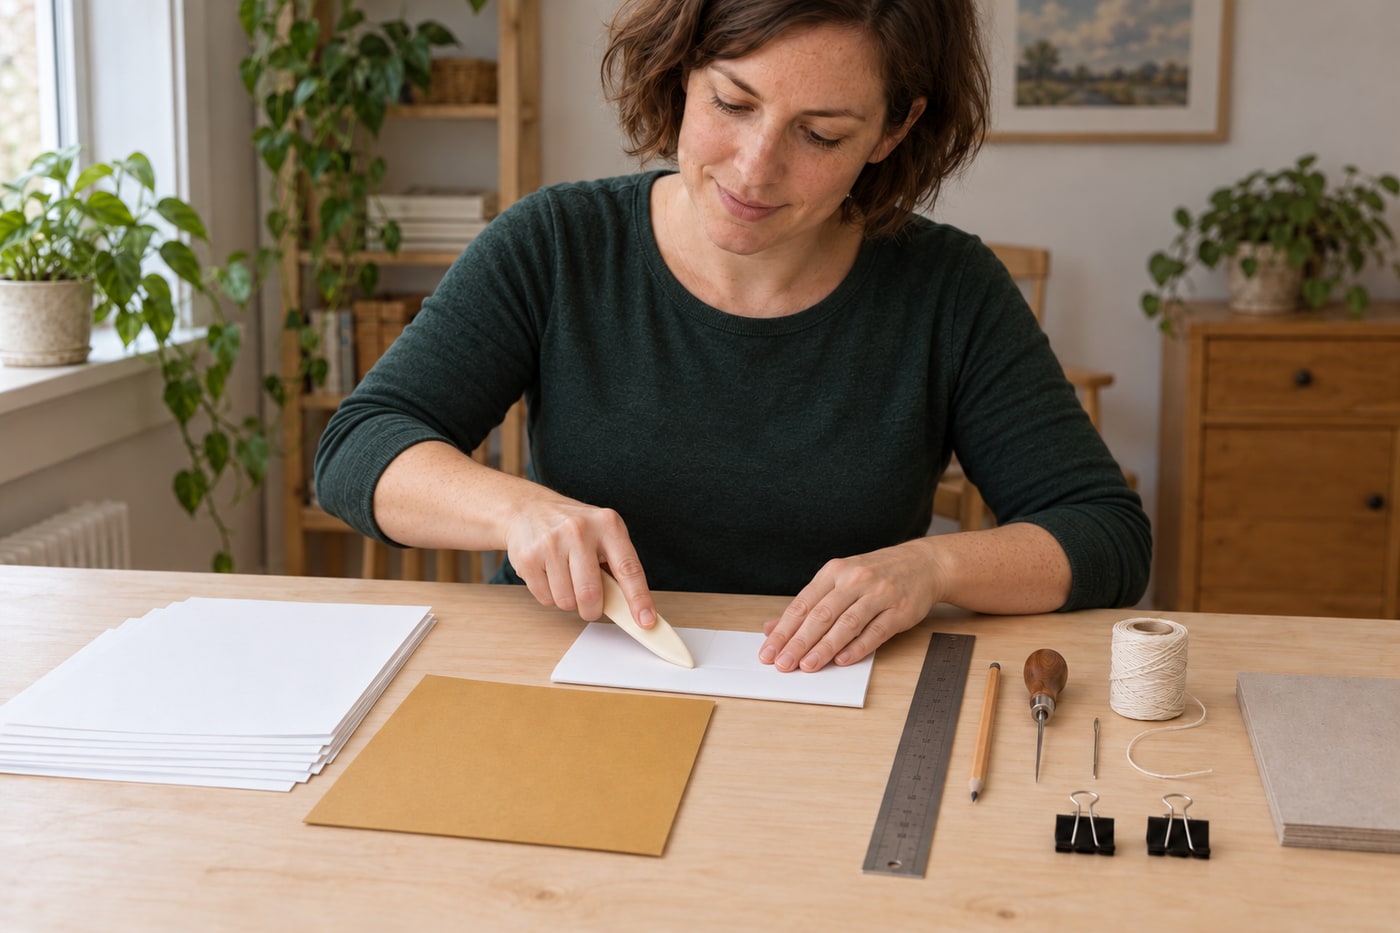
Bring the short edges of each A4 sheet together to make A5, align the corners and establish the fold from the middle outward. Burnish gently with a bone folder, supporting the sheet flat. Fold the cover in the same direction, then nest all eight folded sheets inside it. Do not fold the entire stack at once; the resulting bulky crease makes the sheets slip and the spine difficult to pierce accurately.
Photorealistic illustration · Waey
3. Make a reusable three-hole template
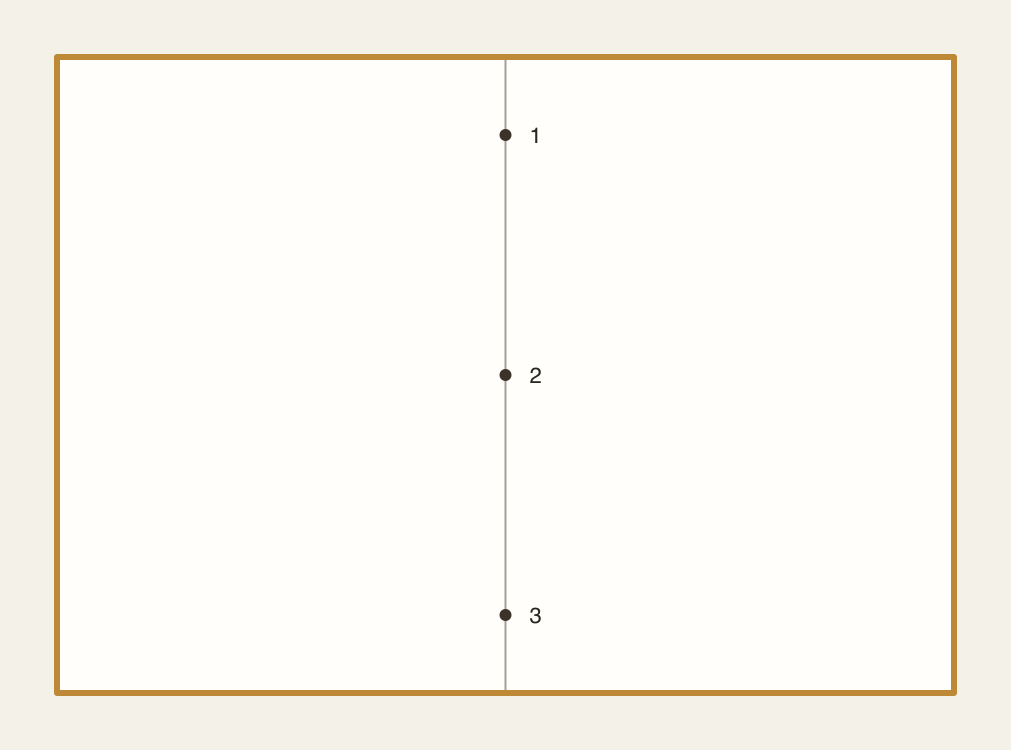
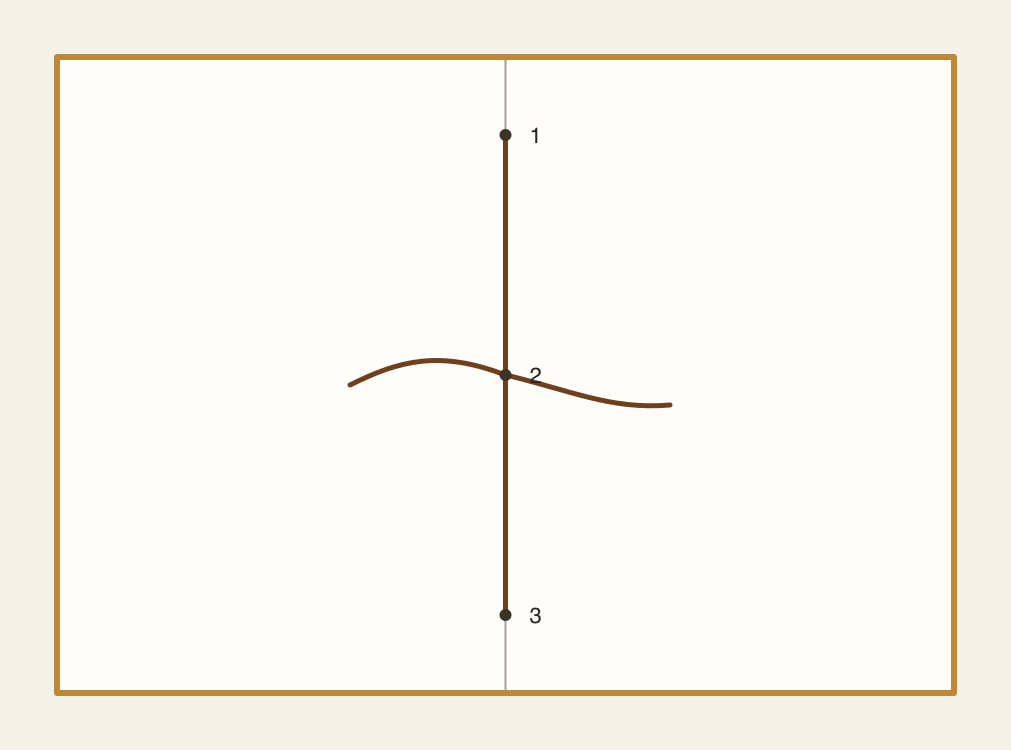
Cut or fold a scrap-paper strip to the 210 mm spine length and mark its centre plus two outer points about 25 mm from the ends. These are project dimensions, not a rule for every book. Open the section to its middle, insert the template in the fold and clip the sheets and cover together near the fore edges with protective scraps under the clips. Check orientation before making any holes. The diagrams number the upper hole 1, centre 2 and lower 3.
Photorealistic illustration · Waey
4. Pierce the complete fold safely
Place the opened section in a piercing cradle or over thick folded waste card so the spine is supported and the awl cannot reach the table. Hold the pages away from the marked positions. Pierce straight through the fold at each mark, making holes just large enough for the needle and thread. Keep the section clipped and check that each hole passes through every sheet and the cover, rather than emerging beside the fold.
Photorealistic illustration · Waey
5. Sew out through the centre and back at the top
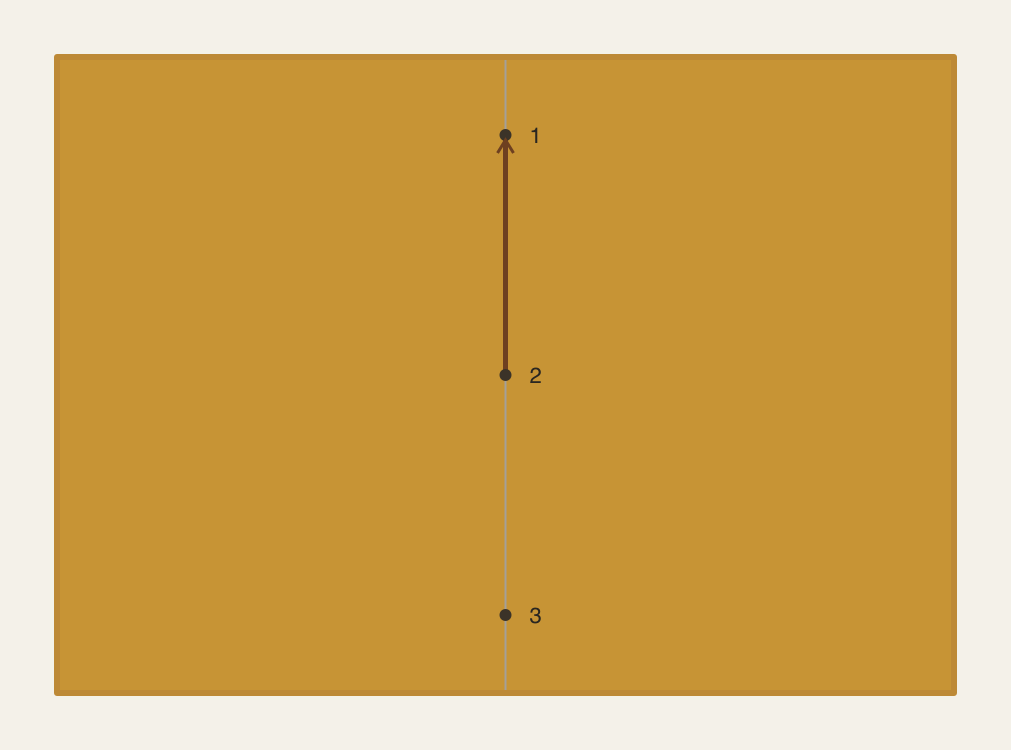
Thread a single length of linen and start inside the centre hole, leaving a tail about 7 cm long. Take the needle outside through that hole, then return inside through the upper hole. Pull the thread gently in the direction of the spine rather than across the paper edge. Keep the tail free and the clips in place; excessive tension can enlarge the holes before the binding is complete.
Photorealistic illustration · Waey
6. Cross the inside and return to the centre
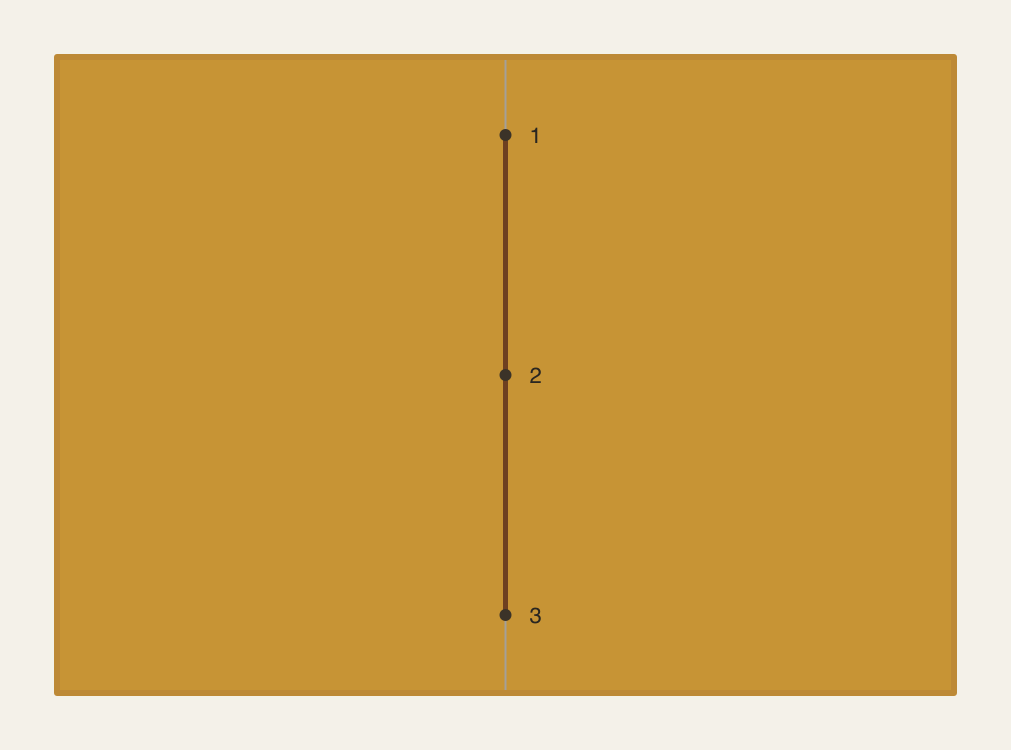
From the upper hole, take the needle along the inside fold and out through the lower hole, skipping the centre. This makes the long interior strand. Return from outside through the centre hole, avoiding piercing the existing thread. Arrange the two loose ends on opposite sides of that long interior strand. Check the outside: the thread should run from centre to each outer hole without stray loops or missed sheets.
Photorealistic illustration · Waey
7. Tie, inspect and finish the notebook
Snug the stitch while keeping the fold straight and tie a square knot over the long interior strand: right over left, then left over right. The knot must capture that strand so it cannot slide through the centre hole. Trim the tails to about 15 mm, remove the clips and turn every leaf to check attachment. Close the book under a light flat board if needed; leave the natural stepped fore edge instead of attempting an unsupported knife trim.
Watch the method
3 Hole Pamphlet Stitch Tutorial for Your Zine! | Kat Schneider
Kat Schneider demonstrates a three-hole template and sewn binding. Follow the numbered diagrams here for the thread route and tie the knot around the long inside strand.
Kat Schneider · Automatic captions; spoken language unconfirmed
Watch on YouTube ↗Final checks
All sixteen leaves attached; spine straight; knot captures the long strand; thread snug without tearing holes. Keep dry and avoid forcing the cover backwards; repair a loosening knot before the thread damages the holes.
Sources
TALAS: Pamphlet stitch and alternative binding techniques ↗
Preparation and folding images are original generated illustrations for Waey. Thread-route diagrams are original Waey drawings, not photographs. Video belongs to its credited creator.