
Clean an unwaxed polyurethane-finished wood floor
Clean an approved, unwaxed polyurethane-finished wood floor with ready-to-use cleaner and a manual microfiber mop, using little moisture and keeping traffic off until dry.
What will you learn?
Remove dry grit, then clean small sections with a light mist and a clean microfiber pad. This routine is only for sound, documented unwaxed polyurethane-finished wood whose maker approves the selected ready-to-use cleaner. It does not repair damage or restore a finish.
Tools
- Manual Bona mopSearch Amazon Saudi Arabia ↗
- Clean microfiber cleaning padsSearch Amazon Saudi Arabia ↗
- Soft broom or floor-approved vacuumSearch Amazon Saudi Arabia ↗
- Separate container for rinsing pads away from the floorSearch Amazon Saudi Arabia ↗
Materials
- The exact approved ready-to-use cleaner; do not diluteSearch Amazon Saudi Arabia ↗
- Water for pad and tool cleaning away from the floorSearch Amazon Saudi Arabia ↗
- Documented sound, unwaxed polyurethane wood finish and the actual flooring maker’s approval for this exact cleaner.
- Read the current regional label and SDS on Bona Professional Series Hardwood Floor Cleaner ready-to-use 32 oz trigger. Stop if the product or directions differ.
Step by step
Photorealistic illustration · Waey
1. Confirm compatibility
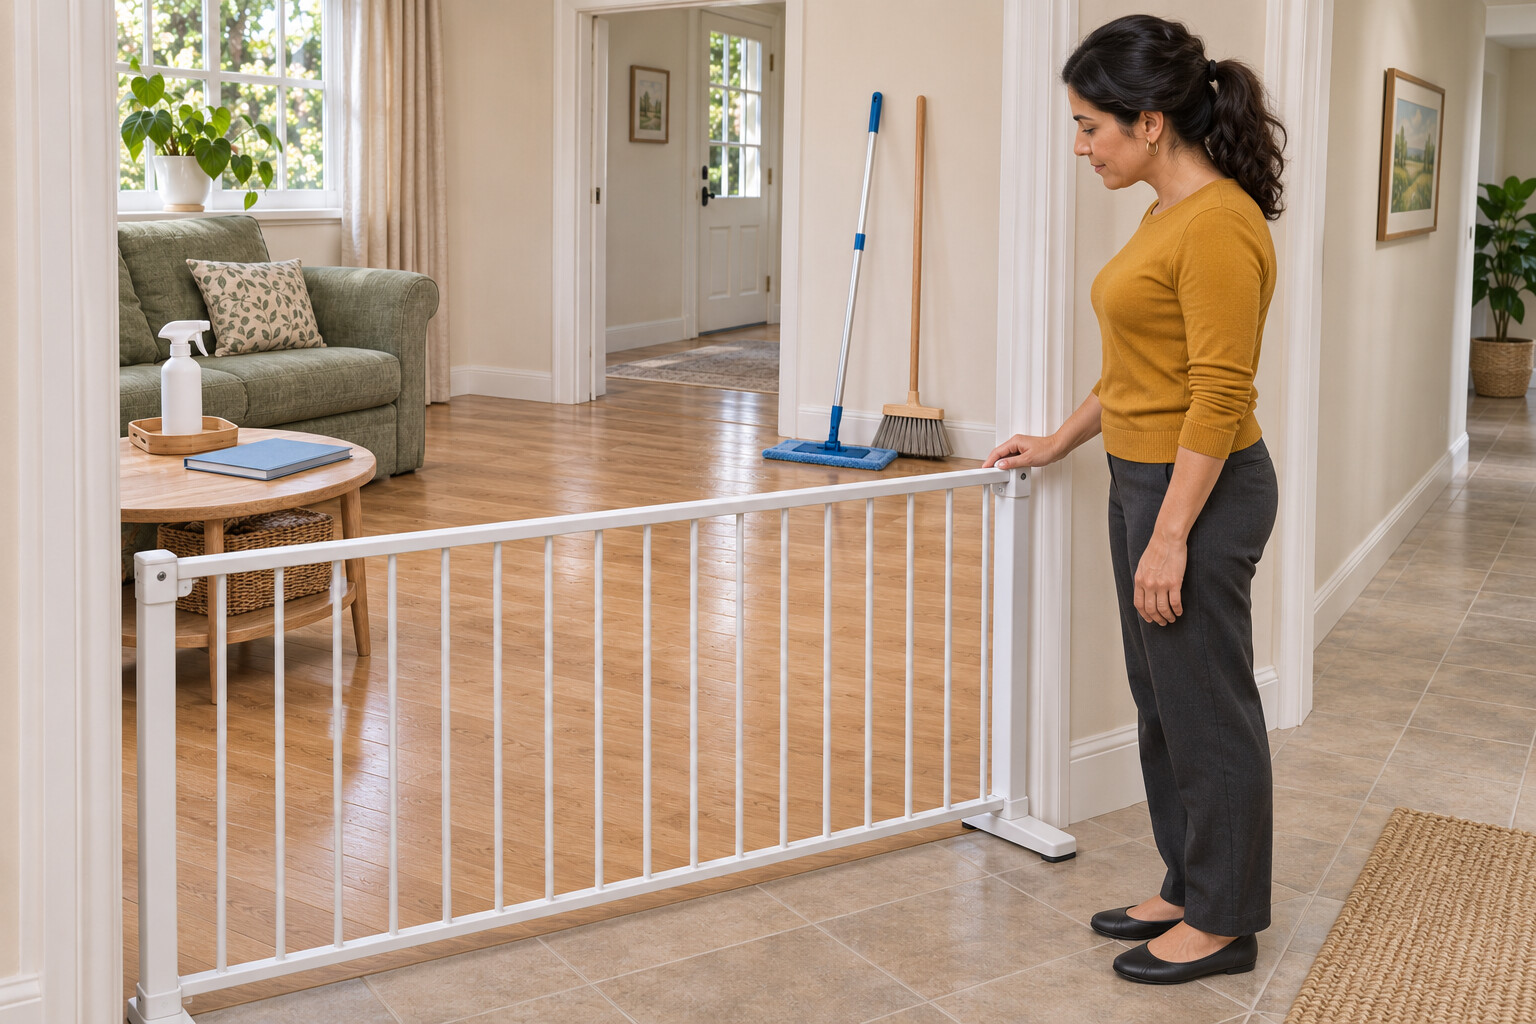
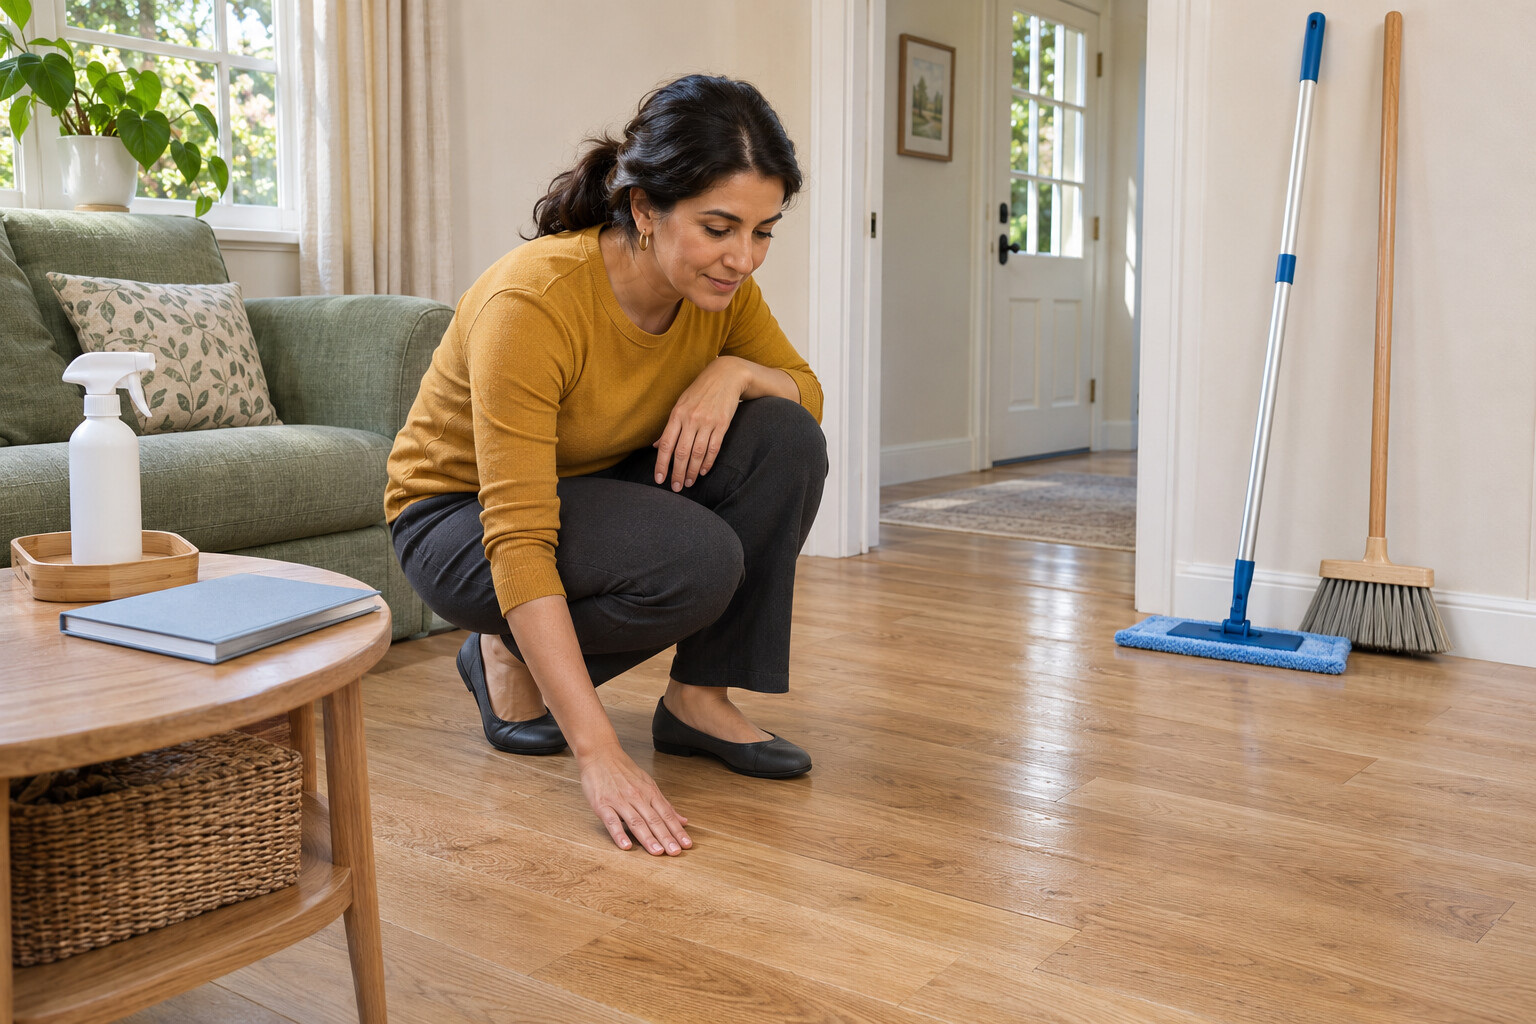
Check the floor records and the flooring maker’s care instructions. Proceed only with a sound, unwaxed polyurethane finish and approval for the exact ready-to-use product. Inspect seams and worn areas; stop if the coating is loose, boards are swollen, bare wood is exposed or the finish is uncertain.
Photorealistic illustration · Waey
2. Clear the route and remove grit
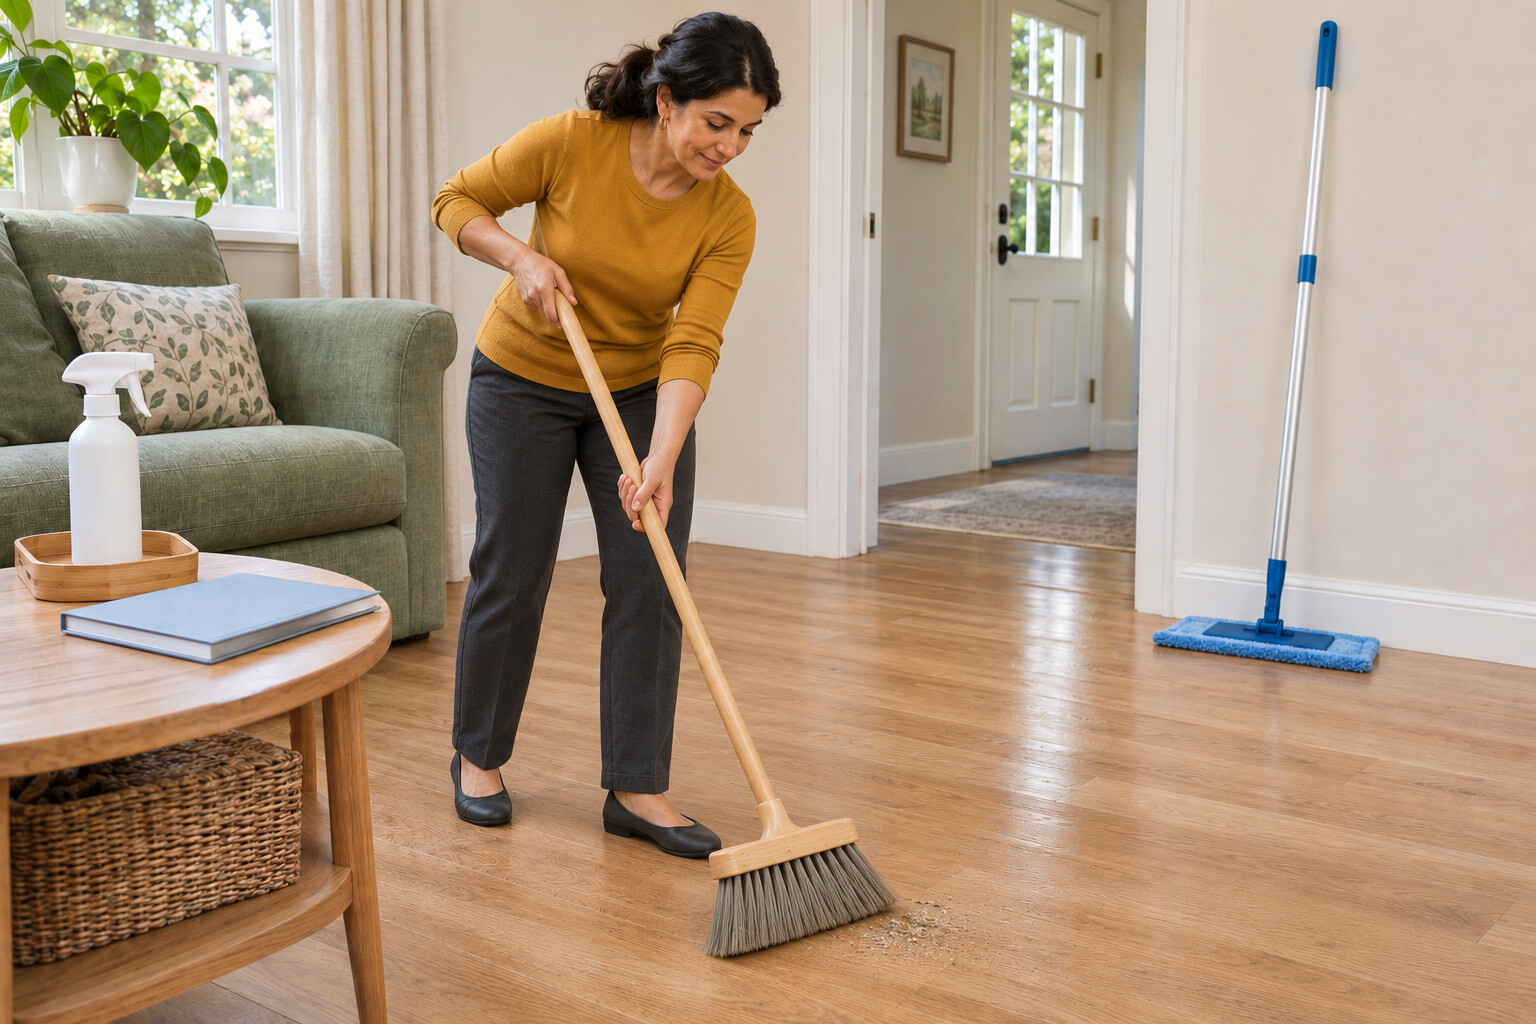
Move small objects without dragging them across the floor. Keep a clear exit and prevent access to the cleaning area. Sweep gently or use the flooring-approved vacuum setting to remove dry dust and grit, including along edges, before using liquid.
Photorealistic illustration · Waey
3. Check the bottle and test a hidden spot
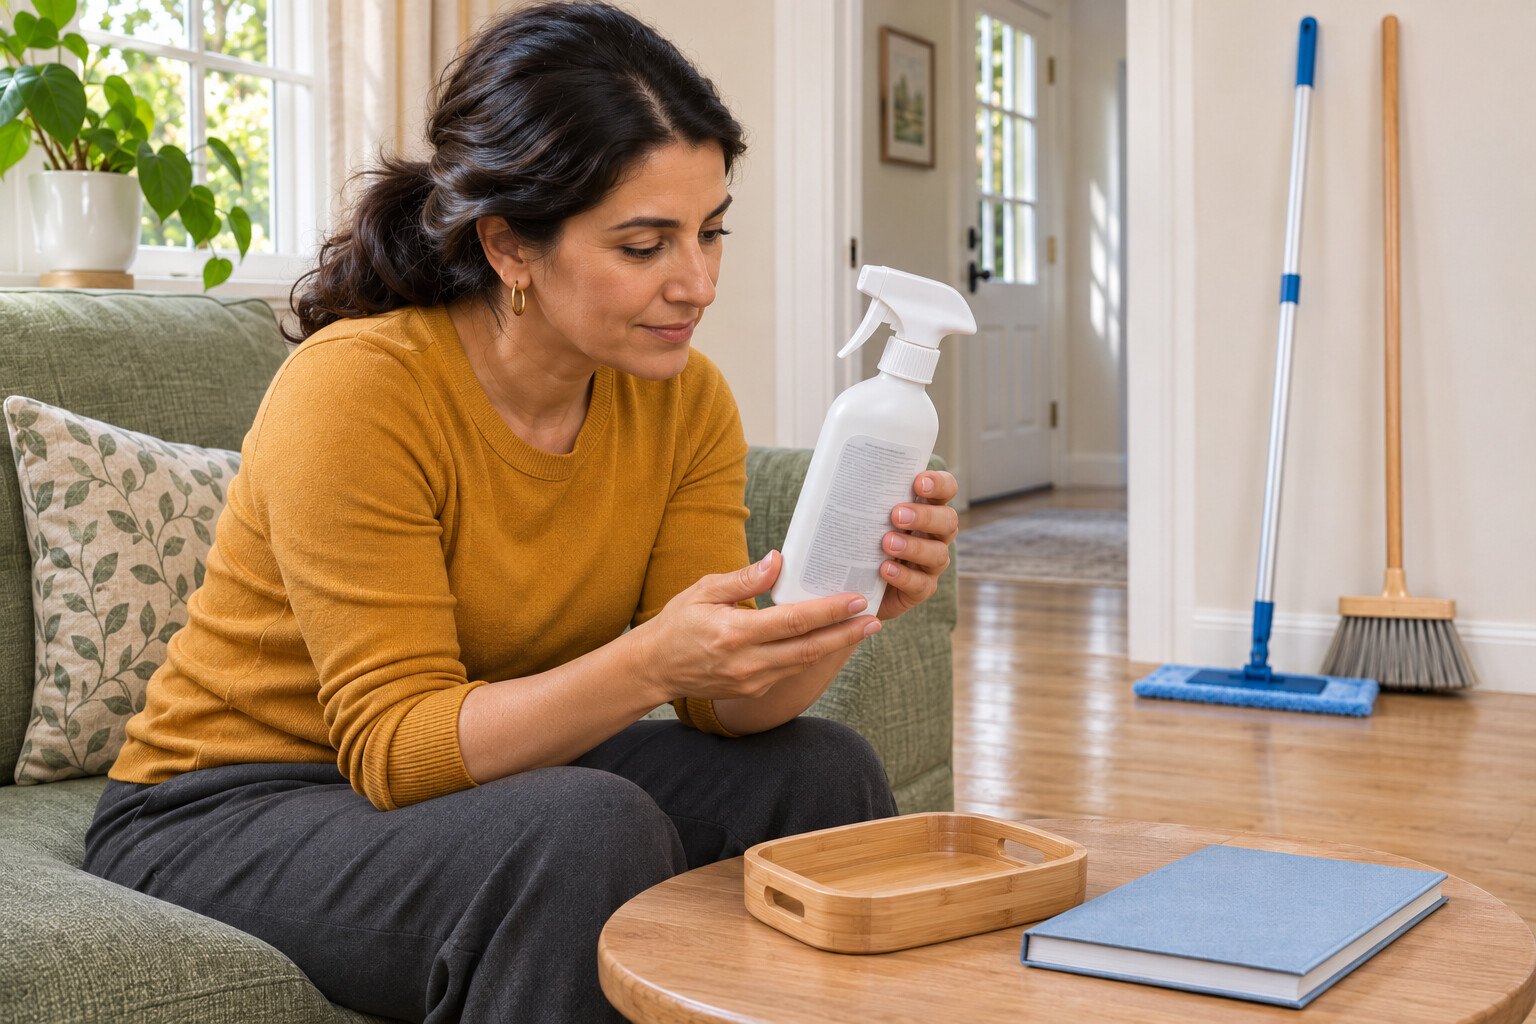
Read the exact regional bottle directions and safety information. Do not substitute concentrate, hard-surface cleaner, polish or an oil-floor product. Following the label and floor maker’s test directions, try a small inconspicuous spot and let it dry completely. Stop if colour, sheen or surface feel changes unexpectedly.
Photorealistic illustration · Waey
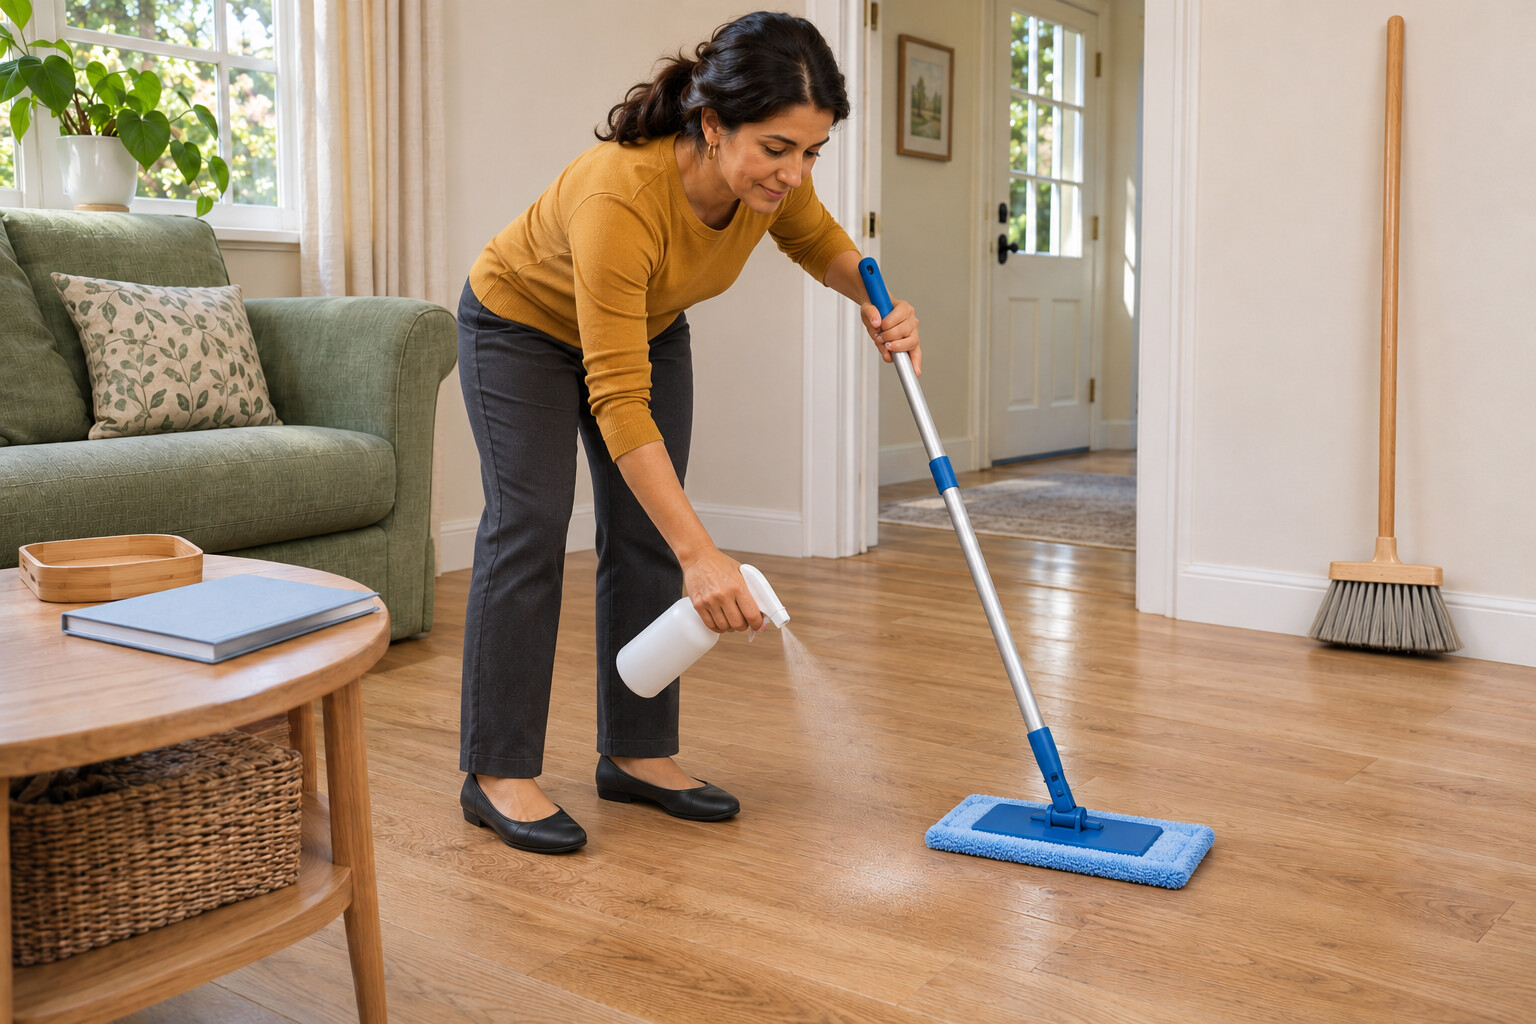
4. Mist and wipe a small section
Fit a clean microfiber cleaning pad to the manual mop. Do not dilute the ready-to-use cleaner. Apply a light mist as the current label directs and wipe the small section with the pad. Keep moisture controlled at seams and edges; do not pour cleaner onto the floor or leave puddles.
Photorealistic illustration · Waey
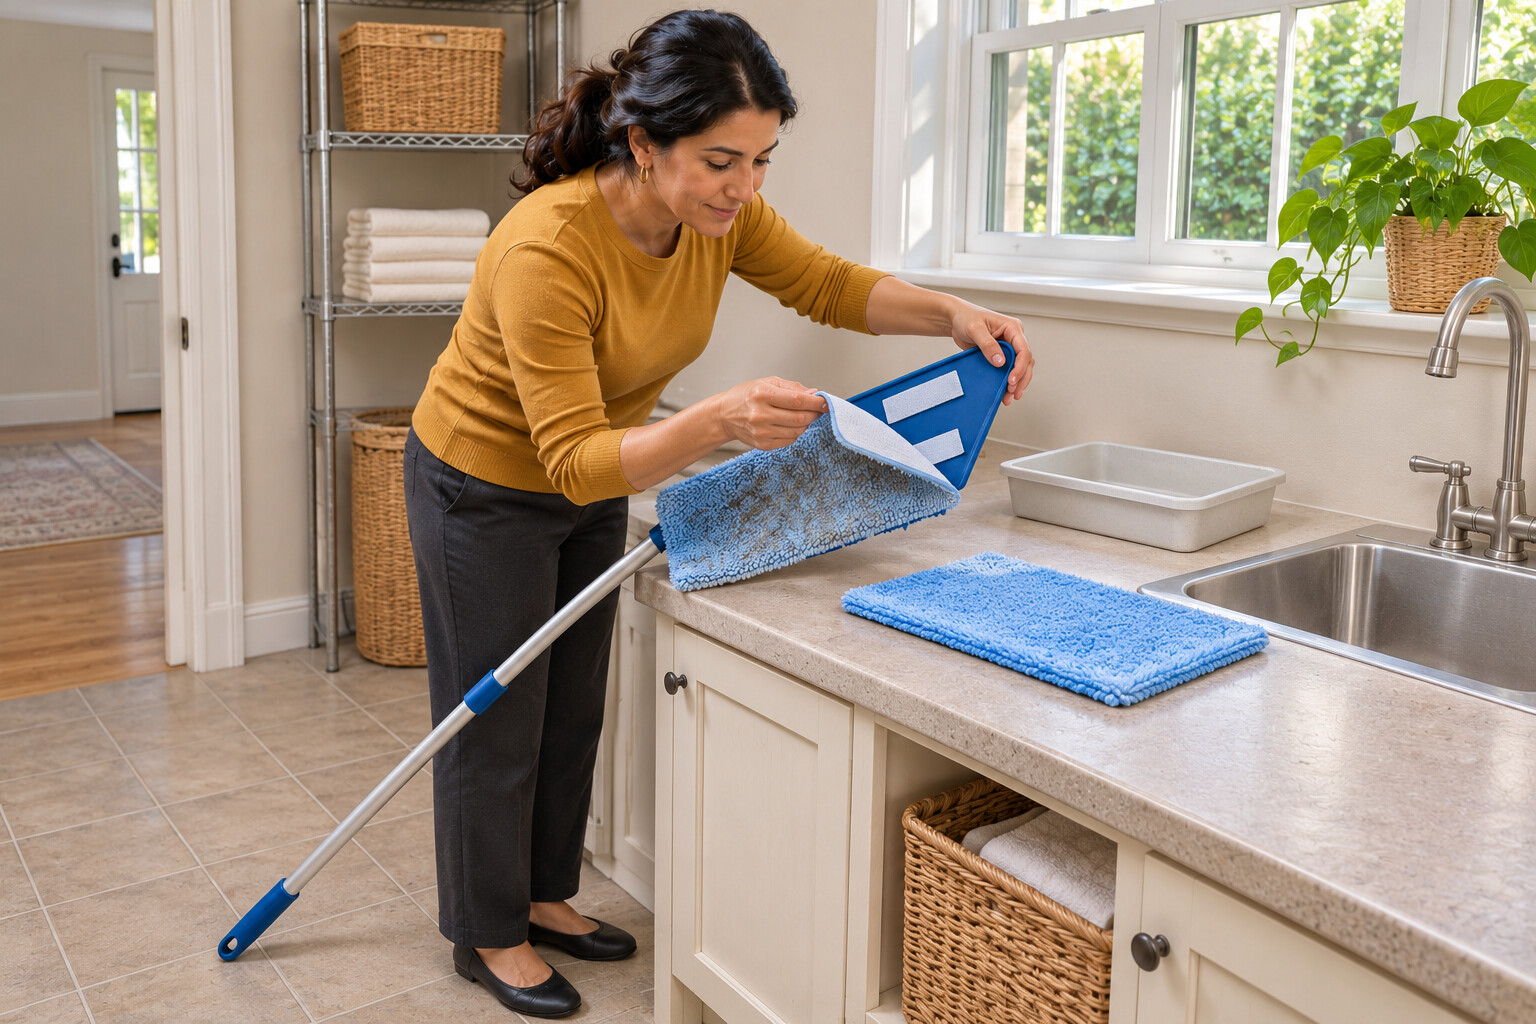
5. Keep the pad clean as you continue
Work in small sections toward the clear exit. Replace a dirty pad with a clean one, or rinse it frequently away from the floor and wring it thoroughly before refitting. Do not carry dripping water back onto the wood. Avoid walking across freshly cleaned sections.
Photorealistic illustration · Waey
6. Let the floor dry and check the result
Keep access blocked until the entire cleaned surface is fully dry; drying time varies with conditions. Inspect for remaining grit, residue or unexpected finish changes. Do not add polish or repeatedly wet a problem area: stop and consult the floor maker if a change remains. Clean the tools with warm water away from the wood and follow the product directions for leftovers and disposal.
Video demonstrations
Clean Floors Better with the Bona Microfiber Mop
Shows the manual flat mop and its cleaning pad. Check your floor maker’s approval and the directions for the exact ready-to-use cleaner; the video covers several floor types. Only muted visual excerpts were reviewed.
Bona · English; audio not reviewed
Watch on YouTube ↗How to Assemble and Use Your Bona Microfiber Mop
Shows the detachable pad and how it sits beneath the manual mop. Use a clean pad, follow your mop’s instructions and change dirty pads away from the wood floor. Only muted visual excerpts were reviewed.
Bona · English; audio not reviewed
Watch on YouTube ↗Final checks
Stop for finish changes, swelling or uncertainty; keep access blocked until the whole cleaned area is fully dry.
Sources
Original AI-generated instructional illustrations, reviewed for this sequence. They illustrate actions and do not reproduce a manufacturer’s label or certify floor compatibility or dryness.