
Install and check an original CatEye AMPP400 bicycle front light
Charge, fit, latch and aim the original Micro-USB AMPP400 using its H-34N bracket, then check controls and removal while the bicycle is parked.
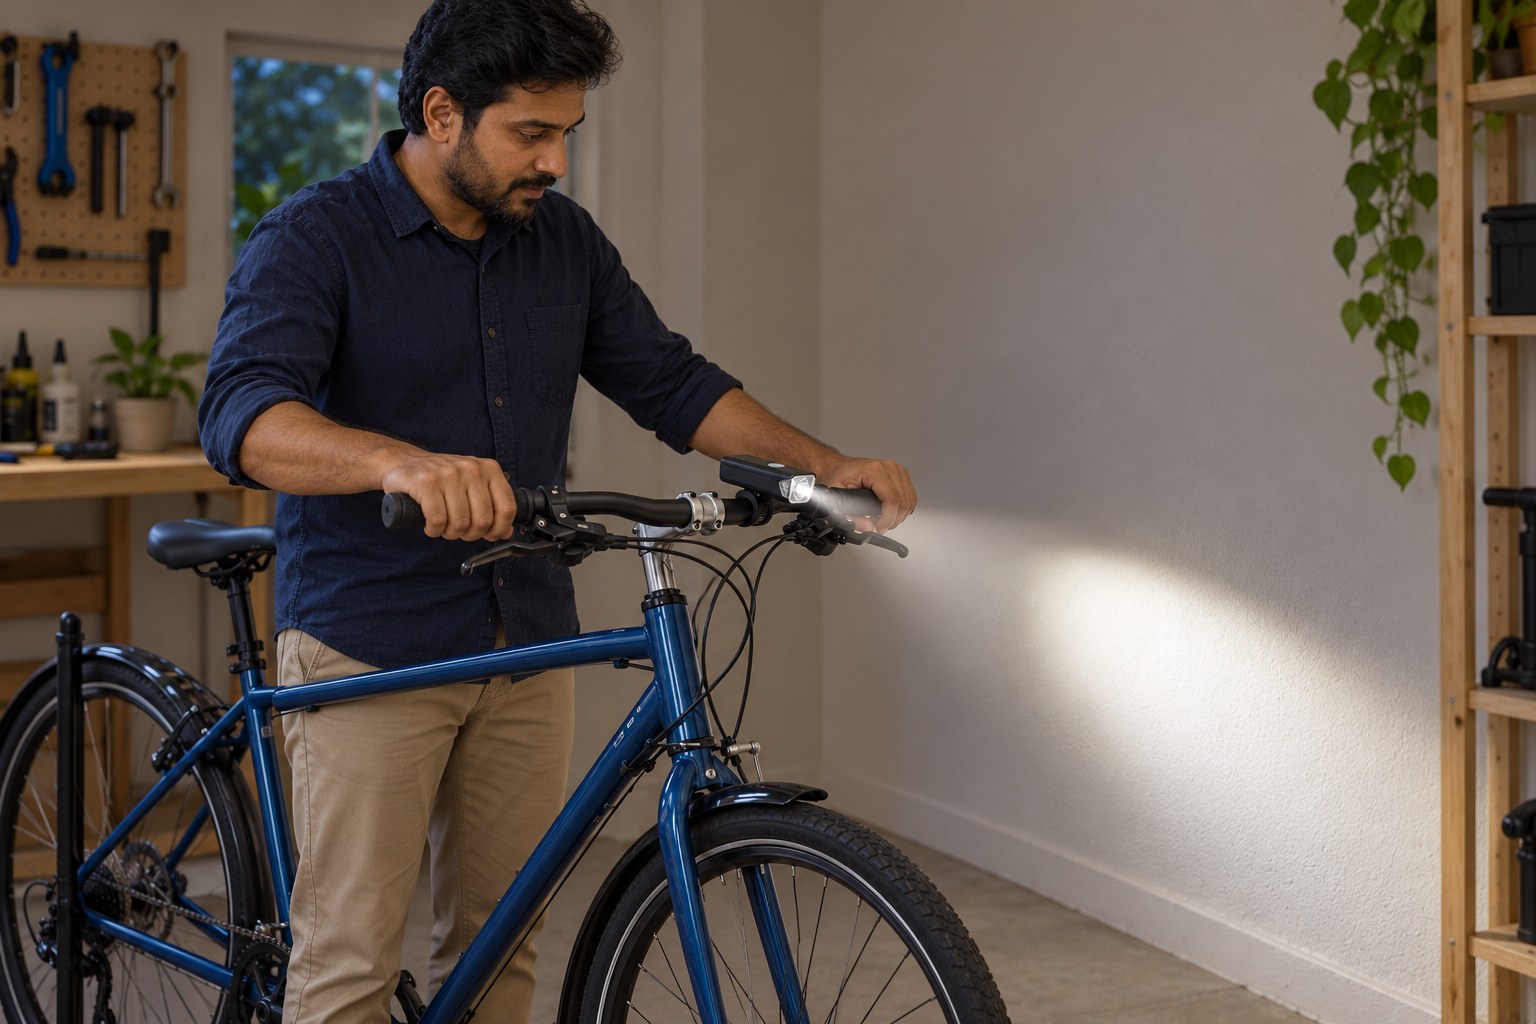
What will you learn?
Charge, fit, latch and aim the original Micro-USB AMPP400 using its H-34N bracket, then check controls and removal while the bicycle is parked.
Tools
- Matching hand screwdriver only if the separate angle screw needs adjustmentSearch Amazon Saudi Arabia ↗
- Stable support for the parked bicycle
Materials
- OriginalAMPP400HL-EL084RC with readable matched manualSearch Amazon Saudi Arabia ↗
- SuppliedH-34NFlexTight bracket, rubber pad, strap and hand dial
- Supplied Micro-USB cableSearch Amazon Saudi Arabia ↗
- Suitable USB source rated at least 500 mASearch Amazon Saudi Arabia ↗
- Clean soft clothSearch Amazon Saudi Arabia ↗
- Mild soap, only if cleaning is neededSearch Amazon Saudi Arabia ↗
Step by step
Photorealistic illustration · Waey
1. Match the original light and inspect the mounting area
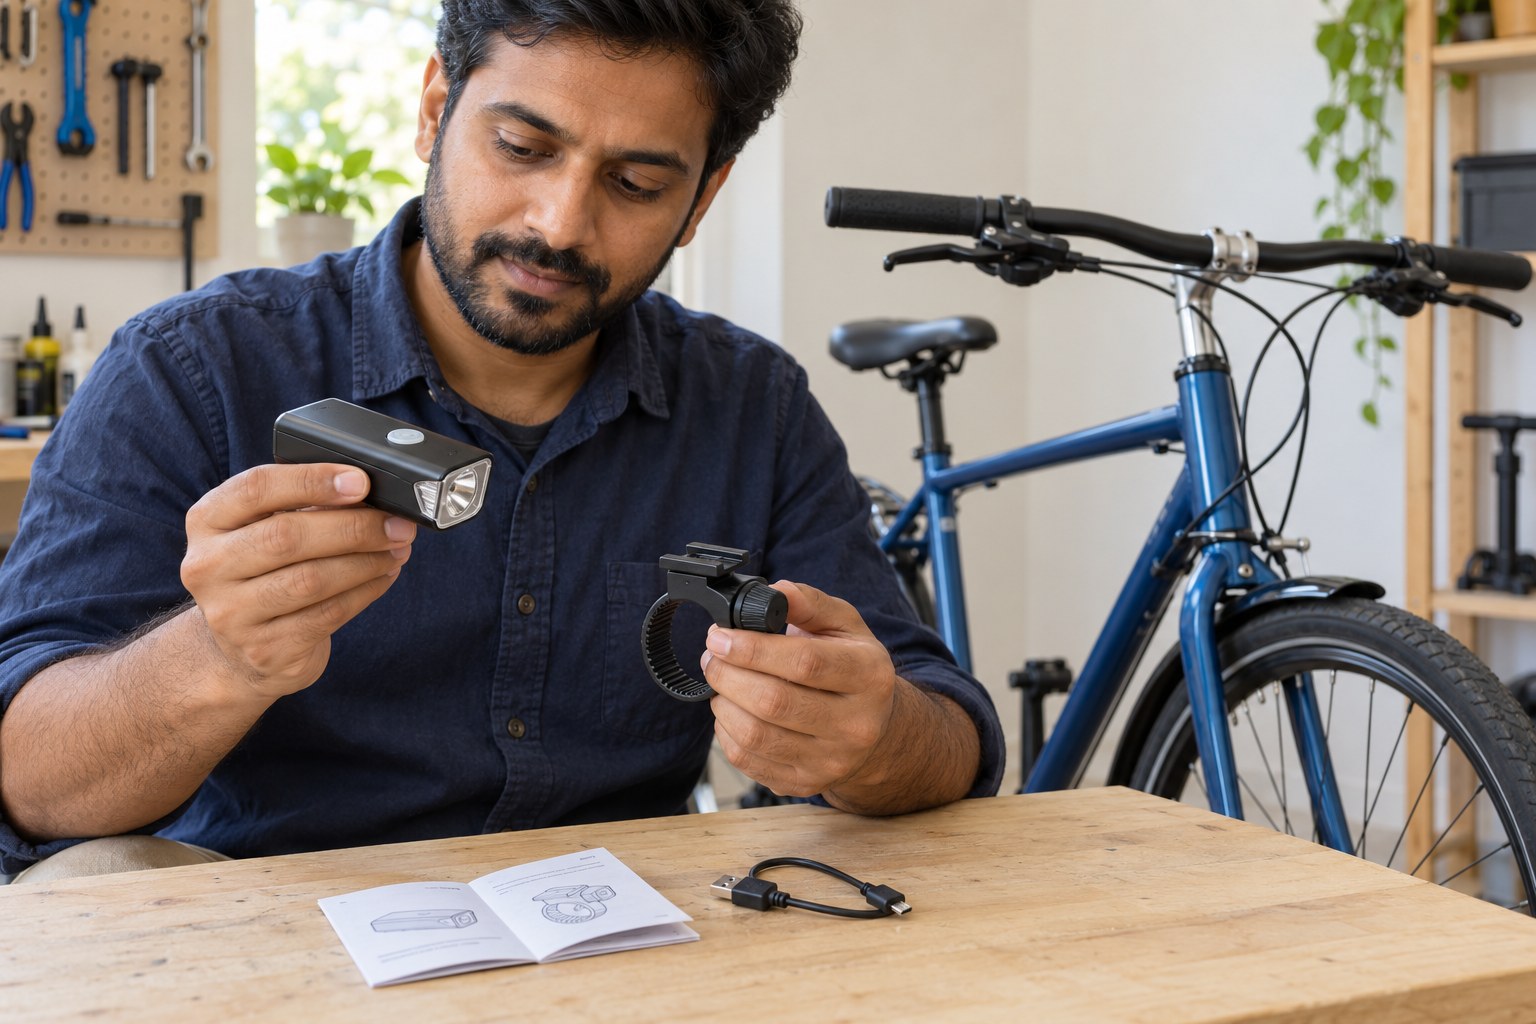
Check the label for AMPP400 HL-EL084RC, with its Micro-USB socket and matching manual. Use the supplied H-34N FlexTight bracket, rubber pad, strap and dial. Inspect the light, port cover and bracket for damage. Choose an accessible sound round metal handlebar section with room for the clamp and free steering. Check the bicycle maker’s accessory guidance; stop for damaged parts, unsuitable bar shape or uncertain compatibility rather than substituting a different bracket.
Photorealistic illustration · Waey
2. Charge the light and close the port cover
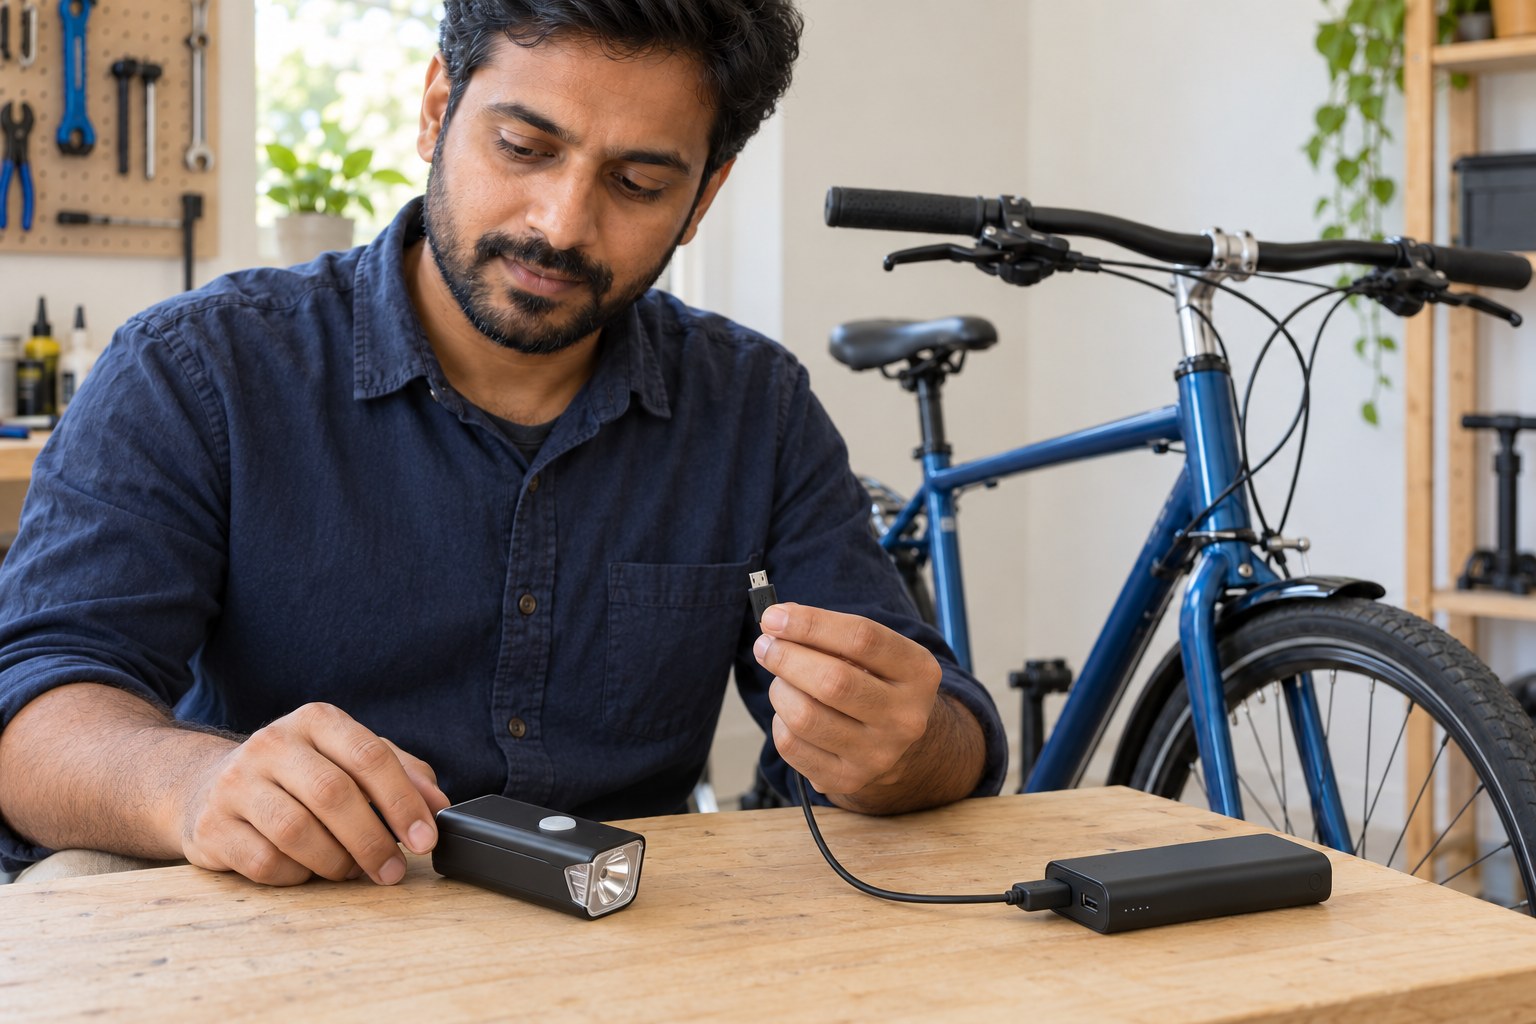
Charge before first use on a stable dry surface at 5–40°C, away from direct sunlight and a hot vehicle. Check that the socket and cable plugs are clean and dry. Connect the supplied Micro-USB cable to the light and a suitable USB source rated at least 500 mA. A steady red indicator means charging; it goes out when charging finishes. Disconnect the cable and fully seat the rubber cover. Stop for swelling, damage or abnormal heat; do not open the housing.
Photorealistic illustration · Waey
3. Fit the padded bracket and tighten its dial by hand
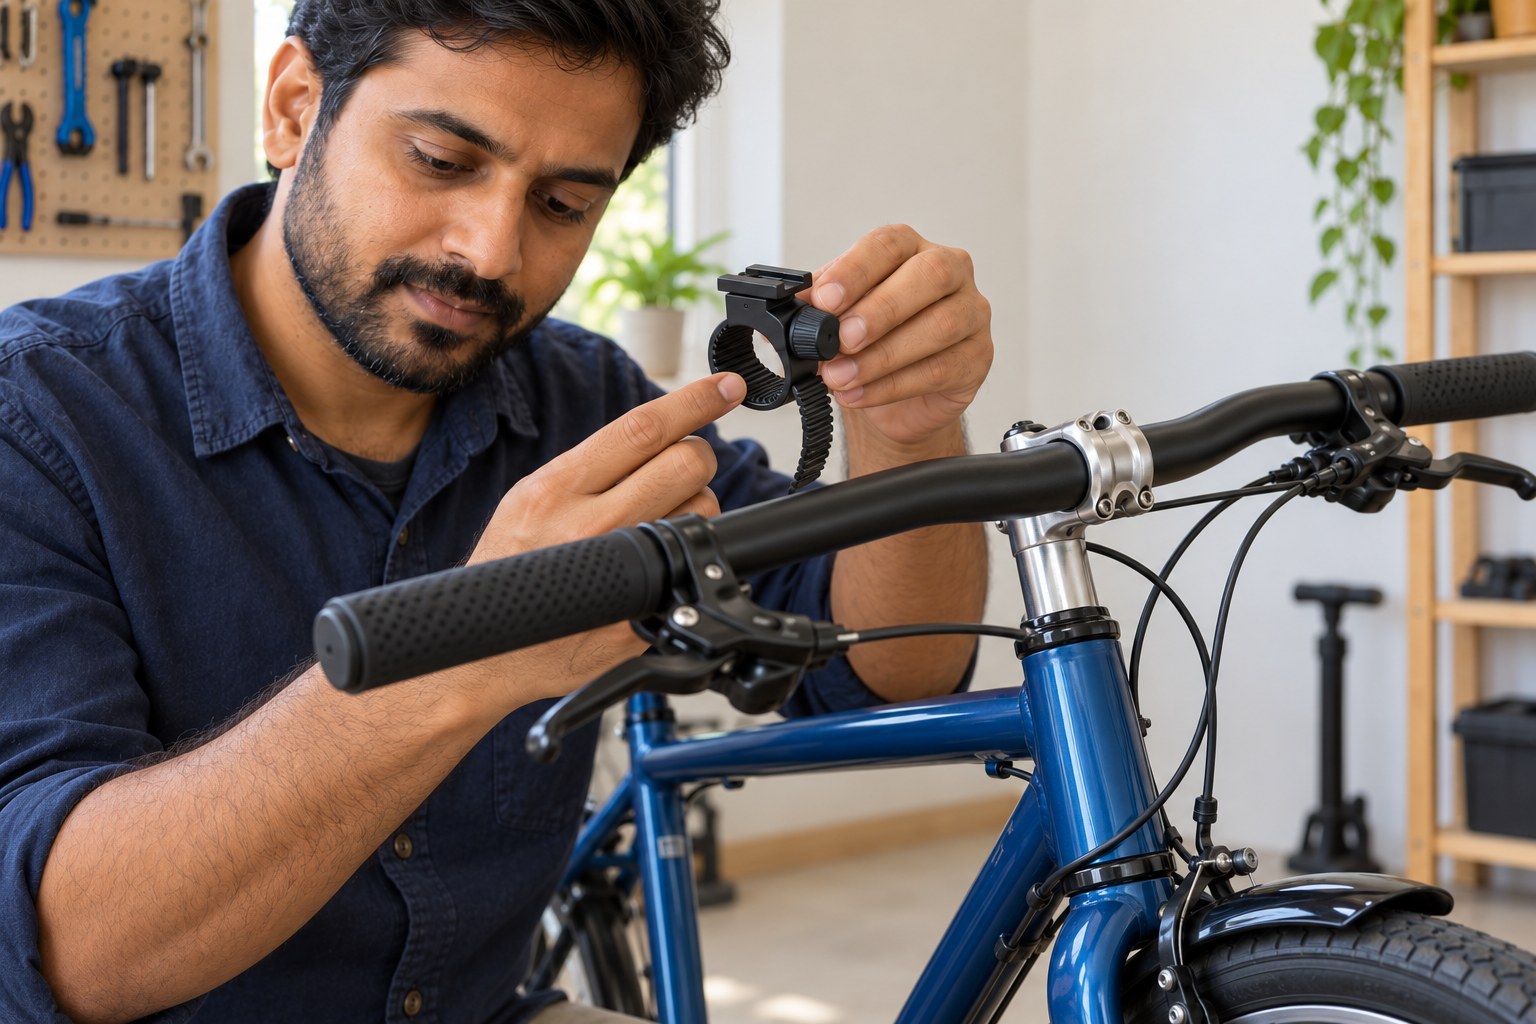
Keep the bicycle stationary and the light switched off. Place the bracket’s rubber pad against the chosen bar section, then wrap its strap around the bar and feed it through the bracket as shown in the matched drawing. Position the mounting rail above the bar and keep cables free. Tighten the dial by hand until the bracket is secure; do not use pliers or another tool on the dial. Keep the strap end clear of controls and moving parts.
Photorealistic illustration · Waey
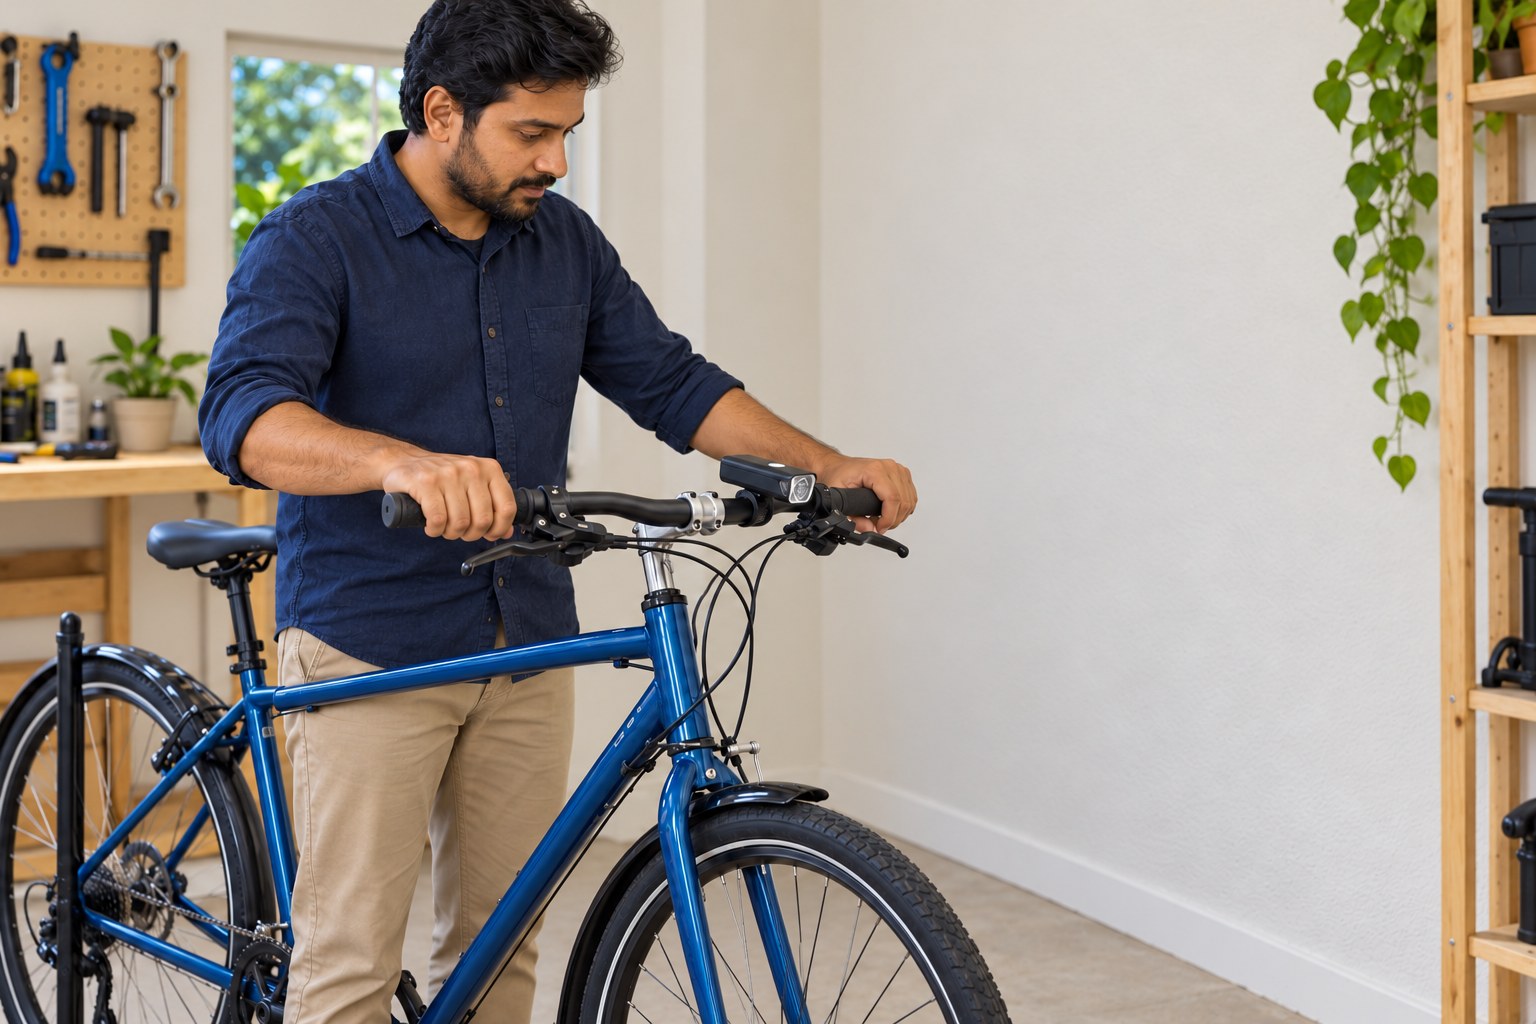
4. Slide the light onto the rail until it locks
Align the light’s underside with the bracket rail, with its lens facing forward. Slide it from the front toward the rider until the locking catch clicks. Support the light while checking that it cannot slide back out without pressing the release button; do not rely on friction alone. Make sure the rubber charging cover is closed and no brake hose or gear cable is trapped. If the latch fails or the rail is damaged, remove the light and stop.
Photorealistic illustration · Waey
5. Aim the beam downward without dazzling anyone
With the bicycle parked upright and supported, point the light toward a clear surface away from eyes and briefly switch it on. Set its angle downward so the beam avoids approaching people. If adjustment is needed, loosen the bracket dial or angle screw only enough to move the mount, then secure it again; the dial remains hand-tightened. Use a matching screwdriver only for the separate screw. Do not invent a universal wall distance, aiming height or torque for this bracket.
Photorealistic illustration · Waey
6. Learn the switch and check the battery indicator
While stationary, press and hold the top switch to turn the light on or off. Short presses cycle High, Low, Daytime HyperConstant and Flashing; the last-used mode is remembered. A double-click calls High mode. Keep the beam away from eyes while learning the sequence. A red switch indicator during use means the battery is low, so recharge promptly. Choose a suitable steady mode for your conditions and local requirements; the flashing and daytime modes do not prove adequate road illumination.
Photorealistic illustration · Waey
7. Check clearance and practice supported removal
Turn the handlebar slowly through its normal range while the bicycle stays parked. Confirm secure mounting, downward aim and unobstructed brakes, shifters and cables. To remove the switched-off light, support it, press the bracket release button and slide it forward along the rail. Refit until it clicks and repeat the lock check. Check the dial and angle screw periodically, carry a suitable spare light, and stop riding if mounting or illumination becomes unreliable. Do not assume this installation alone establishes legal compliance.
Video demonstrations
CatEye AMPP500 and AMPP400 Tech Video
CatEye’s family video shows both500and400models, including the400mount interface. Use the exactAMPP400 manual for charging, controls and bracket locking.
CatEye Bicycle Electronics (New) · Visual demonstration; spoken language unverified
Watch on YouTube ↗Cateye AMPP400 unboxing, installing on the bike and testing by night
JanSV shows stationaryAMPP400 bracket and light fitting. Follow the written hand-tightening, supported latch and downward-aim checks; the night-riding section is outside this guide.
Jan SV · Spoken language unverified; metadata Dutch ASR only
Watch on YouTube ↗Final checks
Charge complete, port cover closed, bracket secure, latch positively engaged, beam downward, steering and controls free, switch modes understood and low-battery response planned.
Where to find supplies
AMPP400S and other USB-C revisions require their own manuals. Use manufacturer-approved alternatives for different bars or mounting positions. No alcohol/thinner cleaning, improvised adhesive mounting or claimed universal aiming distance.
Sources
CatEye original AMPP400 manufacturer manual,2019 ↗
Manufacturer-authored manual mirror, diagrams visually reviewed ↗
Original generated instruction illustrations created for Waey. Videos belong to their credited creators.