
Prepare and repaint an interior wall with an even finish
Complete a sound wall repaint: compatible repairs and sealing, accurate masking, controlled cutting-in and rolling, and product-specific drying checks.
What will you learn?
Complete a sound wall repaint: compatible repairs and sealing, accurate masking, controlled cutting-in and rolling, and product-specific drying checks. The licensed brush close-up is a separate application detail, not evidence that a particular primer has been applied. Your actual paint, filler and tape instructions govern compatibility, preparation, timings and protection.
Tools
- Synthetic angled cutting-in brush; suitable roller cover, frame and extension poleSearch Amazon Saudi Arabia ↗
- Clean roller tray, brush pot and paint stirrer; measuring tape and pencilSearch Amazon Saudi Arabia ↗
- Filling knife, suitable fine abrasive and dust extraction for new filler onlySearch Amazon Saudi Arabia ↗
- Eye protection, material-specified respiratory protection and gloves; safe access platform if neededSearch Amazon Saudi Arabia ↗
- Separate suitable brush for the specified sealing coat or spot primerSearch Amazon Saudi Arabia ↗
Materials
- Compatible water-based interior matt paint in sufficient mixed quantitySearch Amazon Saudi Arabia ↗
- Substrate-compatible filler for small stable defects; specified sealing coat or spot primerSearch Amazon Saudi Arabia ↗
- Surface-rated painter’s tape within its service limits; non-slip floor coveringSearch Amazon Saudi Arabia ↗
- Suitable mild cleaner, clean water, sponges and lint-free clothsSearch Amazon Saudi Arabia ↗
Step by step
Photorealistic illustration · Waey
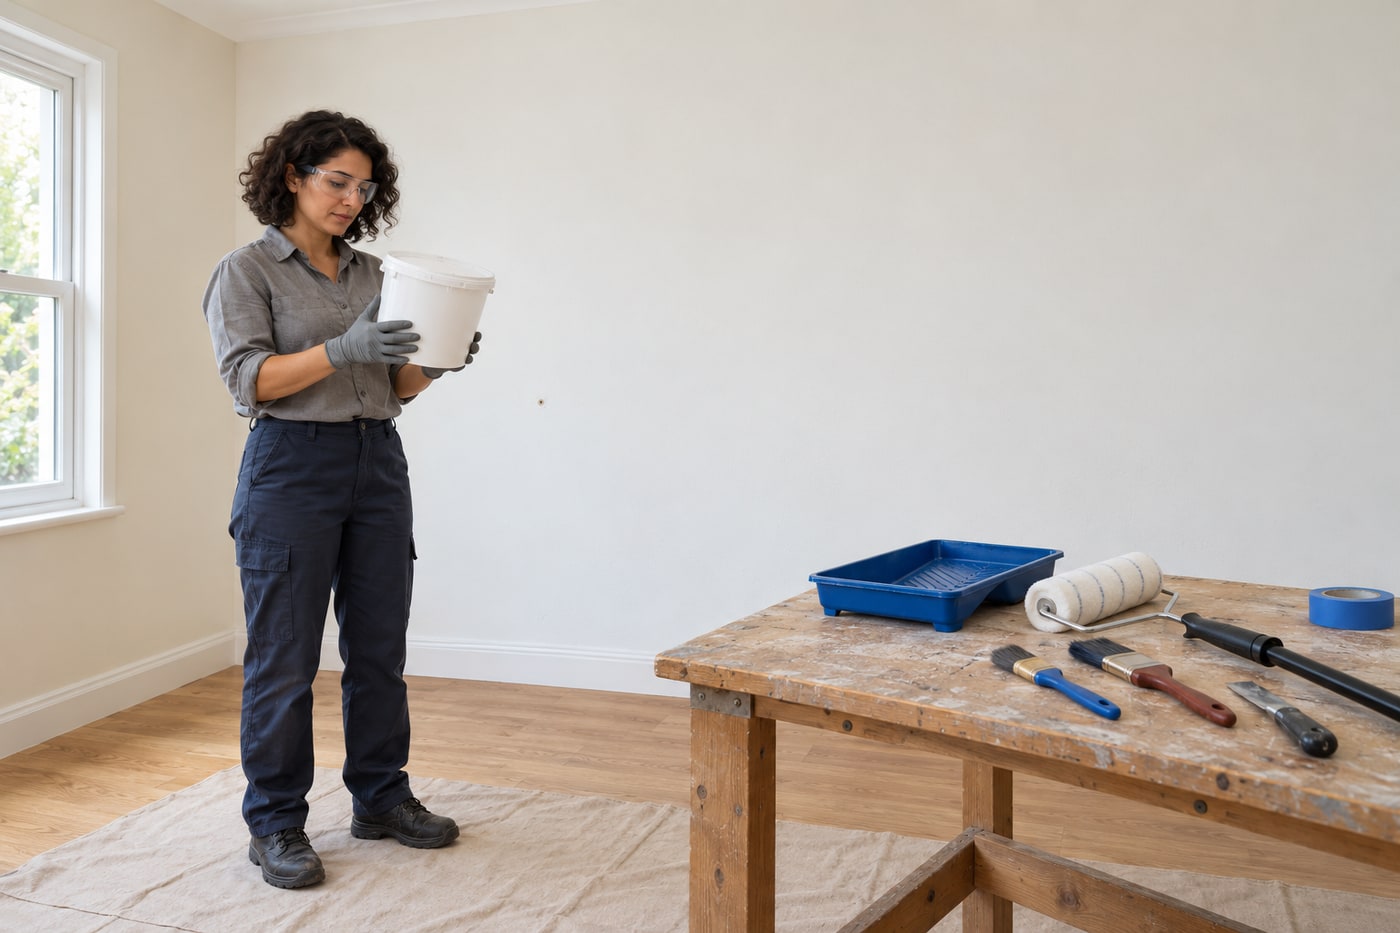
1. Confirm the wall and coating system
Choose one sound, dry interior wall with a known, firmly bonded water-based matt finish. Check the new paint’s label for that surface, any required primer, application conditions, coverage and recoat interval. Measure the paintable area and calculate area × planned coats ÷ stated coverage, allowing for the maker’s practical allowance and touch-ups. Keep enough of the same mixed colour for the whole wall. Stop for damp, mould, powdering, peeling, moving cracks or uncertain old coatings; painting over them will not solve their cause.
Photorealistic illustration · Waey
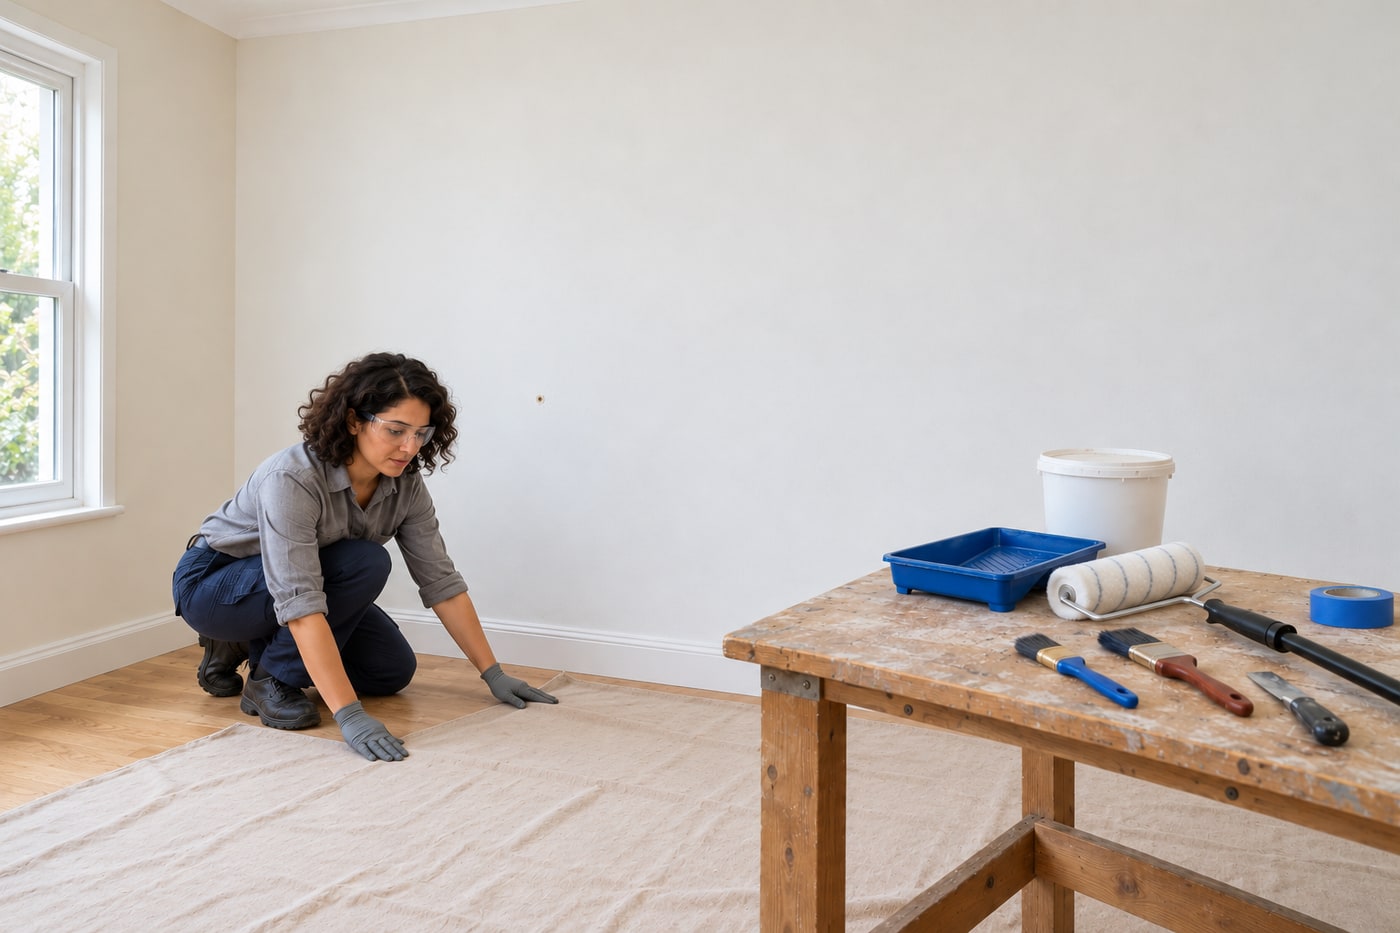
2. Protect the room and plan safe access
Move furniture out of the working zone and cover what remains. Protect the floor with a secure non-slip covering and keep a clear walking route; a loose sheet beneath your feet can move unexpectedly. Ventilate as the coating label requires without directing a strong drying draught at the wet wall. Keep children and pets out. Use a suitable extension pole from the floor and a stable approved platform only where needed; do not stand on furniture or overreach. Leave electrical fittings assembled and protect them without allowing liquid inside.
Photorealistic illustration · Waey
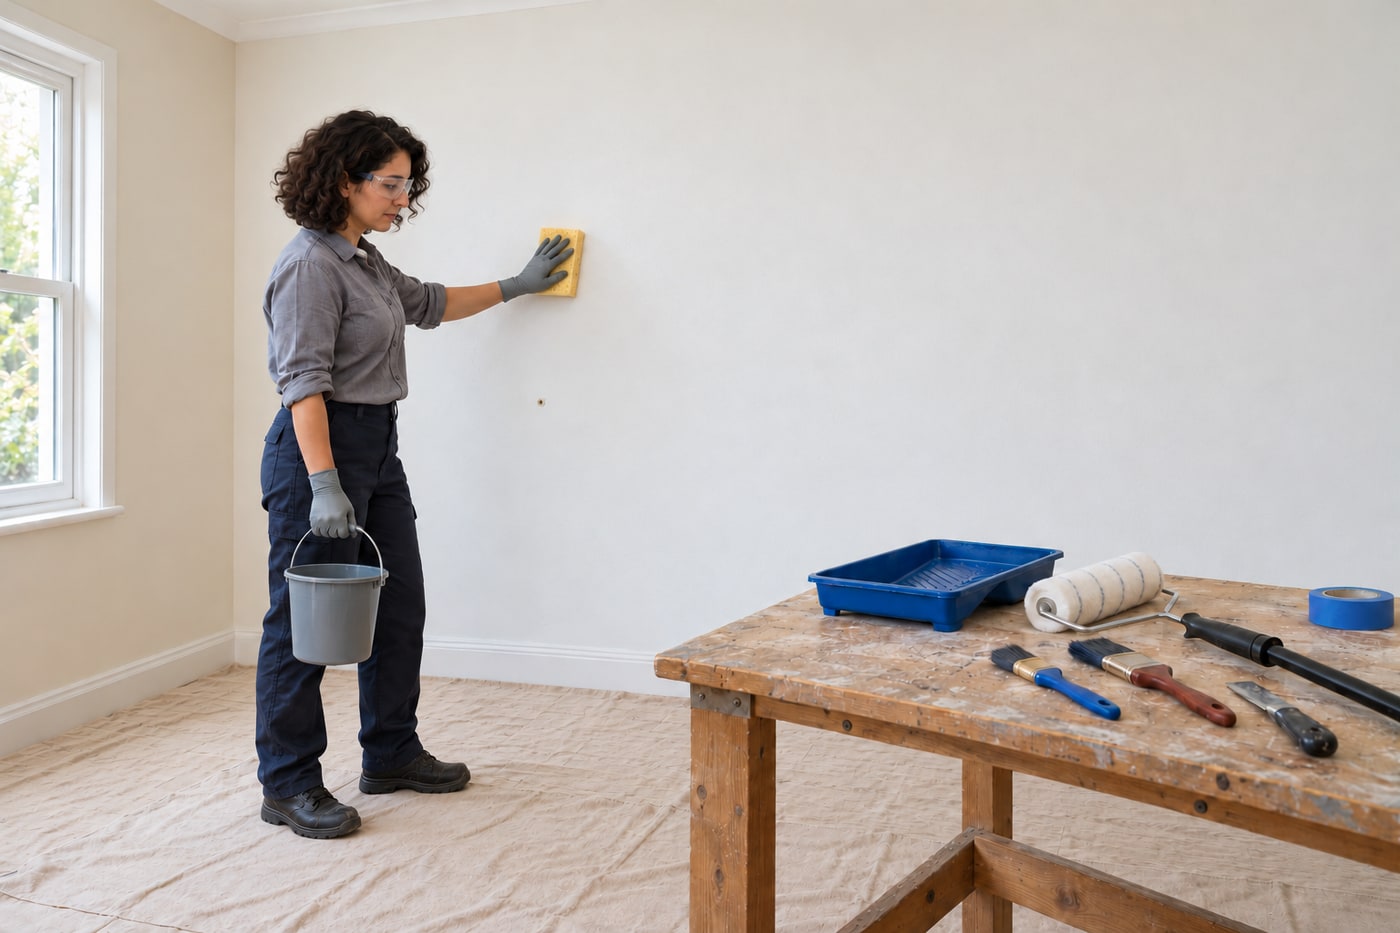
3. Clean, rinse and let the wall dry
Remove loose surface dust without abrading the old coating. Wash ordinary dirt with the coating maker’s suitable mild cleaning method, working in manageable sections. Use a clean damp sponge to remove cleaner residue rather than soaking plaster or driving water toward sockets. Allow the wall and trim to dry completely before filling, priming or taping. A wall that feels cool or remains damp needs more time. Persistent grease, chalky residue or stains call for the appropriate preparation system, not extra paint laid over contamination.
Photorealistic illustration · Waey
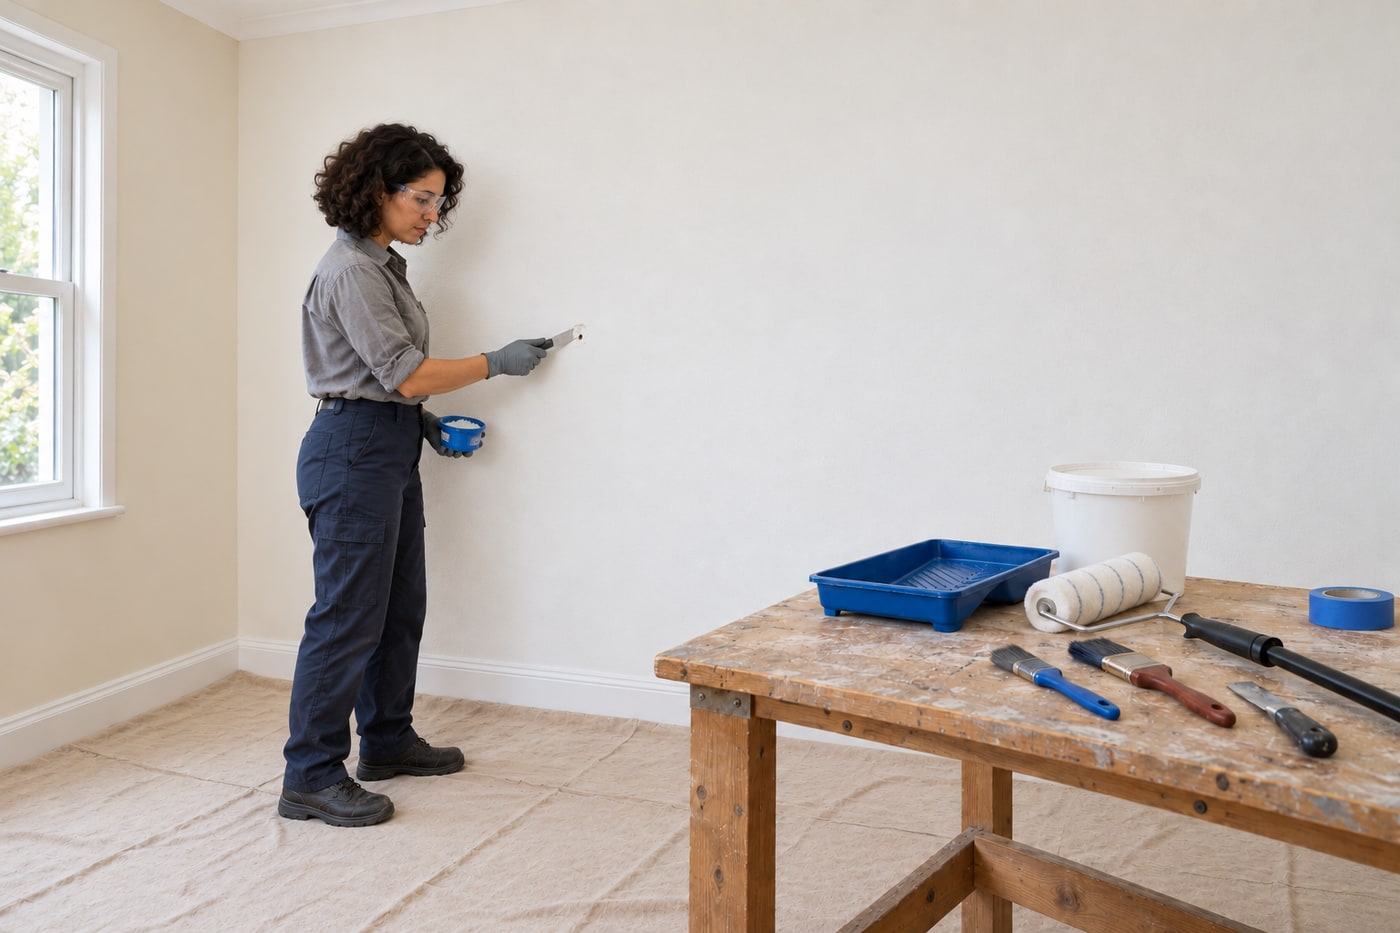
4. Fill small stable defects and allow full drying
Work only on small, stable surface dents or old fixing holes in known sound plaster. Check that the filler is suitable for the substrate and the intended coating. Following its instructions, press filler into the defect with a clean filling knife, then smooth it near the surrounding level instead of leaving a large ridge to sand away. Respect its maximum depth and any layered-application requirement. Wait until the repair is dry throughout, not merely skinned over. Deep, crumbling or recurring cracks require diagnosis beyond this repainting project.
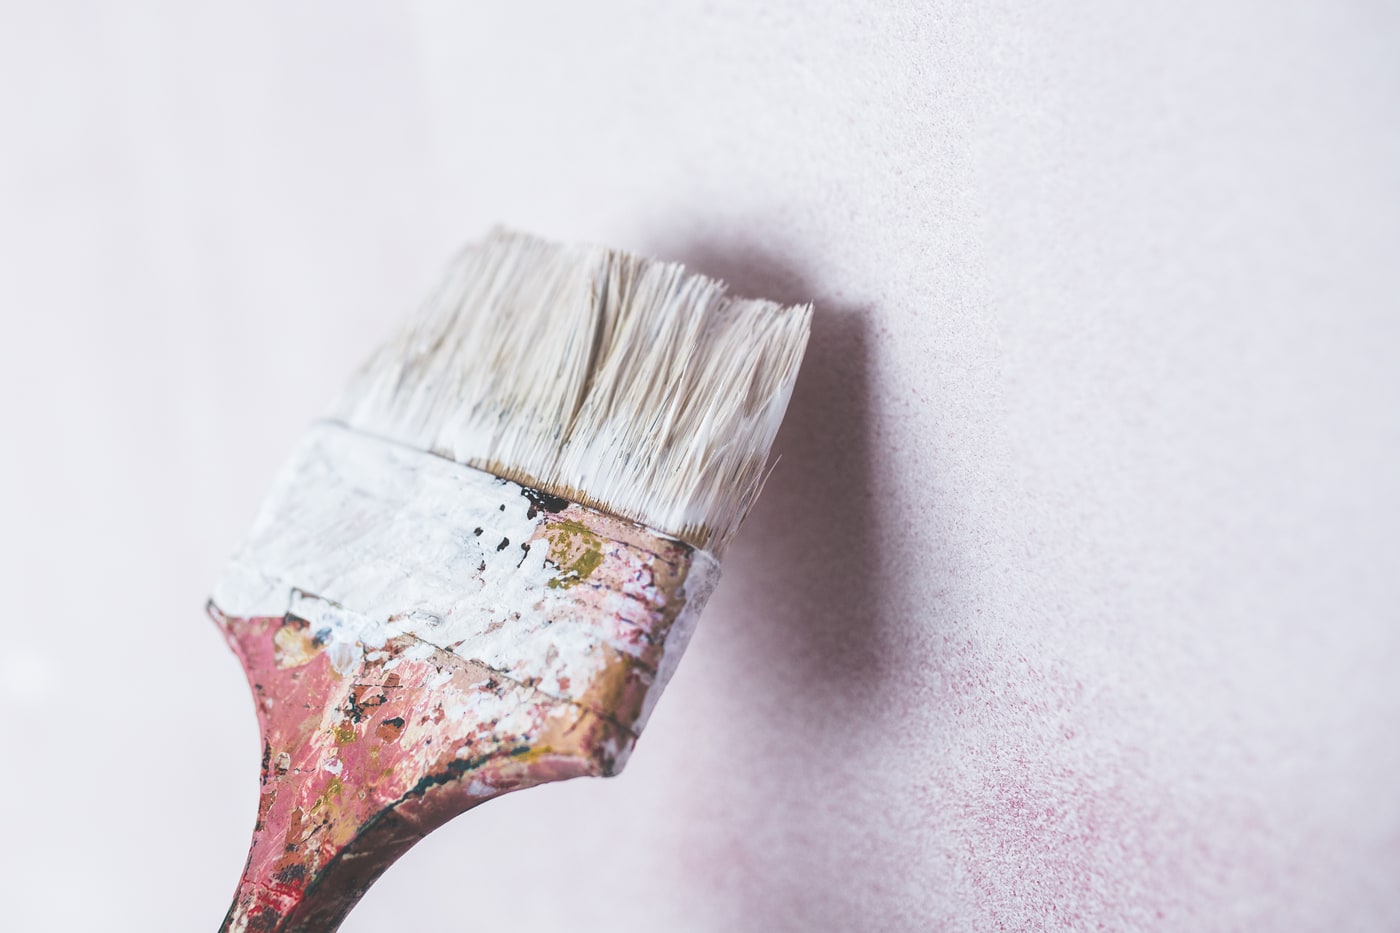
www.Pixel.la Free Stock Photos · CC0 · Resized and JPEG re-encoded. Brush-application reference detail; not identification of the paint or sealer used.
5. Level new repairs and seal absorbent patches
Once fully dry, smooth only the new filler as its maker directs; do not sand unknown old paint. Control dust with suitable extraction and the eye and respiratory protection specified for the material. Remove the dust and let any damp-wiped area dry. Seal or spot-prime bare, absorbent repairs using the compatible system required by the paint maker, then wait its stated drying time. Some paints specify a diluted sealing coat; that is product-specific, not permission to dilute every paint. Unsealed patches can dry with a different sheen or texture.
Photorealistic illustration · Waey
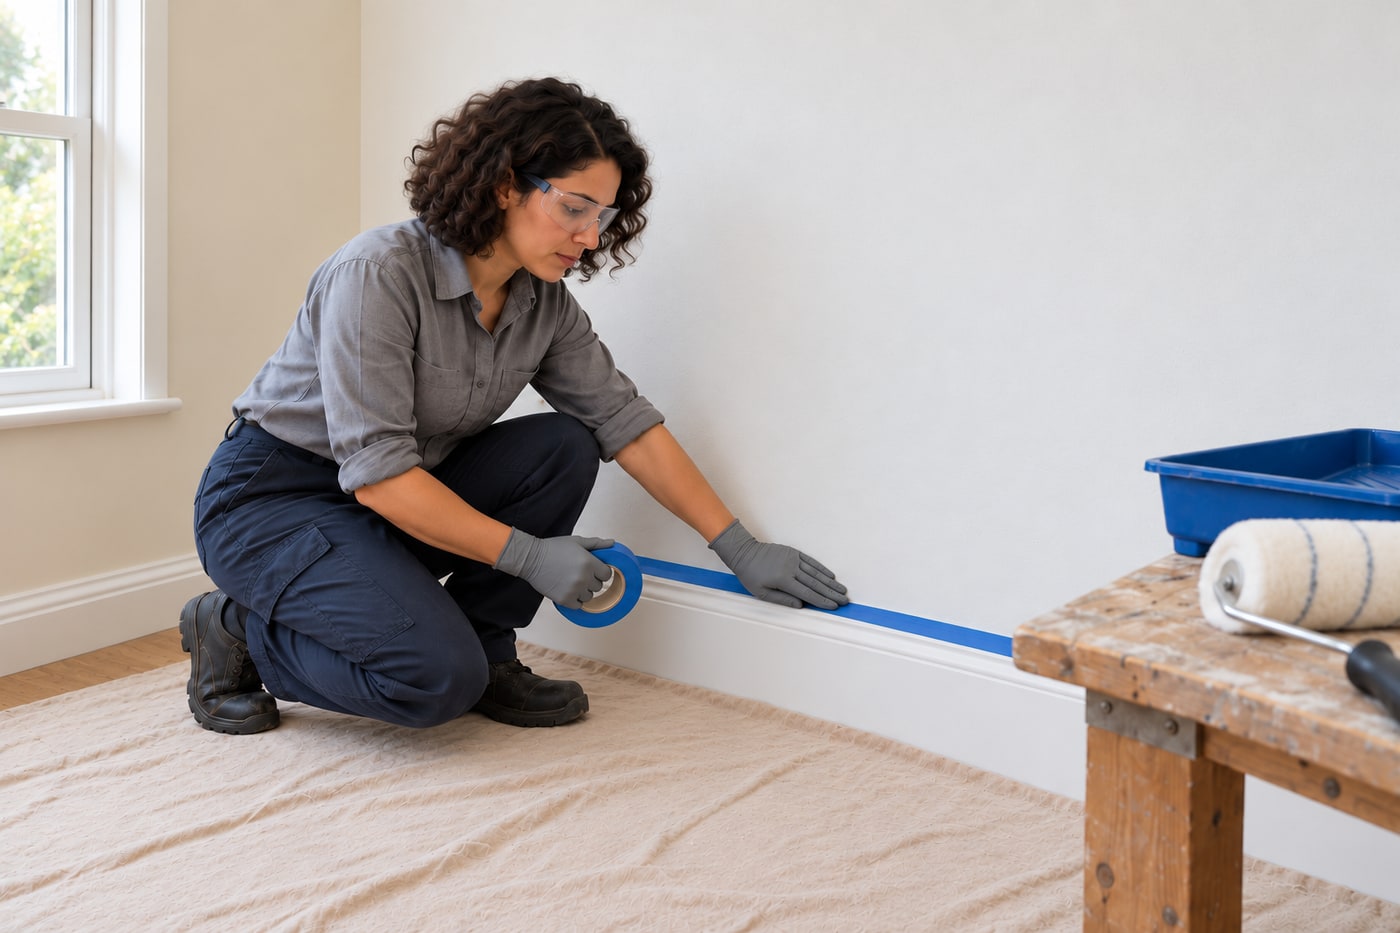
6. Mask the boundary with compatible tape
Test a tape rated for the actual trim or neighbouring finish in an inconspicuous place. Apply it only to clean, dry, firmly bonded surfaces and press down the painting edge without stretching it. Protect the white skirting and any adjacent surface that will remain unpainted. Follow that tape’s wait-before-painting and clean-removal limits. For example, ScotchBlue Sharp Lines 2093 specifies about 30–60 minutes before painting; a delicate or recently painted surface may require a different tape. Tape is a boundary aid, not a substitute for controlled brush loading.
Photorealistic illustration · Waey
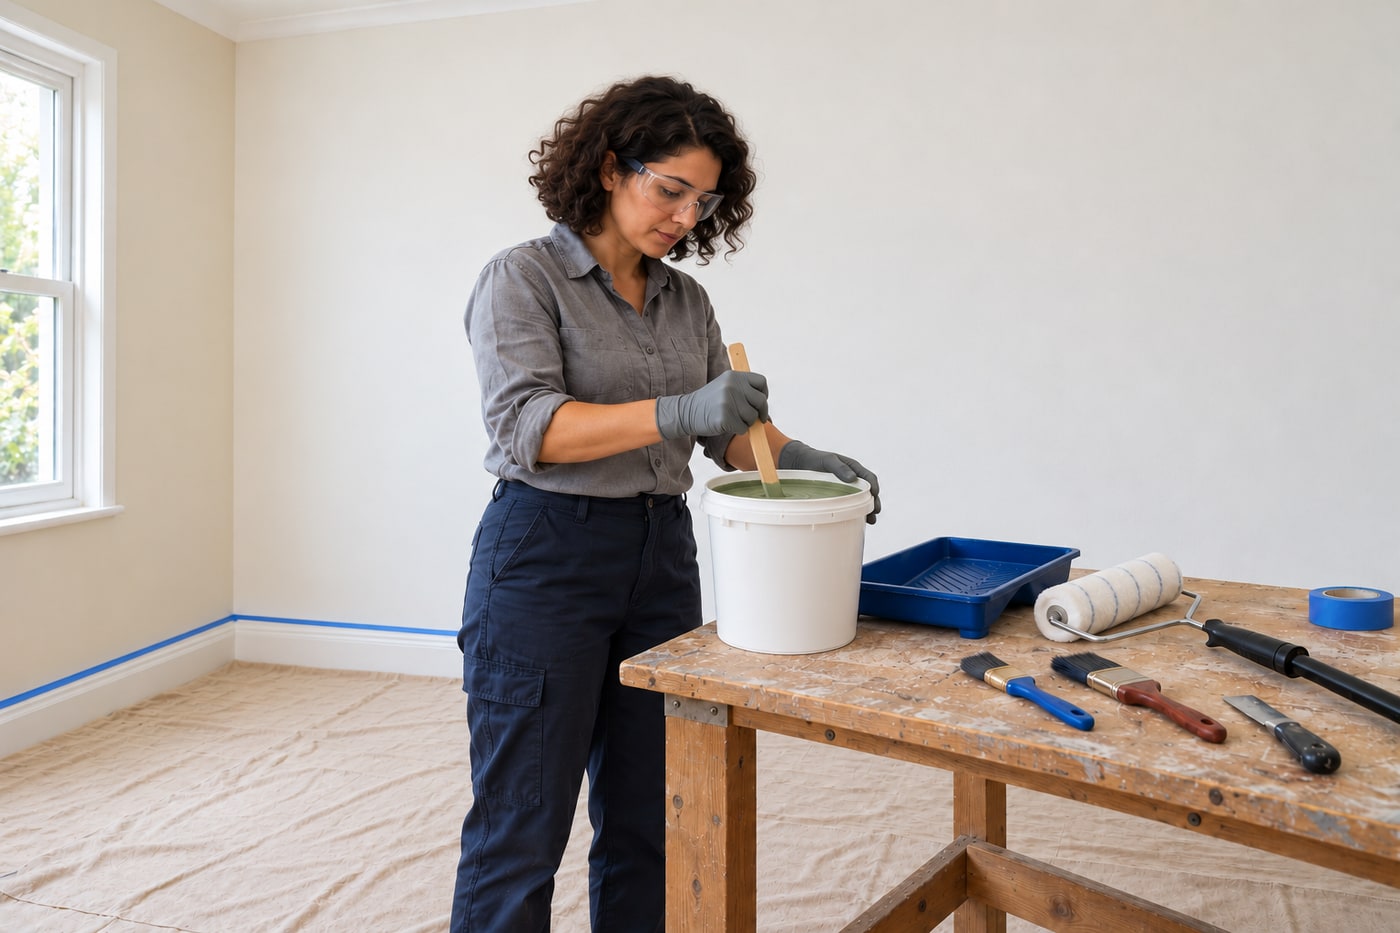
7. Stir the paint and load the tools evenly
Stir the paint thoroughly with a clean mixing stick, following the label; do not add water just to make rolling easier. Decant a manageable amount into a clean tray and a separate brush pot. Choose a synthetic brush and roller cover suited to the water-based coating and wall texture, and prepare them as their maker specifies. Roll the cover across the tray’s loading area until evenly coated without dripping. Keep paint below the brush ferrule and unload excess gently; overloaded tools leave runs, while a nearly dry roller encourages excessive pressure.
Photorealistic illustration · Waey
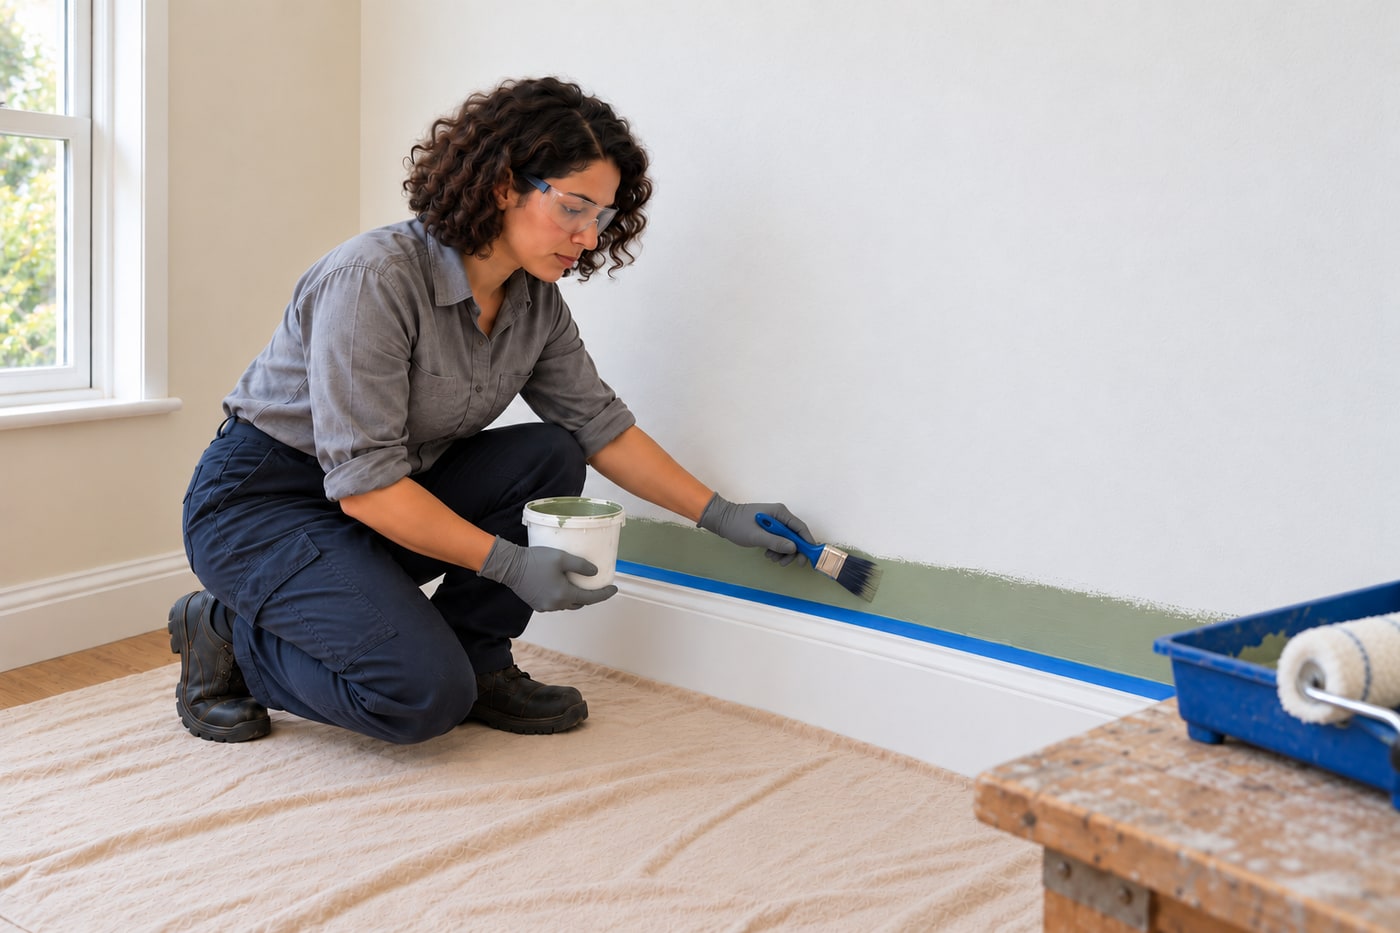
8. Cut in only the section you can roll next
Use a modestly loaded angled brush to paint the edges beside the protected trim and corners of the next workable section. Control the bristle tips and feather the inner edge into the open wall instead of leaving a thick border. Do not force paint beneath the tape. Work in sections you can roll while that brushed edge remains wet, within the coating’s working conditions. Cutting in the entire room first can leave dried borders before rolling catches up. Use safe access for high edges and stop rather than stretch beyond a stable stance.
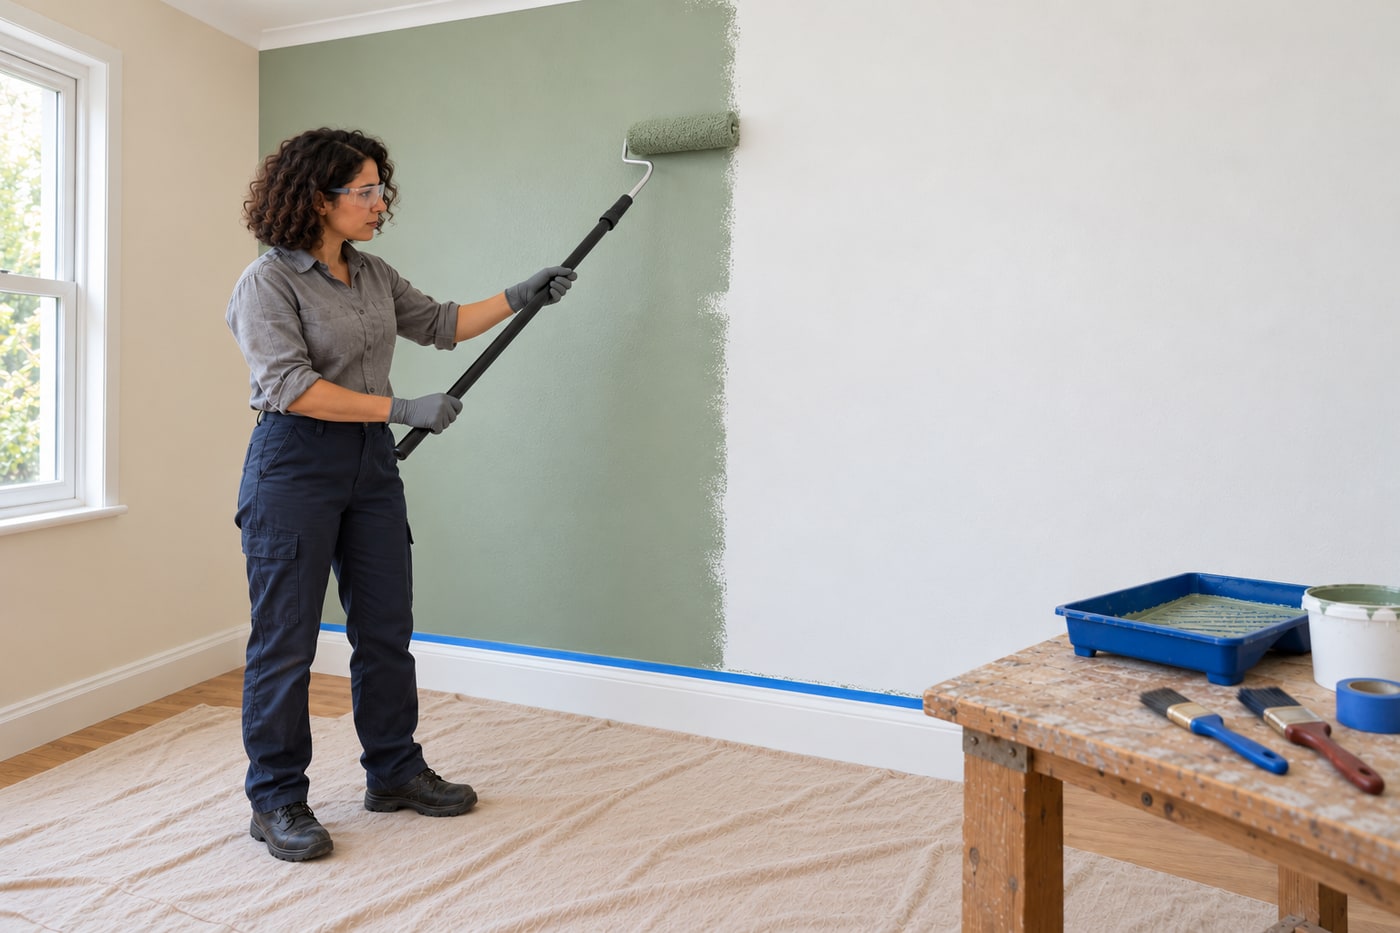
Photorealistic illustration · Waey
9. Roll a continuous coat while keeping a wet edge
Apply the loaded roller to the adjacent section and spread an even film without squeezing the cover against the wall. Overlap into the still-wet brushed edge and neighbouring rolled section, reloading before the roller becomes dry. Work progressively across the wall; finish each workable area with light, consistent passes as the coating instructions recommend. Avoid repeatedly rolling paint that has started to set: this can pull the film or leave texture changes. Correct fresh runs promptly with light control, but let partially dried defects dry before planning a repair.
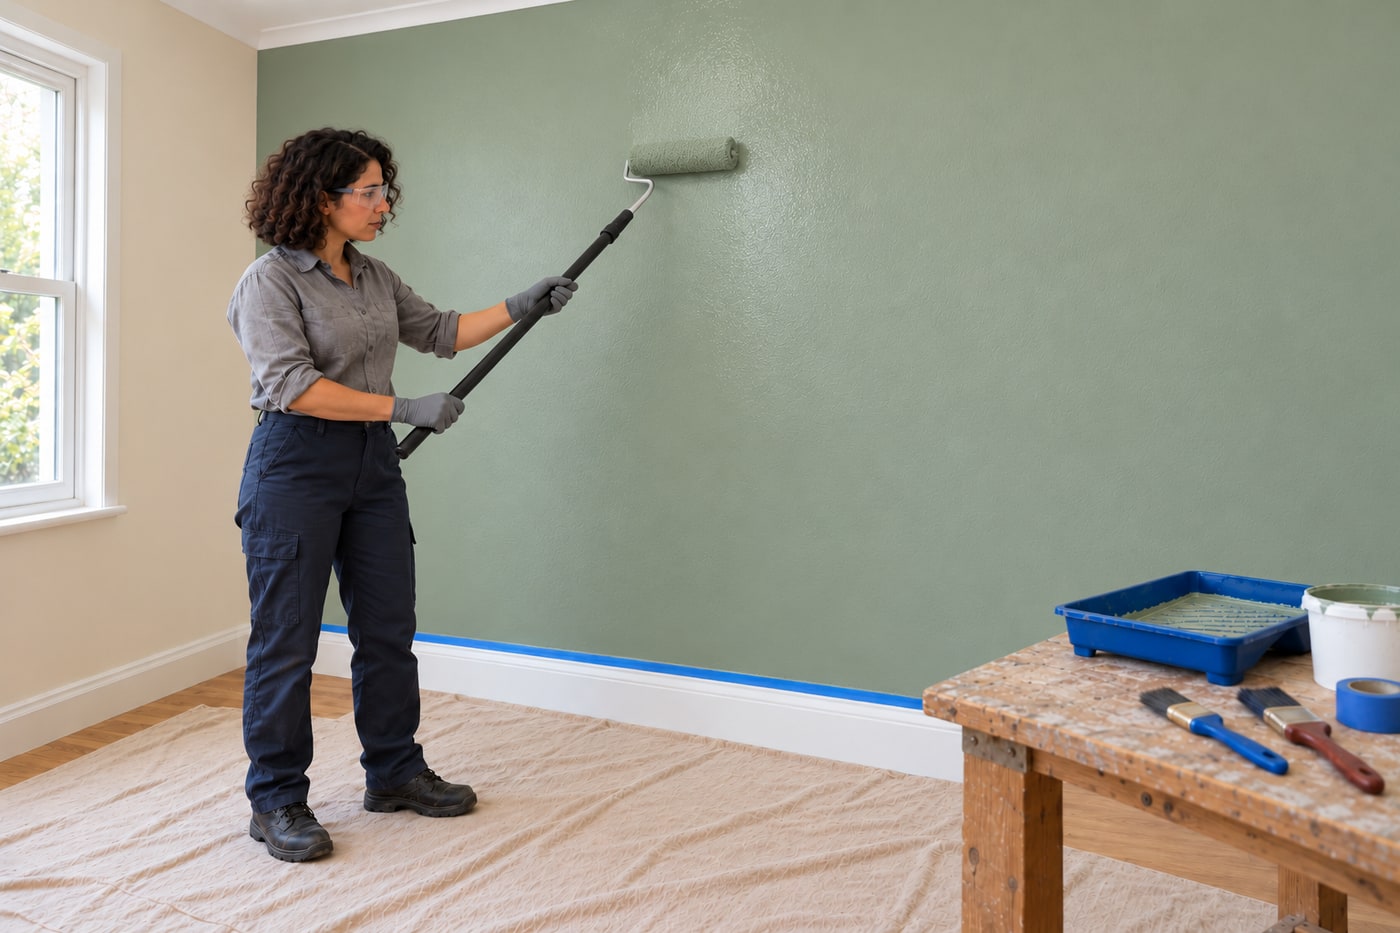
Photorealistic illustration · Waey
10. Respect the recoat interval and repeat the method
Allow the first coat to reach the maker’s recoat condition before starting the next. Touch-dry paint is not automatically ready for another coat or normal washing. As one product-specific example, Dulux Trade Vinyl Matt states 2–4 hours between coats; your actual product, temperature and humidity control the wait. Keep the tape within its permitted service period. Inspect the dry first coat for runs or debris and correct them only with the coating maker’s approved method, then repeat the cut-in and wet-edge rolling sequence for the specified finishing coats.
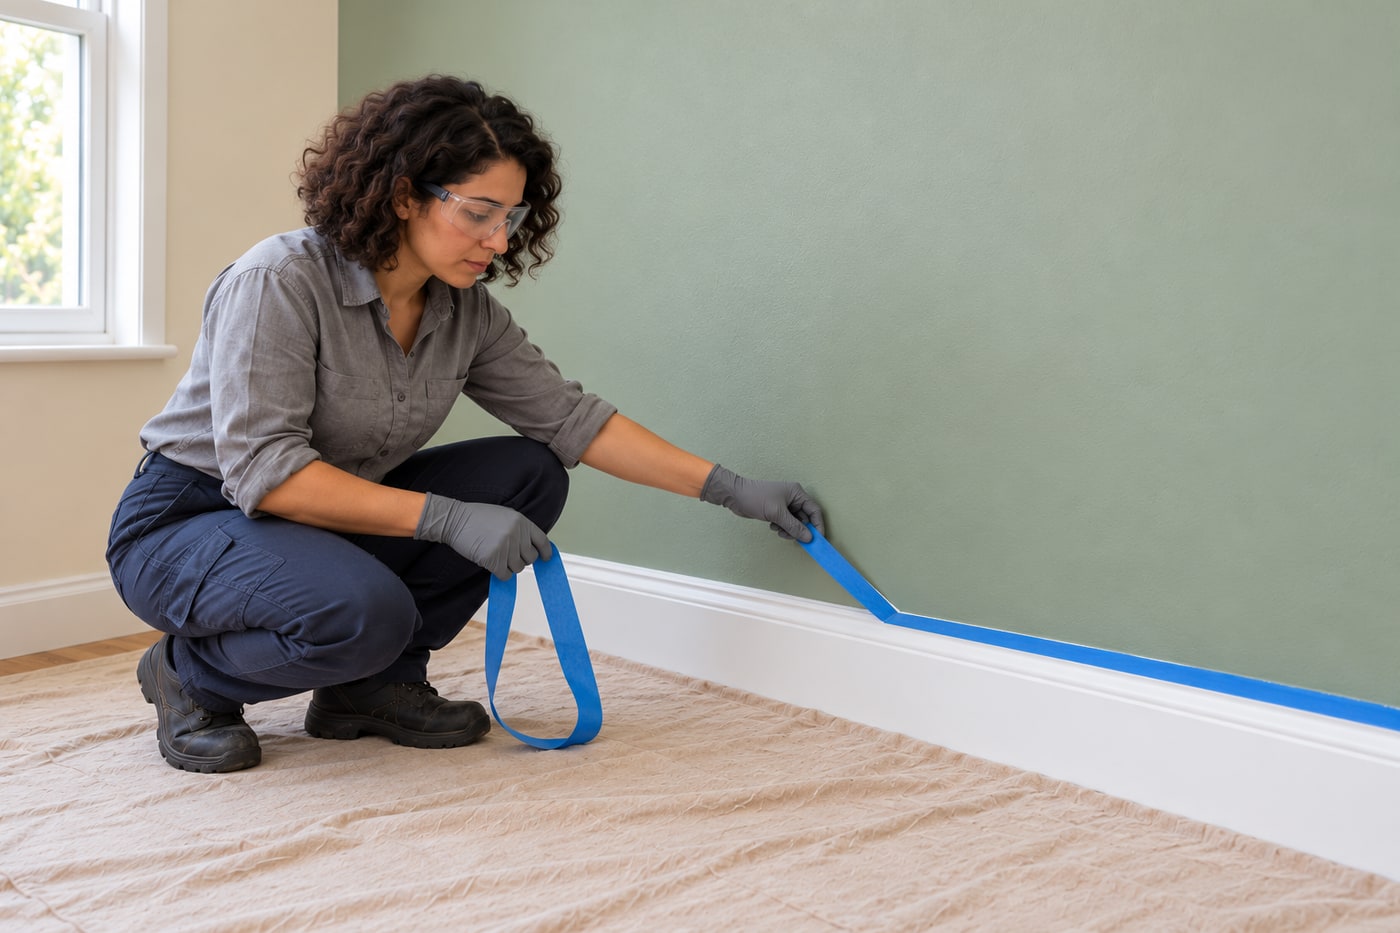
Photorealistic illustration · Waey
11. Remove tape carefully and inspect after curing
Follow the selected tape’s removal instructions after the final coat. ScotchBlue’s guidance is to wait until paint is dry to the touch, then peel slowly back on itself around 45 degrees. If a paint bridge resists, stop and separate it carefully as the tape maker directs, keeping the other hand out of a blade’s path; do not yank a lifting finish. Inspect coverage and boundaries in daylight after drying, and follow the paint’s full cure and cleaning restrictions. Label leftover paint, clean tools as directed and dispose of residues responsibly.
Video demonstrations
How to Prep Walls for Painting - Sherwin-Williams
Preparation, cleaning, masking and priming. This guide repairs only small stable defects in known safe coatings and excludes caulking or electrical dismantling; follow the actual selected coating system.
Sherwin-Williams · English
Watch on YouTube ↗How to Paint a Room - Sherwin-Williams
Complete room-painting sequence including ceilings and trim. Here the work is one interior wall; retain its loading, controlled application and wet-edge principles, not a different product’s drying times.
Sherwin-Williams · English
Watch on YouTube ↗How to Paint Interior Walls | Benjamin Moore
Roller choice, loading and interior-wall technique. Product preparation and recoat rules vary; use the actual selected paint’s current instructions.
Benjamin Moore Paints · English
Watch on YouTube ↗How to Cut In - Dulux
Focused cutting-in demonstration. High-edge work requires safe access; use the tape and paint makers’ own timing rather than assuming one rule applies to every system.
Dulux UK · English
Watch on YouTube ↗Final checks
Even coverage and texture after drying, clean boundaries, no loose or peeling substrate and no unresolved damp. Recoat and cure are different; do not scrub the new wall before the paint maker permits it.
Sources
Sherwin-Williams: wall preparation ↗
Sherwin-Williams: painting order and rolling ↗
Dulux Trade Vinyl Matt original technical data ↗
Polycell ready-mixed filler product instructions ↗
Photograph and illustration credits are shown beside each image. Demonstrations belong to their credited creators.