
Position an already paired Tapo T100 sensor
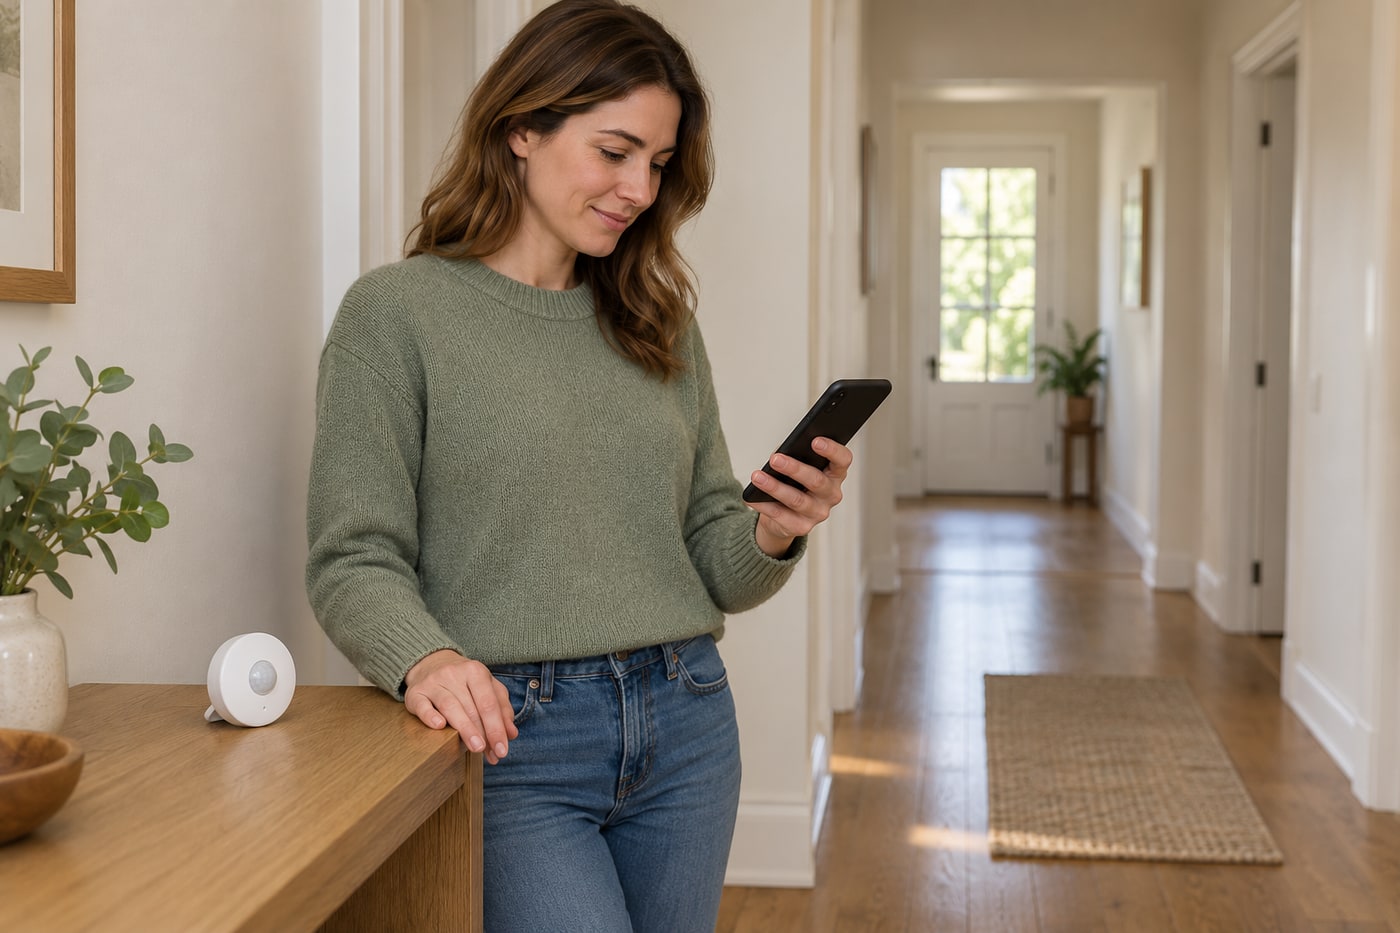
Try a stable tabletop position and check motion events before deciding where the sensor should remain.
What will you learn?
Try a stable tabletop position and check motion events before deciding where the sensor should remain.
Tools
- Phone with access to the paired sensor and its placement guideSearch Amazon Saudi Arabia ↗
Materials
- Existing Tapo T100 sensor and supported paired hub; stable shelf or tableSearch Amazon Saudi Arabia ↗
Step by step
Photorealistic illustration · Waey
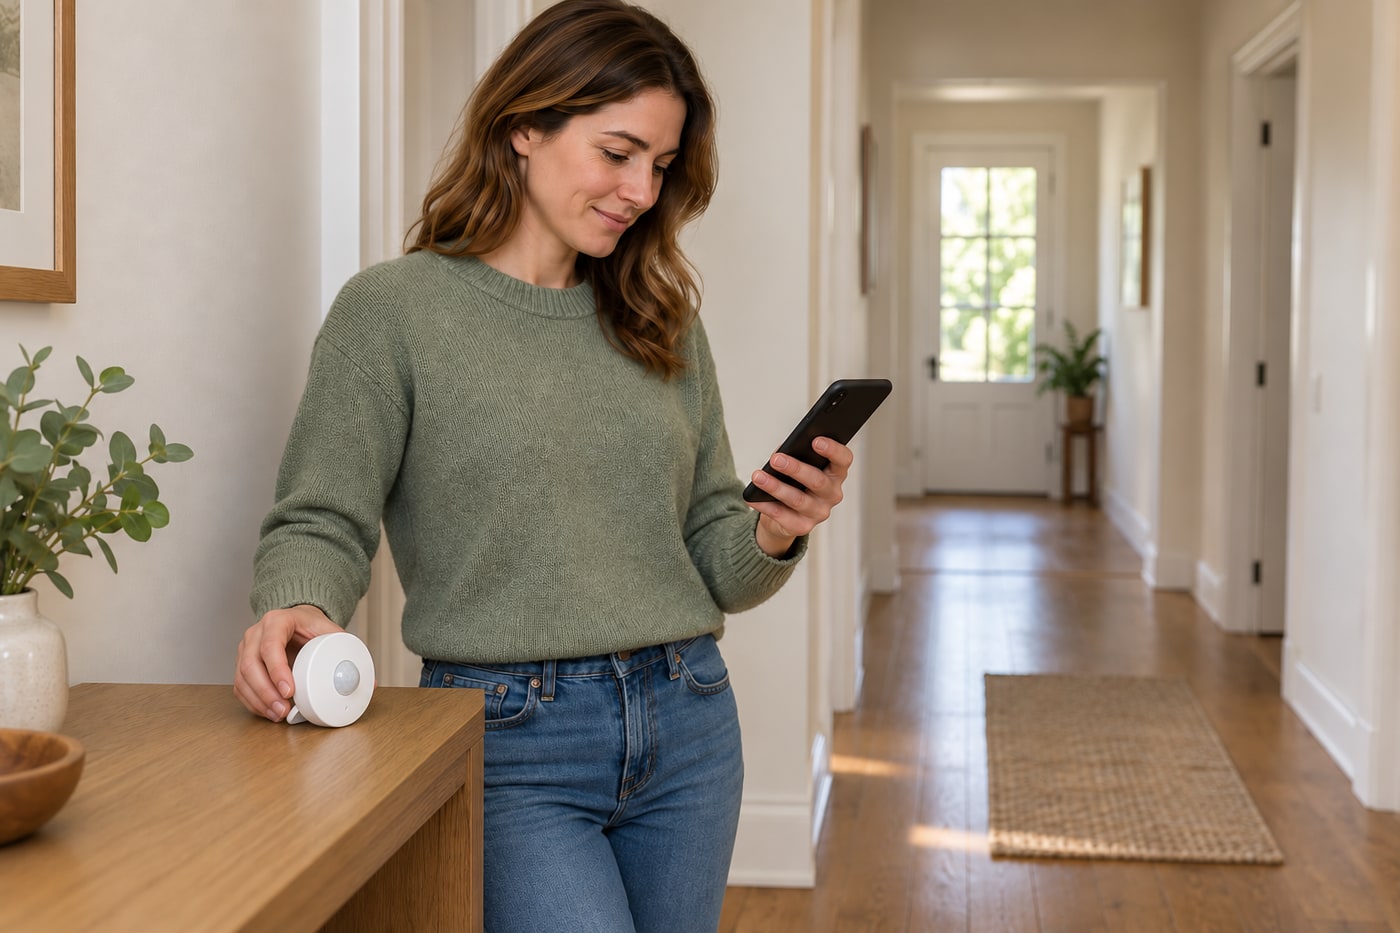
1. Choose a clear view of the intended activity
Open the paired sensor’s device page and its model-specific placement guidance, then identify the movement you want it to notice. Choose a stable shelf or table with an unobstructed view of that area, considering doors and everyday furniture positions. Keep the sensor away from conditions the maker warns can distort detection, such as strong heat changes or reflective views. A convenient empty corner is not necessarily a useful detection position.
Photorealistic illustration · Waey
2. Place it near the edge without overhanging
Set the sensor securely on its intended support, facing the detection area and close enough to the front edge that the shelf does not block its view. Do not leave it precariously balanced or obstruct a walking route with the table. Follow the model’s height and angle guidance rather than copying a room photograph as a dimensioned plan. Keep the casing, stand and battery compartment intact during this reversible placement test.
Photorealistic illustration · Waey
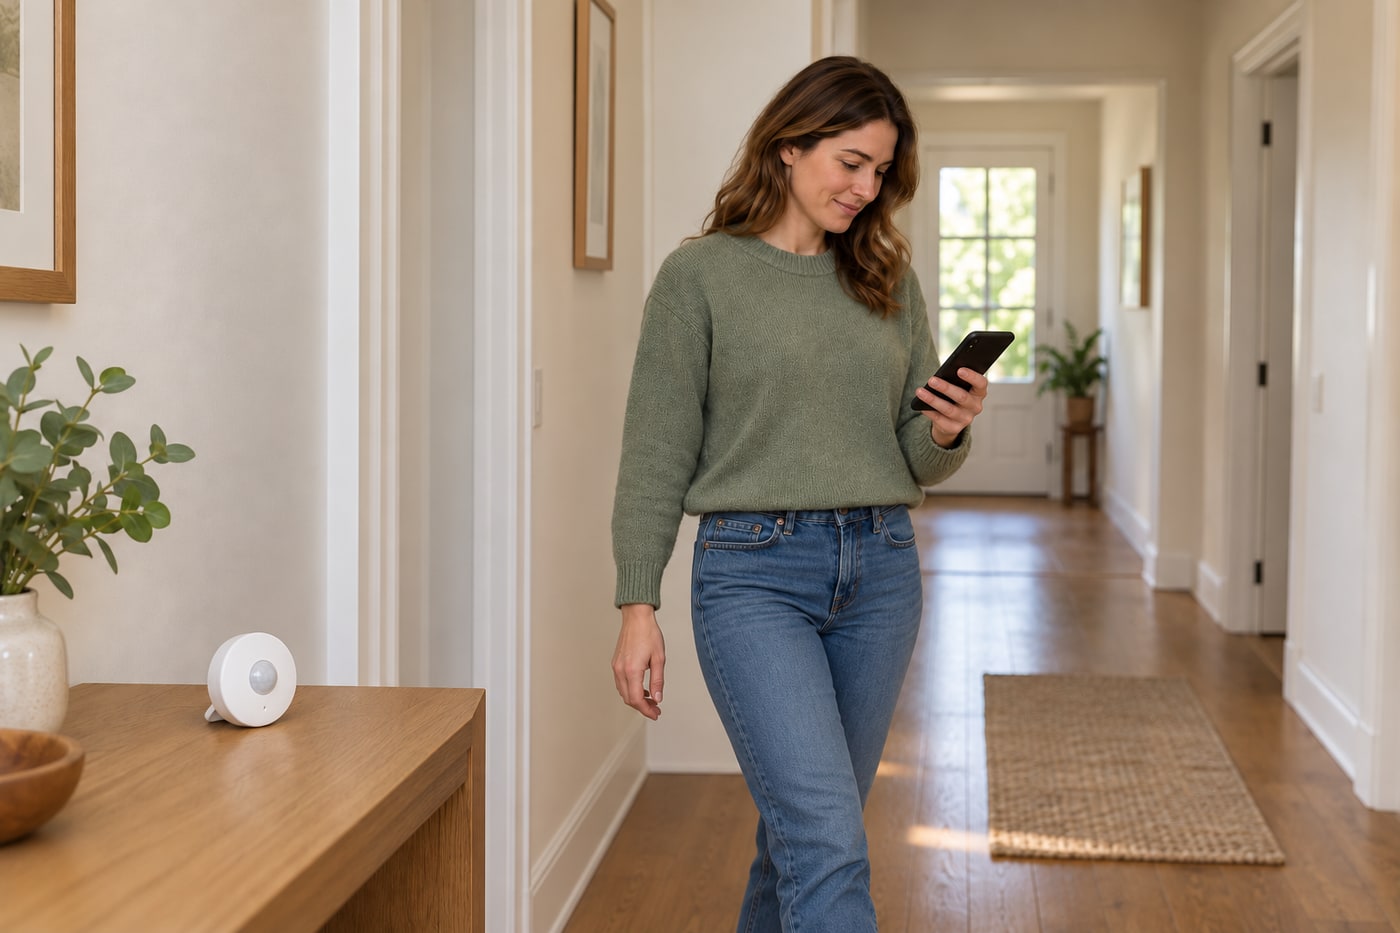
3. Walk through and check actual recorded events
Walk through the intended area normally and check the sensor’s event or status information in the app. Try the routes people actually use, not only a hand waved directly in front of the lens. Allow the configured detection interval before repeating, following the device instructions. Record missed or unwanted events so you can adjust placement deliberately. A single successful trigger does not establish that every direction or distance in the room is covered.
Photorealistic illustration · Waey
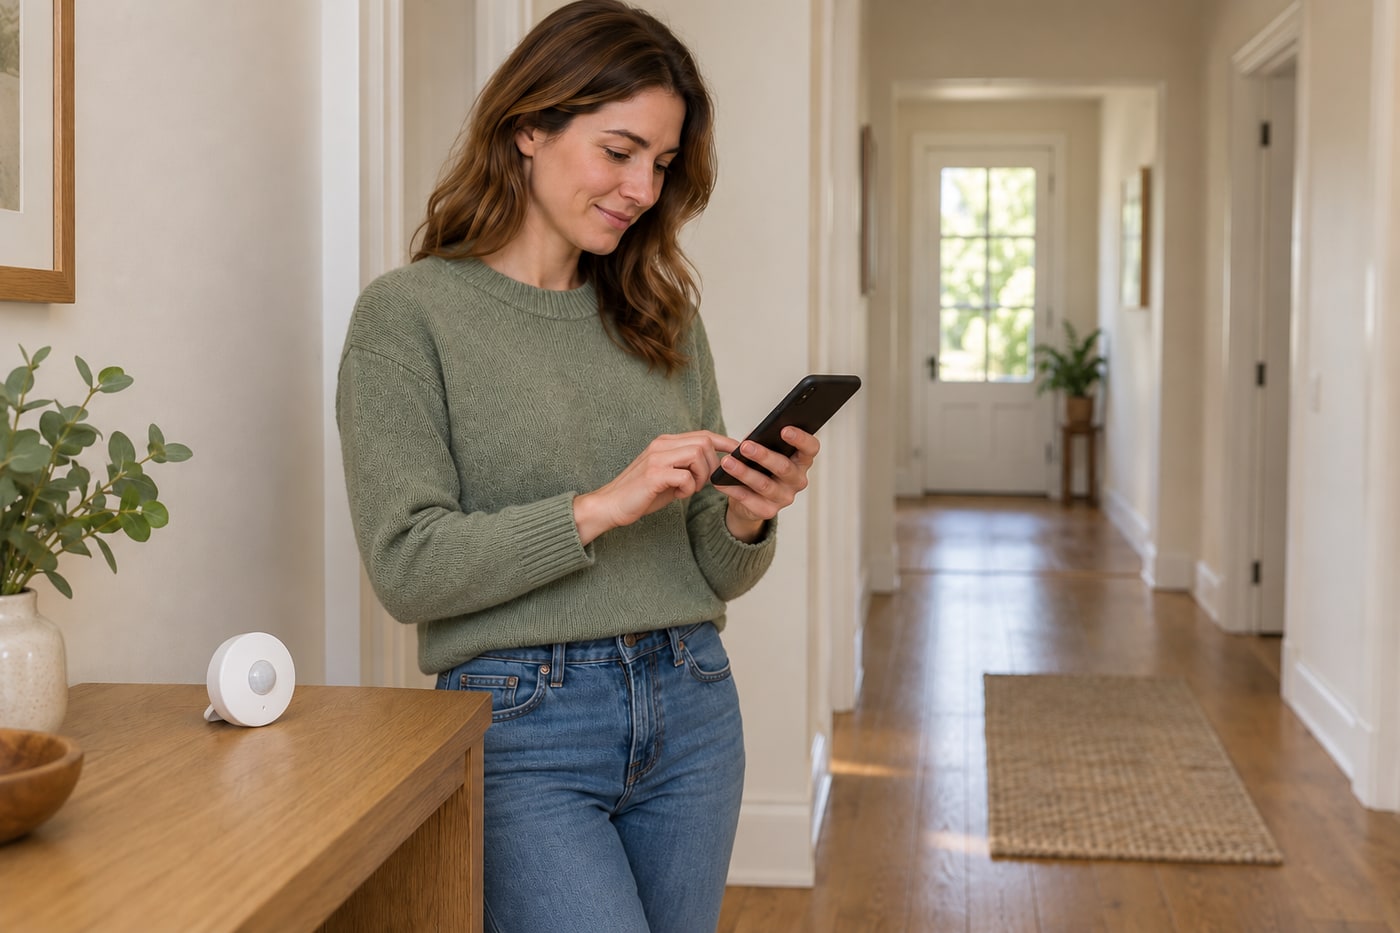
4. Adjust one thing and repeat the practical test
Move the sensor or adjust a supported sensitivity setting one step at a time, then repeat the same walking routes. Check again with doors and furniture in their normal positions and consider pets or adjacent-room activity that could trigger unwanted events. Once the result suits the intended convenience task, leave it stable and unobstructed. Retest after changes rather than assuming a working setup remains reliable when the room layout or automation changes.
Watch the method
Watch the method
TP-Link demonstrates T100 setup and placement in English. The placement section begins around 1:05; this guide starts with an already paired sensor.
TP-Link Global Support · English
Watch on YouTube ↗Final checks
Keep the sensor stable and its view clear. Use the maker’s guidance and repeat practical tests; do not treat this placement trial as a guarantee of security coverage.
Software & apps
Tapo app with authorised access to the already paired device.
Sources
Photographs are credited beside each image. Generated photorealistic illustrations by Waey; linked videos remain with their creators.