
Set up a T315 monitor with H100 and check comfort reminders
Pair an EU T315 V1.20 with a working compatible H100 hub, set its display and comfort ranges, then check the link and push reminders.
What will you learn?
Pair an EU T315 V1.20 with a working compatible H100 hub, set its display and comfort ranges, then check the link and push reminders.
Tools
- Phone with official Tapo app and your account
- Existing compatible EU/UK H100 hub, already online
Materials
- Matched EU T315 V1.20 monitorSearch Amazon Saudi Arabia ↗
- Two fresh matching AAA batteries of the specified typeSearch Amazon Saudi Arabia ↗
- Stable dry table or shelf
Step by step
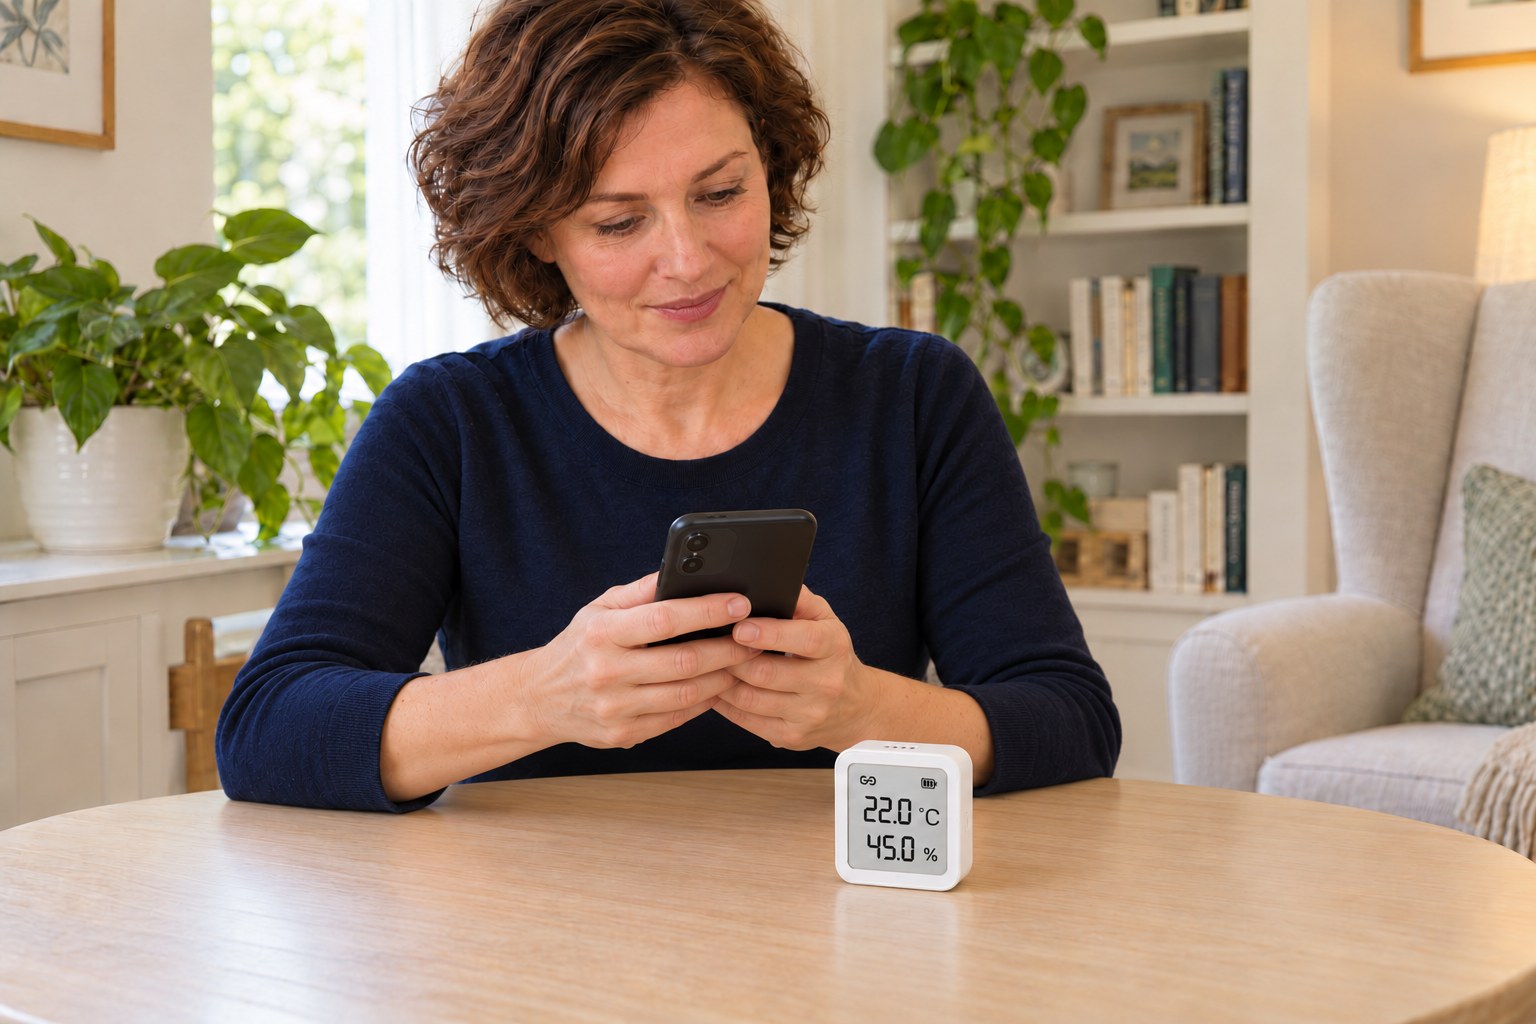
Photorealistic illustration · Waey
1. Match the monitor and check the existing hub
Check the label for the EU Tapo T315 V1.20 and use its matching guide. Have a compatible EU/UK H100 hub already added and online in your own Tapo account; update the app and hub firmware if needed. The monitor connects to the hub, not directly to your Wi-Fi router. Keep the hub’s existing devices and settings intact. Stop for damaged housing, corrosion or a wet device.
Photorealistic illustration · Waey
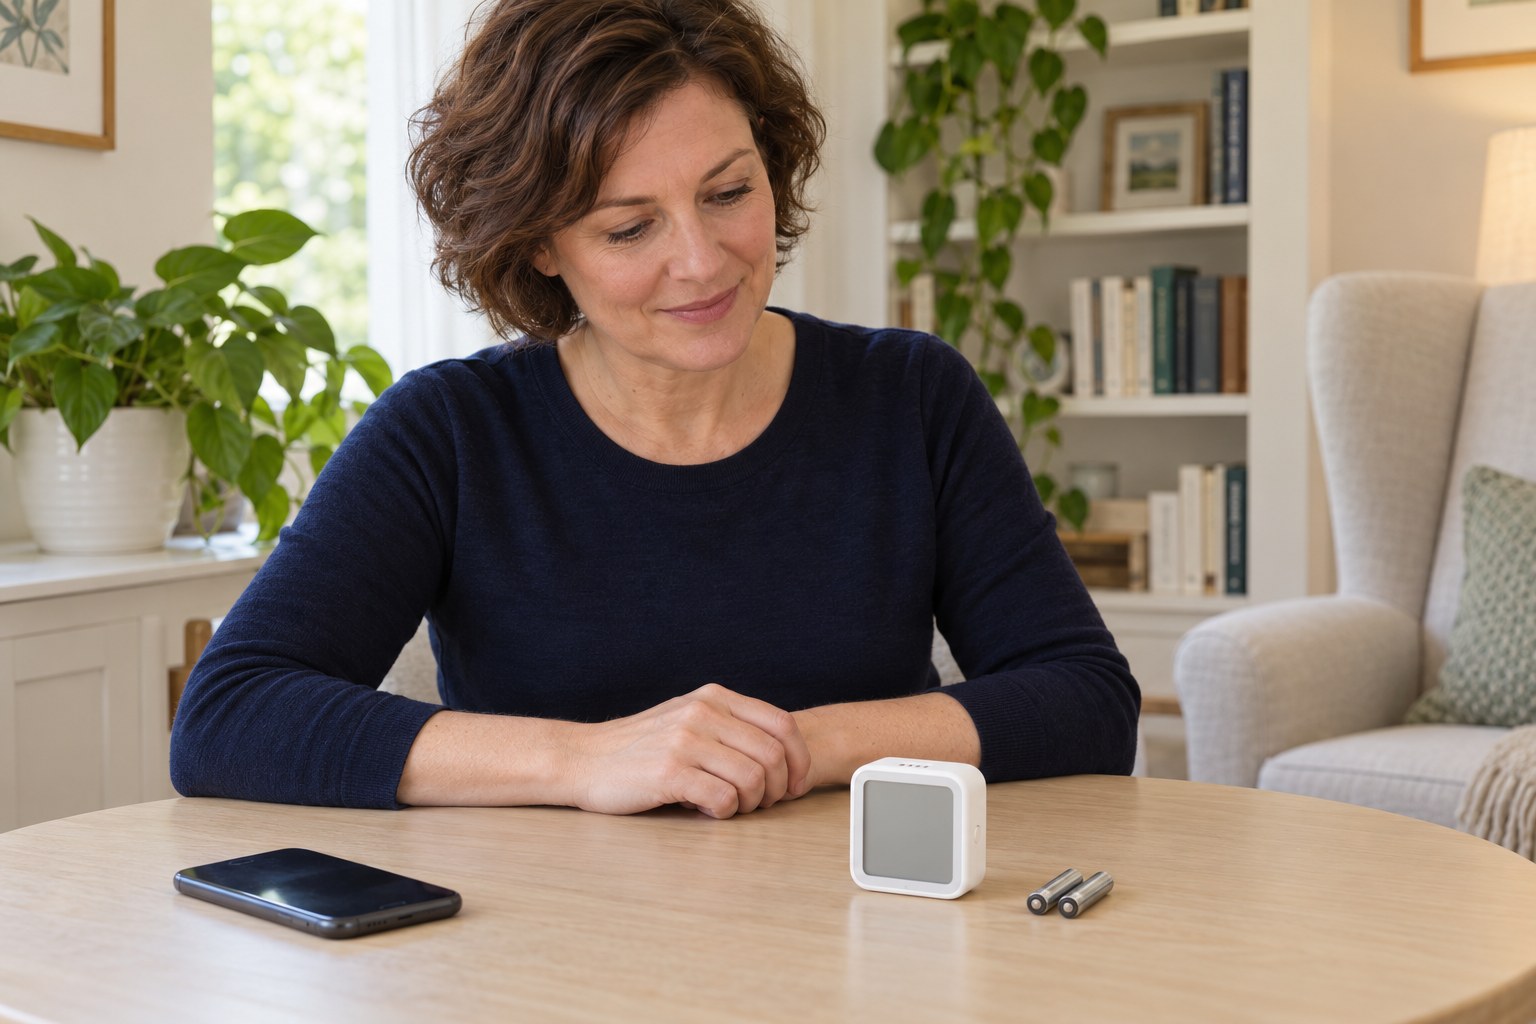
2. Install two matching AAA batteries
Remove the back panel as shown in the matched guide. Insert two fresh matching AAA batteries of the type specified on the actual device, following the + and − marks in each compartment. Do not copy an orientation from a generic picture, mix old and new cells or force the cover. Refit the panel securely and check that readings appear. Keep loose batteries away from children and stop for leakage or damaged contacts.
Photorealistic illustration · Waey
3. Add T315 to the correct hub
Keep the monitor near the working hub for initial setup. In Tapo, tap +, choose Sensors and select T315, then choose the compatible hub when prompted. Follow the app’s pairing instructions. If asked, hold the right-side Display/Reset button for five seconds until the connection icon blinks, then continue in the app. This resets the monitor’s pairing; do not reset the hub or disturb other sensors to add this one.
Photorealistic illustration · Waey
4. Name it and check the connection and readings
Give the monitor a clear room name and finish setup. Confirm that the connection icon is solid, then open its device page and check that temperature and humidity values are available. Allow fresh readings to reach the app; a displayed number alone does not prove the hub link is working. If the connection icon is absent, move closer to the hub and recheck. Do not treat the display as a calibrated or medical instrument.
Photorealistic illustration · Waey
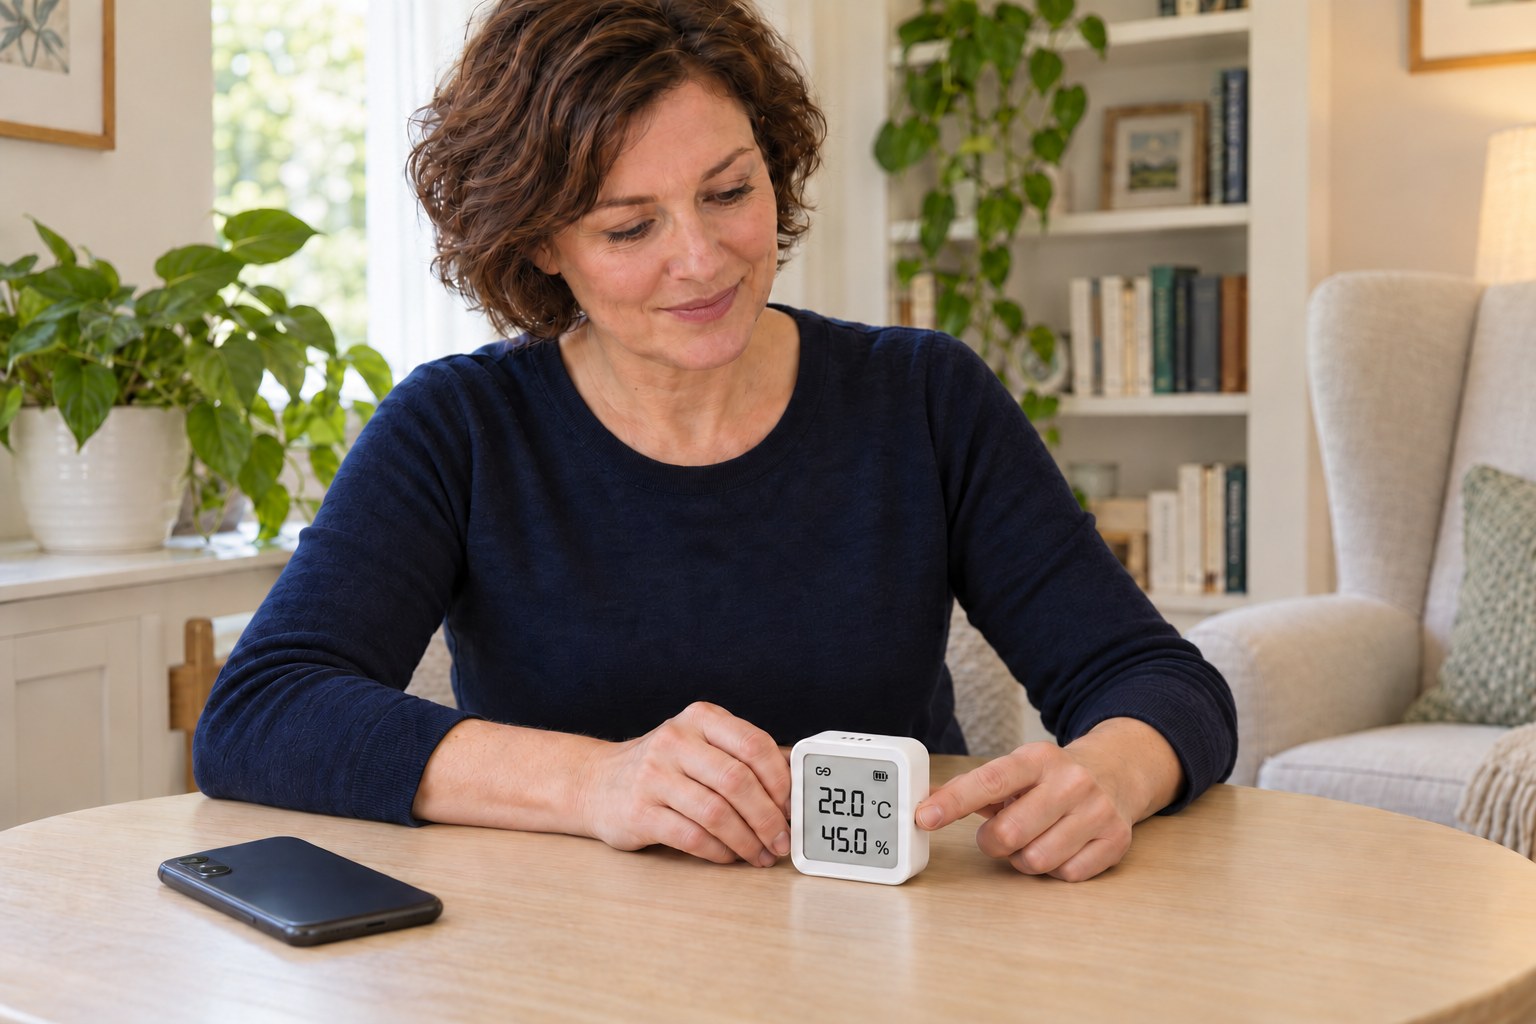
5. Choose the units and display order
Press the right-side button once to switch between Celsius and Fahrenheit. Double-press it to swap the temperature and humidity positions on the display. Read the °C or °F and % symbols rather than relying on which row is larger or higher. Avoid holding the button during this check, because a five-second hold enters pairing reset. Confirm the unit you want in the app as well; menu names can vary by version.
Photorealistic illustration · Waey
6. Choose a stable representative indoor location
Place the monitor upright on a stable table or shelf with its top vent unobstructed, away from direct sun, radiators, drafts, steam and splashes. Use the matched quick guide’s indoor 0–50°C range and avoid harsh humidity. Keep the connection icon solid at the final location; move closer to the hub if necessary. Leave it untouched to settle after handling or moving before judging the room conditions. No wall or magnetic mounting is needed here.
Photorealistic illustration · Waey
7. Set the comfort range and reminder options
Open the monitor’s Device Settings and find Comfort Zone or the equivalent comfort-range option. Set temperature and humidity limits that suit your intended room use; the default face icon is a comfort indication, not a safety certification. Enable the temperature or humidity Reminder options you want where offered. Keep this setup limited to monitoring and push reminders. Do not add a heater, humidifier or other appliance automation as part of this guide.
Photorealistic illustration · Waey
8. Test a reminder and restore the chosen limits
Allow Tapo notifications on the phone and enable this device under Me or your profile > Notifications > Device Notifications > Management. Check quiet schedules. For a safe test, note your chosen limits, temporarily set a valid reminder range that excludes the current reading, and wait for normal reporting. Check for the expected push alert. Restore the original limits and recheck the connection. If no alert arrives, troubleshoot permissions, reminder settings and the hub link; do not heat, wet or freeze the monitor to force an event.
Video demonstrations
How to Setup Tapo T315 Smart Temperature and Humidity Monitor
TP-Link shows the T315 pairing button and app prompt. Use the matched regional monitor and hub instructions.
TP-Link Malaysia · Unverified; no caption tracks listed in fetched metadata
Watch on YouTube ↗How to Setup Tapo T315
Smart Devices Channel shows naming, history and Comfort Zone settings using a different hub route. Keep this guide’s matchedH100 monitoring and reminder scope.
Smart Devices Channel · English automatic and EnglishUS caption tracks listed; speech not fully assessed
Watch on YouTube ↗Final checks
Cover secure; temperature/humidity units clear; solid link at final site; fresh app readings; reminder delivery checked; original comfort limits restored.
Where to find supplies
Other hardware or radio regions need their own manual and compatible hub. Tabletop branch only. Comfort limits are user preferences; no claimed medical threshold, certified measurement, email alert or guaranteed alert timing.
Software & apps
Official Tapo app; compatible regional H100 already commissioned. Names/menus can vary by app version.
Sources
Matched EU T315V1.20 support index ↗
Matched QIG7106510985 REV1.2.0, actual diagrams reviewed ↗
EU V1.20 datasheet, twoAAA and region bands ↗
Manufacturer accessible setup guide ↗
TPLink staff confirmation EU/UK hub compatibility ↗
TPLink staff explanation of T315 comfort-range push reminders ↗
Original generated instruction illustrations created for Waey. Videos belong to their credited creators.