
Sort and label a small fastener organizer
Give known screws, nuts and washers separate labelled places while keeping their original packet information. Isolate unidentified pieces, check the dividers and latches, and make it easy to return each unused part to the correct lot.
What will you learn?
Give known screws, nuts and washers separate labelled places while keeping their original packet information. Isolate unidentified pieces, check the dividers and latches, and make it easy to return each unused part to the correct lot.
Tools
- Shallow sorting traysSearch Amazon Saudi Arabia ↗
- Soft dry brush or clothSearch Amazon Saudi Arabia ↗
- Suitable handling gloves if neededSearch Amazon Saudi Arabia ↗
- Pencil or label penSearch Amazon Saudi Arabia ↗
Materials
- Securely closing small-parts organizer with matched dividers and sound latchesSearch Amazon Saudi Arabia ↗
- Existing original fastener packets and labels
- Small resealable bagsSearch Amazon Saudi Arabia ↗
- Removable compartment labelsSearch Amazon Saudi Arabia ↗
- Paper for the compartment indexSearch Amazon Saudi Arabia ↗
- Separate lidded container for unidentified piecesSearch Amazon Saudi Arabia ↗
Step by step
Photorealistic illustration · Waey
1. Keep each packet’s identity intact
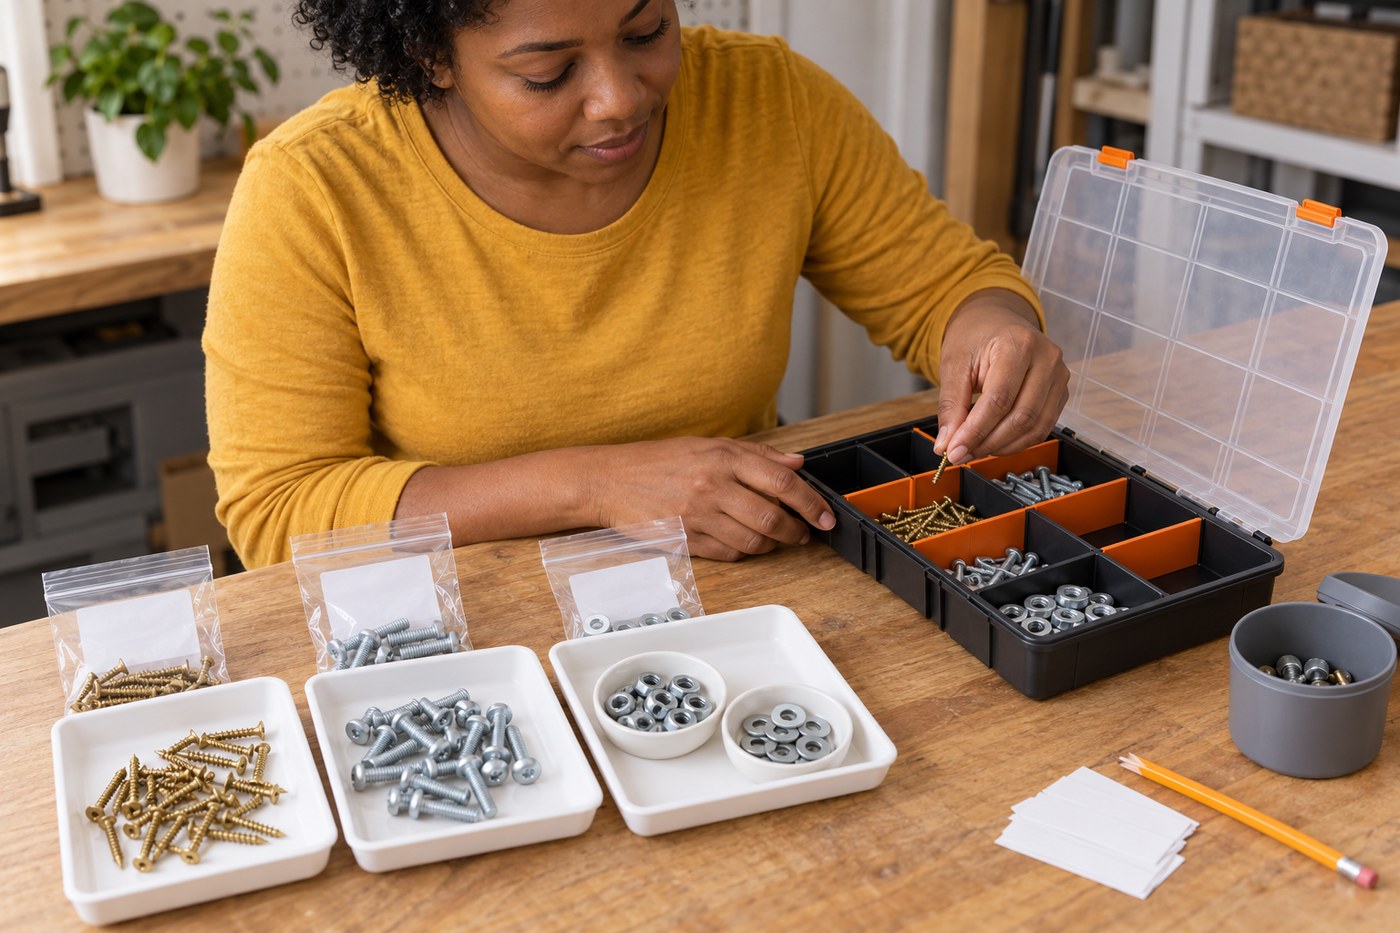
Start with a modest stock and place each original packet beside its own shallow tray. Read the printed description before emptying anything, and keep the supplier code and any material, finish, grade or batch information with that lot. Do not combine packets just because the pieces look alike. Put unidentified loose hardware aside for later identification; the aim is a reliable small inventory, not to turn every mystery part into usable stock.
Photorealistic illustration · Waey
2. Separate broad groups, then exact known lots
Use separate trays for screws, nuts and washers, then divide each group by the exact type and size already recorded on its packet. Keep metric and inch-designated stock separate without rounding one into the other. Preserve differences in head or drive, thread specification, material and finish instead of treating similar shapes as interchangeable. If a label is missing or contradictory, mark the lot unverified and keep it out of the known compartments.
Photorealistic illustration · Waey
3. Fit the dividers before filling
Empty and dry-clean the organizer, checking hinges, latches and divider slots for damage. Fit its dividers fully according to the maker’s instructions and close the empty lid to confirm that nothing is trapped or bowed. Choose compartments large enough for the longest fastener to lie flat. Very small washers or short screws may need their own sealed bag if they can slip through a gap; a clear lid alone does not guarantee separation.
Photorealistic illustration · Waey
4. Load one lot at a time and retain its label
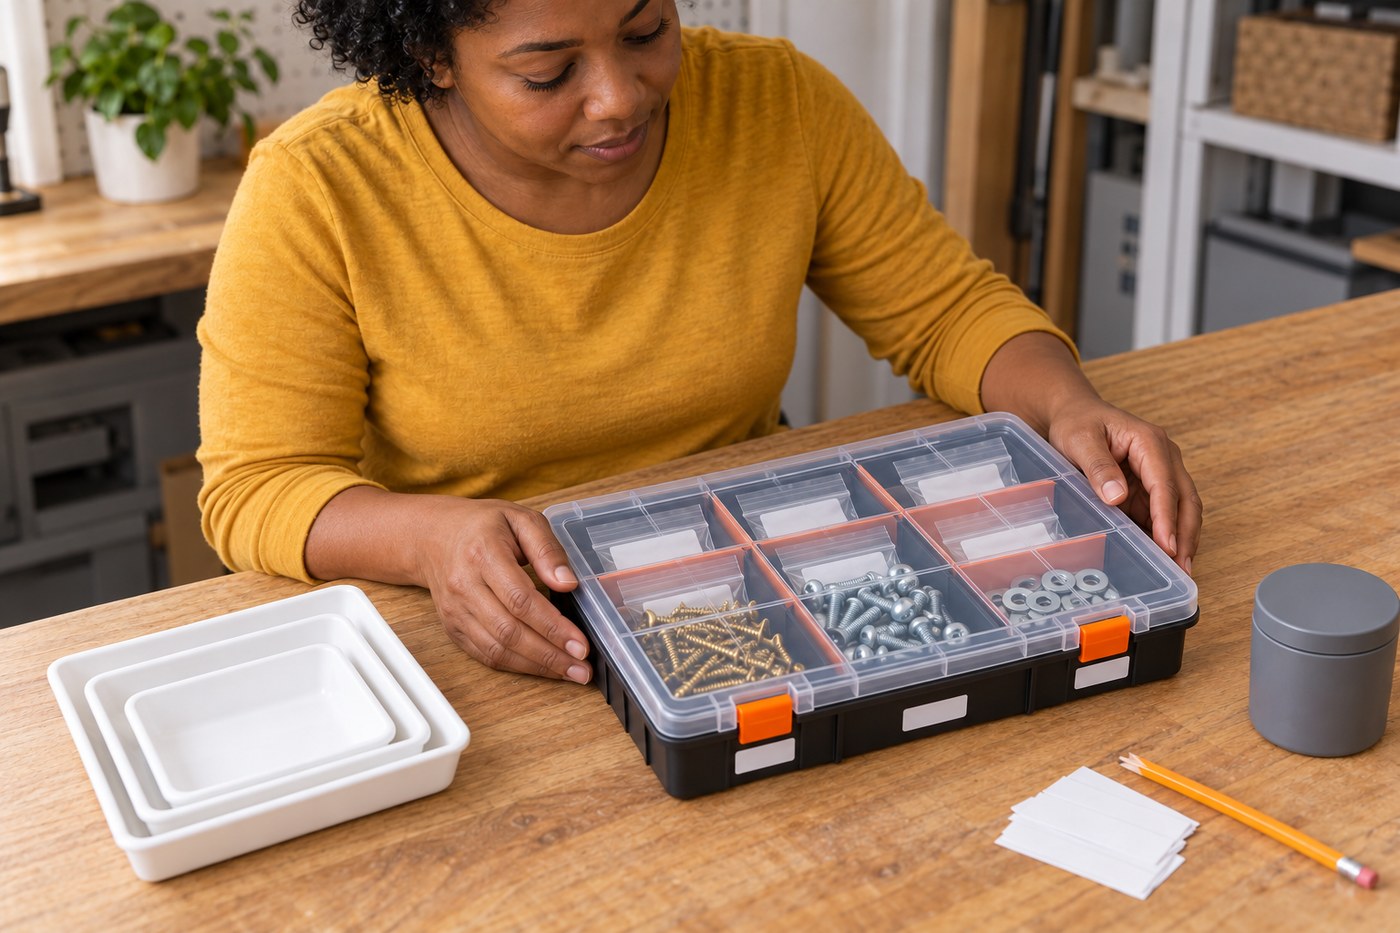
Transfer one verified lot into its compartment or a small bag within it, keeping the original label alongside. Keep nuts and washers separate from screws even when they belong to the same project. Leave contents below divider and lid contact surfaces so the case closes normally. Store overflow stock in its original labelled packet rather than mixing it into another cell, and keep the separate unknown-parts container closed beside the organizer.
Photorealistic illustration · Waey
5. Write labels that point back to the source
Copy the packet’s description and units exactly onto a removable label: type, printed size and thread information, plus material or finish when documented. Add a compartment number or supplier code if the full description needs an index sheet. Do not invent a grade or turn an uncertain measurement into a confident size. Attach labels where they remain readable without blocking the latch or divider fit, and keep the original information for future checks.
Photorealistic illustration · Waey
6. Check closure and make returns consistent
Close the lid gently and engage every latch while the organizer remains on the bench. Check for trapped bags, raised contents and gaps between cells before a cautious short carry allowed by its maker; do not shake or invert the case as a test. Store it dry and out of children’s reach. After a job, return only confidently identified unused parts to their original lot; anything uncertain goes back to the separate unverified container.
Watch the method
Stanley Sortmaster
Shows the organizer’s removable dividers and closure. It does not identify fasteners or demonstrate the complete labeling method; keep each lot’s original packet information as the written steps explain.
Unboxingexperience7 · Unconfirmed (no caption or audio-language metadata)
Watch on YouTube ↗Final checks
Each known lot has retained source information and a readable label; unknowns separate; dividers seated, contents low, bags clear and every latch closed. Storage does not establish suitability for a later repair.
Sources
STANLEY — Compartment organizer dividers, lid and latches ↗
This Old House — Fastener grouping, clear divided containers and labels ↗
AI-generated representative photographic illustrations by Waey using only Waey-generated references. Manufacturer images are research only. External video belongs to its credited creator.