
Inspect and replace an eight-speed bicycle chain with a quick link
Replace a worn chain on a compatible conventional derailleur bike: verify length, shorten correctly, route and lock the new connector, then check every gear.
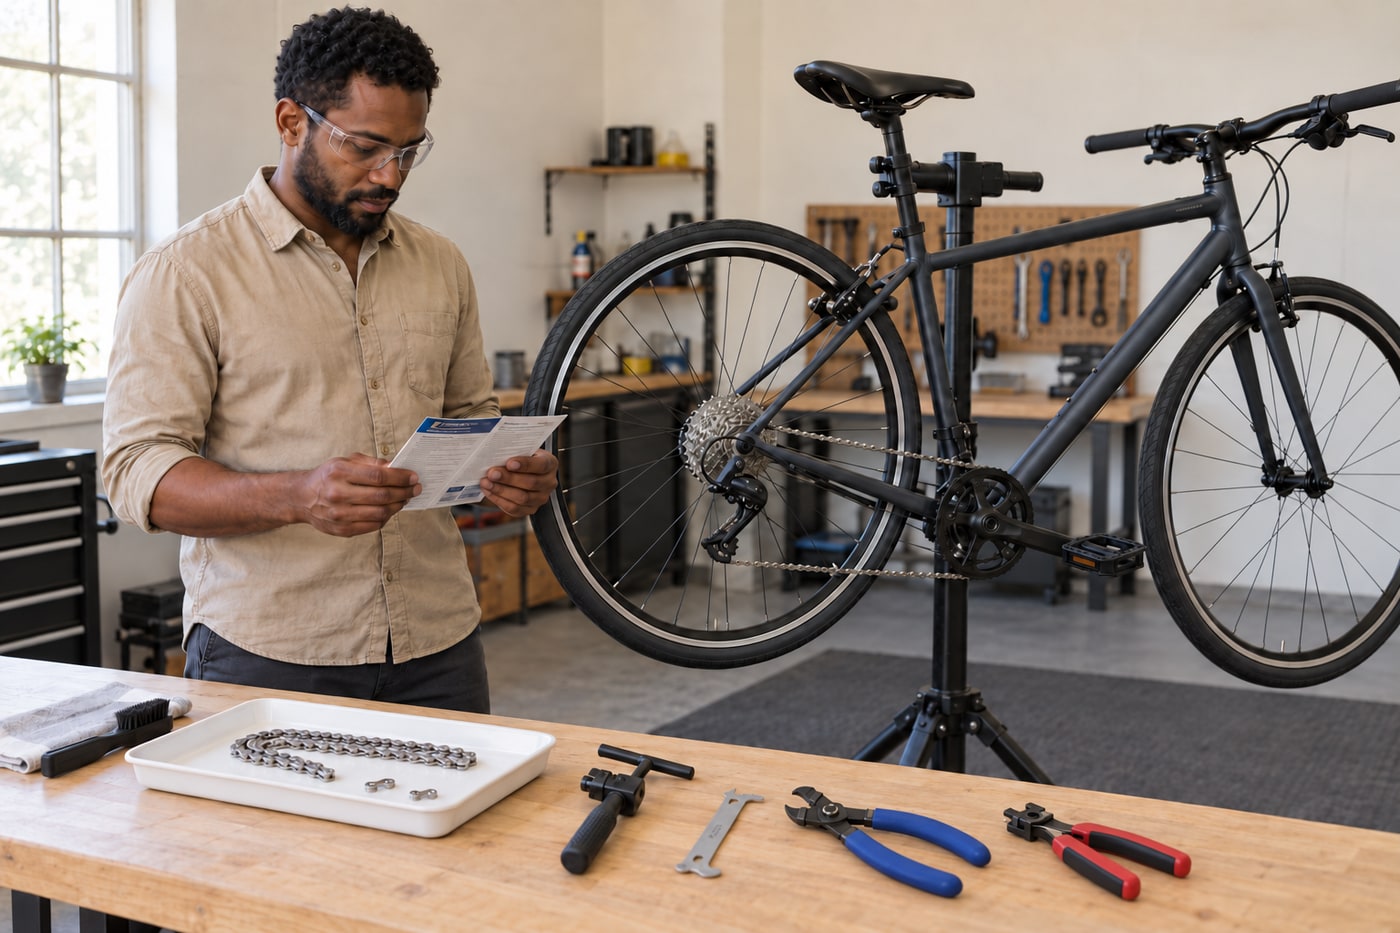
What will you learn?
Replace a worn chain on a compatible conventional derailleur bike: verify length, shorten correctly, route and lock the new connector, then check every gear.
Tools
- Suitable bicycle repair stand; compatible chain-wear gaugeSearch Amazon USA ↗
- Chain tool rated for the chain and compatible quick-link opening AND closing toolsSearch Amazon USA ↗
- Eye protection, suitable gloves, marker, clean bench covering and parts traySearch Amazon USA ↗
- Suitable drivetrain brush and lint-free clothsSearch Amazon USA ↗
Materials
- Correct replacement8-speed chain and its specified NEW quick connector; verify actual product instructionsSearch Amazon USA ↗
- Maker-approved cleaner and suitable chain lubricant for the chosen oil-treated systemSearch Amazon USA ↗
- Absorbent protection for floor and braking components, kept clear of moving partsSearch Amazon USA ↗
Step by step
Waey; tool reference Armchair · Original AI illustration; tool reference CC0 · AI-generated scene using the CC0 opening-tool design reference. No source endorsement. Resized and JPEG re-encoded.
1. Identify the drivetrain and buy a matched chain and link
This project uses a conventional, rigid, non-electric bicycle with one front chainring, eight rear sprockets, a rear derailleur and an existing quick-link chain. Confirm those details and the bicycle maker’s chain requirements before ordering. KMC Z8.3 EPT with its specified new CL573R connector is one manufacturer-documented eight-speed example, not permission to mix any similar-looking link. Check the actual pack, width, direction rules and connector instructions. Stop for changed gearing, suspension-dependent sizing, unfamiliar systems or damaged components; this guide does not establish their chain length.
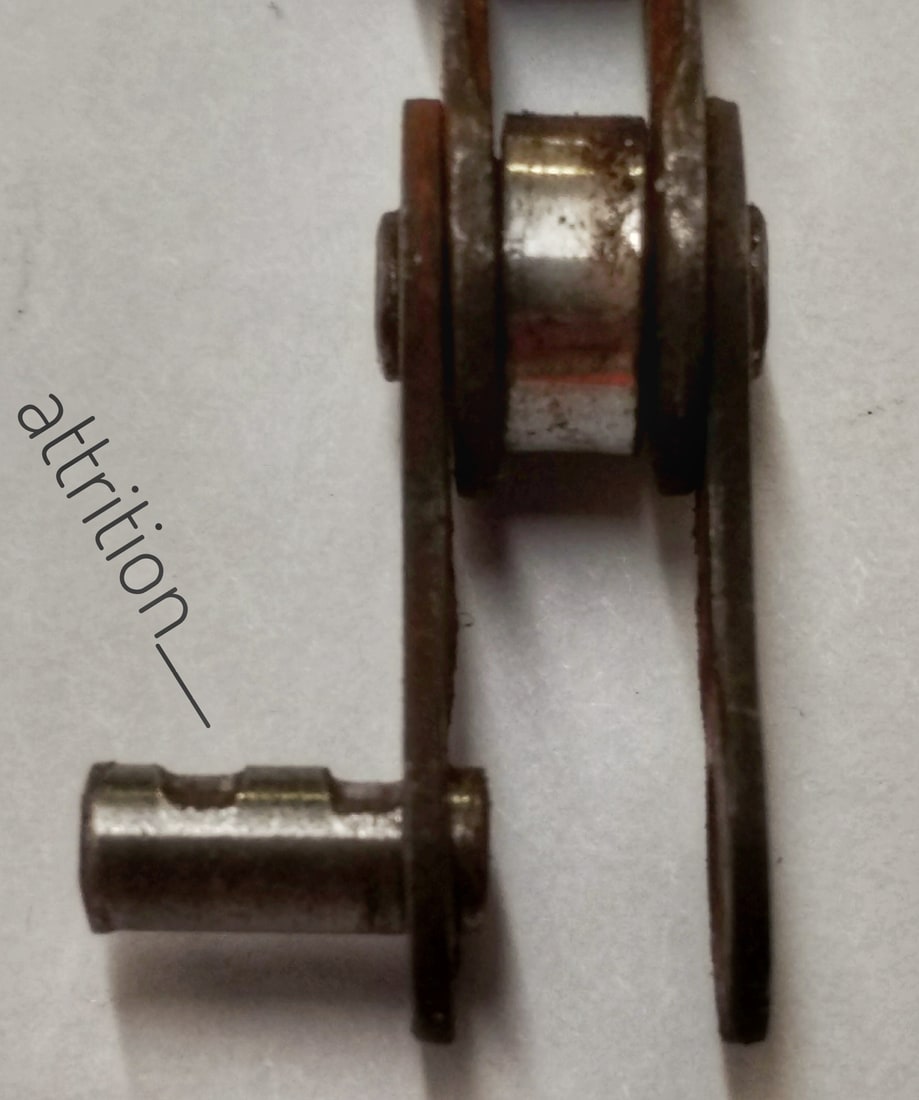
LoKiLeCh · CC BY-SA 3.0 · Resized and JPEG re-encoded. Internal-wear reference detail, not a chain-gauge measurement.
2. Support the bike and assess chain wear
Secure the bicycle in a suitable repair stand at a clamping point approved by its maker, with the rear wheel clear and the stand stable. Keep clothing and fingers away from teeth, spokes and moving chain. With the crank stopped, use a compatible chain-wear gauge exactly as its instructions require, checking several sections without forcing the gauge. Follow the drivetrain maker’s replacement limit; Park Tool gives 0.75% as a general guide for systems with ten rear speeds or fewer. Noise or a mileage guess alone cannot establish wear.
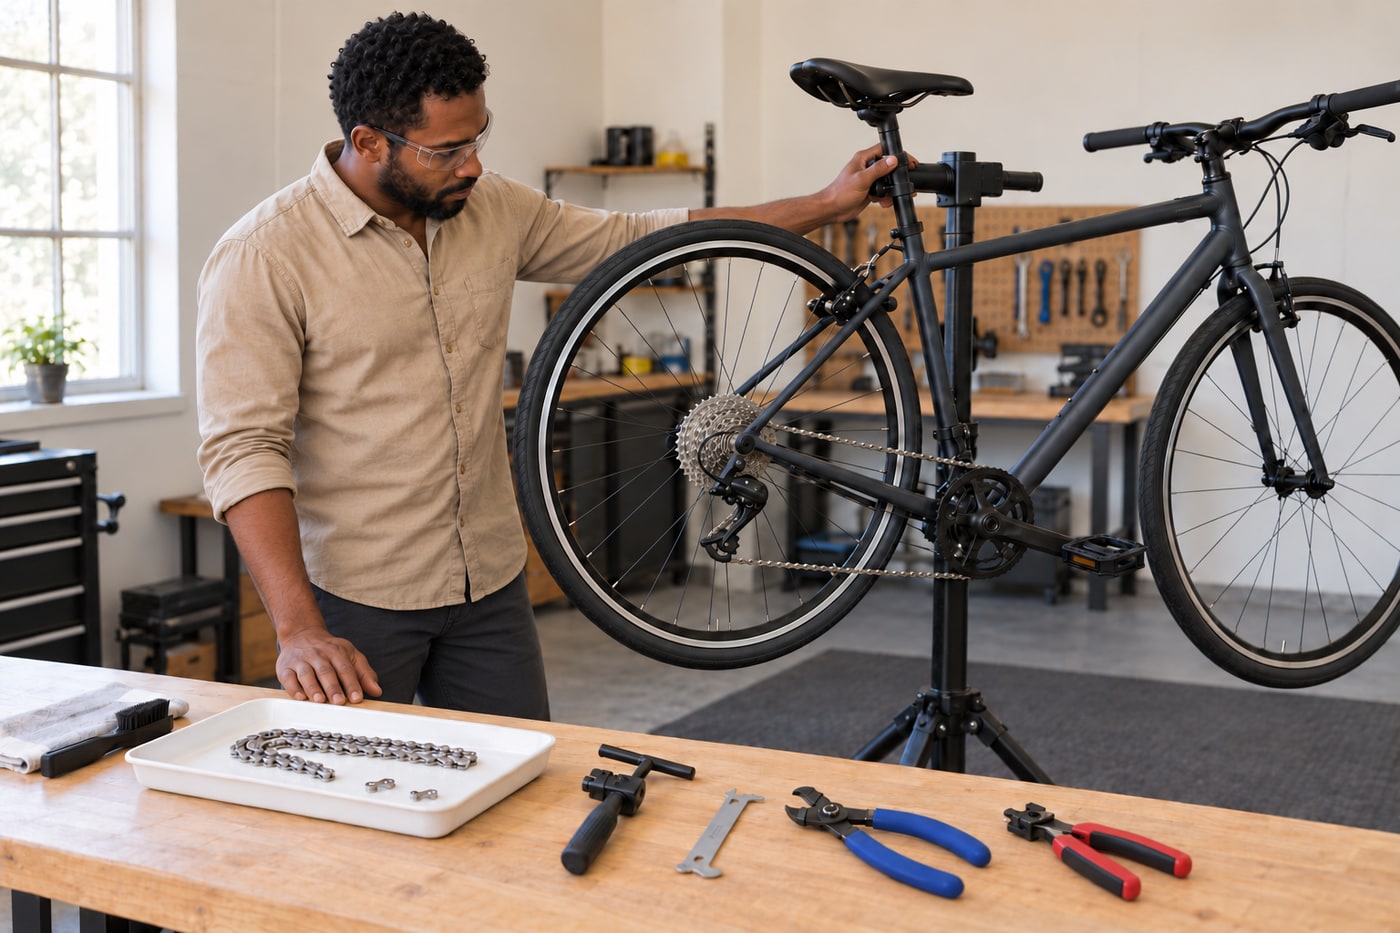
Waey; tool reference Armchair · Original AI illustration; tool reference CC0 · AI-generated scene using the CC0 opening-tool design reference. No source endorsement. Resized and JPEG re-encoded.
3. Check that the old length is a valid reference
Before removing anything, turn the crank slowly by hand and shift through the existing range, stopping before touching the chain. On the largest rear sprocket, the derailleur must retain the articulation required by its maker rather than being pulled straight and tight. On the smallest sprocket, it must take up slack without the chain rubbing itself or the cage. Do not force a shift that binds. Copy the old link count only if its length and routing are correct and the gearing is unchanged; otherwise obtain the exact drivetrain sizing procedure first.
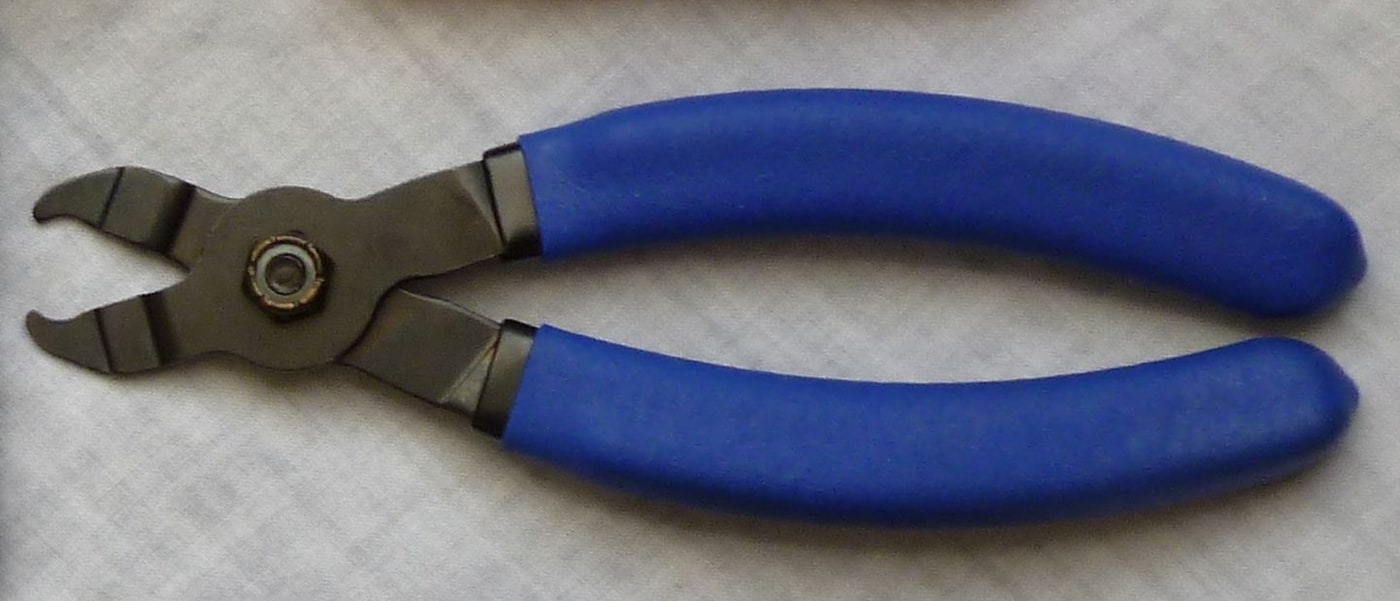
Armchair · CC0 · Resized and JPEG re-encoded. Opening-only tool detail.
4. Open the old quick link and remove the chain
Shift to a suitable small rear sprocket to reduce tension, then stop the crank completely. Find the existing connector and move it to an accessible lower chain section. Use compatible quick-link opening pliers as directed: engage the intended rollers and release the connector without twisting the plates or improvising with wire. Support the freed chain and guide it out slowly, noting its route around the derailleur pulleys and cage tab. Keep the old chain for counting but set its worn connector aside for disposal; the new chain receives a new compatible connector.
Waey; tool reference Armchair · Original AI illustration; tool reference CC0 · AI-generated scene using the CC0 opening-tool design reference. No source endorsement. Resized and JPEG re-encoded.
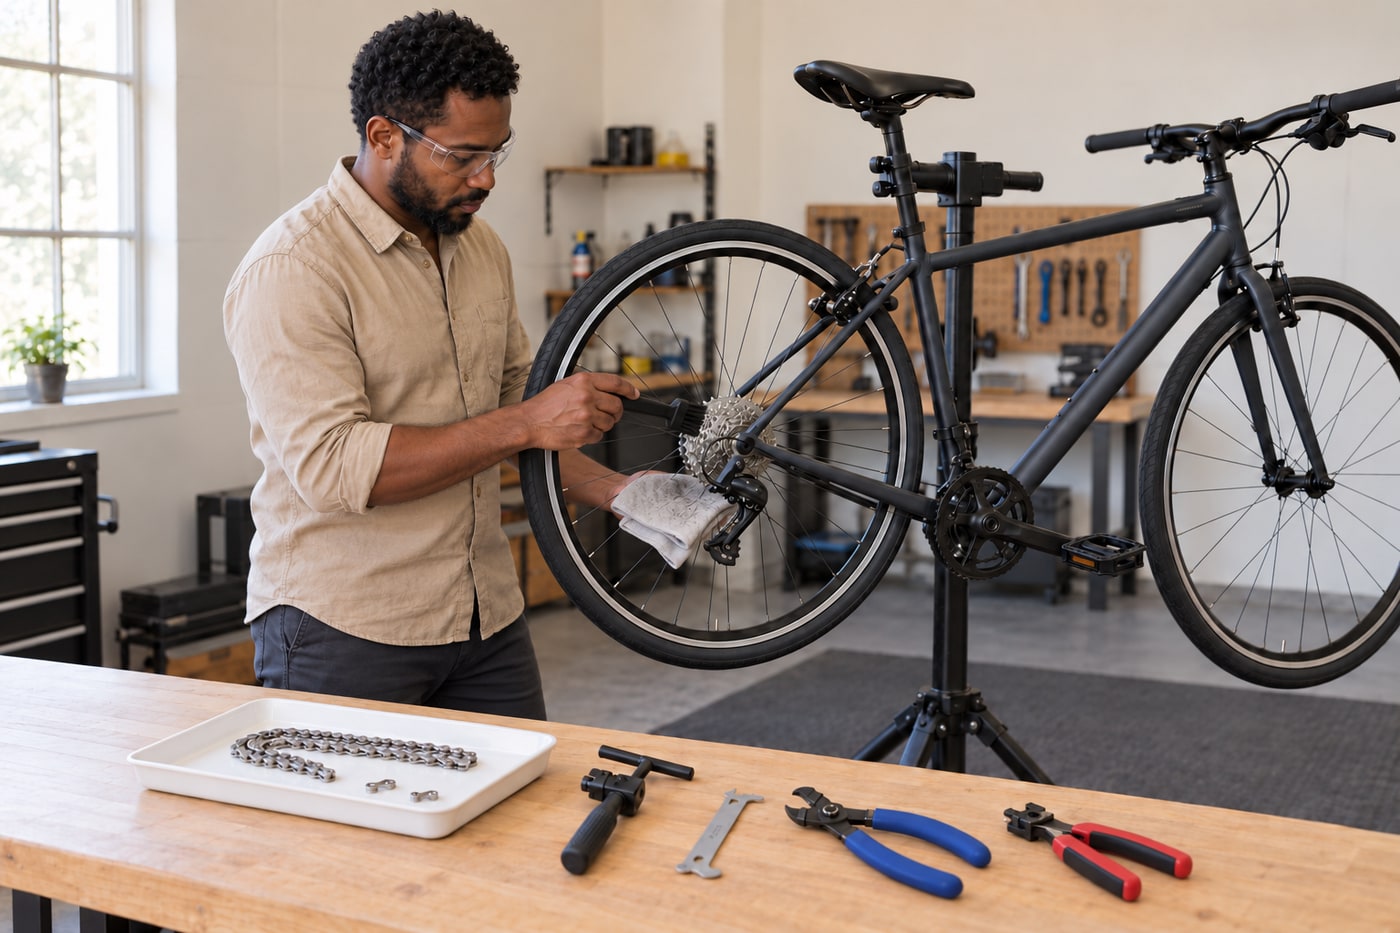
5. Clean and inspect the exposed drivetrain
Remove loose dirt from the chainring, cassette and pulley areas with a suitable brush and cloth while everything is stationary. Follow the component maker’s cleaner rules, keeping cleaners and lubricant away from braking surfaces. KMC warns against acidic, alkaline and aggressive degreasing products; do not soak a new chain to strip its internal factory lubrication. Inspect for damaged teeth, cracked parts, seized pulleys or obvious misalignment. Worn sprockets may cause a new chain to skip even when they look acceptable. Stop for damage or uncertainty rather than hiding it with extra lubricant.
Waey; tool reference Armchair · Original AI illustration; tool reference CC0 · AI-generated scene using the CC0 opening-tool design reference. No source endorsement. Resized and JPEG re-encoded.
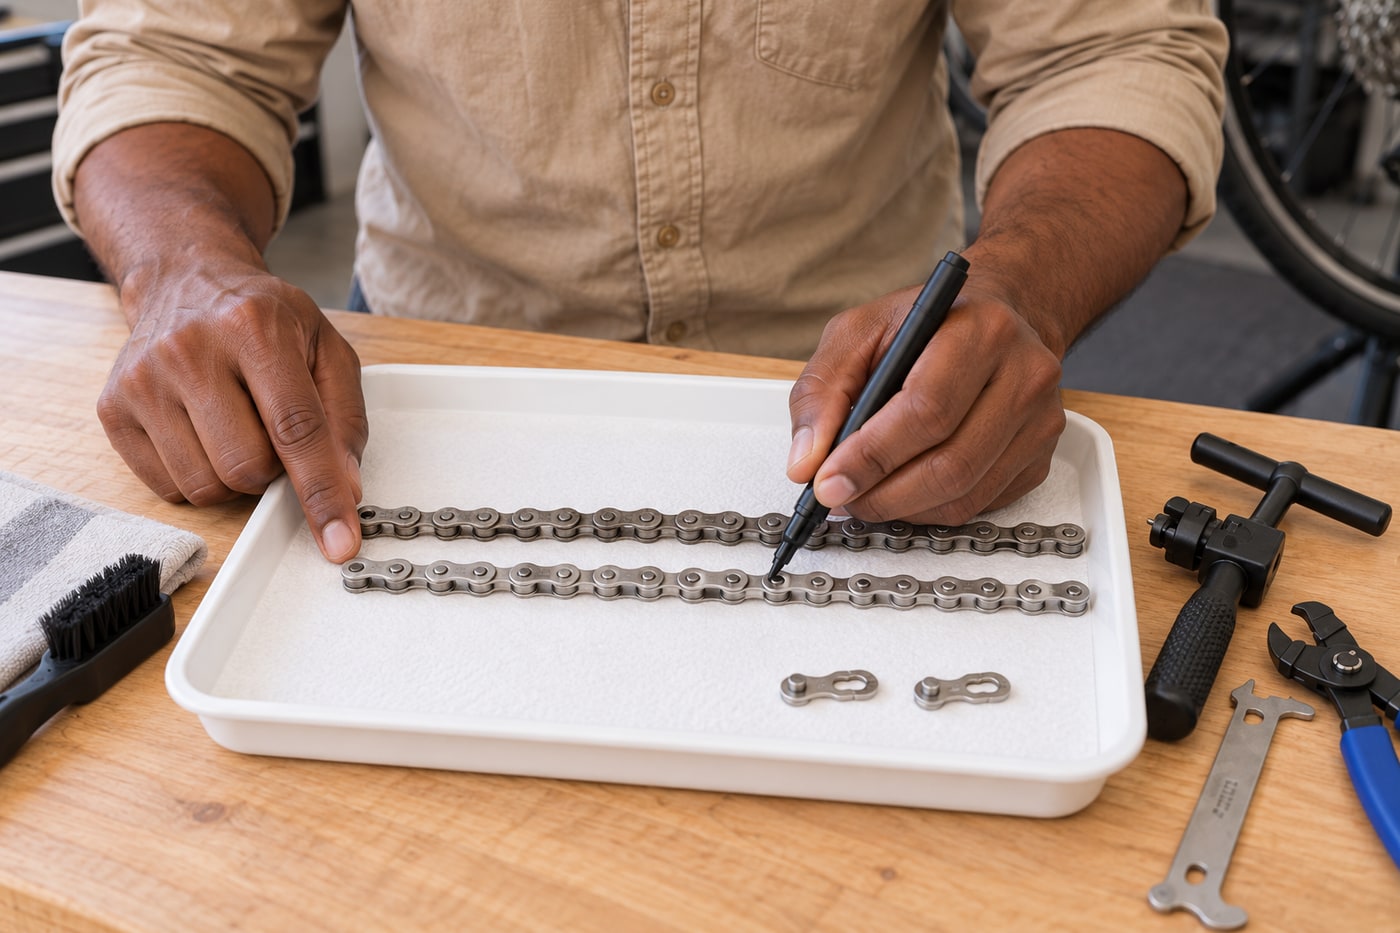
6. Match the link count rather than stretched overall length
Lay the correctly sized old chain and new chain beside each other on a clean protected bench. Start with the same end type—inner plate beside inner plate or outer beside outer—and account for the new connector in the complete loop. Match successive rivets and count carefully; a worn chain is physically longer, so simply lining up its far end can give the wrong cut point. Mark the intended rivet and check the count again. The finished new chain needs two inner-link ends for this two-piece quick connector. Do not cut until both checks agree.
JaredMcKenzie · CC0 · Resized and JPEG re-encoded. Actual eight-speed chain-tool detail; follow the selected tool manual.
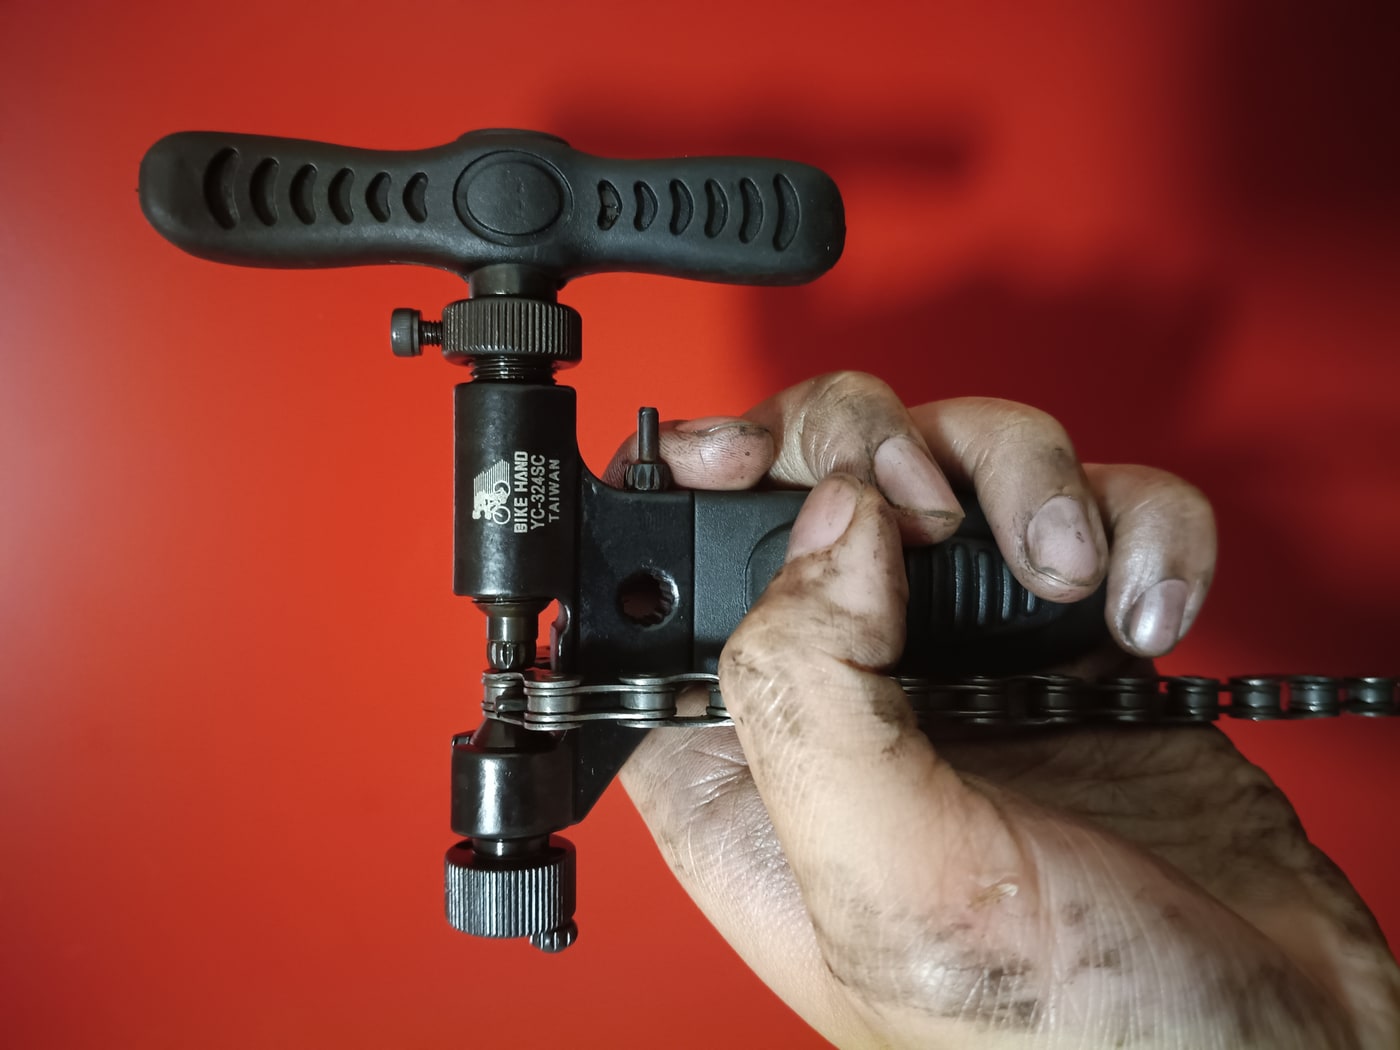
7. Shorten with a correctly supported chain tool
Wear eye protection and use a chain tool rated for the actual chain. Inspect the tool’s drive pin and support cradle, then seat the marked link exactly as that tool’s manual shows. Align the drive pin with the centre of the selected chain rivet and advance it in a straight line; stop if it walks sideways, the plates bend or the tool binds. Remove the required excess section while preserving the intended inner-link ends. Never drive through the quick connector itself, reuse the expelled rivet to join this chain, or try to disguise an incorrect cut.
Waey; tool reference Armchair · Original AI illustration; tool reference CC0 · AI-generated scene using the CC0 opening-tool design reference. No source endorsement. Resized and JPEG re-encoded.
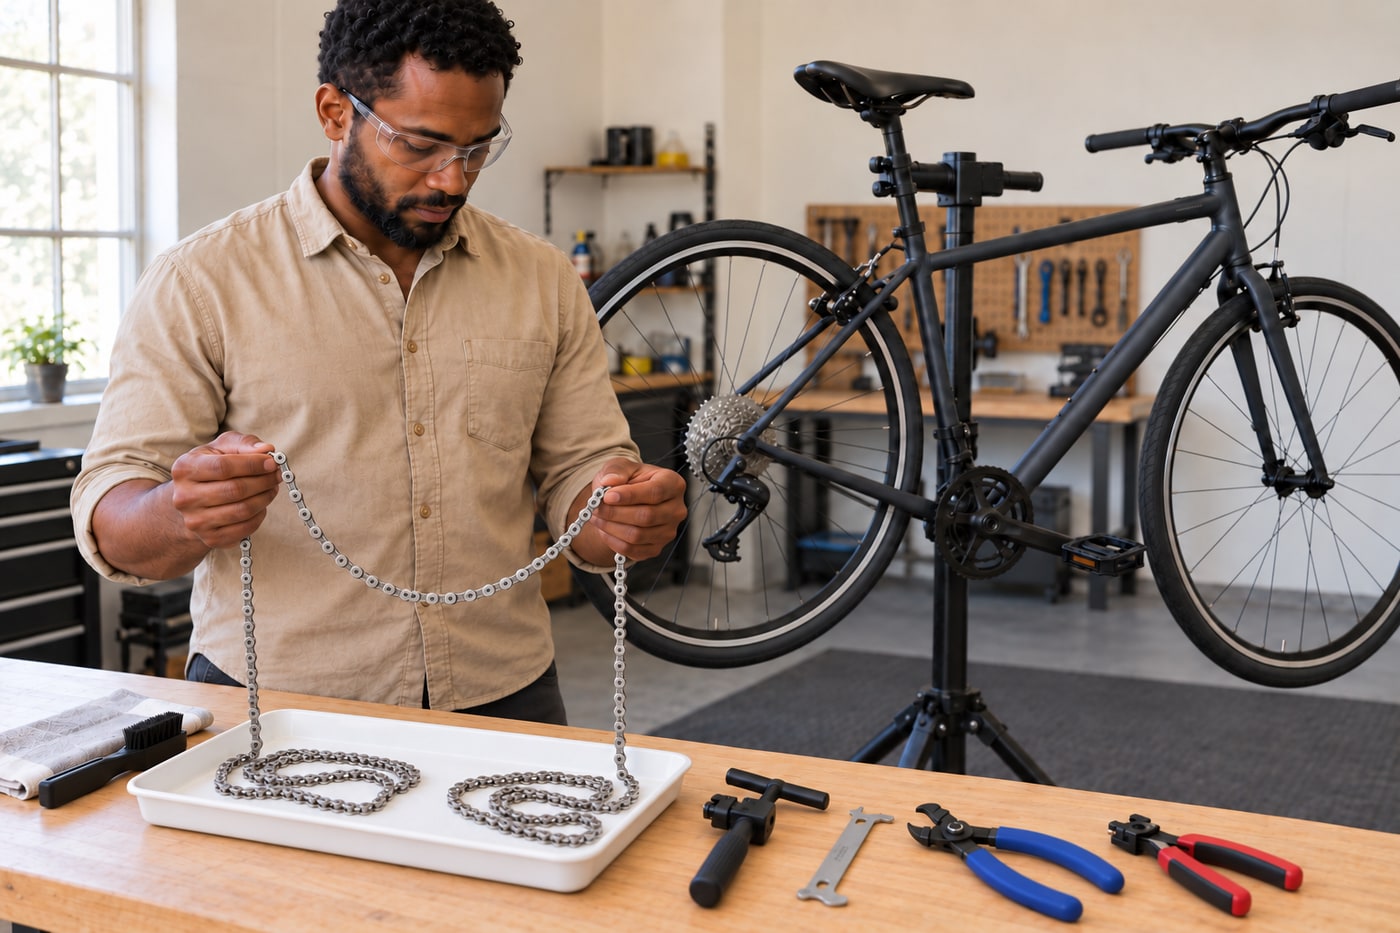
8. Route through the derailleur without crossing the cage tab
Check the new chain’s direction requirements before feeding it. With the drivetrain stationary, route it over the selected rear sprocket, around both derailleur pulleys on the correct sides of their teeth, and on the specified side of the cage’s guide tab. Bring it around the single front chainring and meet the ends on the accessible lower run. Trace the whole path against the actual derailleur instructions; a chain outside the tab can appear connected yet scrape and shift badly. Do not rotate the crank with a loose end near fingers or spokes.
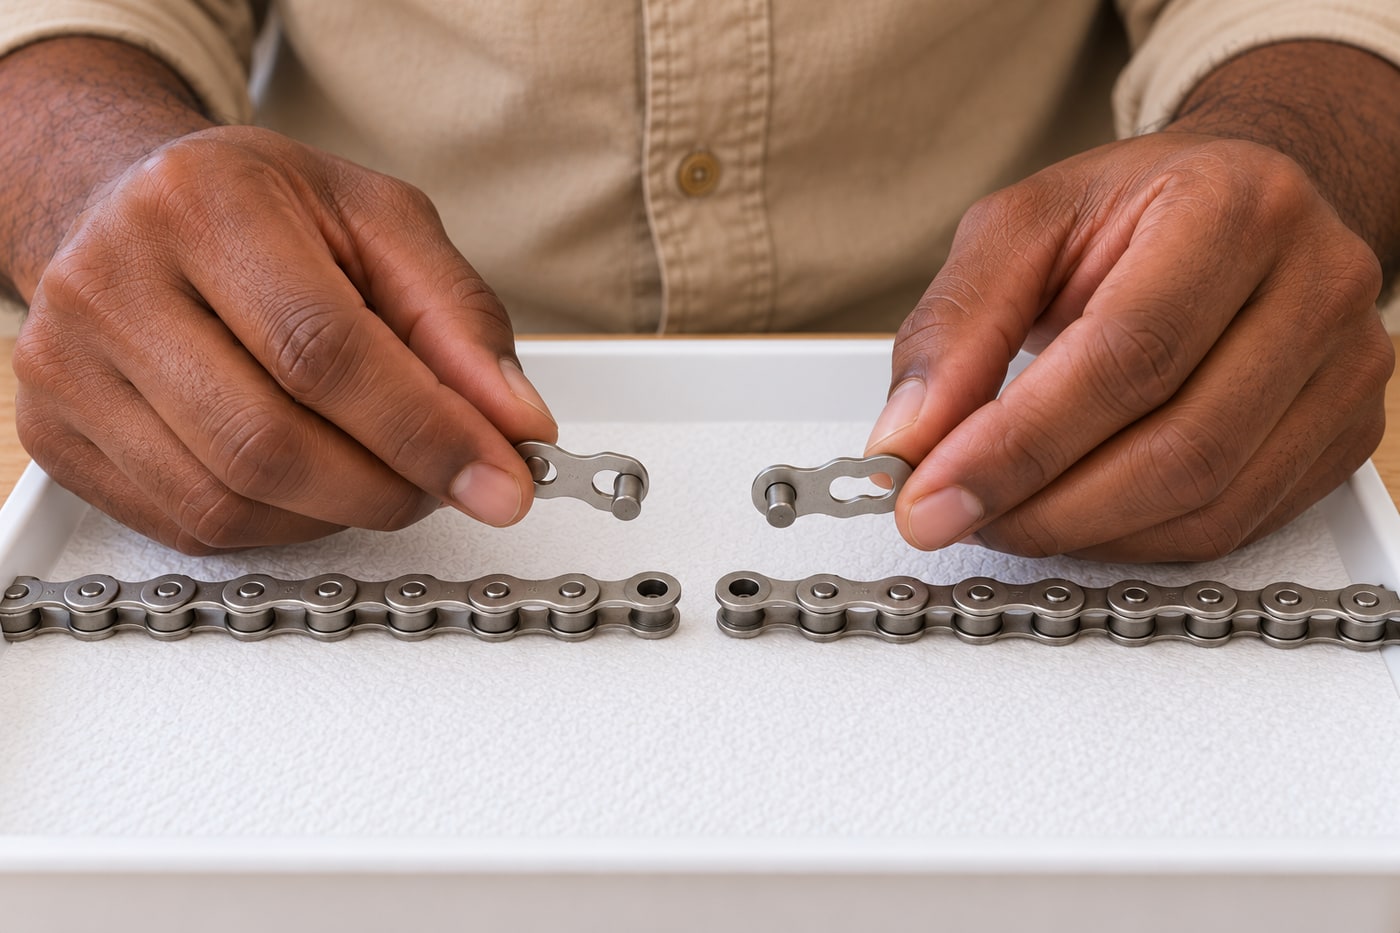
Waey; tool reference Armchair · Original AI illustration; tool reference CC0 · AI-generated scene using the CC0 opening-tool design reference. No source endorsement. Resized and JPEG re-encoded.
9. Insert both halves of the new connector
Confirm once more that the connector model matches this chain and that both ends are undamaged inner links. Follow any directional arrow on the actual connector rather than assuming every quick link is symmetrical. Insert one half from each opposite side, bring the plates together and engage each pin in the opposite plate’s opening. For the documented KMC example, clean the end bearings and lubricate the connector pins as KMC specifies before assembly. At this stage the parts may be joined but not locked; keep the chain supported and do not treat a loosely hooked connector as ready to ride.
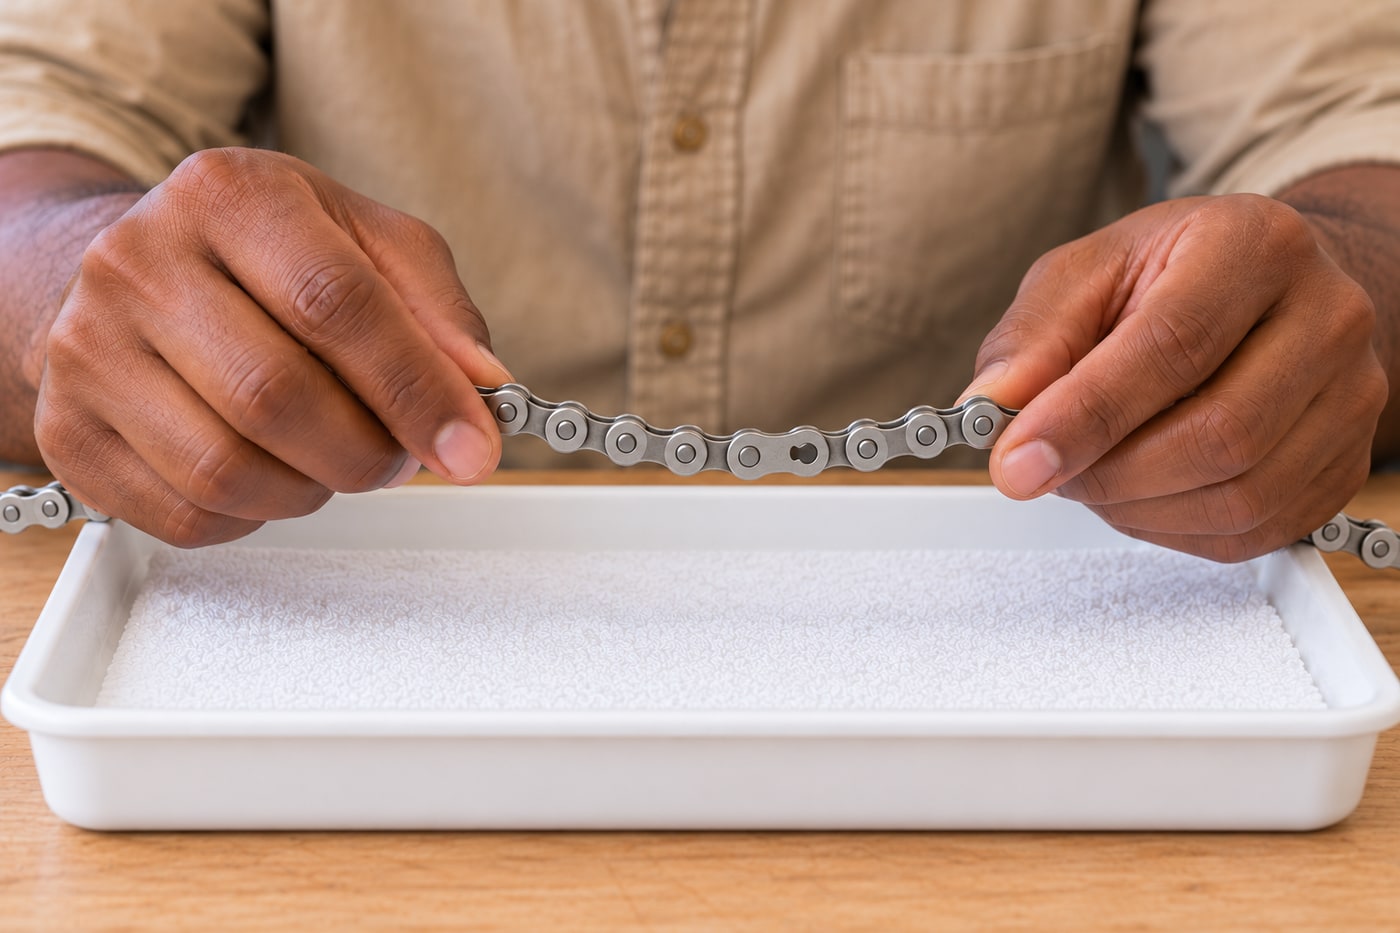
Waey; tool reference Armchair · Original AI illustration; tool reference CC0 · AI-generated scene using the CC0 opening-tool design reference. No source endorsement. Resized and JPEG re-encoded.
10. Lock the link and inspect both pin seats
Use the connector maker’s compatible closing tool and specified outward locking action to seat both pins fully in their narrow locked positions. Some pliers open links only; do not assume any curved tool can close them. Inspect both sides and compare with the maker’s locked-link illustration, then gently articulate the stopped link to check that it moves freely. Do not rely on an audible click or a tug alone. If the link is distorted, partly seated or uncertain, stop and replace it as required; no high pedal force should be used to conceal a fault.
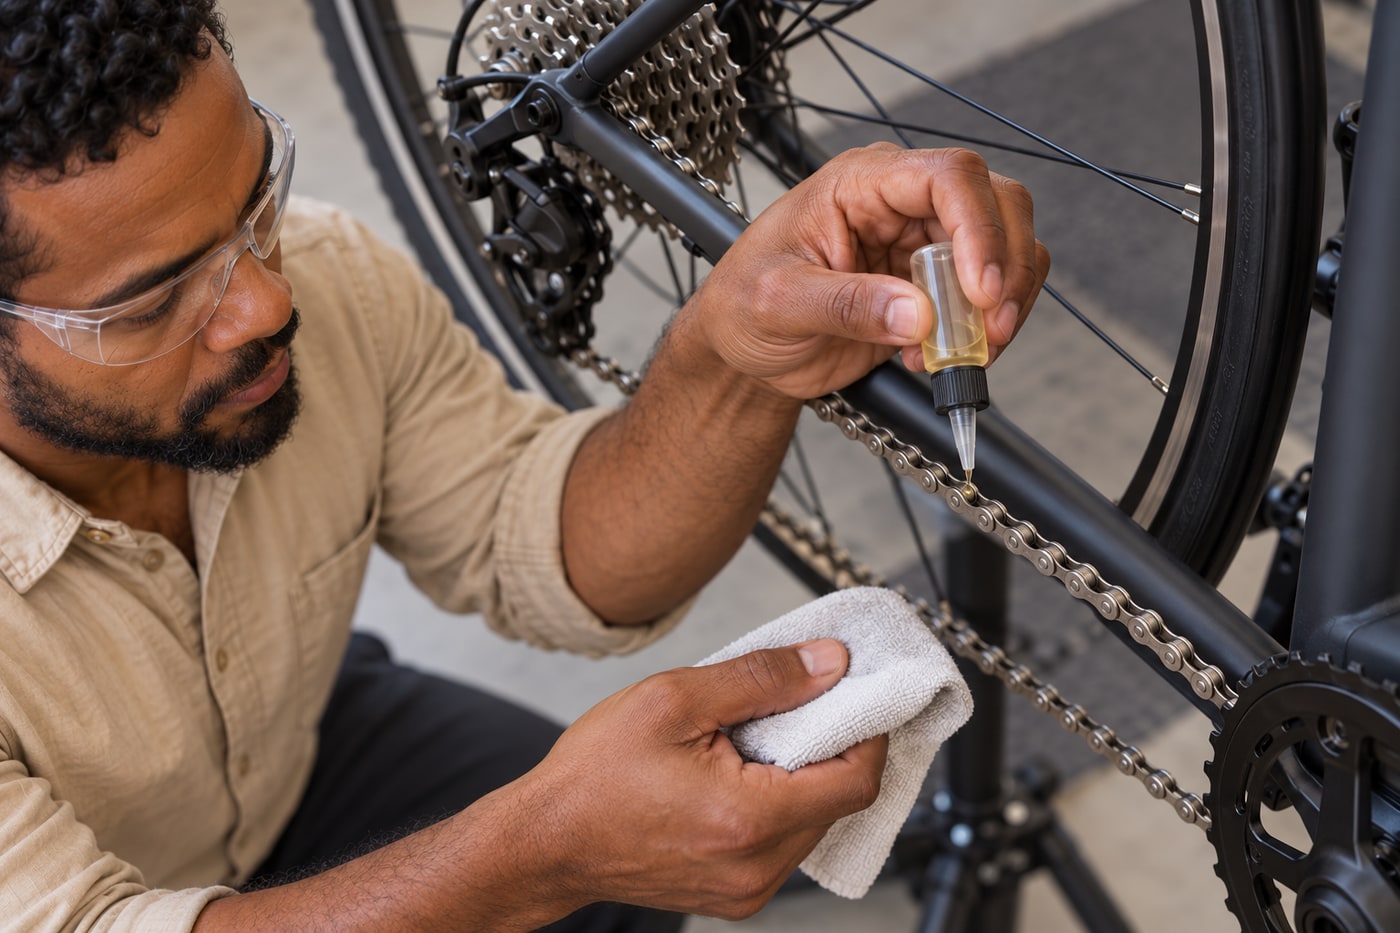
Waey; tool reference Armchair · Original AI illustration; tool reference CC0 · AI-generated scene using the CC0 opening-tool design reference. No source endorsement. Resized and JPEG re-encoded.
11. Prepare lubrication and check motion by hand
Follow the new chain’s supplied lubrication instructions; an oil-treated chain and a factory-waxed chain are different systems. For the selected oil-treated example, preserve internal factory lubricant, use only the maker’s suitable external preparation and roller lubrication, and wipe excess from outer surfaces. Keep all lubricant off brake rims, rotors and pads. Move tools and fingers clear, then turn the crank slowly by hand. Stop completely before inspecting a stiff link or rubbing sound. If lubrication reaches a braking surface, do not ride until the brake maker’s contamination procedure has been completed.
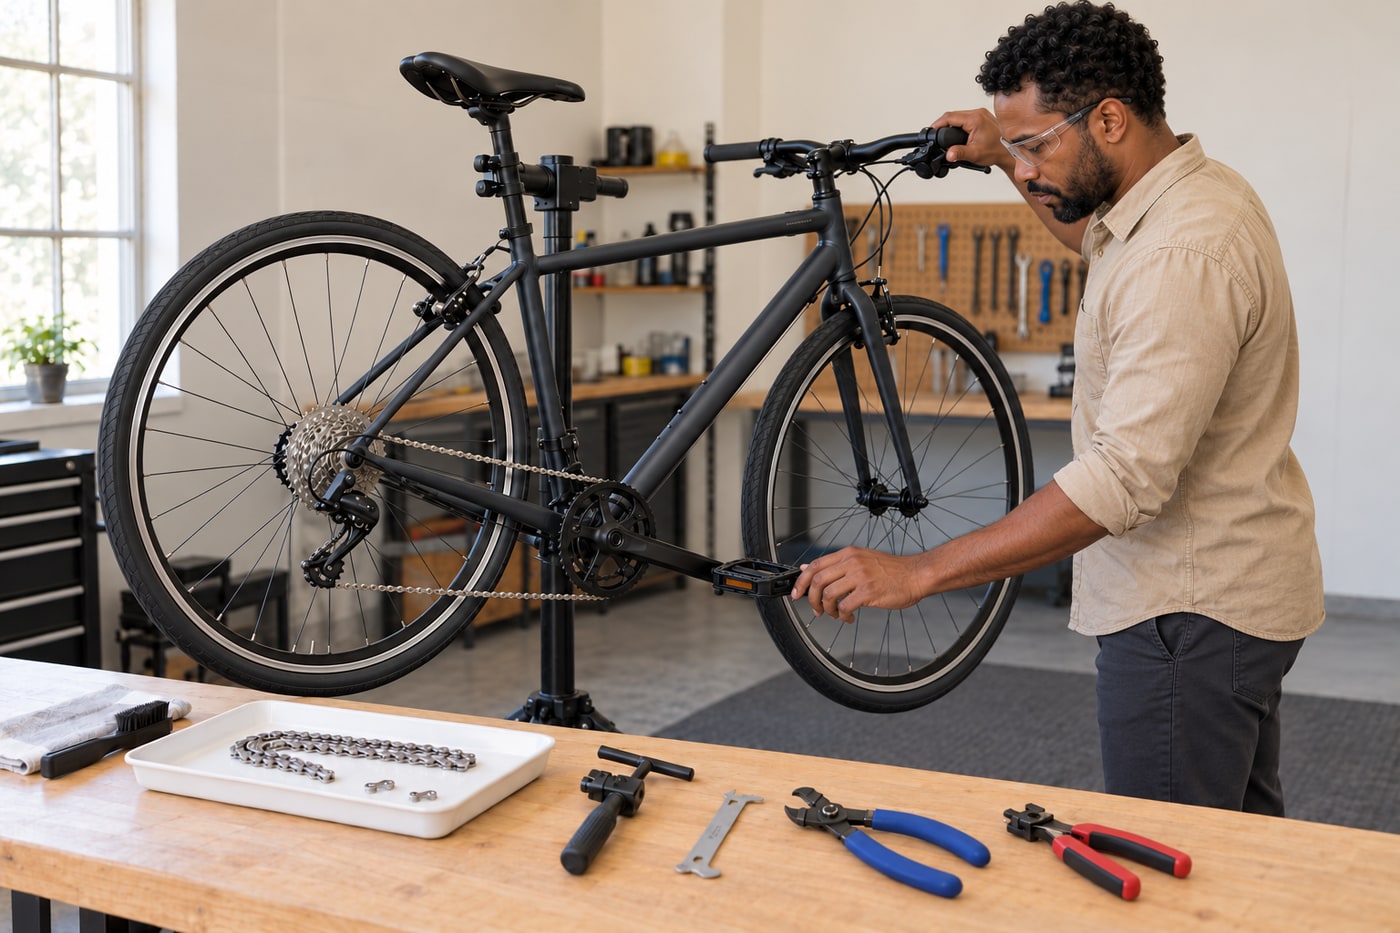
Waey; tool reference Armchair · Original AI illustration; tool reference CC0 · AI-generated scene using the CC0 opening-tool design reference. No source endorsement. Resized and JPEG re-encoded.
12. Verify every gear before a cautious test ride
With the bike stable and the rear wheel free, shift through the eight rear gears while turning the crank slowly by hand. Check smooth engagement, correct chain take-up at both extremes and no rubbing, tight spots or chain contact with itself. Stop immediately if a shift binds; do not change derailleur limit screws to compensate for a sizing or routing mistake. Recheck the connector after motion. Complete normal pre-ride safety checks, then make only a cautious low-load test in a safe area. Skipping under load requires further drivetrain diagnosis, not harder pedalling.
Video demonstrations
How to Replace a Chain on a Bike - Sizing & Installation
Complete replacement demonstration. Use the master-link sections and sizing-to-verified-old-chain method; connecting-rivet and Campagnolo peening branches are outside this guide.
Park Tool · English
Watch on YouTube ↗How to Size a Bicycle Chain
Explains correct old-chain assessment and alternative sizing methods. This guide copies a verified correct link count only; do not transfer a largest-sprocket formula to another drivetrain.
Park Tool · English
Watch on YouTube ↗When to Replace a Chain on a Bicycle
Wear-check demonstrations use particular gauges. Follow your actual gauge’s contact and tension instructions and the drivetrain maker’s replacement threshold.
Park Tool · English
Watch on YouTube ↗How to assemble the KMC MissingLink
KMC original connector assembly and reusable/non-reusable distinction. Use the actual chain/link compatibility and a new connector with a new chain.
KMC Chain Europe · English
Watch on YouTube ↗KMC Chain Missinglink Remover and Connector
KMC original opening and closing tools. Opening-only pliers and dedicated closing tools are not interchangeable merely because their handles look alike.
KMC Chain · English
Watch on YouTube ↗Final checks
Both connector pins fully seated, link articulates freely, correct routing and take-up in every gear, no binding/skipping/rubbing or brake contamination. An uncertain chain length or damaged/worn drivetrain needs the exact maker’s procedure or qualified service before riding.
Sources
Park Tool: derailleur-chain replacement ↗
Park Tool: chain sizing and exceptions ↗
Park Tool: chain-tool support and drive-pin alignment ↗
KMC2025–2026 original catalogue, printed page43 ↗
Images are credited individually, including licensed reference details and AI-generated scenes using a CC0 tool reference. Videos belong to their credited creators.