
Hand-clean a steel water bottle and simple loop cap
Brush a reusable stainless-steel water bottle, clean its matched simple cap and removable seal, then rinse, check the closure and dry everything fully. Use the cap’s own instructions to avoid damaging hidden valves or the wrong gasket.
What will you learn?
Brush a reusable stainless-steel water bottle, clean its matched simple cap and removable seal, then rinse, check the closure and dry everything fully. Use the cap’s own instructions to avoid damaging hidden valves or the wrong gasket.
Tools
- Soft bottle brush sized to fit the neck without forceSearch Amazon USA ↗
- Small soft brush or clean cotton swabsSearch Amazon USA ↗
- Non-scratch spongeSearch Amazon USA ↗
- Clean parts traySearch Amazon USA ↗
- Draining rackSearch Amazon USA ↗
- Maker-approved non-metal seal tool for the exact capSearch Amazon USA ↗
- Household gloves if wantedSearch Amazon USA ↗
Materials
- Mild dishwashing liquidSearch Amazon USA ↗
- Clean comfortably warm water for washing, rinsing and the closure check
- Exact Classic-cap replacement silicone o-ring only if neededSearch Amazon USA ↗
Step by step
Photorealistic illustration · Waey
1. Identify the cap and inspect before washing
Check the bottle and cap model before taking anything apart. The example route is a Classic bottle with internal neck threads and a matched simple polypropylene Loop Cap with Bale; other cap families have different seals and valves. Empty the bottle and inspect its mouth, threads, body and cap. If you cannot confirm the gasket is owner-removable or obtain the correct instructions and tool, stop before seal removal and ask the maker.
Photorealistic illustration · Waey
2. Set up a clean washing and parts area
Wash your hands and clear a stable place beside the sink for the cap and gasket. Check that the bottle brush fits the opening gently and has no exposed wire or hard end that could scratch the steel. Prepare mild soapy water according to the detergent label, at a comfortable hand-washing temperature. Keep this routine to soap and water; the optional stain treatments in broader manufacturer videos are not part of this procedure.
Photorealistic illustration · Waey
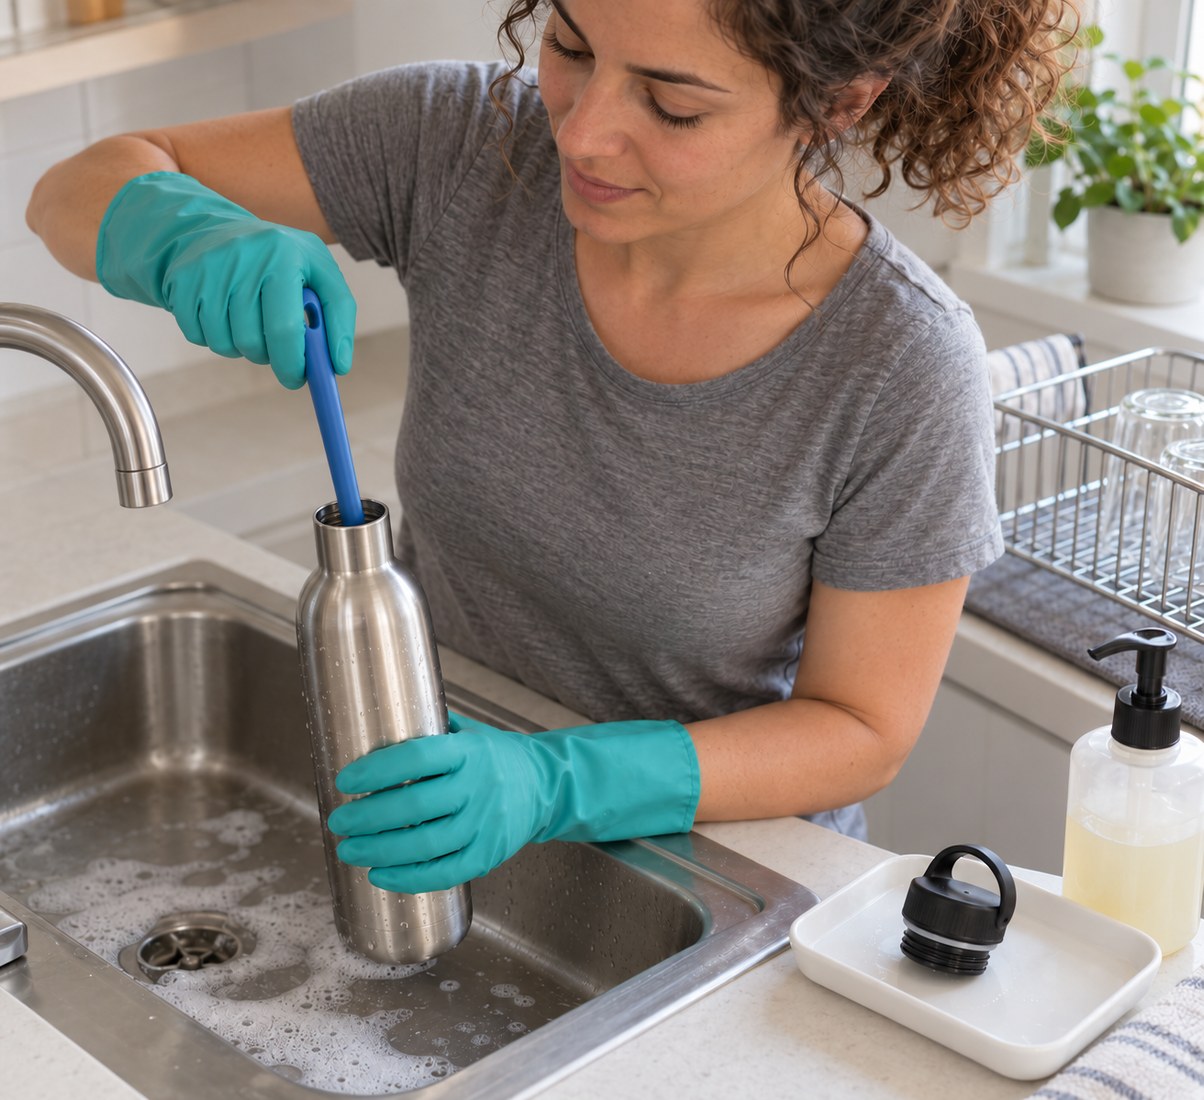
3. Brush the inside, neck and drinking rim
Add warm soapy water and hold the bottle securely low in the sink. Move the soft brush around the base and inner walls with controlled strokes, including the shoulder area the brush can reach without force. Clean the mouth and internal threads with the small soft brush, then wipe the outside with the non-scratch sponge. Do not use a metal scourer or force an oversized brush through the neck; choose a suitable brush instead.
Photorealistic illustration · Waey
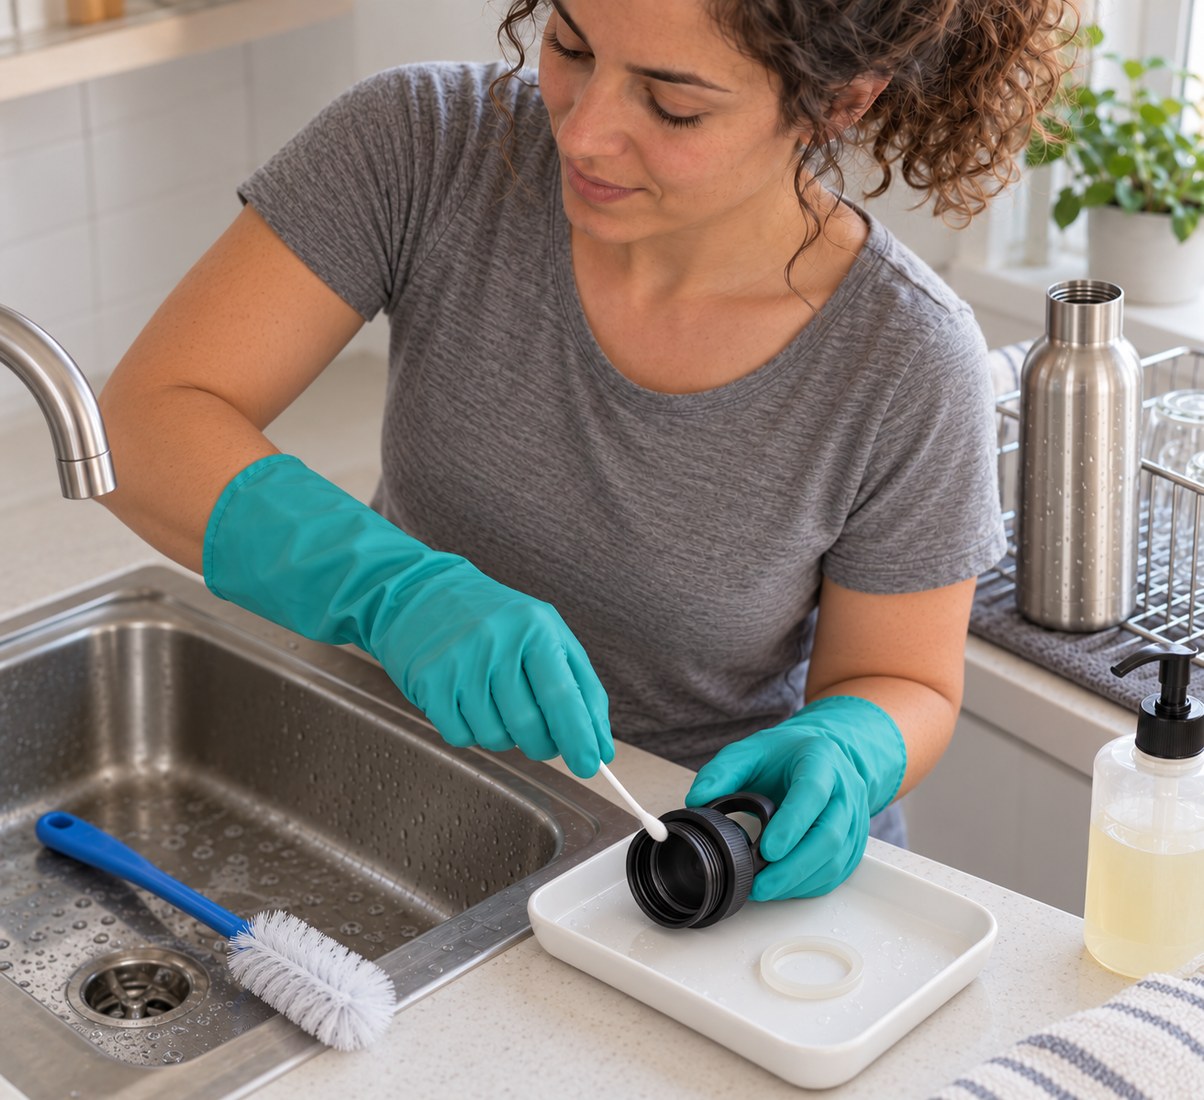
4. Clean the simple cap and accessible seal recess
Before lifting the seal, confirm that the actual cap instructions allow its removal and identify the exact replacement part and approved tool. Record how the original seal sits so its position is not lost. Lift it gently as instructed and keep it on the clean tray; do not use a knife or dismantle the carry loop. Wash the cap, threads, seal and accessible recess with mild soapy water and a soft swab. Stop for the maker’s advice if removal or refitting is unclear; replace a split, hardened or distorted seal with the specified part.
Photorealistic illustration · Waey
5. Rinse well and refit the gasket correctly
Rinse the bottle and every washed cap part with clean water until no foam or slippery soap remains. Refit the correct seal in its recorded position and follow the instructions supplied for that exact cap and replacement part, including whether wetting is required. Do not transfer a flat-face direction from a different cap family. Seat the seal gently and evenly with the approved tool, checking all around for twisting or lifted sections. If the shape, orientation or fit is uncertain, stop for manufacturer advice rather than using glue, oil or extra seals.
Photorealistic illustration · Waey
6. Check the closure over the sink
With the correctly seated gasket, add a little clean water and screw the matched cap in by hand without cross-threading or excessive force. Over the sink, gently tilt the closed bottle and look for leakage around the neck. This is a brief closure check, not a pressure or hygiene test. If it leaks, empty it, inspect the seal and refit only as instructed; stop if the leak persists instead of tightening harder.
Photorealistic illustration · Waey
7. Empty and air-dry completely before storage
Remove the cap, empty the test water and leave bottle and cap separately on a clean rack with openings exposed to air and able to drain. Avoid resting the drinking rim directly on the dirty sink or sealing damp parts together. Check the neck, cap recess and gasket area for remaining moisture before storing, with the cap off or loose as appropriate for the storage space. Wash the brush and tray too; repeat routine cleaning regularly and after use as needed.
Video demonstrations
Klean Kanteen - How to Clean Your Klean Kanteen Water Bottle
Klean Kanteen demonstrates bottle brushing and rinsing. Follow the written mild-soap method here; the video’s optional vinegar and baking-soda stain treatments are outside this guide.
Klean Kanteen · English (auto-caption metadata; audio unconfirmed)
Watch on YouTube ↗Klean Kanteen - How to Replace a Silicone Gasket
Manufacturer wide-cap gasket demonstration; actual63–85second samples show rinsing/wet-lid text and tool seating. The original description states flat side against recess for its demonstration. Do not transfer this to a Classic cap: exact part/model instructions govern. No streamed audio/motion reviewed.
Klean Kanteen · English (auto-caption metadata; audio unconfirmed)
Watch on YouTube ↗Final checks
No residue, foam, damaged seal or crossed threads; gasket evenly seated, brief water check without leaks, then bottle and cap fully drained and air-dried before storage. Persistent problems go to the maker.
Sources
Klean Kanteen — Care and use video library ↗
Klean Kanteen — Care and use ↗
Klean Kanteen — Current US care and use ↗
Klean Kanteen — Classic Loop Cap with Bale compatibility ↗
Klean Kanteen — Cap maintenance-kit compatibility ↗
Klean Kanteen — Exact Classic cap maintenance-kit compatibility ↗
AI-generated representative photographic illustrations by Waey using only Waey-generated references. No third-party photographs reused. External videos belong to their credited creator.