
Lay six utility slabs on a prepared base
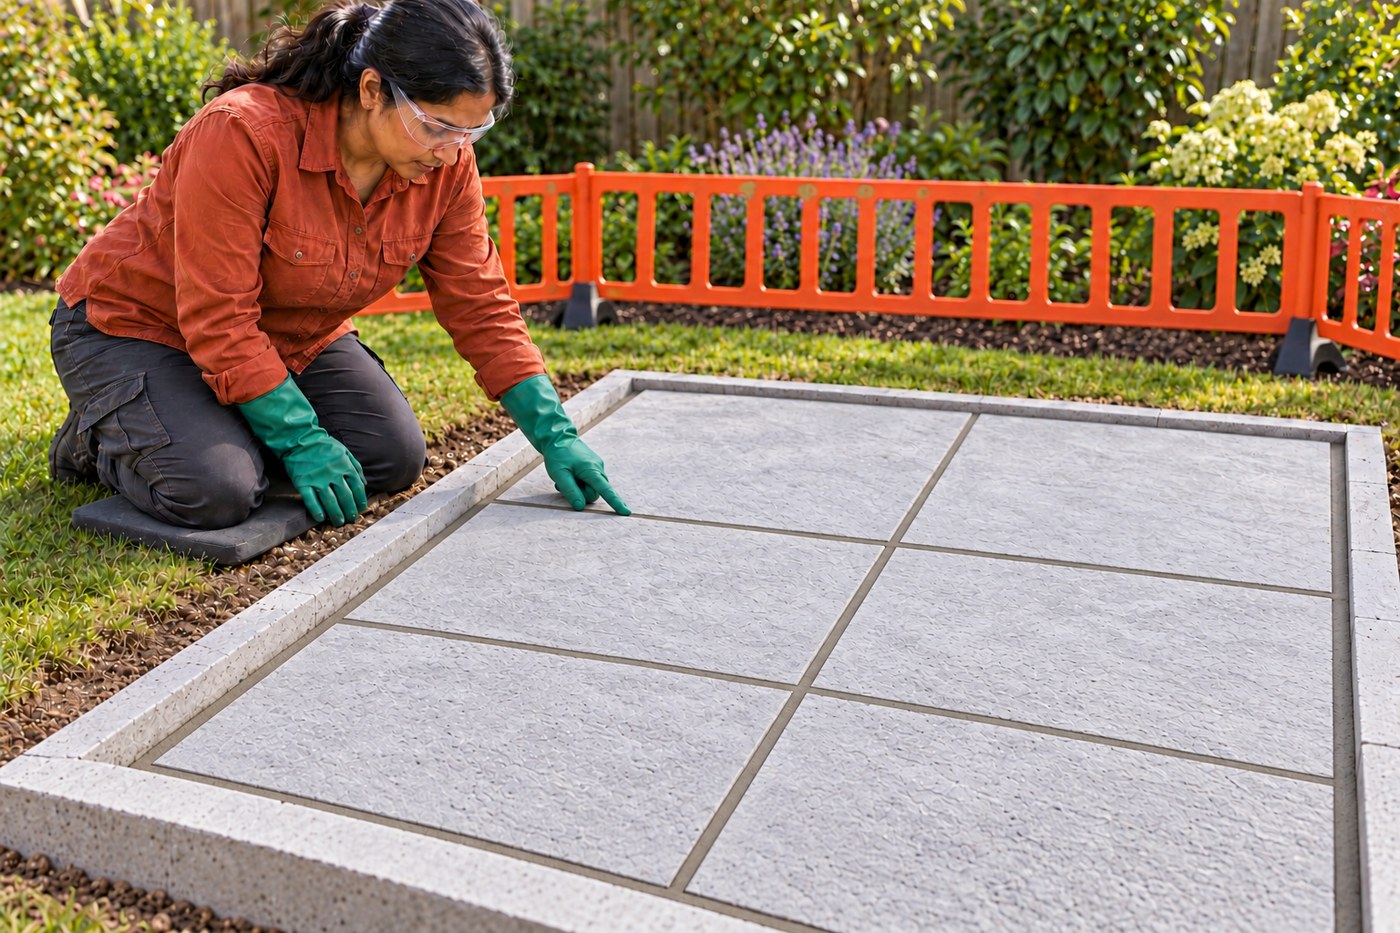
Lay whole Pendle concrete flags on full wet mortar beds within a suitable prepared edge frame. Check actual slab sizes, retain the designed falls, prime the backs and finish rigid joints before protecting the pad through curing.
What will you learn?
Lay whole Pendle concrete flags on full wet mortar beds within a suitable prepared edge frame. Check actual slab sizes, retain the designed falls, prime the backs and finish rigid joints before protecting the pad through curing.
Tools
- Tape measureSearch Amazon USA ↗
- StraightedgeSearch Amazon USA ↗
- Spirit levelSearch Amazon USA ↗
- String linesSearch Amazon USA ↗
- 10mm temporary spacersSearch Amazon USA ↗
- Suitable slab-handling aidSearch Amazon USA ↗
- Competent handling assistance
- Dry working supportsSearch Amazon USA ↗
- Mortar mixing tray or suitable mixerSearch Amazon USA ↗
- Clean gauging bucketsSearch Amazon USA ↗
- ShovelSearch Amazon USA ↗
- TrowelsSearch Amazon USA ↗
- Correctly equipped paddle mixer for the full primer batchSearch Amazon USA ↗
- Clean primer mixing vesselSearch Amazon USA ↗
- Heavy-duty paste brushSearch Amazon USA ↗
- Rubber malletSearch Amazon USA ↗
- Pointing toolSearch Amazon USA ↗
- Clean spongeSearch Amazon USA ↗
- Wash-water bucketsSearch Amazon USA ↗
- Waterproof alkali-resistant glovesSearch Amazon USA ↗
- Suitable protective bootsSearch Amazon USA ↗
- Safety gogglesSearch Amazon USA ↗
- Dust controls and suitable respiratory protection for mixingSearch Amazon USA ↗
- ThermometerSearch Amazon USA ↗
- BarriersSearch Amazon USA ↗
- Supports for weather coversSearch Amazon USA ↗
Materials
- Six matching whole Pendle nominal450×450×32mm flags; measure actual work sizeSearch Amazon USA ↗
- Blue Circle Mastercrete cementSearch Amazon USA ↗
- Clean sharp sand for beddingSearch Amazon USA ↗
- Building sand for pointingSearch Amazon USA ↗
- Marshalls Paving Primer: one full20kg bag, no partial batchingSearch Amazon USA ↗
- Clean water
- Protective weather sheetingSearch Amazon USA ↗
- Suitable cement wash-water and waste collectionSearch Amazon USA ↗
Step by step
Photorealistic illustration · Waey
1. Verify the prepared base and the limited use
Have the competent preparer confirm the ground, service assessment, drainage and robust perimeter restraints before beginning. The selected manufacturer guide uses at least 100 mm compacted Type 1 on suitable ground, with the required falls already formed; weak or wet ground needs a different design. The restraints must extend below the laying course and remain sound. This article starts after that preparation. If excavation, new foundations or drainage changes are needed, stop and complete their proper design first. Schedule work above 5°C and no higher than 30°C, with suitable protection against forecast rain, frost and rapid drying.
Photorealistic illustration · Waey
2. Dry-check the actual six-slab layout
Measure the delivered flags and arrange the two-by-three layout safely on dry supports or a suitable dry trial area. Do not treat the 450 mm nominal label as an exact working size: the current datasheet gives448mm. At448mm with10mm internal joints, the outer slab field is906x1364mm. If the prepared design also requires10mm perimeter joints, its clear internal frame is926x1384mm. Check the actual frame and all joint allowances; do not force a mismatch or remove joints to avoid cutting.
Photorealistic illustration · Waey
3. Set lines for the finished plane, not level slabs
Transfer the approved finished levels to strings outside the working space. For the selected guide, maintain at least 1:80 longitudinal fall and 1:40 crossfall toward the agreed safe drainage direction. Across a 926 × 1384 mm internal frame, those drops are about23.2mm across the short side and17.3mm along the long side. Both form one plane. Check the base-to-top allowance for the actual slab and full mortar bed; change the preparation if it cannot fit without losing support or correct levels.
Photorealistic illustration · Waey
4. Prepare clean units and the full primer batch
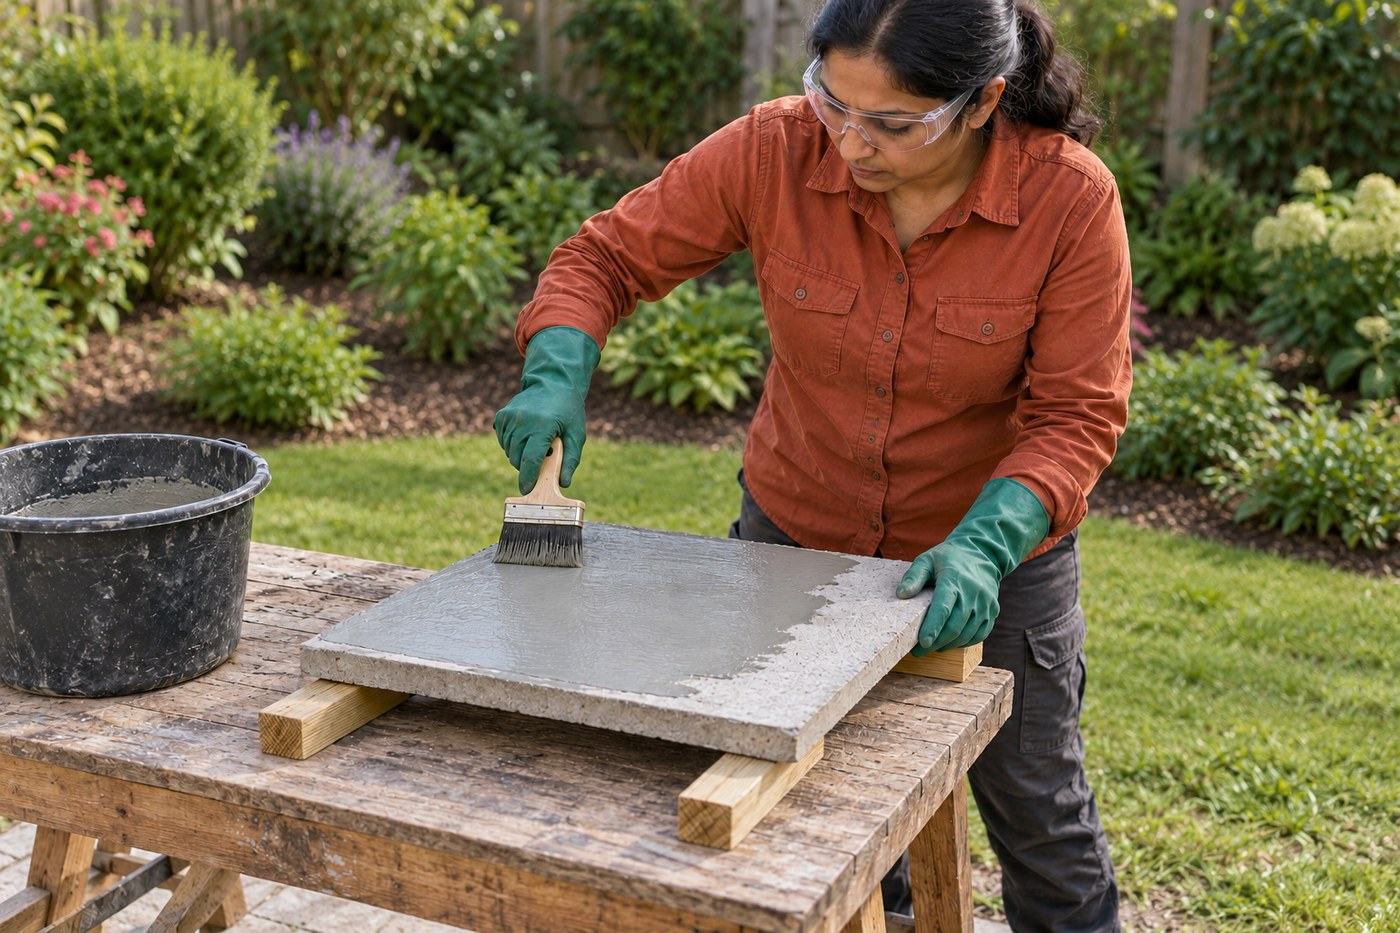
Clean the slab backs as the manufacturer directs and place units securely on dry supports without damaging the faces. Follow the actual primer label/SDS and arrange safe mixing before opening it. The selected guide requires a full 20 kg bag into 6.5–7 litres of measured cool clean water, mixed with a suitable paddle for 2–3 minutes until smooth. It forbids partial-bag mixing and extra water to extend working time. A six-slab job may leave substantial surplus; plan its permitted working time and responsible disposal.
Photorealistic illustration · Waey
5. Mix the bedding mortar and spread a full bed
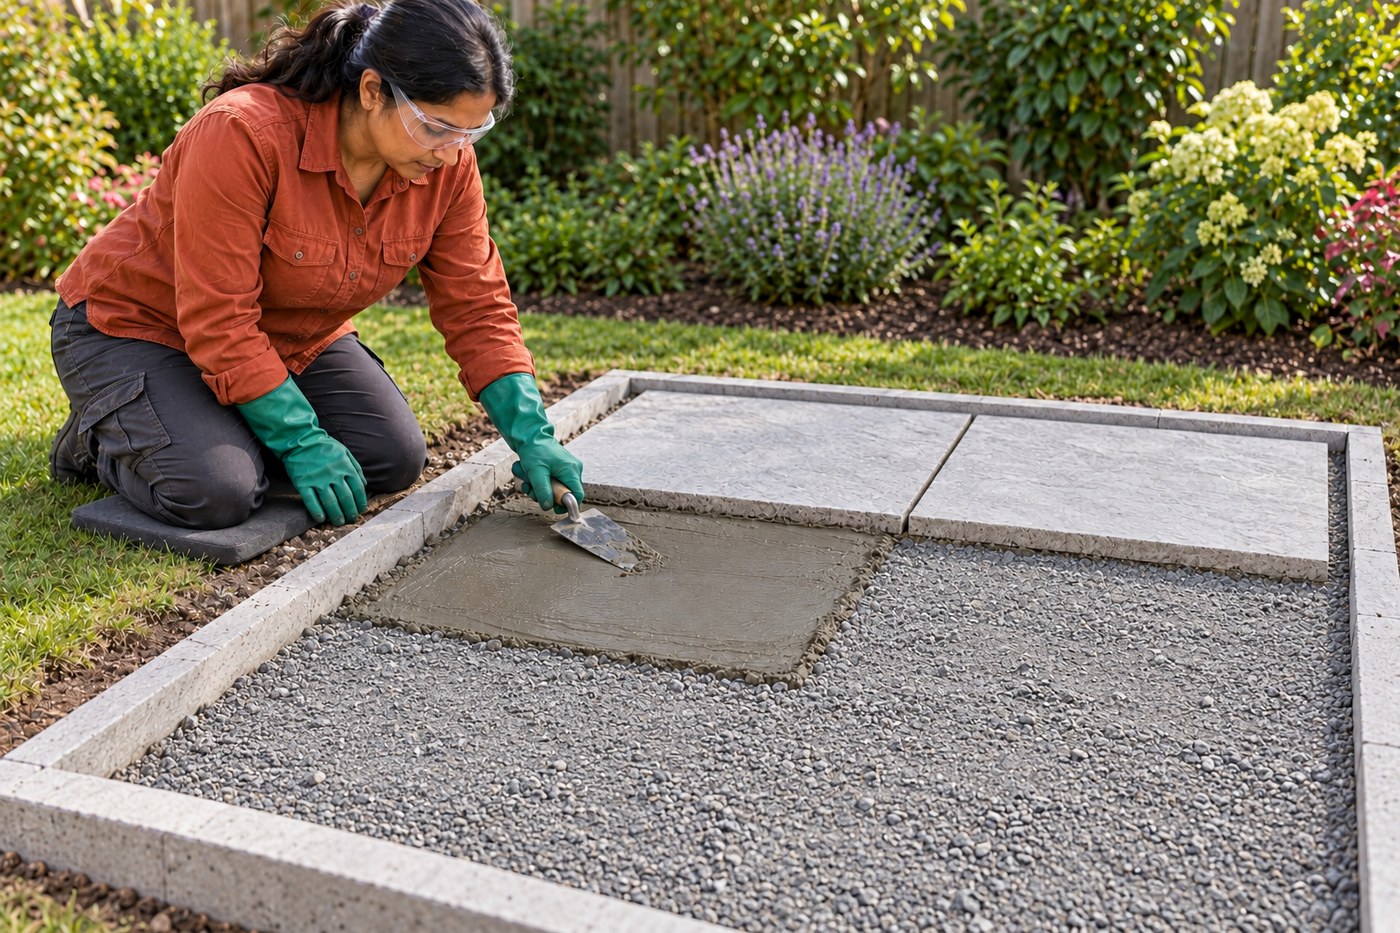
Use clean gauging containers for one part cement to four parts sharp sand by volume, within the selected paving guide’s permitted bedding range. Mix small controlled batches with clean water to a wet workable consistency, following the cement instructions and dust controls. Spread a continuous full bed for one unit rather than spots or five dabs. The guide describes 30–40 mm before tamping, reducing to about25mm; actual levels and full support govern. Do not substitute building sand for the selected sharp-sand bedding.
Photorealistic illustration · Waey
6. Prime, lower and check each whole slab
Apply the primer over the whole back at the guide’s 1–2 mm coat, then place the unit onto the prepared wet mortar while the materials remain usable. Use the handling aid and help without putting fingers beneath the slab. Tap gently with the rubber mallet to the lines and check the shared plane with the straightedge and level. If a unit rocks or lacks full support, lift safely and correct the bed; do not wedge scraps underneath or hammer one corner down excessively.
Photorealistic illustration · Waey
7. Complete the field without walking on fresh work
Continue from the outside of the small pad, maintaining the measured 10 mm joints and any designed perimeter gap. Keep the flags in their agreed order and recheck alignment, falls and adjacent edges after every placement. Remove temporary spacers when they can be withdrawn without movement. Clean mortar or primer spills immediately with a frequently rinsed sponge so they do not stain the face. Keep tools and feet off fresh slabs; do not use a vibrating plate on this rigid mortar-laid surface.
Photorealistic illustration · Waey
8. Fill proper rigid mortar joints
Once the bedding is firm enough for jointing without disturbing units, work from outside the pad and prepare the selected pointing mortar: one part cement to four parts building sand. Fill and compact the full joints above the bedding rather than making a thin surface cap. Tool them neatly without smearing mortar across the slab faces and clean spills promptly. Do not brush dry or semi-dry sand/cement over the paving, butt-joint the slabs or substitute loose kiln-dried sand in this rigid route.
Photorealistic illustration · Waey
9. Protect curing and inspect before use
Barrier the pad and protect it from rain, frost, rapid drying and disturbance using supported covers that do not mark fresh surfaces. Follow the actual cement and primer curing instructions; for this small project, plan at least seven days without use after the final wet work and longer if conditions or product guidance require. Seven days is not a claim of full cement strength. Afterwards check sound joints, stable supported flags, safe edges and drainage before ordinary pedestrian use; stop for rocking, cracking or standing-water problems.
Watch the method
How to Lay Paving
Manufacturer demonstration of a full mortar bed and whole-flag placement. This project starts on an approved prepared base and uses the current selected slab, primer and cement instructions. Do not copy alternative bedding or jointing recipes; the samples do not verify your base, drainage or cured strength.
Marshalls Gardens and Driveways · English ASR metadata; audio unconfirmed
Watch on YouTube ↗Final checks
Prepared base/edge/drainage confirmed, actual dimensions and joints fit, correct plane/falls, full primed mortar support, sound rigid joints and protected curing; no fresh-work traffic, rocking units or drainage defect accepted.
Sources
Marshalls — Pendle utility paving product ↗
Marshalls — Current Pendle450 work dimensions/weight ↗
Marshalls — Concrete paving installation Issue8January2023 ↗
Marshalls — Paving Primer application Issue4March2022 ↗
Tarmac Blue Circle — Mastercrete technical sheet December2023 ↗
Tarmac Blue Circle — Patio guide2024, curing context only ↗
HSE — Underground services assessment ↗
AI-generated representative photographic illustrations by Waey using only Waey-generated references. No third-party photographs or diagrams reused. External video belongs to its credited creator.