
Rebuild and relevel a settled concrete-block garden path
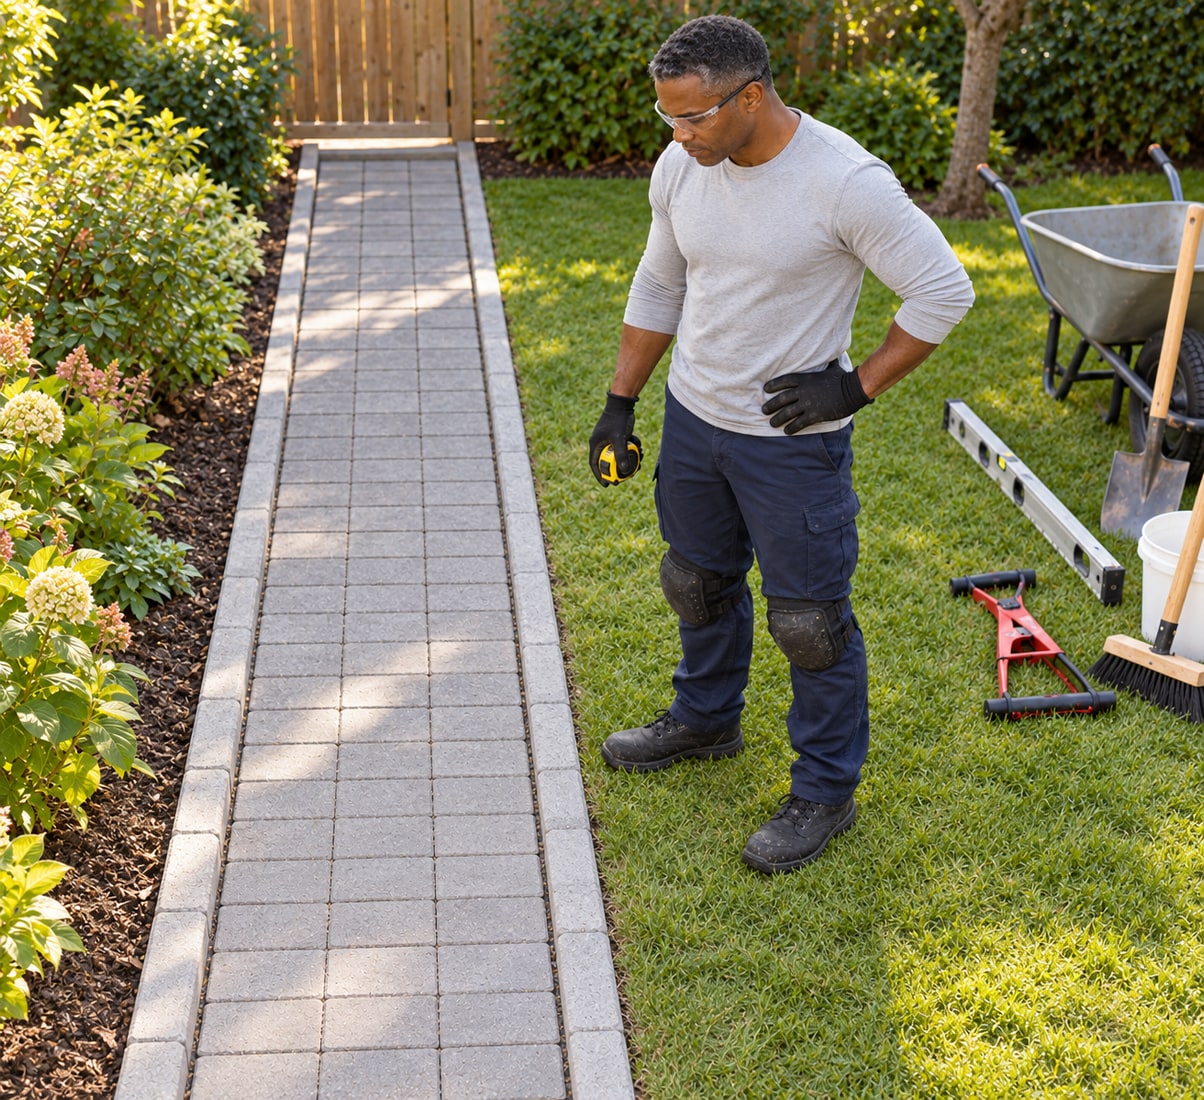
Lift a suitable bounded pedestrian path, correct the supporting layers and relay its whole blocks with controlled levels, dry joints and protected final compaction.
What will you learn?
Lift a suitable bounded pedestrian path, correct the supporting layers and relay its whole blocks with controlled levels, dry joints and protected final compaction.
Tools
- Safe service-location arrangements before ground disturbance; tape, straightedge, level and offset string supportsSearch Amazon USA ↗
- Suitable block extractor/lifting tools, shovel/trowel, rake, wheelbarrow and stable low storageSearch Amazon USA ↗
- Compatible plate compactor, approved paving-protection mat and actual trained operation/handling arrangementsSearch Amazon USA ↗
- Screed rails and bar, suitable brushes, cover sheets and barriersSearch Amazon USA ↗
- Safety boots, suitable gloves/knee protection, eye/hearing protection and material-assessed respiratory protectionSearch Amazon USA ↗
Materials
- Compatible sound concrete blocks and verified original whole-block pattern; actual sizes/thickness checkedSearch Amazon USA ↗
- Maker-specified clean graded granular base for the verified siteSearch Amazon USA ↗
- Maker-specified clean sharp laying sand and approved kiln-dried jointing sandSearch Amazon USA ↗
- Matching replacement whole blocks only where the layout and actual product requirements allowSearch Amazon USA ↗
Step by step
Photorealistic illustration · Waey
1. Confirm that this path is suitable for a bounded repair
Use this project for a small, straight, pedestrian concrete-block path with sound existing restraints, a verified whole-block layout and a known safe drainage route. It is not for vehicles, permeable systems, steps, new kerbs or changing levels against a building. Before lifting or digging, have buried services located and the work depth confirmed through the appropriate local process; old paving does not prove the ground is clear. Stop for loose edging, root damage, unexplained settlement, persistent wetness or uncertain services. Repairing the surface alone will not remove those causes.
Photorealistic illustration · Waey
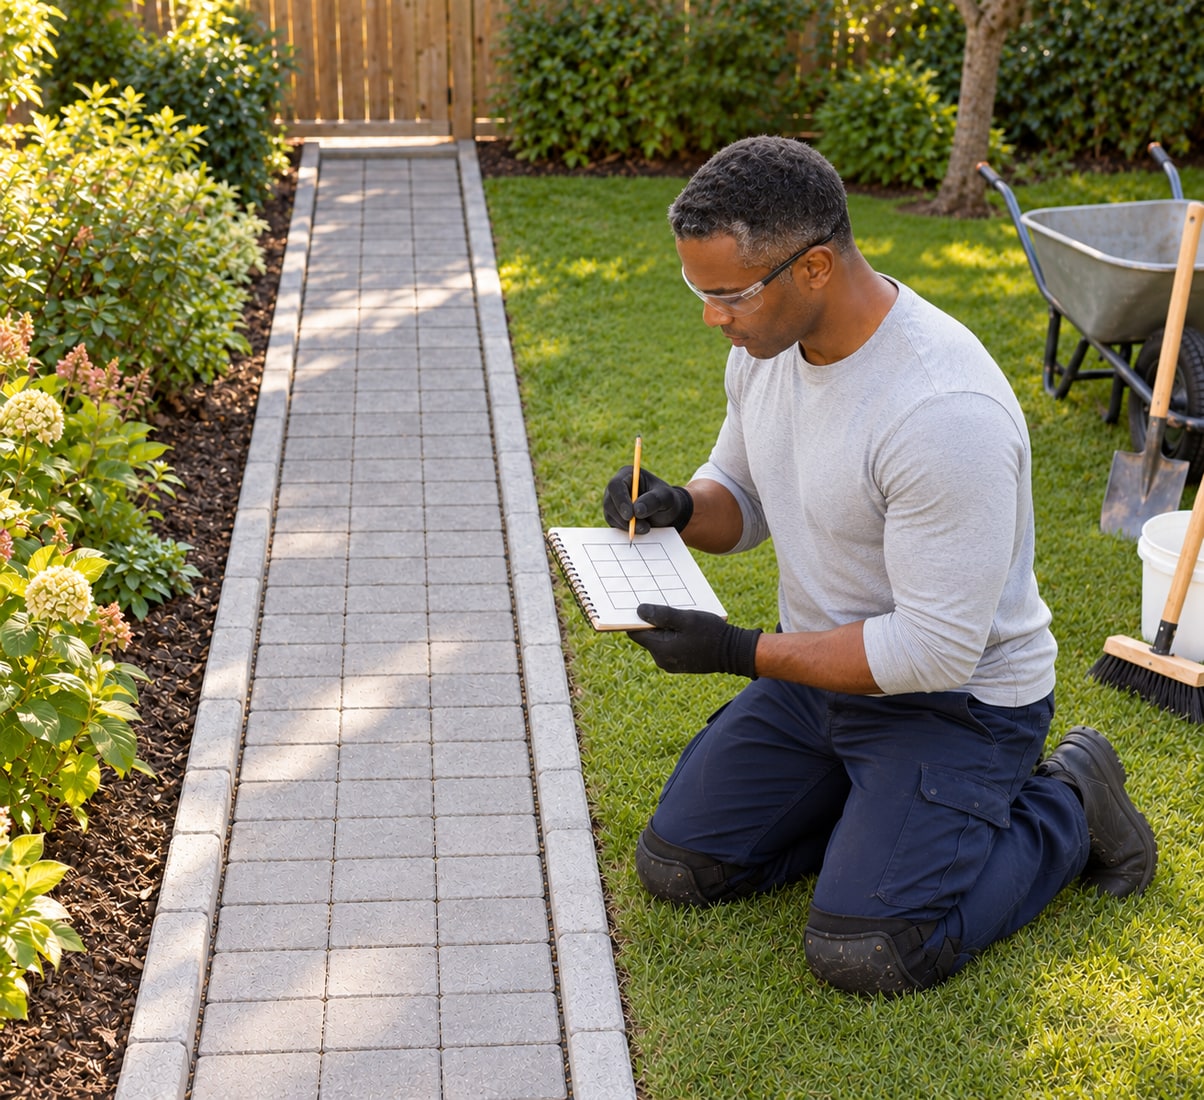
2. Record the pattern and establish the correct finished profile
Record the existing block order, count the reusable units and mark the intended finished levels against the stable edging. Retain only a layout that accommodates the actual blocks and specified joints without cutting. Establish the drainage profile with a straightedge, level and offset string lines placed without driving stakes into unverified ground. Tobermore’s documented residential example uses falls between 1:60 and 1:80, but the site’s approved drainage and local building details govern. For example, a 3m run at 1:60 needs 50mm of fall: set the two string supports to those checked end heights from a common level datum. Do not redirect water toward a building, a neighbour or an unsuitable outlet merely to eliminate a dip.
Photorealistic illustration · Waey
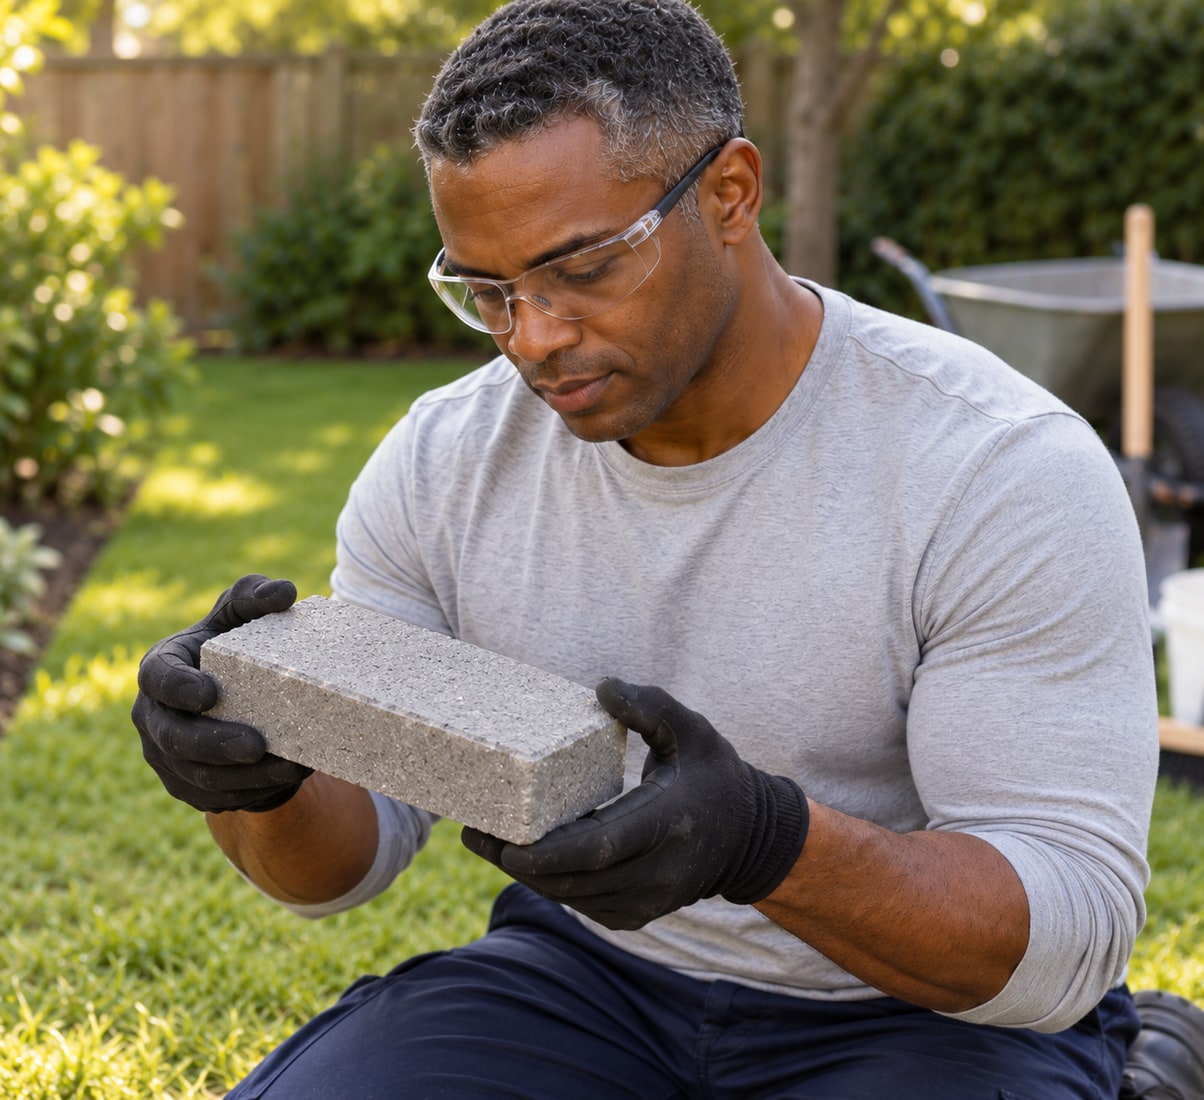
3. Lift and sort the blocks without damaging the restraints
Work from an accessible end and use an appropriate paver extractor or carefully controlled lifting tool, protecting adjacent edges. Keep hands clear of pinch points and avoid levering against a loose kerb. Set the blocks on stable low stacks outside the walking route, retaining their pattern and end positions. Brush off loose bedding and joint material without dry grinding or uncontrolled dust. Reject cracked, badly spalled or incompatible replacement units. The repair uses suitable existing concrete blocks; do not assume natural stone, clay brick or thin decorative slabs accept the same compaction method.
Photorealistic illustration · Waey
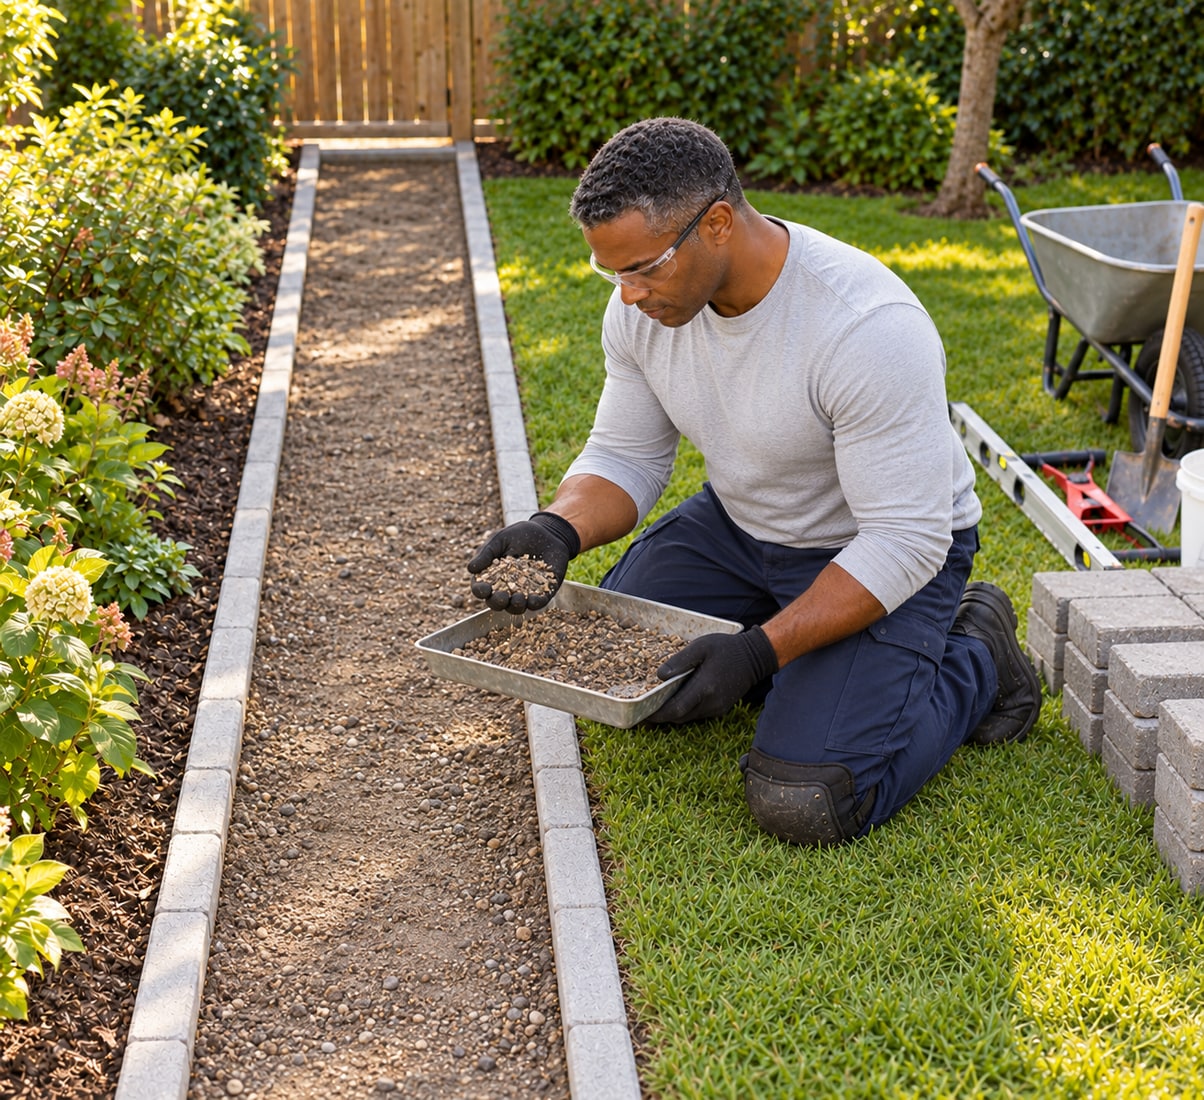
4. Remove failed bedding and investigate the supporting ground
After the service check, remove the old bedding carefully to expose the supporting layer. Keep clean reusable aggregate separate from contaminated sand, organic debris and waste. Identify why the path settled: missing base, washed-out material, inadequate compaction or failing ground require different corrections. Do not hide a soft pocket beneath a thicker sand bed. The worked example needs sound, drained formation suitable for the maker’s pedestrian design; seek technical advice for pumping, deep soft ground, roots or recurring water. Do not excavate further than the verified safe and designed depth.
Photorealistic illustration · Waey
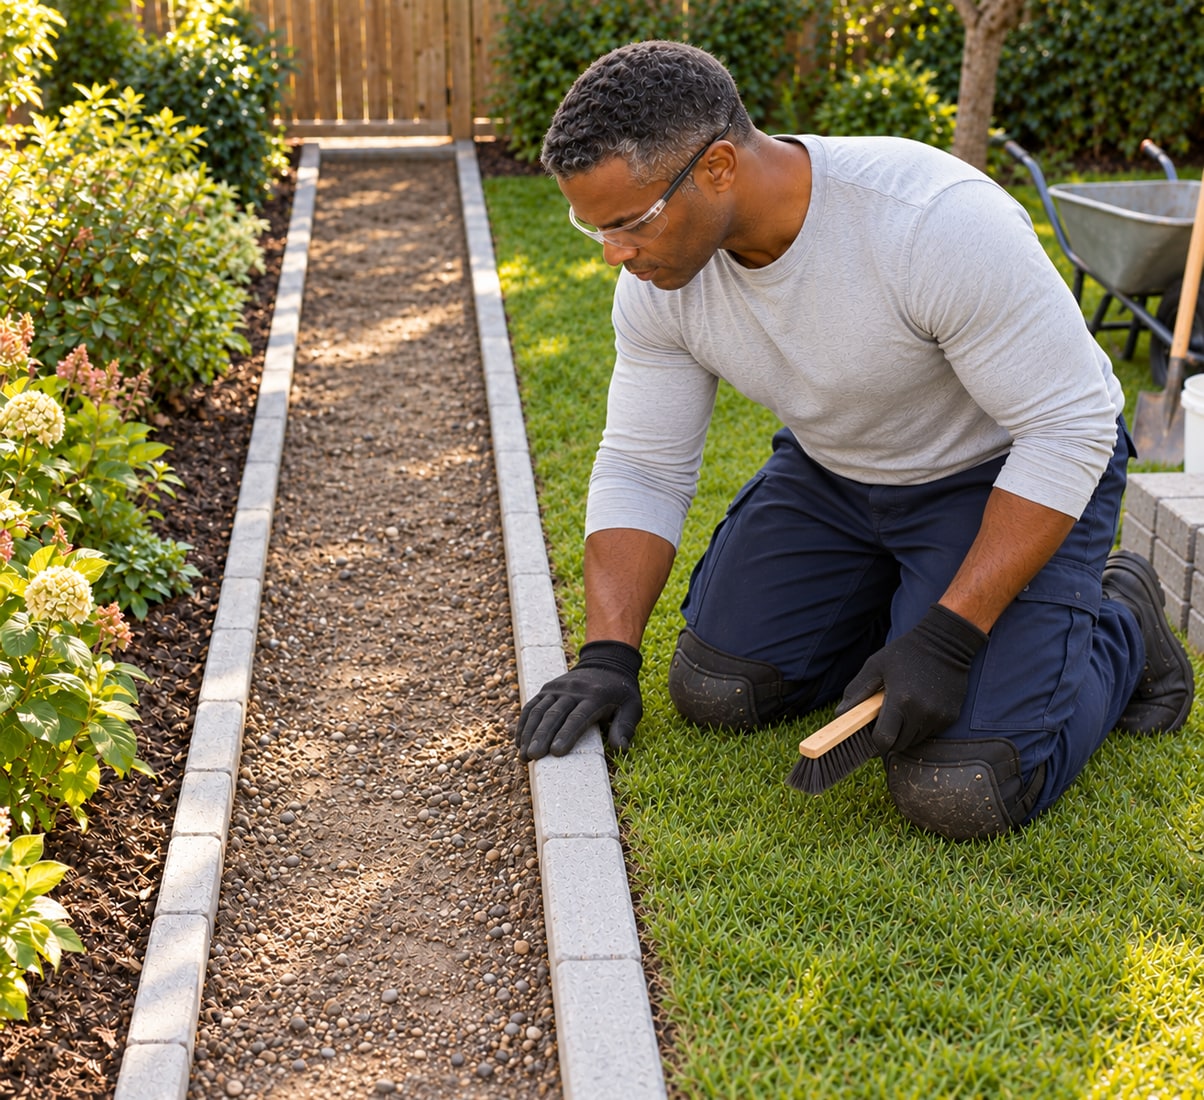
5. Check the edge restraints and calculate the layer depths
Inspect every existing restraint and its support before rebuilding inside it. It must remain firm and retain the bedding and blocks through compaction; a moving edge needs a separate properly designed repair first. Calculate formation depth from the specified compacted aggregate, finished laying course and actual block thickness. Tobermore’s firm-ground pedestrian example combines 100mm minimum graded base,30mm laying course and 50mm blocks, about 180mm in total. These are conditional design examples, not permission to use 180mm everywhere. Confirm the chosen product, ground, drainage profile and available restraint depth before placing material.
Photorealistic illustration · Waey
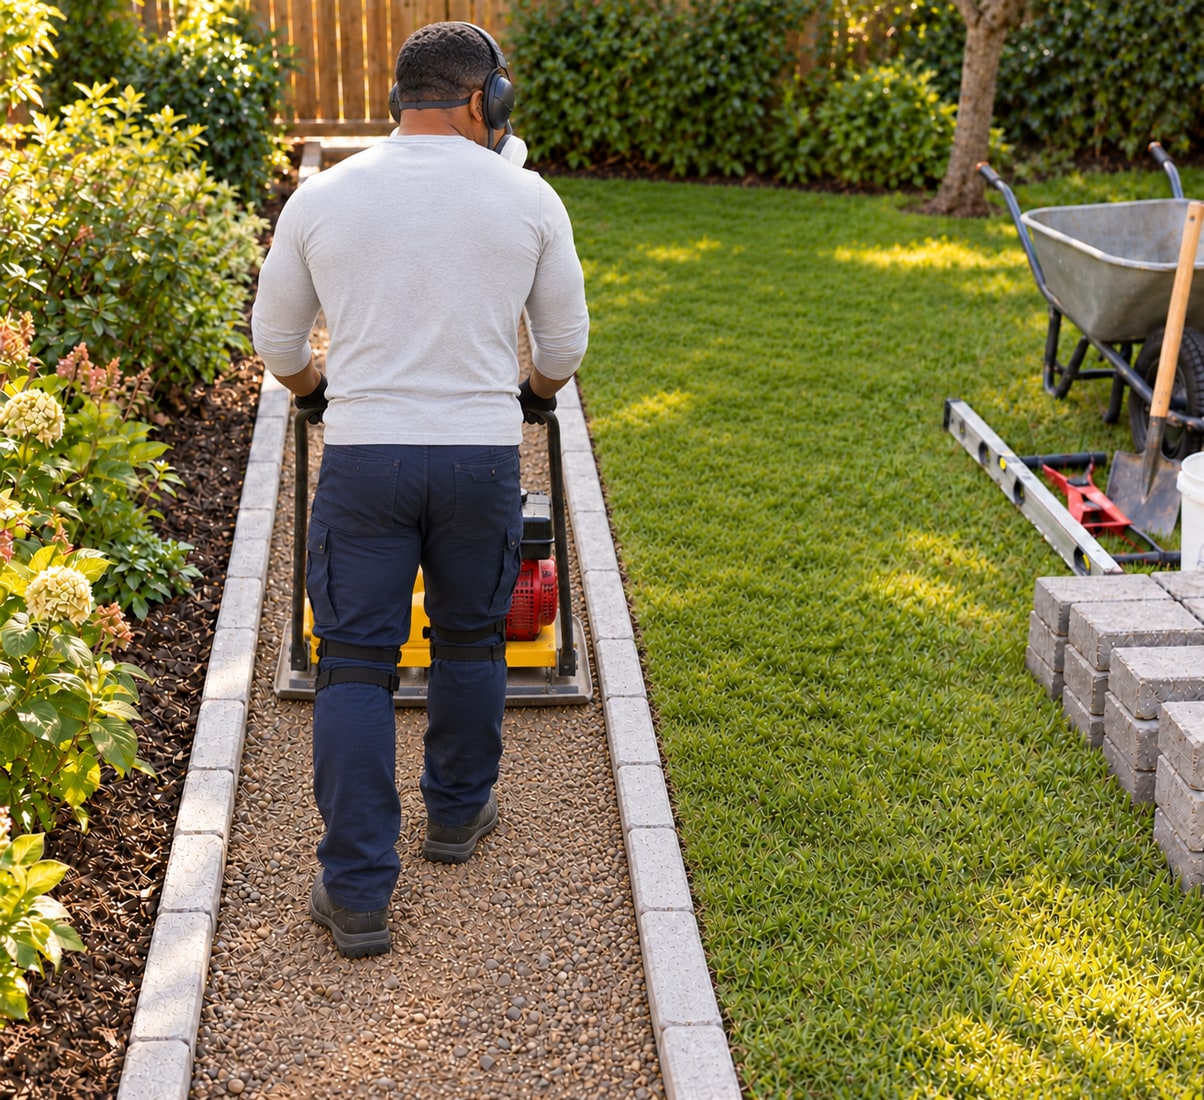
6. Build a compacted granular base that already carries the fall
Use the clean, graded aggregate specified for the selected paving system—Tobermore lists Type 1 unbound material graded from 40mm down to fines— not mixed rubble containing soil or organic matter. Spread it in layers the chosen compactor and manufacturer’s method can compact properly, with the planned drainage fall already formed. Arrange instruction and safe handling for the actual machine; keep bystanders clear, guards intact and feet away from the plate. Follow its vibration, noise and operating limits. Stop if the surface pumps, ruts or moves rather than becoming firm and close-textured. Bedding sand cannot compensate for an uneven or unstable base.
Photorealistic illustration · Waey
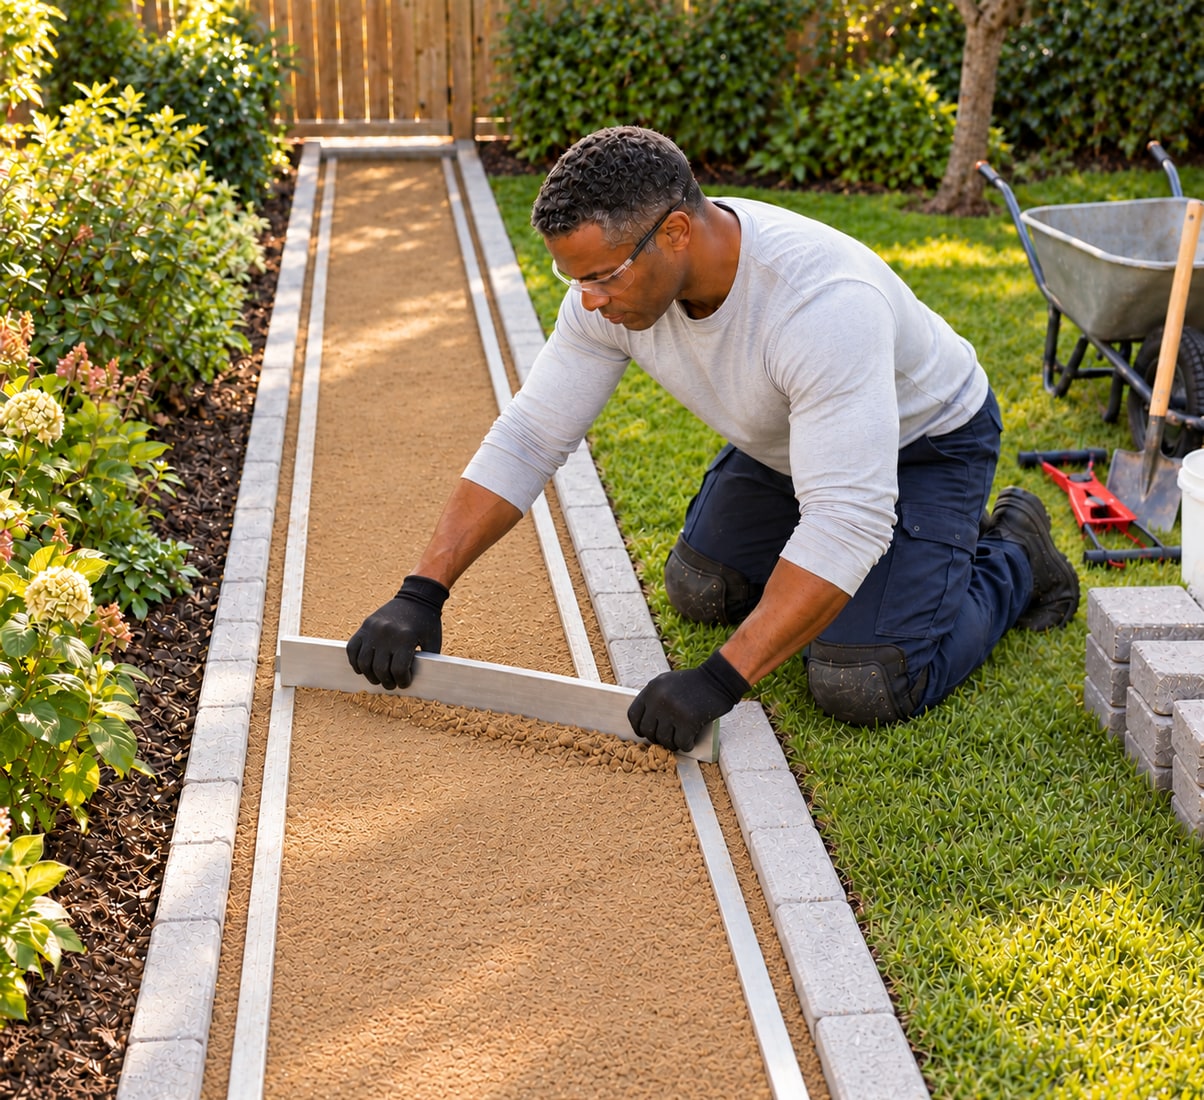
7. Screed a uniform laying course to the checked profile
Use the specified clean sharp laying sand with suitable moisture, not building sand or a cement-bound mixture. For the chosen uncompacted-course method, set parallel screed rails to a trial-checked level that allows for final settlement and yields the intended finished bed thickness. Tobermore notes that about 5mm allowance is common, but the material and trial control it. Pull the screed bar across the rails without hollowing the surface. Remove the rails and fill their tracks with the same material. Keep people and wheelbarrows off the finished screed; repair disturbed areas before laying.
Photorealistic illustration · Waey
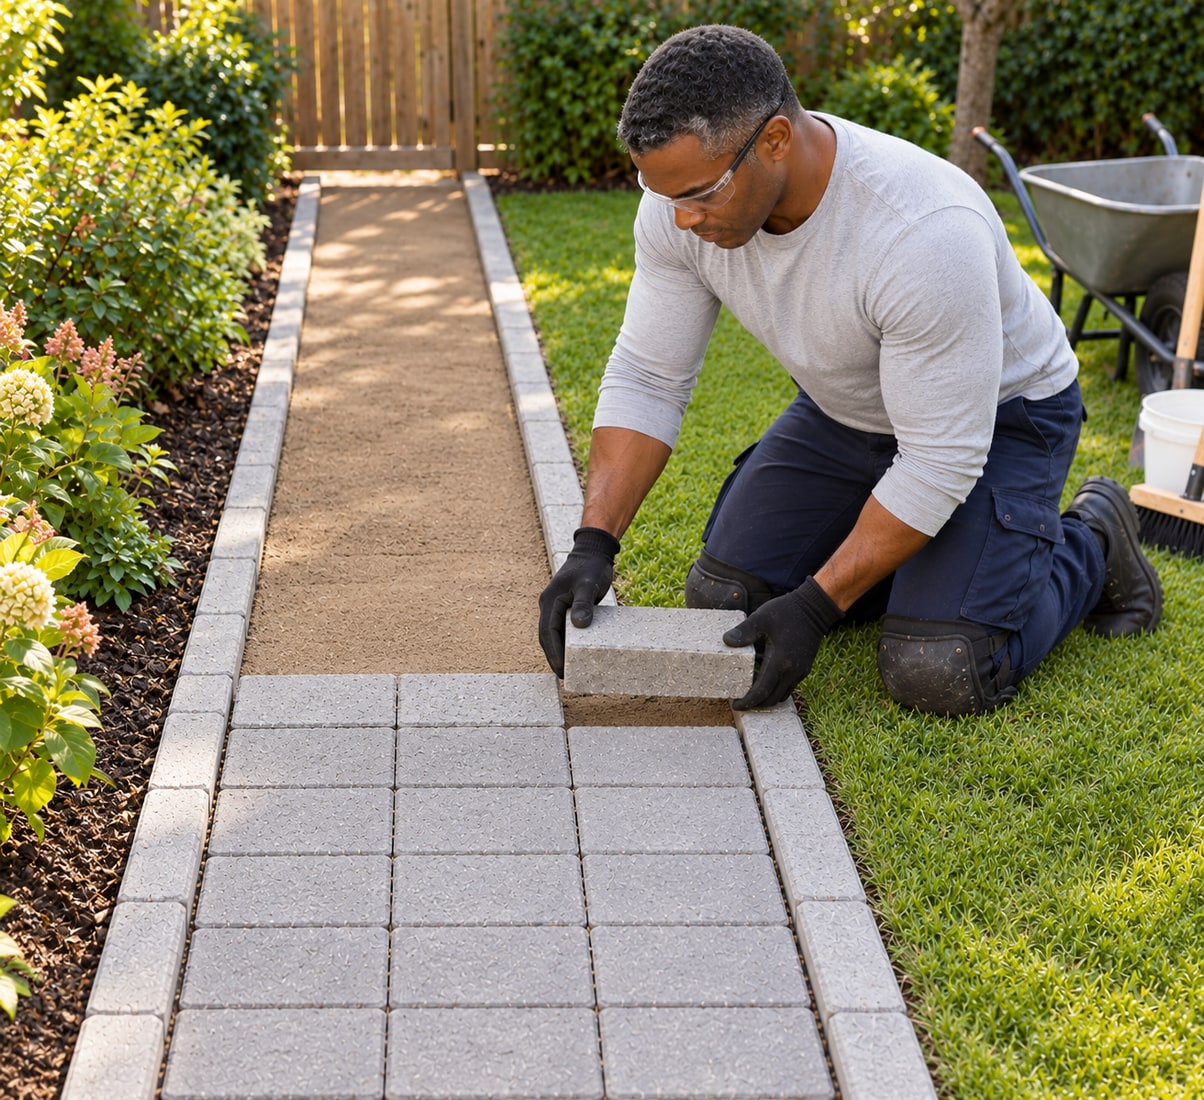
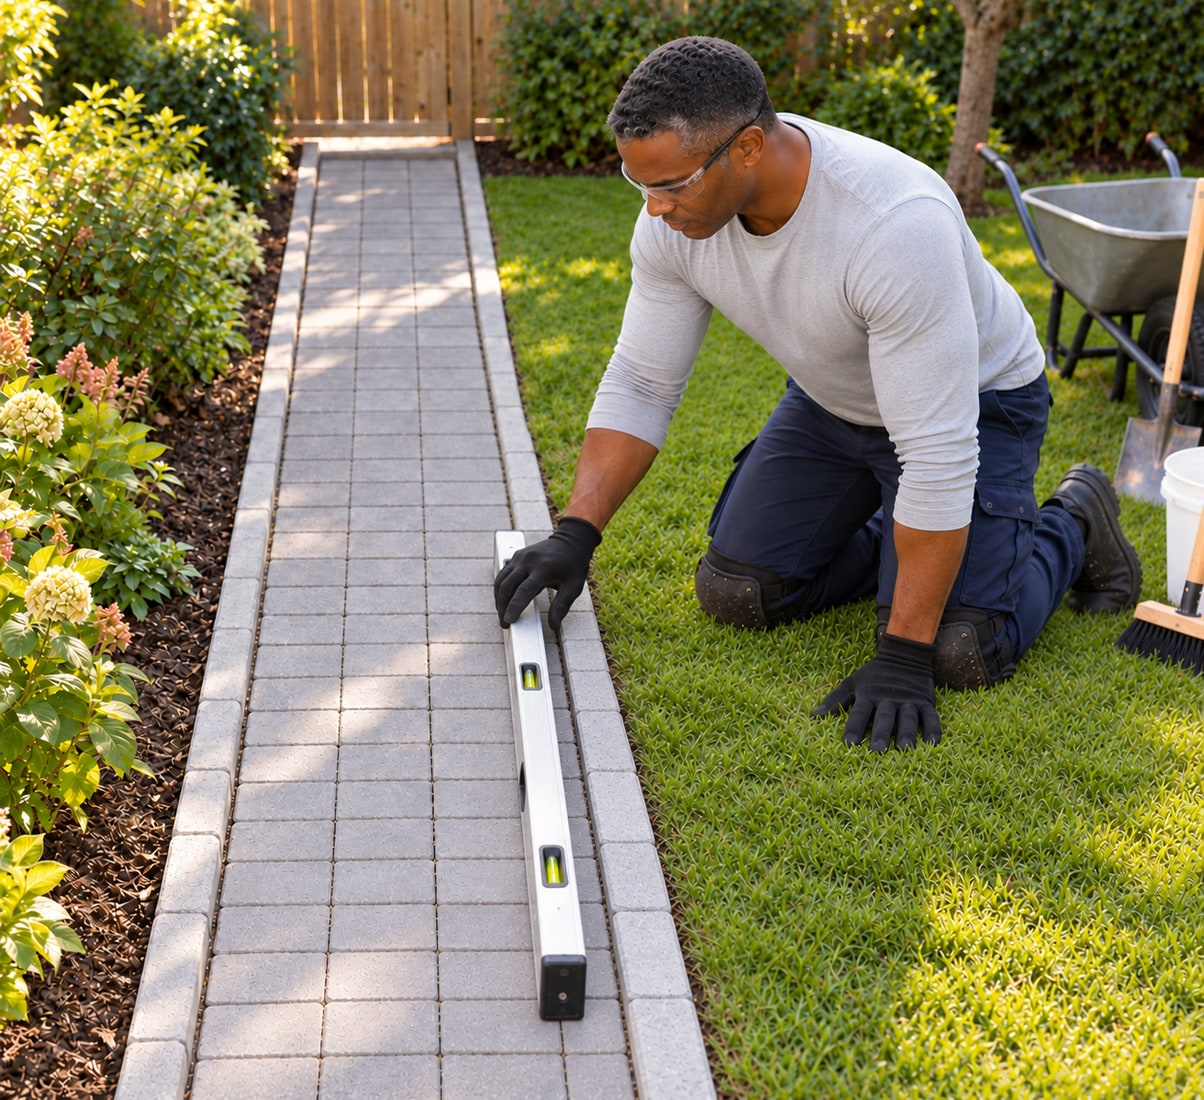
8. Relay the whole blocks without walking on the screed
Begin against the verified straight restraint, working from the lower end uphill where practicable. Place blocks gently in the recorded compatible pattern rather than driving their leading edges into the sand. Work from already laid paving while keeping the laying course undisturbed, and check alignment frequently against the string. Maintain the selected maker’s joint range; the documented concrete-block method uses 2–5mm measured below the chamfer. Spacer nibs alone do not guarantee the right joint. Stop if full blocks will not fit; do not force them together or widen joints beyond the approved range.
Photorealistic illustration · Waey
9. Correct alignment and levels before filling the joints
Check the complete laid area with the agreed straightedge and level method, including the tie-ins to the surrounding path. Look for rocking blocks, isolated high corners, open lines, damaged edges and a drainage profile that differs from the plan. Lift and correct a defective section of bedding instead of hammering one unit hard enough to disguise an uneven base. Confirm that every edge is restrained and the full-block layout is complete. Keep the repair closed to traffic until joint filling and final compaction are finished; a loose laid surface is not ready for use.
Photorealistic illustration · Waey
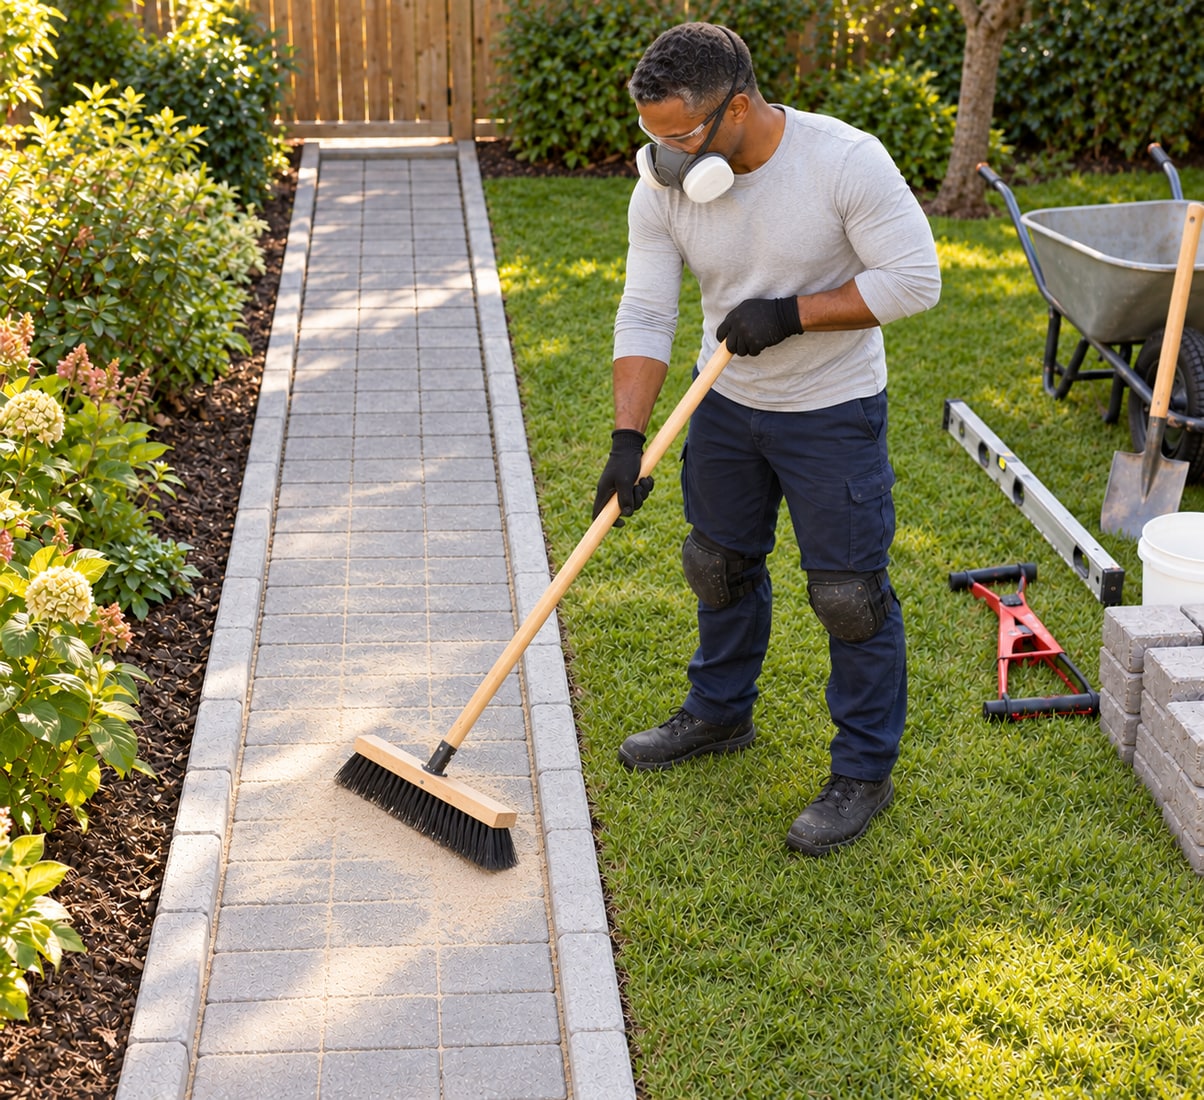
10. Brush suitable dry jointing sand fully into the joints
Choose clean kiln-dried jointing sand approved for the actual concrete blocks, and wait for a dry surface and suitable weather. Do not substitute cement, lime or an unapproved polymeric product. Wear the respiratory and eye protection required by the material assessment and keep dust down with careful handling, not a leaf blower. Sweep diagonally across the joints so the brush fills them instead of dragging material straight out. Fill the joints before final compaction, particularly with square or lightly chamfered edges. Follow the selected system’s instructions about the small surface excess during compaction. Tight-fitting respiratory protection requires the correct fit test and a clean-shaven seal area; facial hair crossing the seal prevents a reliable fit. Check the face seal every time you put it on; select protection from the actual material assessment.
Photorealistic illustration · Waey
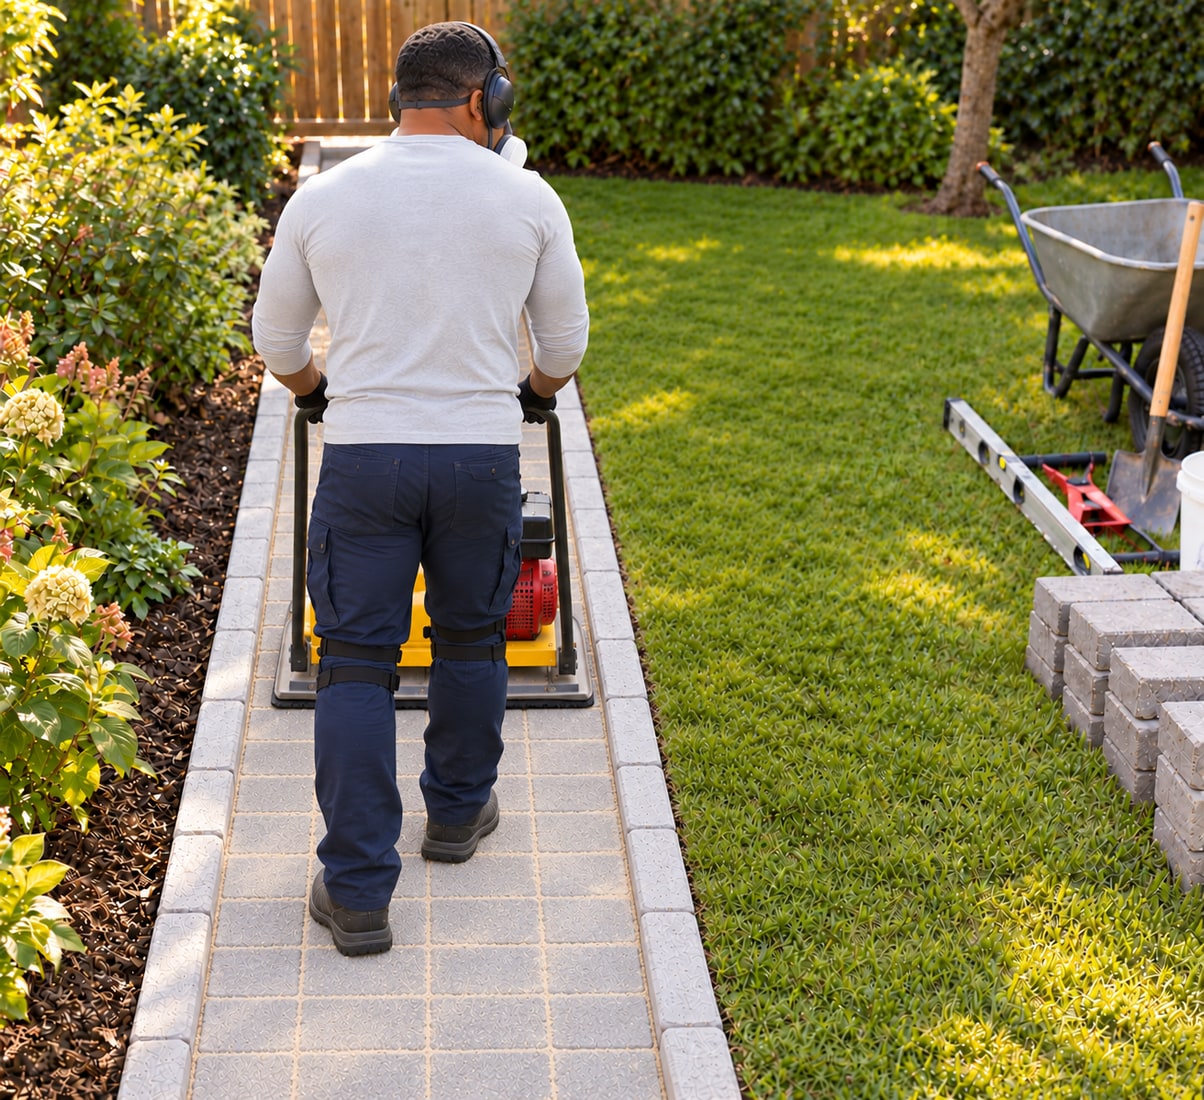
11. Compact the completed paving with the correct protective mat
Use a plate and protective paving attachment approved for both the actual blocks and the machine model and serial range. Arrange delivery and competent handling; do not improvise lifting heavy equipment. Fit the attachment only with the machine stopped and safe as its manual requires. A trained operator must follow the supplied controls, operating-zone, hearing-protection and vibration limits. Compact only supported, restrained blocks with filled joints, following the selected paving guide. Keep combustion equipment outdoors away from openings. Stop for chipping, displaced blocks or restraint movement.
Photorealistic illustration · Waey
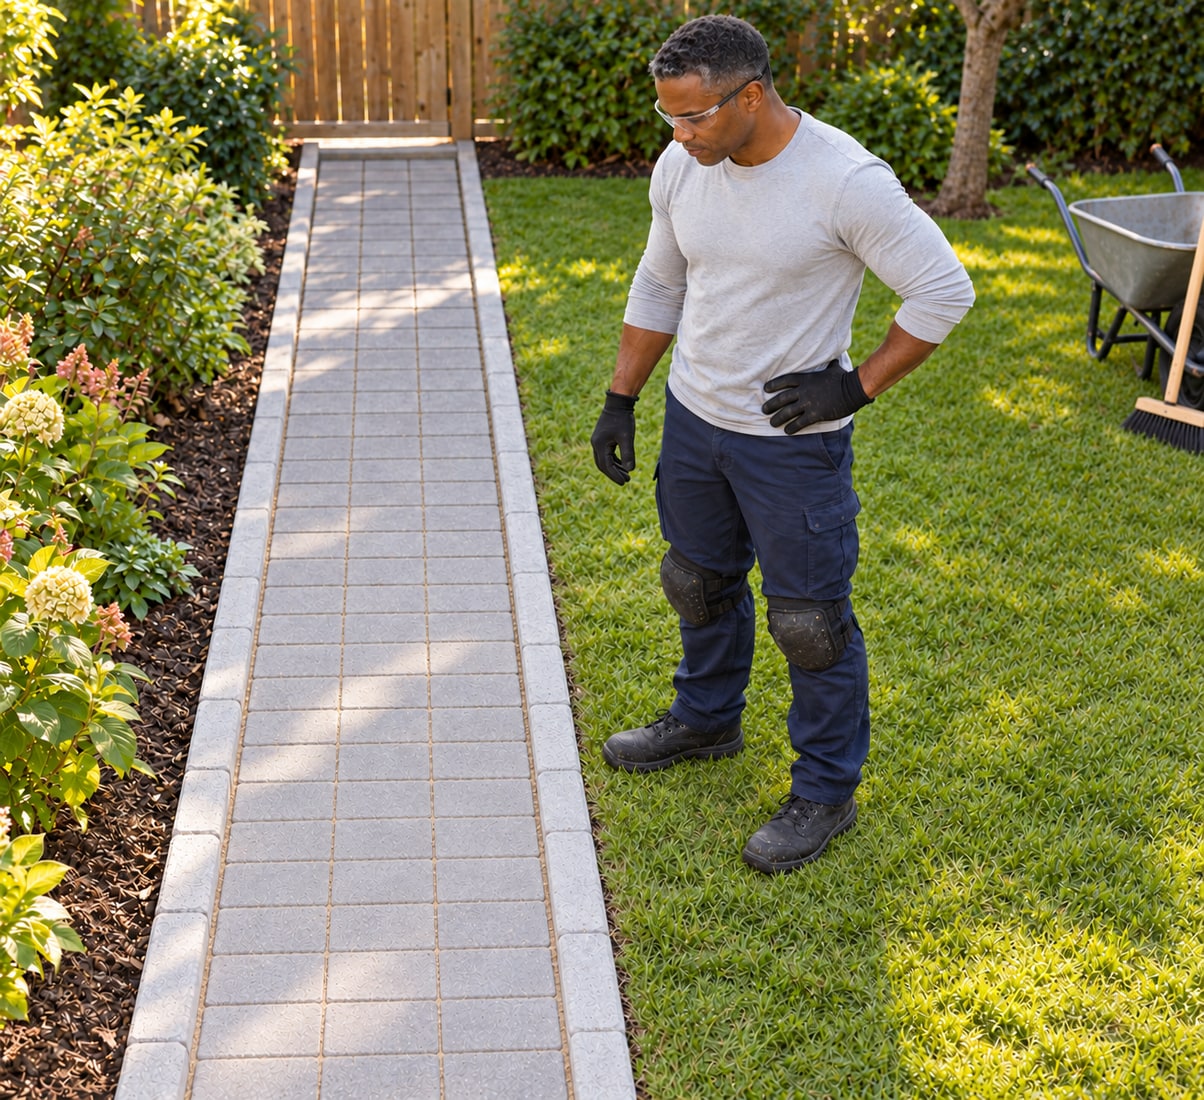
12. Top up the joints and verify the repaired path
Brush additional approved dry sand into joints that settle after compaction, repeating the maker’s finishing checks until the joints remain properly filled. Inspect for rocking, lipping, open edges and loss of the intended drainage fall before reopening the path. Remove loose surplus material and all trip hazards. Check the repair again after use and rain; washed-out joints, recurring settlement or standing water need diagnosis rather than repeated sand topping. Retain the product and layout record for future maintenance. This bounded pedestrian repair does not establish vehicle capacity or solve wider ground and drainage defects.
Video demonstrations
Laying a Tobermore block paving driveway with SkillBuilder
Original manufacturer driveway demonstration: base, fall, blending, laying and jointing are useful. Vehicle design, steps, cutting and the contractor’s specific product sizes are outside this pedestrian repair.
Tobermore · English
Watch on YouTube ↗How to Install Concrete Flag and Block Paving Flexibly | Marshalls
Original flexible-paving demonstration with concrete flags/blocks. It uses another manufacturer’s specification; follow the selected current block guide instead of combining layer depths or methods.
Marshalls Gardens and Driveways · English
Watch on YouTube ↗Wacker Neuson How-To: Vibratory plate operation made easy (EN)
Supplementary manufacturer machine-operation overview, including larger reversible and remote models. Use only applicable safety concepts; actual hired-machine instructions, training, mat compatibility and controls govern.
Wacker Neuson · English
Watch on YouTube ↗Final checks
Sound restrained edges, firm correctly graded support, uniform bedding, complete approved joint widths and fill, no rocking or lipping and the planned drainage retained. Recurring defects require diagnosis before further use.
Sources
Tobermore current domestic unbound concrete-block guide ↗
Tobermore Pedesta actual product sizes ↗
HSE underground services: planning, locating and safe excavation ↗
Wacker Neuson original operation guidance and documentation requirement ↗
HSE respiratory protection fit testing and facial-hair seal limitations ↗
All step images are original AI-generated photographic illustrations, individually reviewed and credited. They do not certify site clearance, equipment approval, respirator fit or measured levels. Videos belong to their attributed creators.