
Set up a bevel-down smoothing plane for clean shavings
Commission a sound Lie-Nielsen No. 4: hone the iron, fit the chipbreaker, adjust the mouth and test controlled smoothing cuts.
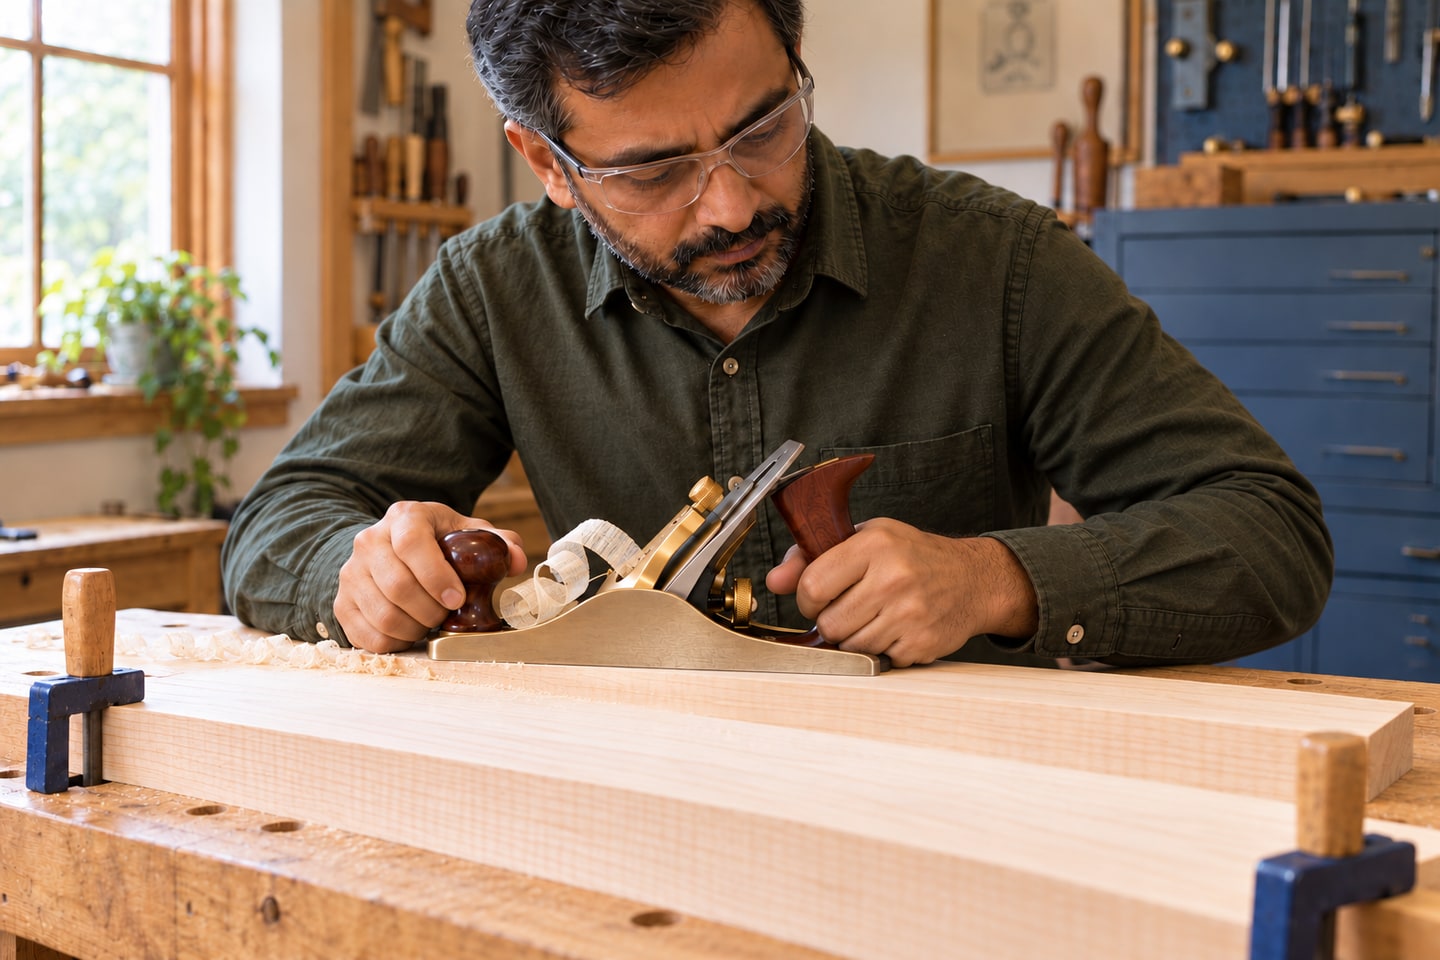
What will you learn?
This guide commissions a sound Lie-Nielsen No. 4 bronze smoothing plane with its standard 45° frog and bevel-down iron. It covers the complete cutting system rather than restoration of a damaged vintage plane. Other brands can use different frog screws, adjuster directions and lever-cap settings. Follow their manuals instead of transferring these mechanical instructions. Use a clean, already prepared straight-grained board for the first trial; rough stock dimensioning and difficult grain come later.
Tools
- Sound Lie-Nielsen No.4 bronze plane with matching cutting partsSearch Amazon USA ↗
- Correctly fitting slotted screwdriversSearch Amazon USA ↗
- Honing guide and jaws compatible with a 2-inch plane ironSearch Amazon USA ↗
- 1000-grit waterstoneSearch Amazon USA ↗
- 8000–10000-grit finishing waterstoneSearch Amazon USA ↗
- Approved flattening plateSearch Amazon USA ↗
- Stable stone holderSearch Amazon USA ↗
- Water traySearch Amazon USA ↗
- Angle-setting jigSearch Amazon USA ↗
- Bench vise or suitable clampsSearch Amazon USA ↗
- Small ruleSearch Amazon USA ↗
- Work lightSearch Amazon USA ↗
- NotebookSearch Amazon USA ↗
- PencilSearch Amazon USA ↗
Materials
- Water as specified by stone maker
- Lint-free clothSearch Amazon USA ↗
- Soft brushSearch Amazon USA ↗
- Compatible light tool oil or jojoba oilSearch Amazon USA ↗
- Dry clean straight-grained practice board with prepared flat faceSearch Amazon USA ↗
- Blade guard or safe storage sleeveSearch Amazon USA ↗
Step by step
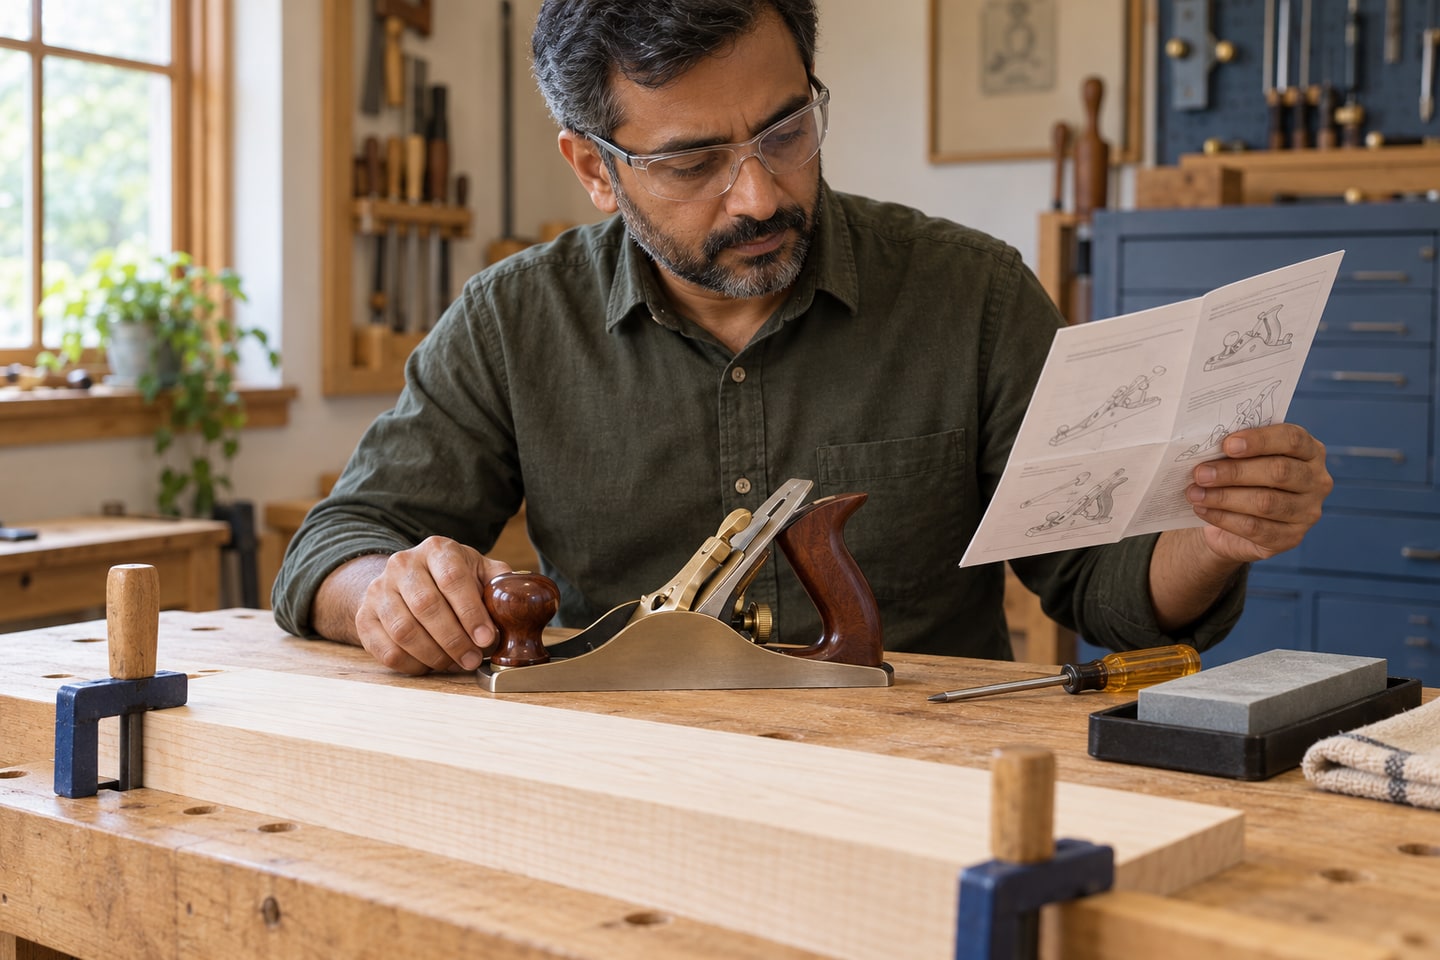
Photorealistic illustration · Waey
1. Inspect the plane and secure a trial board
Confirm the model, standard frog and matching blade parts before making adjustments. Look for a cracked body, loose wooden tote or front knob, damaged screws or a bent iron; stop for repair if found. Choose a board free of nails, grit and loose knots, and clamp it so the plane can travel its full length without hitting the vise. Clear a safe place for the removed iron. Do not sand a sound precision-ground sole as a routine first step.
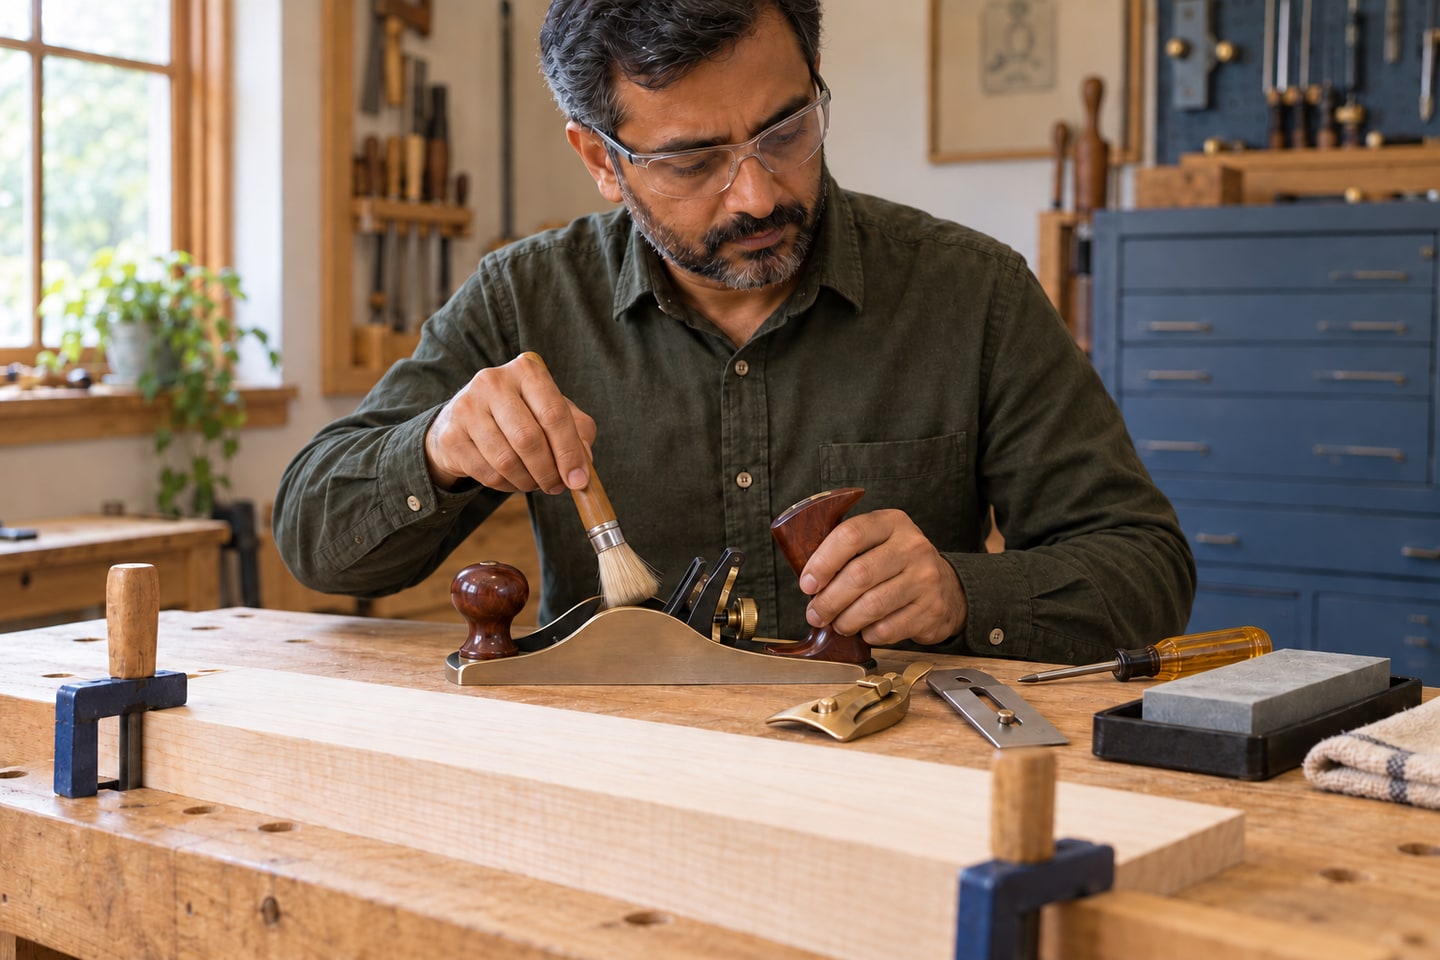
Photorealistic illustration · Waey
2. Remove and clean the cutting assembly
Retract the iron, release the lever cap and lift out the iron-and-chipbreaker assembly by its sides, with the sharp edge facing away. Set the cap down safely. Separate the chipbreaker using the correctly fitting screwdriver, keeping hands behind the edge. Brush loose shavings from the frog and underside of the assembly and wipe off dirt. Leave a sound frog seated for now; removing or altering its machined bearing surfaces is unnecessary for this commissioning task.
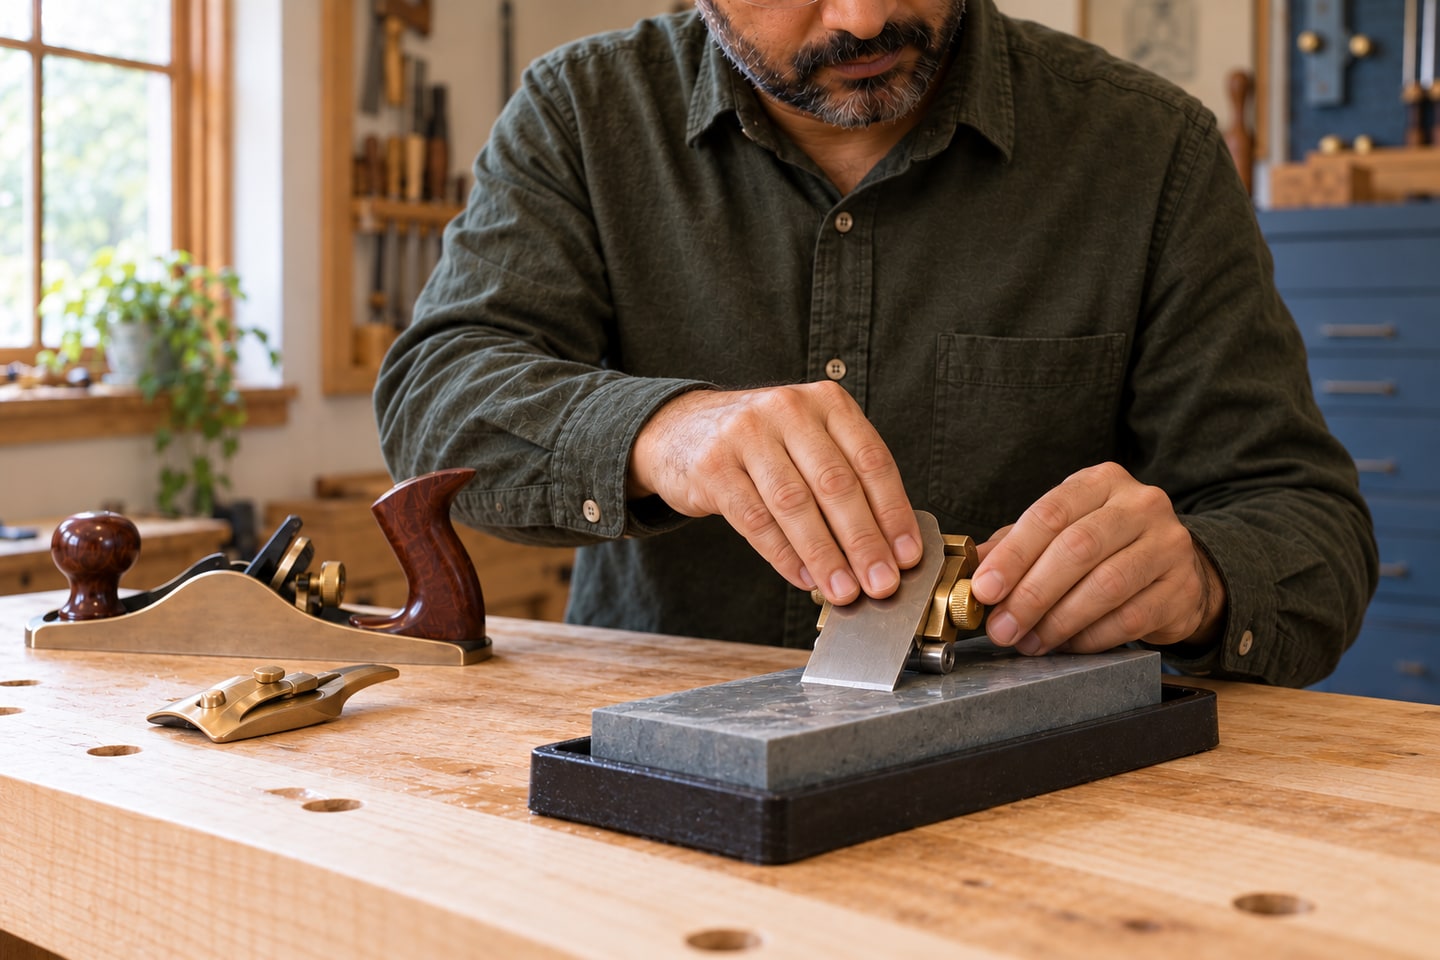
Photorealistic illustration · Waey
3. Hone the iron with controlled geometry
Prepare and flatten the waterstones as their maker directs, and secure the tray. This sound iron starts with a 25° primary bevel; use the maker-approved guide setting for a small 30–35° secondary bevel, rather than guessing blade projection. Keep the guide square and the edge clear of fingers. Hone until the edge is continuous, finish on the fine stone and remove the burr from the back with controlled fine-stone passes. Preserve the prepared back; deep chips or a growing large bevel need separate restoration.
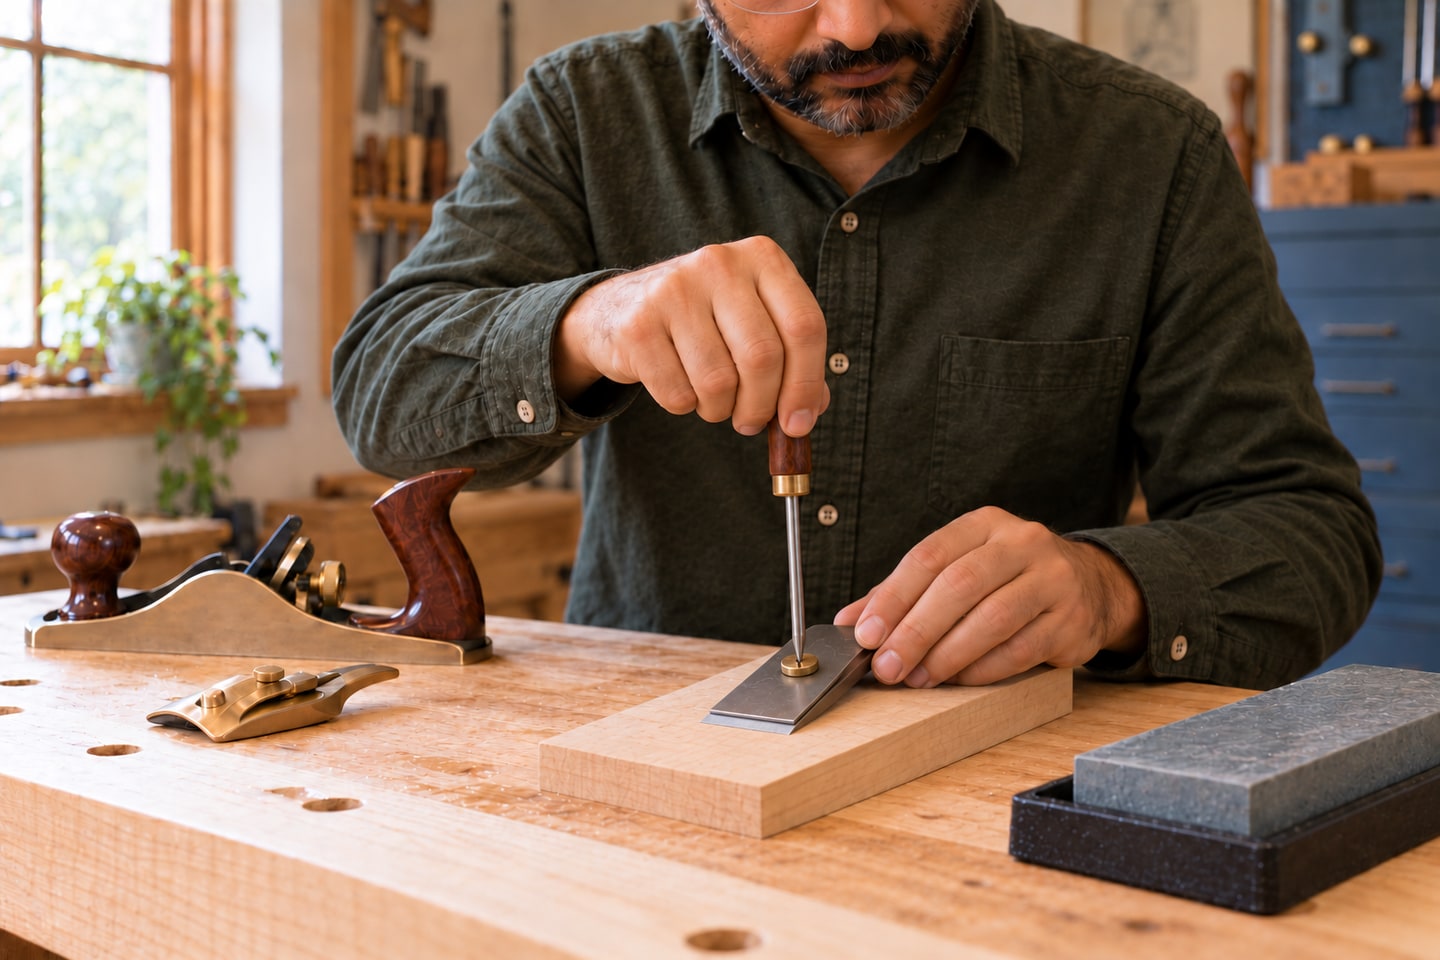
Photorealistic illustration · Waey
4. Fit the chipbreaker without an edge gap
Dry the iron and clean the chipbreaker’s mating edge. Position its leading edge parallel to and behind the cutting edge, starting around the maker’s general-work setting of 1/16 inch, about 1.6 mm. Tighten its screw while supporting the assembly safely. Under a strong light, check for an even contact line with no trapped debris or visible gap that could catch shavings. Do not grind the chipbreaker to cure a suspected defect; a damaged mating surface needs model-specific assessment.
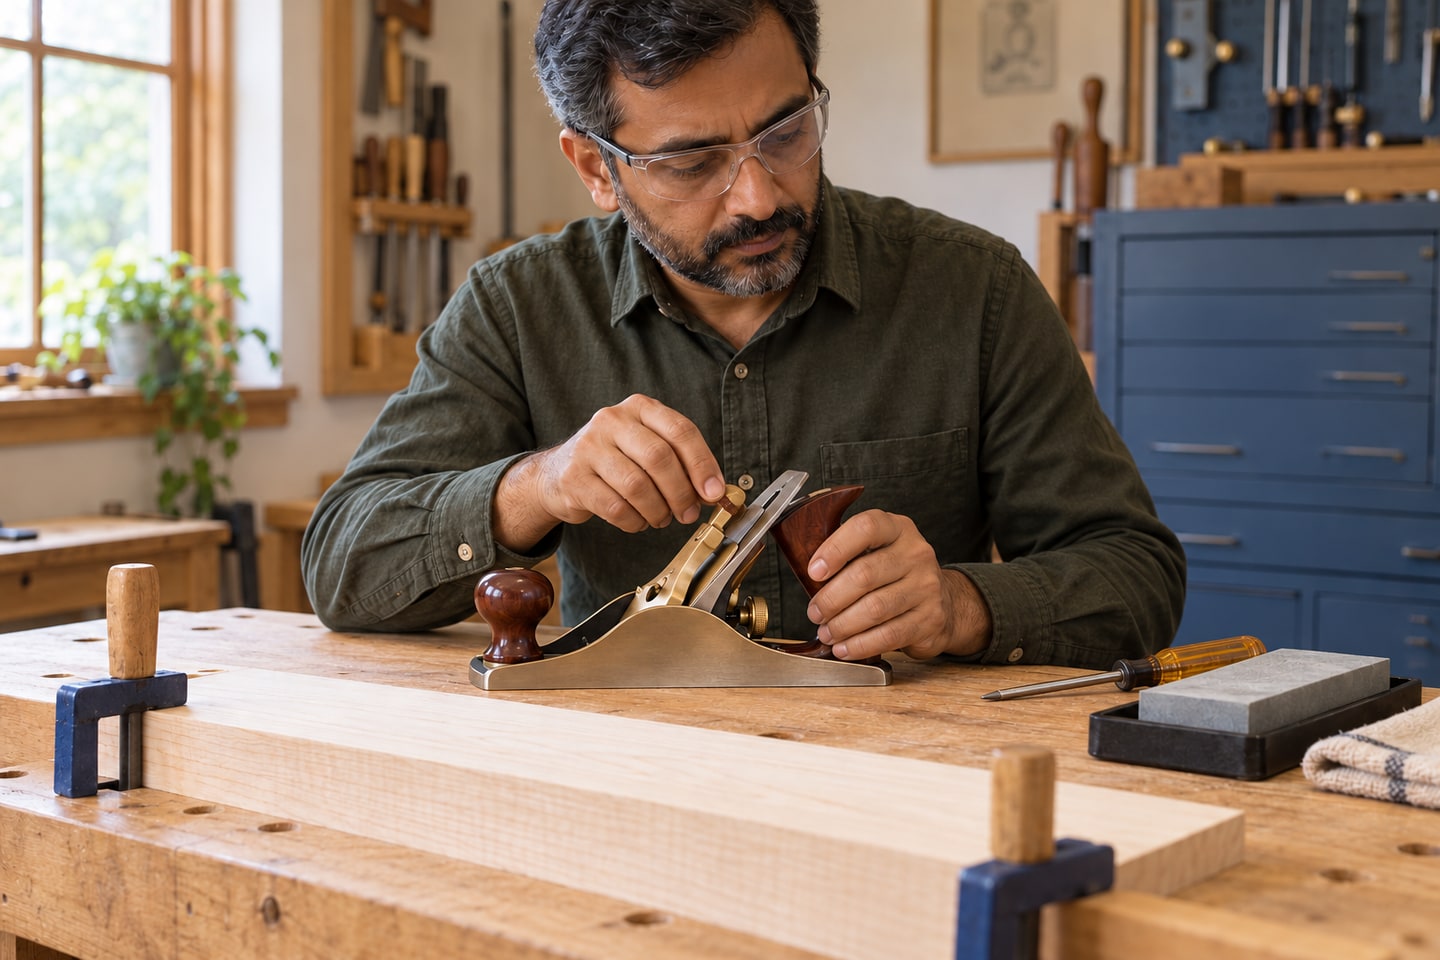
Photorealistic illustration · Waey
5. Seat the assembly and set cap pressure
Place the iron bevel down on the clean frog, locating the depth-adjuster yoke correctly in its matching slot. Refit the lever cap. Adjust its screw so the cap holds the assembly securely while allowing normal depth adjustment; excessive clamping makes the adjuster difficult to use. Start with the edge retracted inside the mouth. If the assembly rocks, the yoke misses its slot or the adjuster binds, release the cap and correct seating rather than forcing the wheel or adding more pressure.
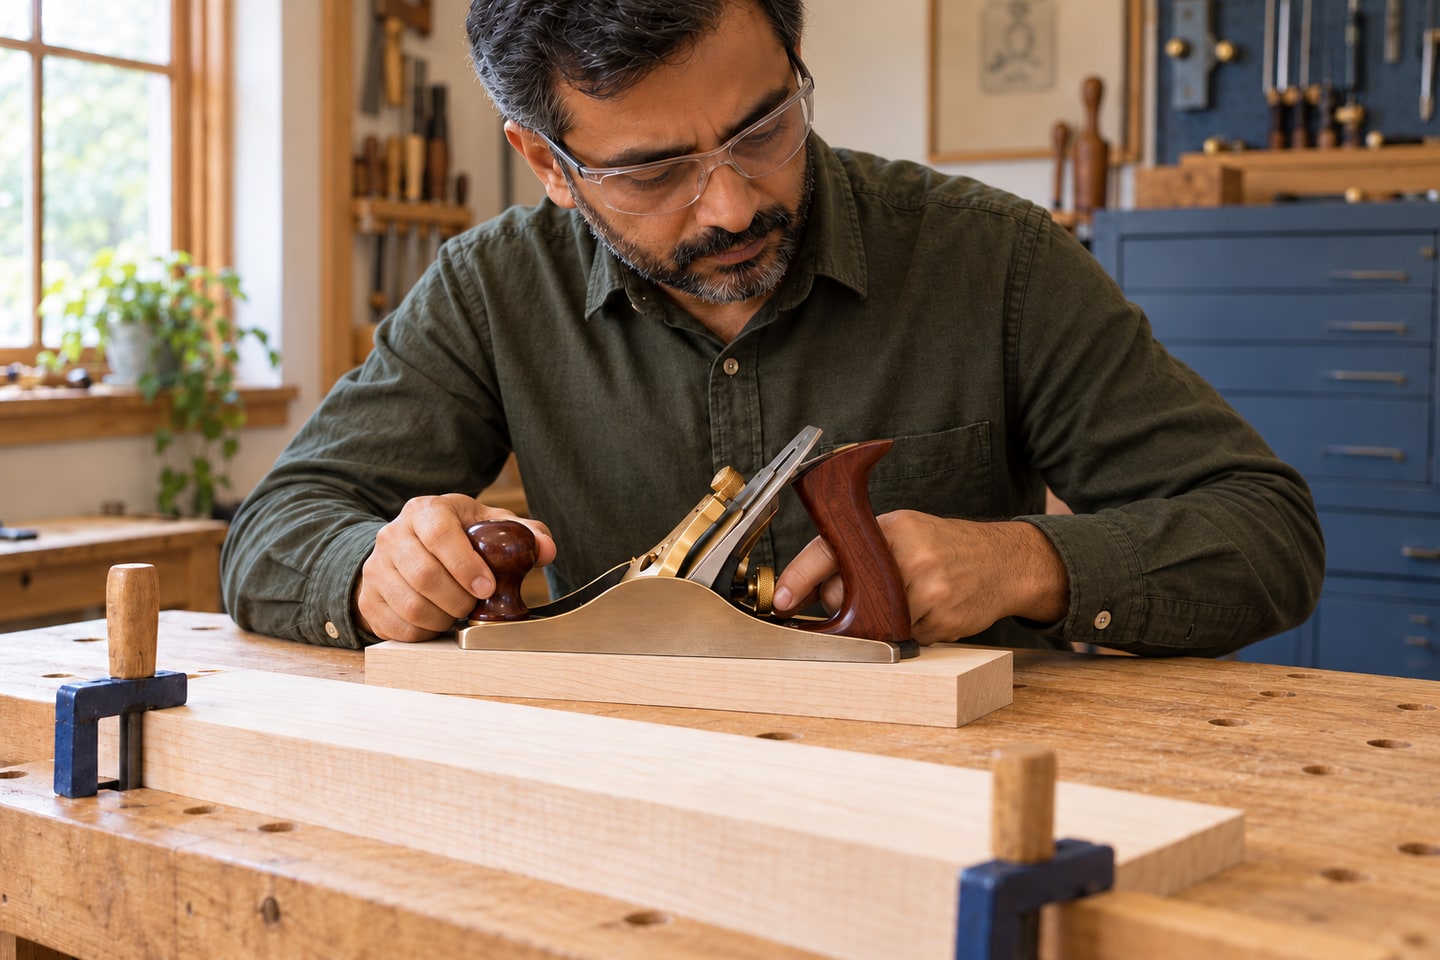
Photorealistic illustration · Waey
6. Set a fine depth and a clear mouth
Sight along the sole with the edge safely away from your face and hands. On this model, turn the depth wheel clockwise to advance the iron a little, and use the lateral lever to make its projection even. Finish depth changes by advancing to take up backlash. If the mouth needs adjustment, loosen the two rear frog locking screws, move the middle adjuster and relock them as the manual shows. Maintain clearance ahead of the iron; never drive the mouth against the sharp edge.
Photorealistic illustration · Waey
7. Take test cuts and balance the shaving
With the board firmly secured, hold the rear tote and front knob and take a light pass with the grain. Keep fingers above the sole and out of the mouth. If it takes no shaving, advance the iron in small increments; if it digs in, retract and reset lightly. Compare the shaving across its width and correct lateral alignment for a heavy side. Reduce depth before trying to close the mouth further. Do not use extra force to overcome chatter, a jam or a loose workpiece.
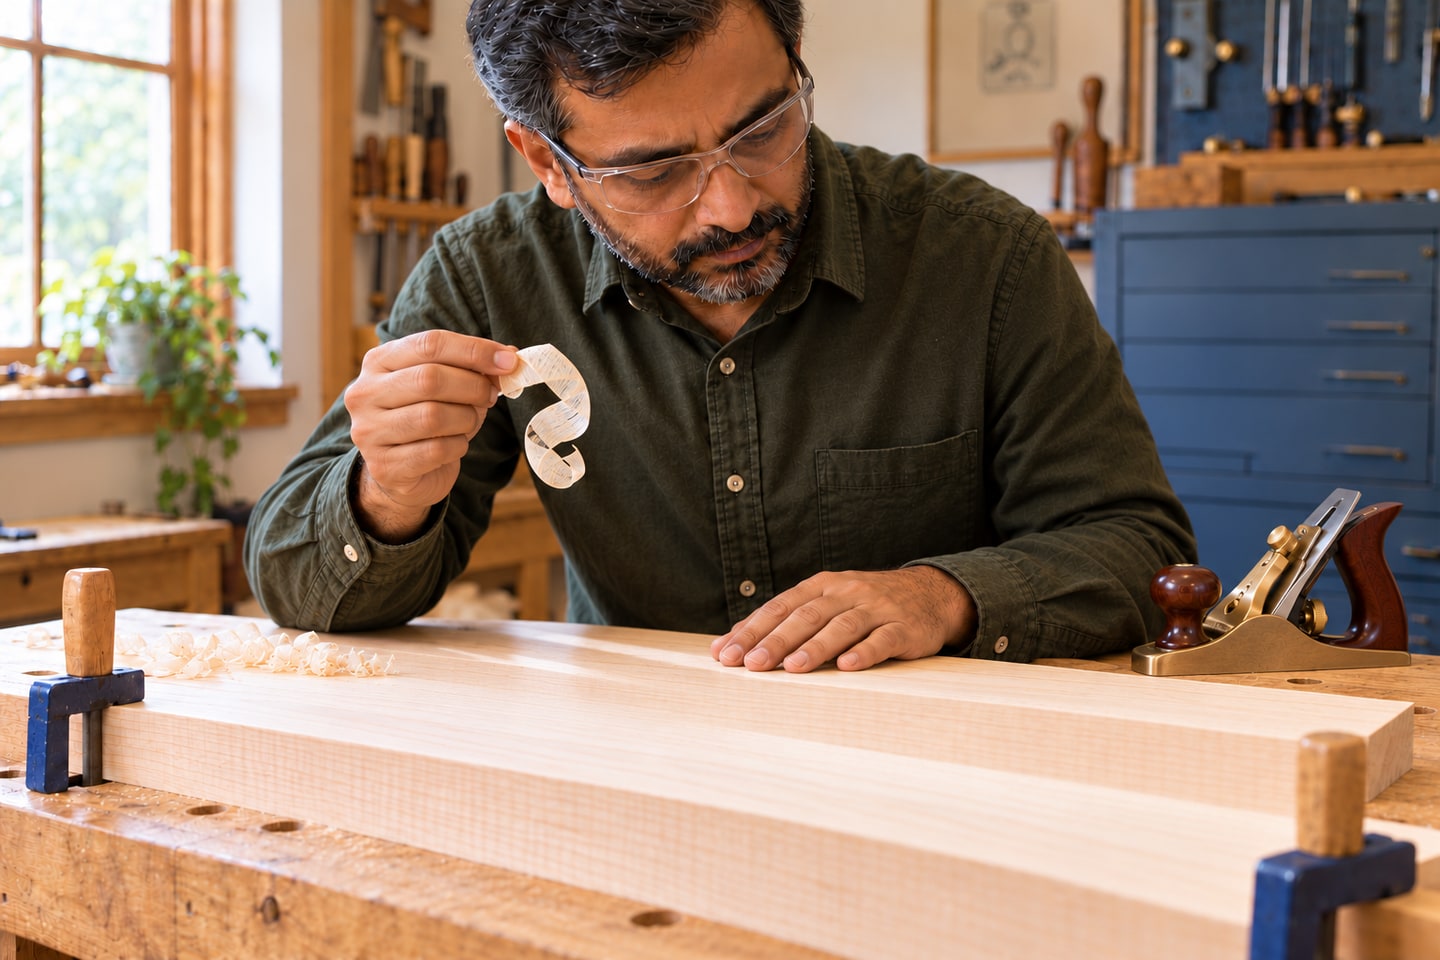
Photorealistic illustration · Waey
8. Diagnose the finish and store the plane safely
Inspect the planed surface under raking light for tear-out, ridges and chatter. For corner tracks, check iron alignment and the maker’s corner-easing or slight-camber guidance; do not prescribe an arbitrary curve for every task. For clogging, retract the iron and clear shavings with a brush before rechecking chipbreaker contact and mouth clearance. Once cuts are consistent, record the useful setup, retract the edge, dry the tool and lightly protect exposed steel. Store it safely and wash hands after handling.
Video demonstrations
Set Up a Handplane
Lost Art Press demonstrates handplane setup and test cuts. Its iron-bodied plane differs from this guide’s documented bronze model; use the matched manual for adjustments.
Lost Art Press · English; English automatic captions available
Watch on YouTube ↗How to Sharpen a Plane Blade with Thomas Lie-Nielsen
Thomas Lie-Nielsen demonstrates honing a plane iron with a guide. Follow the chosen written bevel and back-treatment method; the optional ruler trick is outside this guide.
Highland Woodworking · English; English automatic captions available
Watch on YouTube ↗Final checks
The assembly sits firmly, the depth wheel works without excessive force, shavings clear the mouth and the secured board receives a clean, even cut. Stop for persistent chatter, a defective mating surface or a shifting handle. Rehone a dull edge before changing multiple mechanical settings at once.
Sources
Lie-Nielsen — No. 4 bronze smooth plane ↗
Lie-Nielsen — bench-plane instructions, 2019 revision ↗
Lie-Nielsen — sharpening instructions, 2021 revision ↗
Lee Valley — bevel-down blade preparation and chipbreaker principles ↗
Lee Valley — depth and lateral alignment principles; its hardware differs ↗
Original generated instruction illustrations created for Waey. Videos belong to their credited creators.