
Check a manual box level and mark a short horizontal line
Repeat the horizontal reversal check on one footprint, then center the checked vial to draw and recheck a short wall reference.
What will you learn?
Repeat the horizontal reversal check on one footprint, then center the checked vial to draw and recheck a short wall reference.
Tools
- Non-electronic STABILA Type 196-2 box spirit level, manageable 61 cm exampleSearch Amazon South Africa ↗
- PencilSearch Amazon South Africa ↗
- Soft dry clothSearch Amazon South Africa ↗
Materials
- Clean flat stable table that tolerates temporary pencil references
- Sound flat indoor wall or practice surface suitable for a light removable pencil line
- Small removable end marker, kept clear of measuring facesSearch Amazon South Africa ↗
Step by step
Photorealistic illustration · Waey
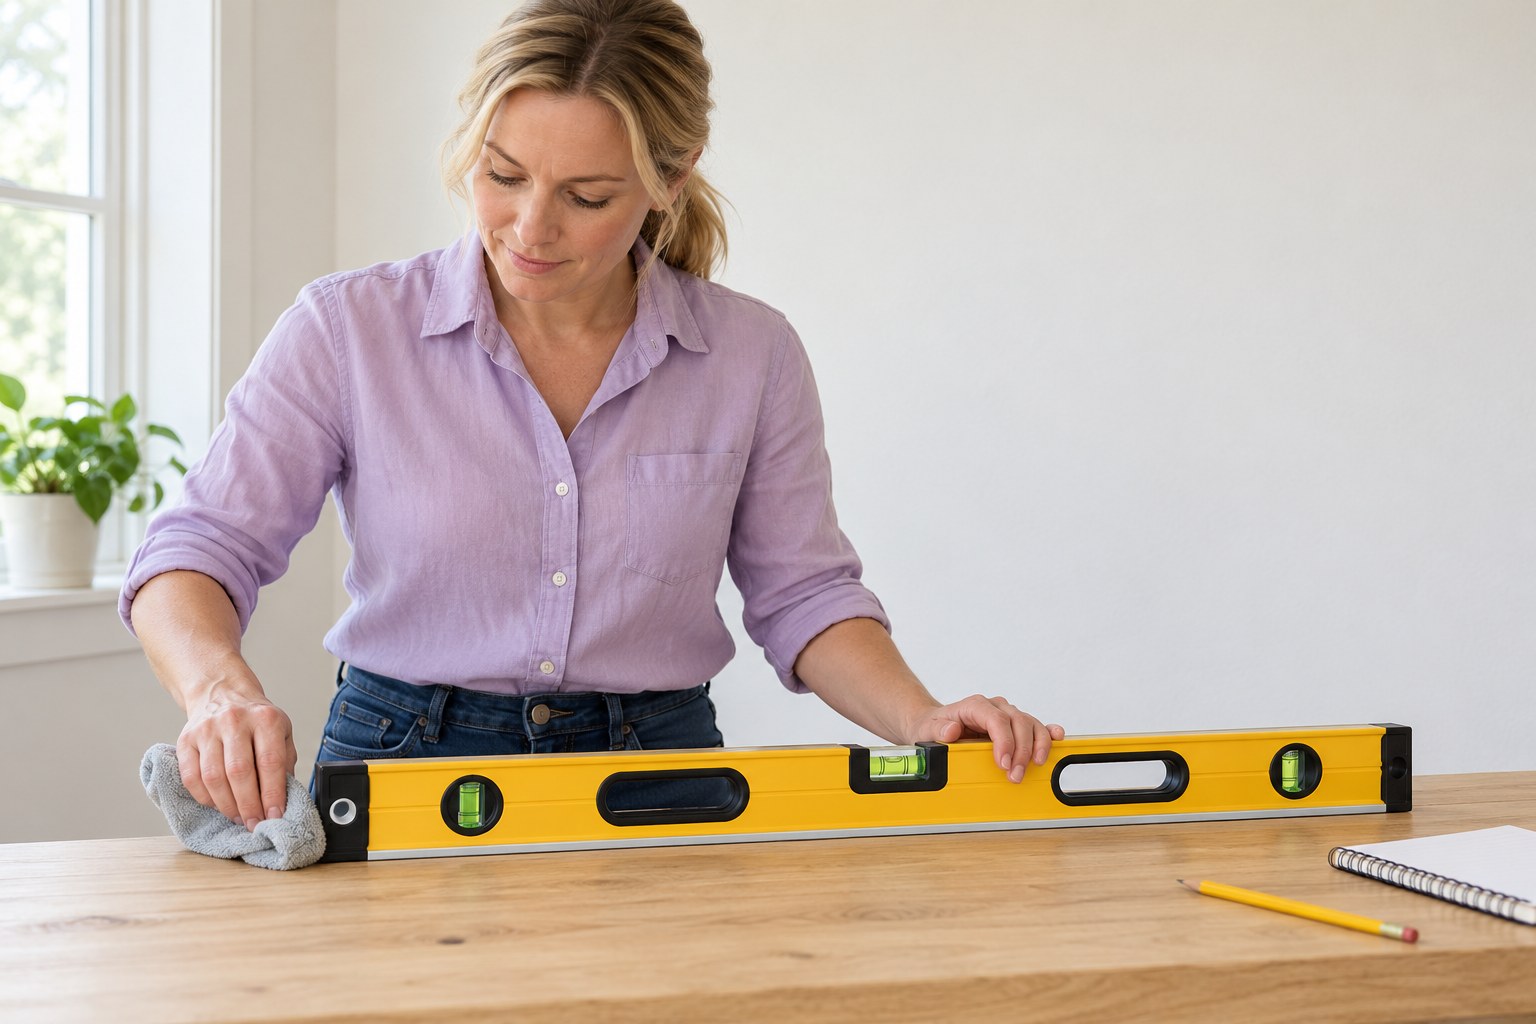
1. Inspect and clean the manual box level
Use a sound non-electronic STABILA Type196-2 box level of a manageable length, such as 61 cm. Identify its central horizontal vial and measuring edges. Wipe dirt from the contact surfaces with a soft dry cloth and inspect for a bent profile, damaged vial or loose end cap. Stop for damage rather than attempting to bend the tool straight or adjust its permanently fixed vials. This guide checks the horizontal vial only, then produces one short reference line.
Photorealistic illustration · Waey
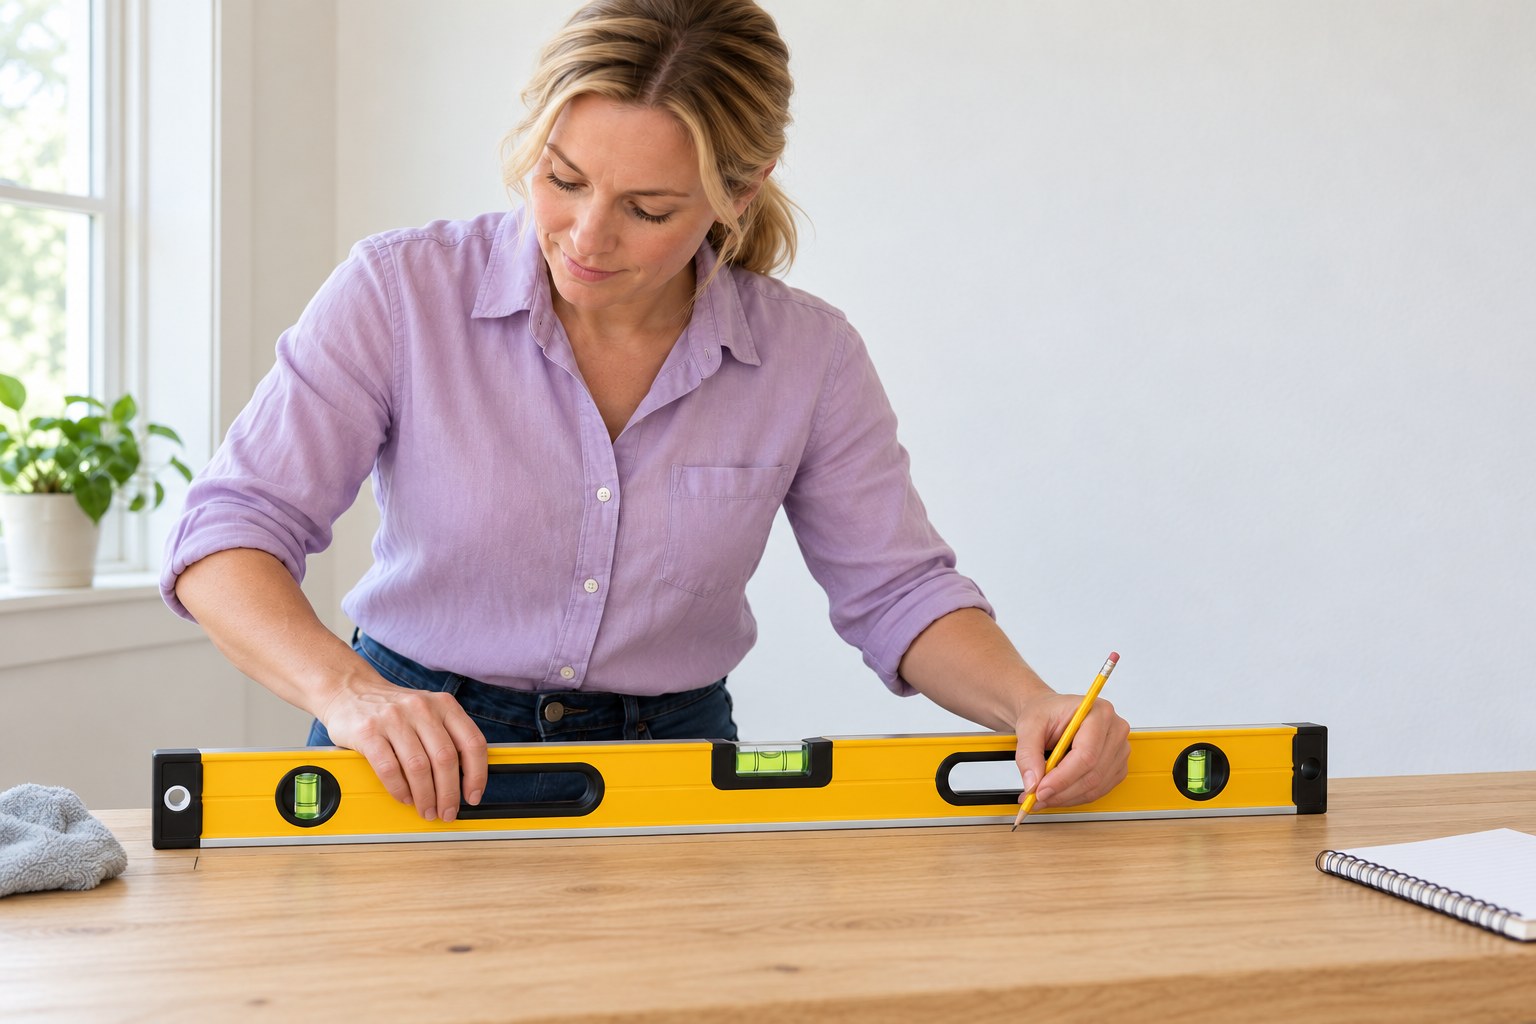
2. Mark one repeatable position on a stable table
Identify one end with a small removable marker clear of the contact faces. Place the level normally on a clean, flat, stable table where its measuring edge is fully supported. Mark a light pencil reference along that edge and identify the end position so you can return to the same footprint. Allow the bubble to settle and note its position against the vial rings, looking squarely from a consistent viewpoint. The bubble does not need to start centered; the table itself is not being certified as level.
Photorealistic illustration · Waey
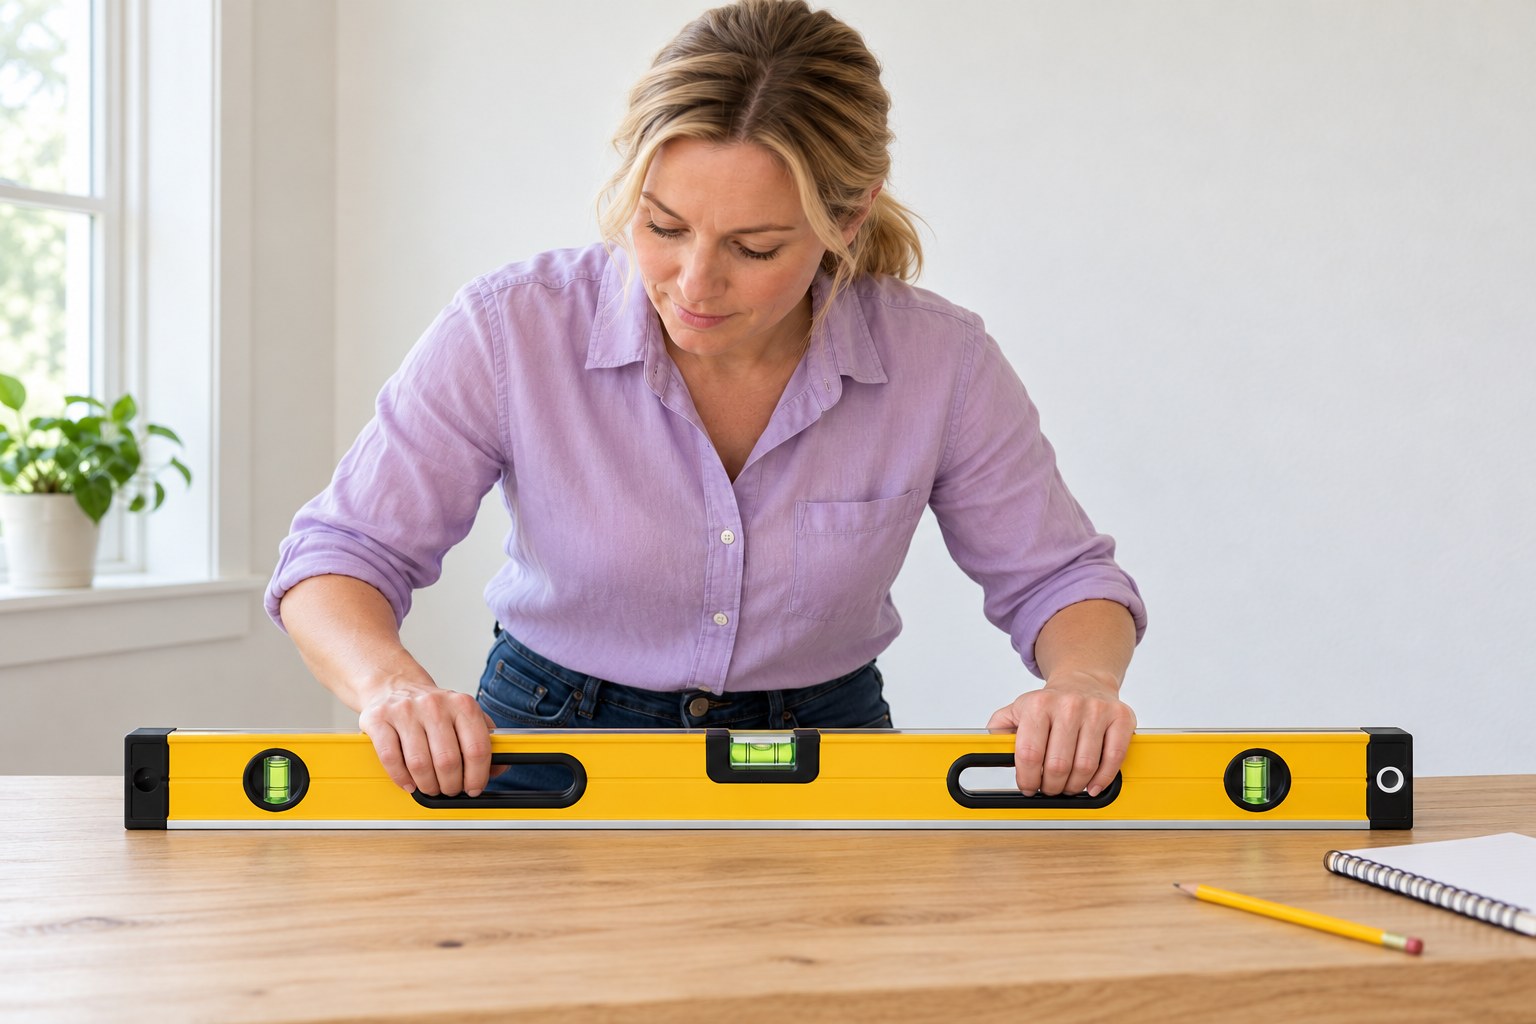
3. Reverse end for end and compare at the same footprint
Lift the tool just enough to turn it 180 degrees end for end in the horizontal plane. Keep the same measuring face downward; do not roll it onto its opposite edge for this check. Return it exactly to the marked line and end positions without moving or packing the table. Let the bubble settle and compare its position against the rings from the same viewing position. Use the manufacturer’s horizontal reversal drawing if the movement is unclear.
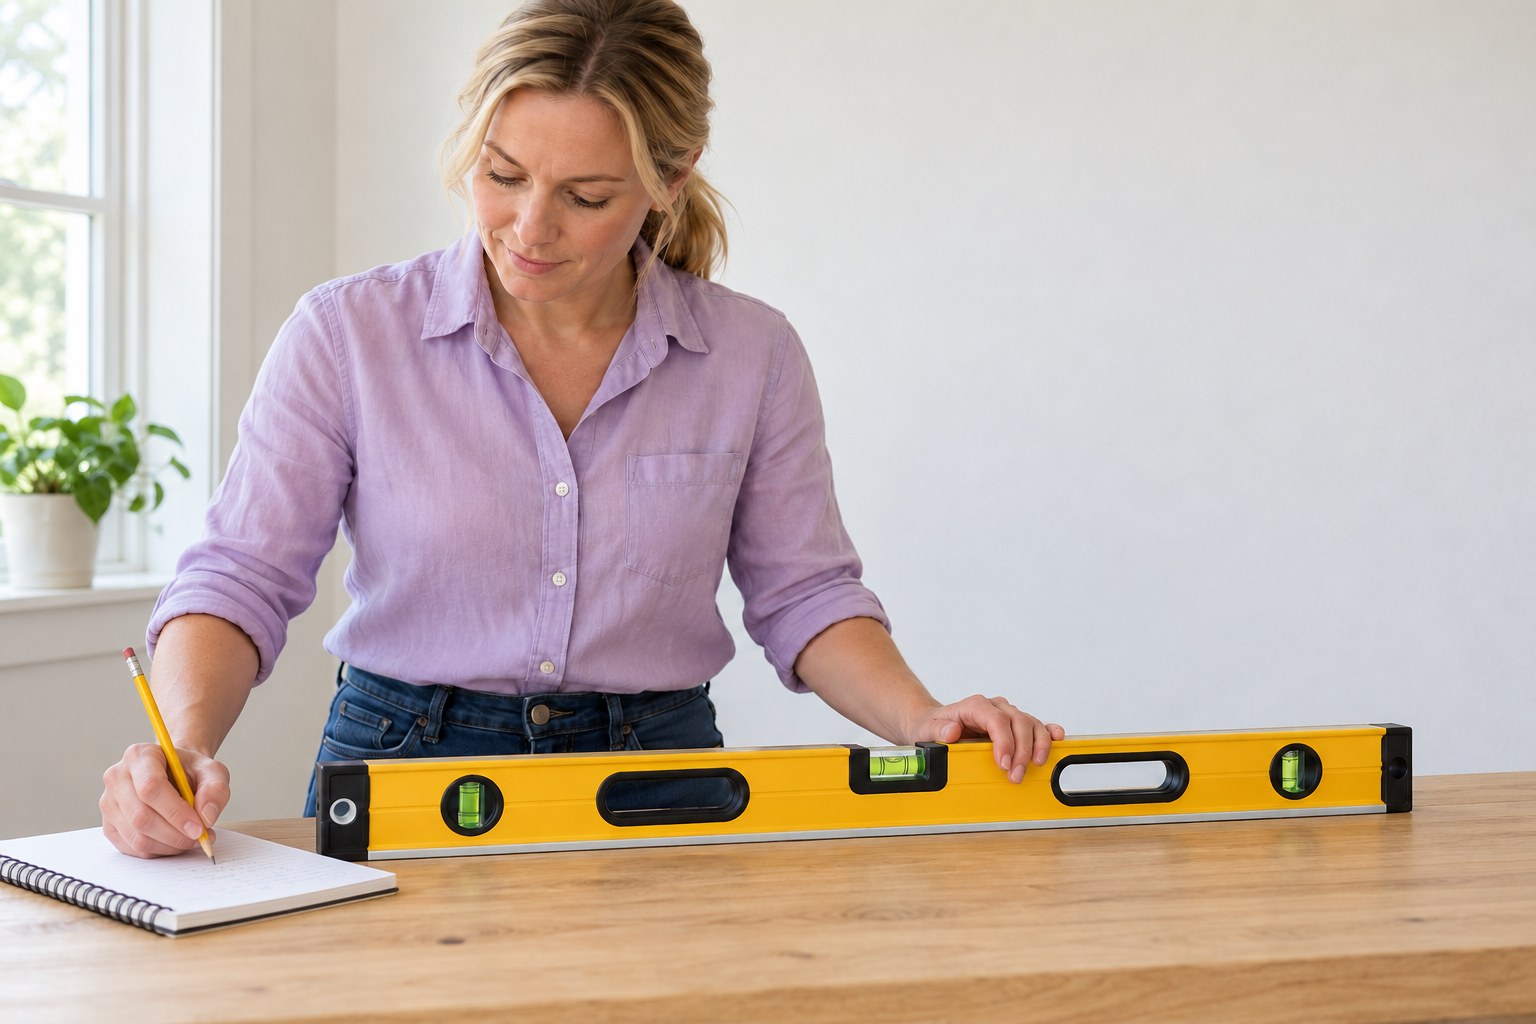
Photorealistic illustration · Waey
4. Repeat the check and resolve inconsistent readings
Repeat the original and reversed placements, keeping the contact surface and marked position unchanged. STABILA advises repeating regardless of the first result. If an unexpected difference persists, clean the contacts again and check for rocking or debris. Stop using the tool for this layout if the result remains doubtful and contact the supplier or manufacturer. Do not average two different tools, bend the frame, shim the table to hide an error or claim this check is laboratory calibration.
Photorealistic illustration · Waey
5. Choose a suitable wall area and starting point
Choose a flat, sound indoor wall area that tolerates a light pencil mark and can be reached comfortably while standing on the floor. Test mark removal discreetly first if the finish is delicate; use a practice surface instead if marking would damage it. Make one small starting mark at the desired height. Plan a single line shorter than the tool’s usable straight edge. Do not use the ceiling or skirting as an assumed level reference.
Photorealistic illustration · Waey
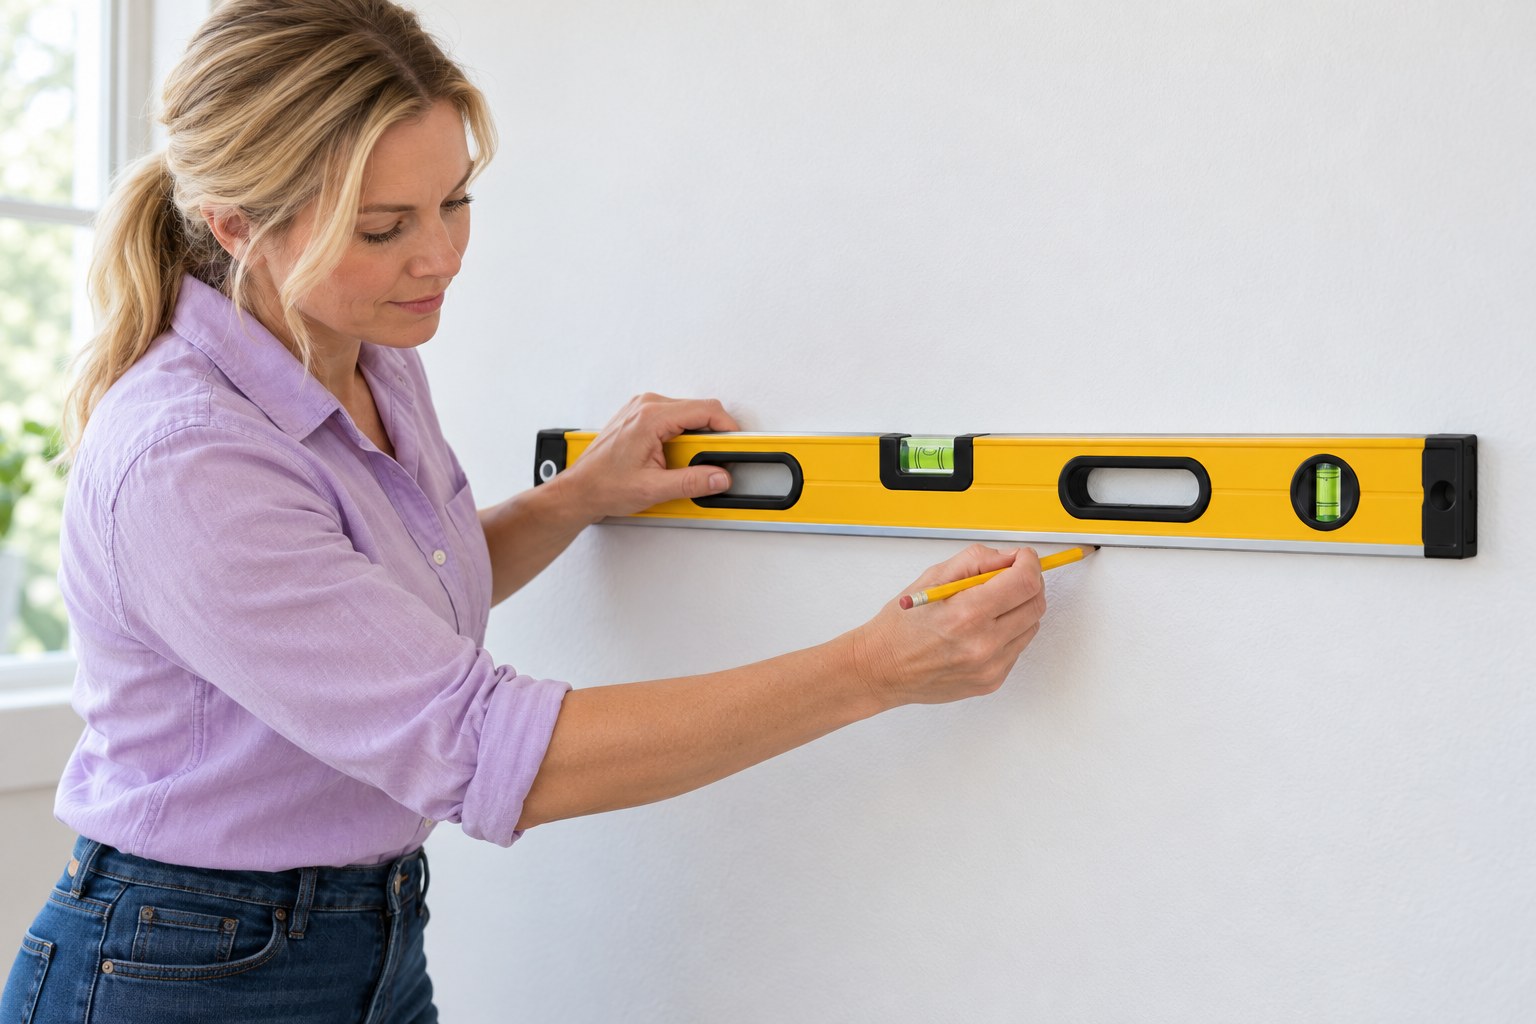
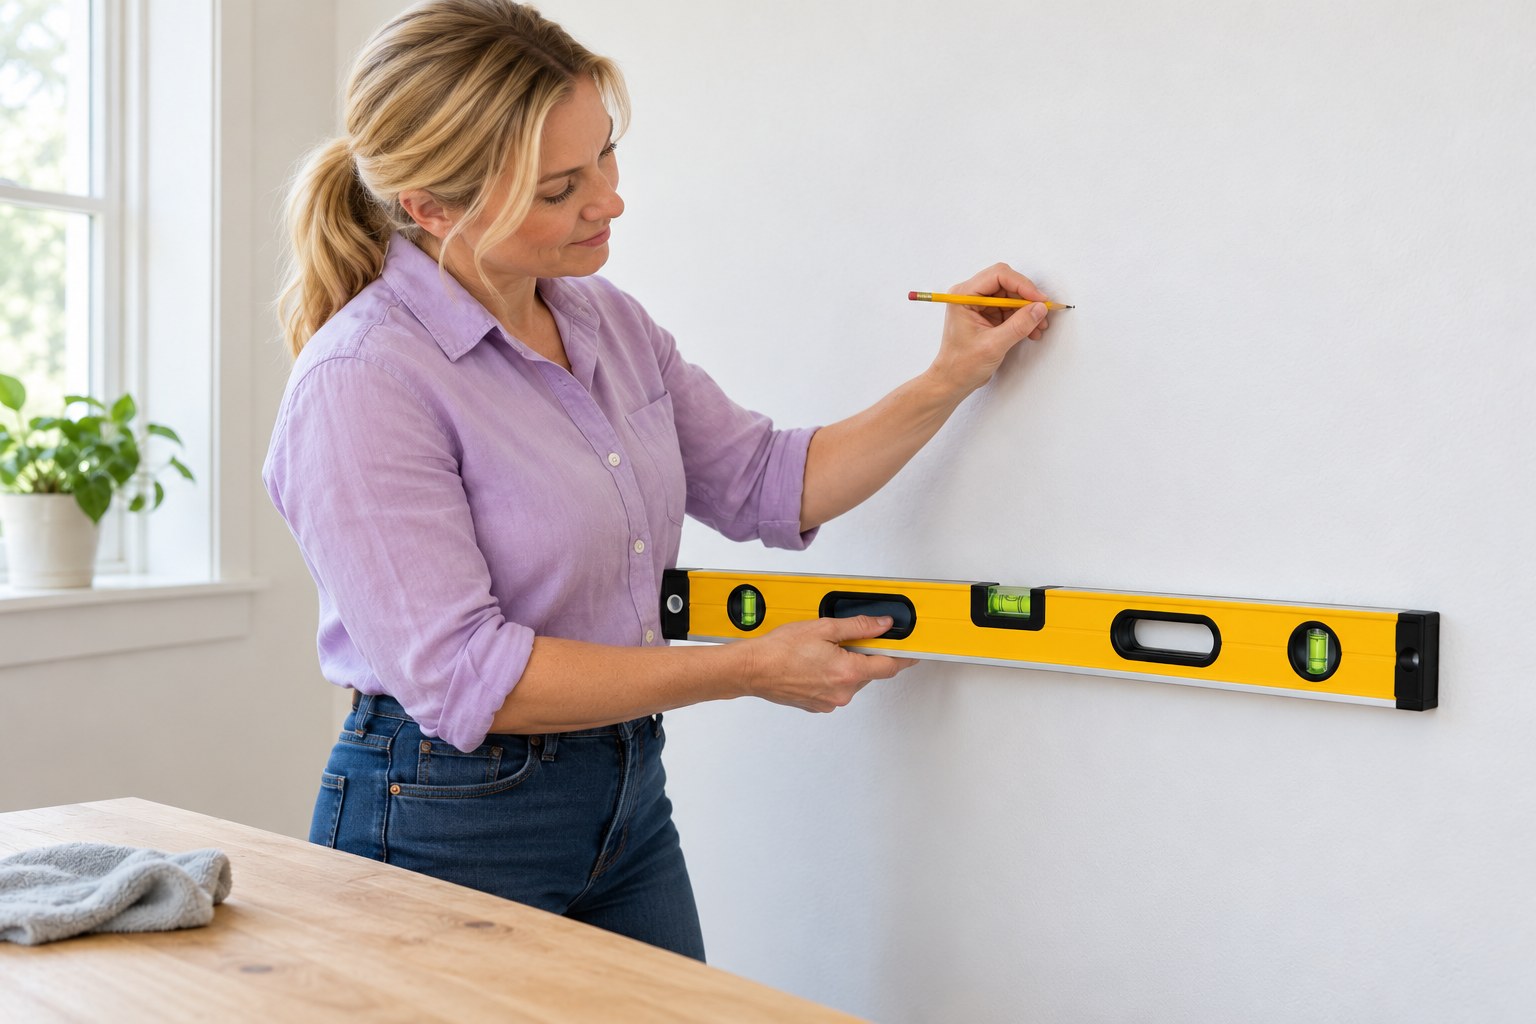
6. Center the horizontal bubble and draw one light line
Hold the level against the wall at the starting mark with the horizontal vial visible and the intended marking edge in position. Support it securely without blocking the vial. Adjust the tool until the settled bubble is centered between its rings, reading squarely rather than from an angle. Keep it still and draw a thin pencil line along the chosen edge. Stop and reposition if it slips; do not press harder to flatten a bowed tool or bridge a wall bump.
Photorealistic illustration · Waey
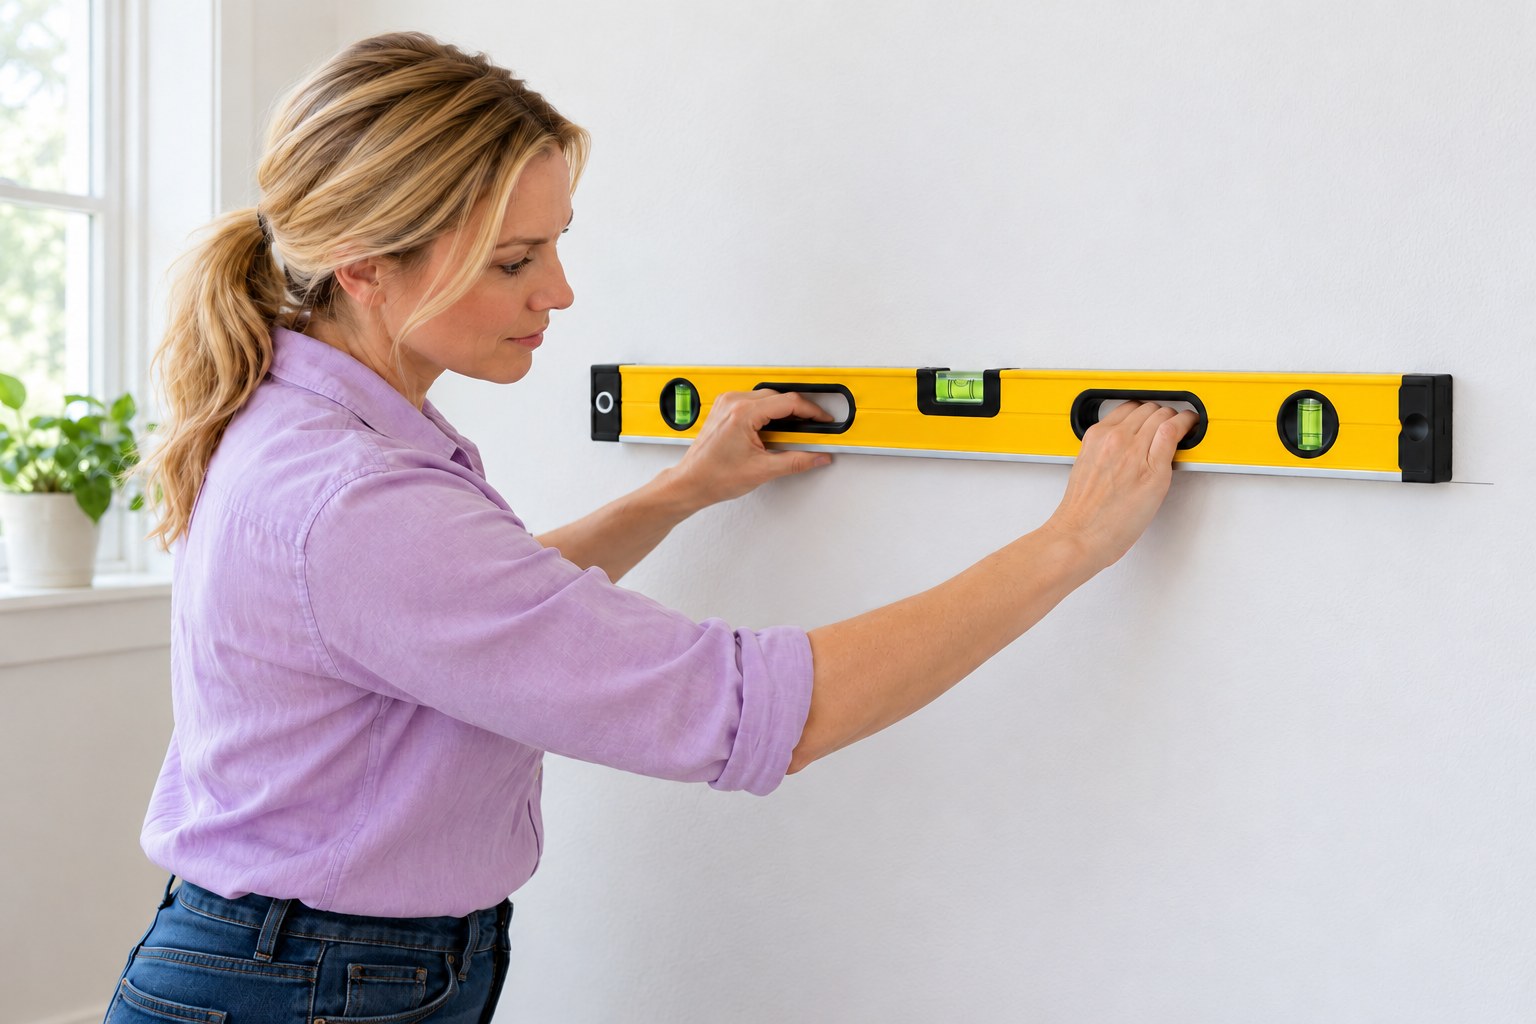
7. Replace the level and check the finished reference
Remove the tool, then place the same edge back along the drawn line and recheck the settled horizontal bubble. A centered bubble and consistent contact support using this short line as your reference. If the tool rocks, the bubble changes or the pencil line wanders away from the edge, correct the cause and redraw a clean line. Do not extend a long layout by repeatedly moving this short reference without a separate checking method.
Photorealistic illustration · Waey
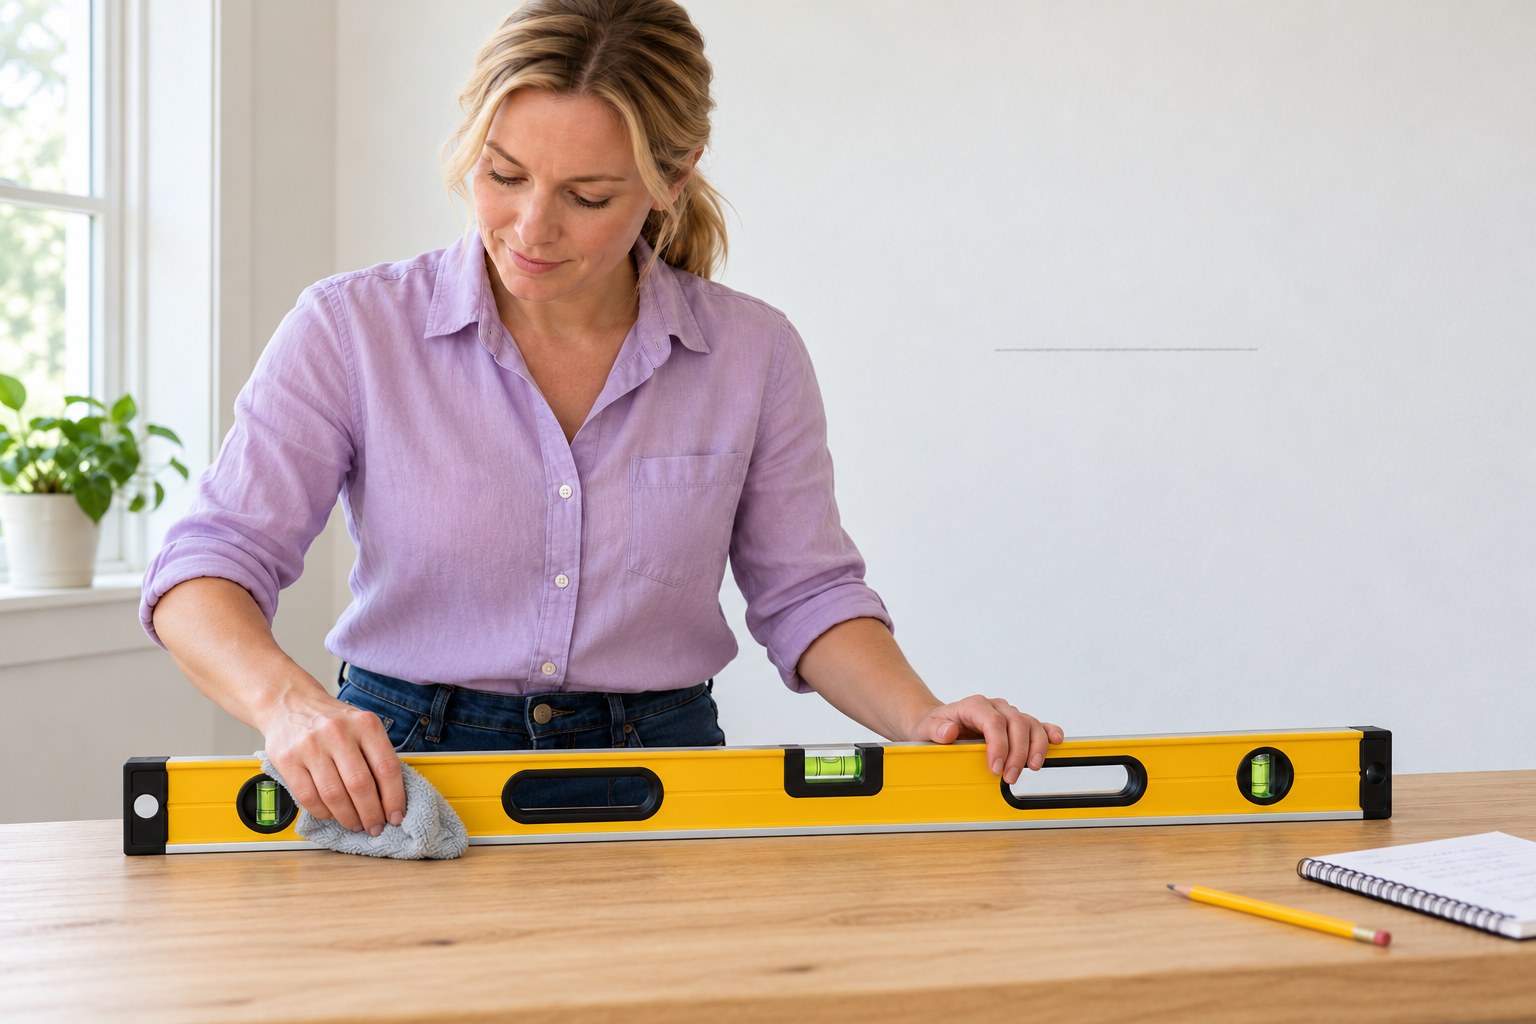
8. Record the check and put the tool away
Note which horizontal vial was checked and whether the repeat placements agreed, then wipe the measuring edges and store the tool where it cannot fall or bend. Recheck after a drop, hard knock or other suspected damage before relying on it again. The pencil line is a local layout reference, not approval to drill, attach a load or certify a structure. This procedure does not verify the vertical vials or an electronic level’s display.
Video demonstrations
How to Check the Accuracy of Your STABILA Spirit Level
Manufacturer demonstration of supported horizontal checks and marking. Follow the table-reversal steps above; vertical checks are outside this guide.
STABILA Official · English automatic captions available; narration not independently assessed
Watch on YouTube ↗How to check your Level Accuracy
Manufacturer examples of reading the horizontal vial and marking a wall. Use the same-face-down table check above; other checking methods in the video are outside this guide.
STABILA Official · English automatic captions available; narration not independently assessed
Watch on YouTube ↗Final checks
Same footprint and measuring face used for repeated horizontal reversal; no persistent unexplained mismatch; wall bubble centered during marking and recheck. Single short line only. This is a working check, not calibration or structural approval.
Where to find supplies
Use the exact manufacturer procedure for another level type, a vertical vial or an electronic display. For long lines or tighter tolerances, use a suitable separately verified method. A second unverified level or a phone app is not a calibration reference. Contact STABILA for doubtful or damaged tools.
Sources
STABILA — horizontal reversal-check drawing ↗
STABILA — repeated end-for-end horizontal check and service guidance ↗
STABILA — non-electronic Type196-2 design and variants ↗
Johnson Level — reading, marking and horizontal reversal principles ↗
Original generated instruction illustrations individually reviewed. Manufacturer diagrams remain private technical references and are never generation inputs. Bubble drawings, line geometry and tool appearance do not prove actual accuracy or a passed reversal check. Videos remain with credited creators.