
Repair a running toilet: match the flapper and replace a faulty fill valve
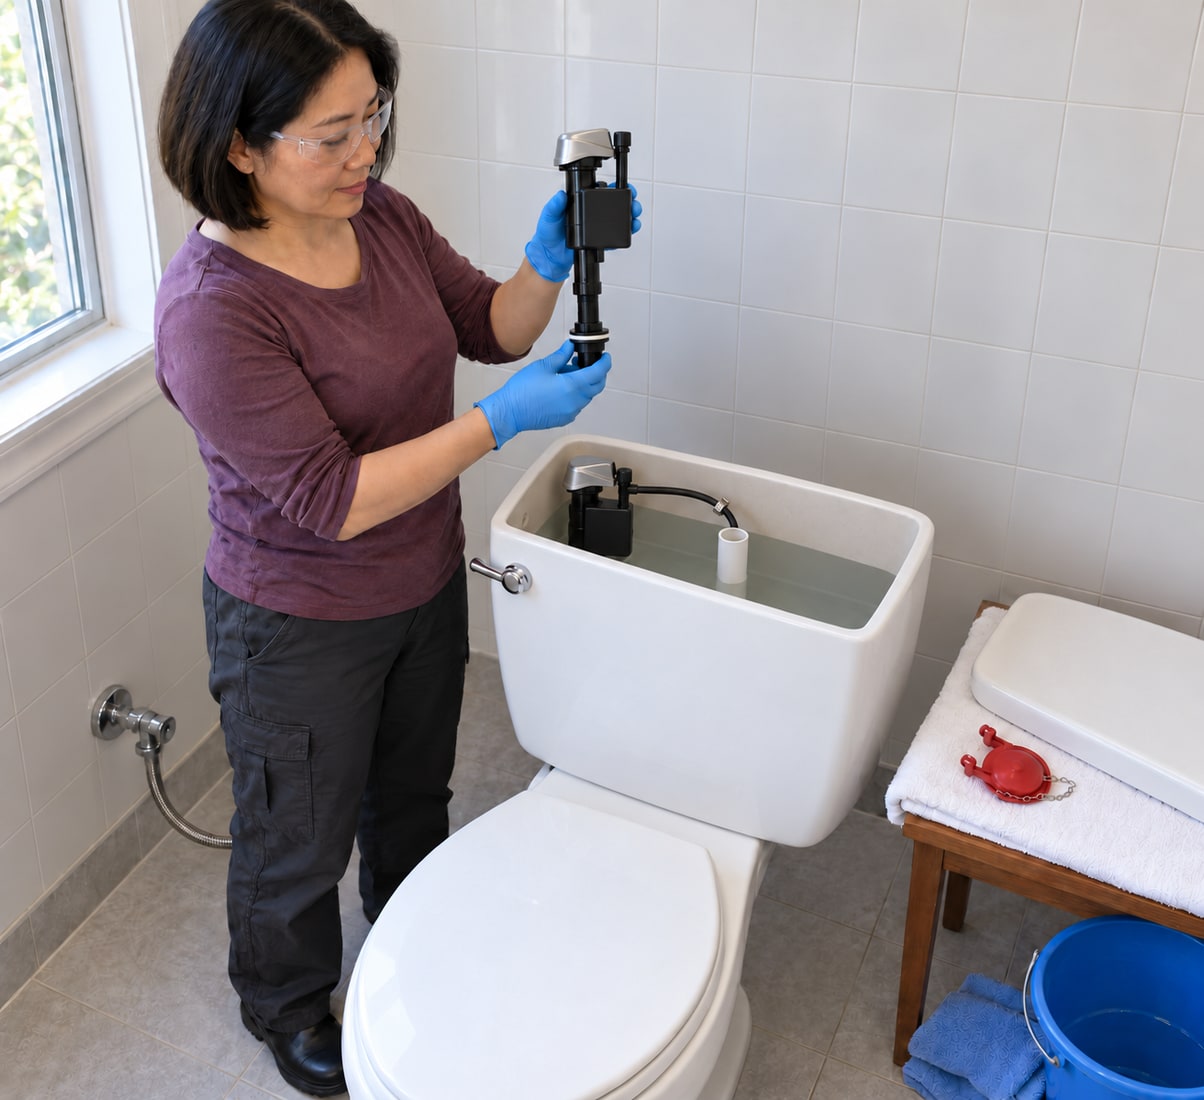
Diagnose an exposed gravity cistern, renew compatible faulty parts and verify sealing, shutoff, bowl refill and dry connections.
What will you learn?
Diagnose an exposed gravity cistern, renew compatible faulty parts and verify sealing, shutoff, bowl refill and dry connections. Follow only the repair branch confirmed by diagnosis. For flapper-only repair, skip the fill-valve replacement steps and proceed to final checks; retain a sound flapper for fill-valve-only work.
Tools
- Bucket, sponge, absorbent towels and dry tissueSearch Amazon South Africa ↗
- Pencil, timer and suitable measuring rule for the actual marked clearancesSearch Amazon South Africa ↗
- Suitable wrench for removal only where required; installation hand-tightened as specifiedSearch Amazon South Africa ↗
- Clean protective gloves and a padded stable place for the ceramic lidSearch Amazon South Africa ↗
- Clean scissors if the supplied refill tube requires trimmingSearch Amazon South Africa ↗
Materials
- Verified compatible adjustable flapper/chain if faulty; example KorkyNo100Search Amazon South Africa ↗
- Locally approved compatible fill valve with new washer/nut/refill tube/clip if replacement is required; example528MP in818MP kitSearch Amazon South Africa ↗
- A few drops of suitable food colouring for the brief leak checkSearch Amazon South Africa ↗
Step by step
Photorealistic illustration · Waey
1. Identify the cistern and select genuinely compatible parts
Find the toilet and tank model before buying parts. This project concerns an exposed gravity cistern with a conventional hinged flapper, accessible bottom-entry fill valve and sound ceramics. The worked example uses the Korky 818MP kit: a 528MP fill valve and adjustable No.100 flapper for a verified compatible 2-inch flush opening. Check the actual toilet, inlet connection, height range, supply pressure and local product approval; the word universal does not establish those facts. The current valve guide specifies at least 6 psi (about 0.41 bar), which some gravity supplies cannot provide. Concealed, pressure-assisted, tower and electronic systems need their own instructions. Stop for cracks, inaccessible connections or an unreliable shutoff.
Photorealistic illustration · Waey
2. Separate an internal seal leak from a filling fault
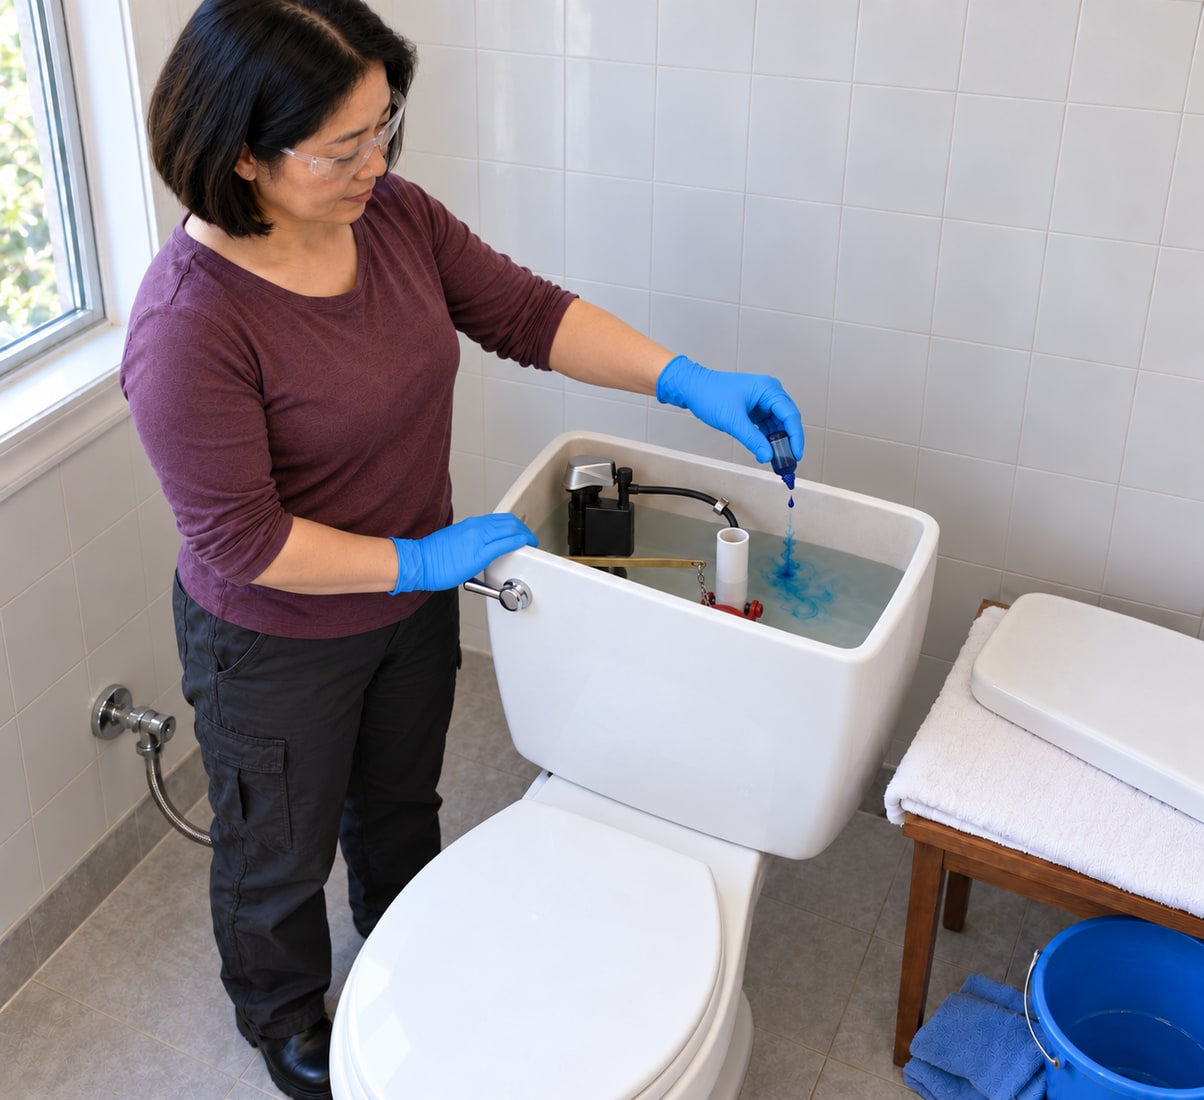
Remove the lid carefully and place it flat on a padded stable surface. Observe a normal refill: continuing flow into the overflow suggests a level or fill-valve problem, while periodic refilling without overflow suggests water escaping through the flush seal. Check the chain is not holding the flapper open. For a silent-leak check, add a few drops of suitable food colouring to tank water, wait ten minutes without flushing, and look for colour in the bowl. Flush immediately afterward to limit staining. Colour indicates an internal leak, not necessarily which component is defective.
Photorealistic illustration · Waey
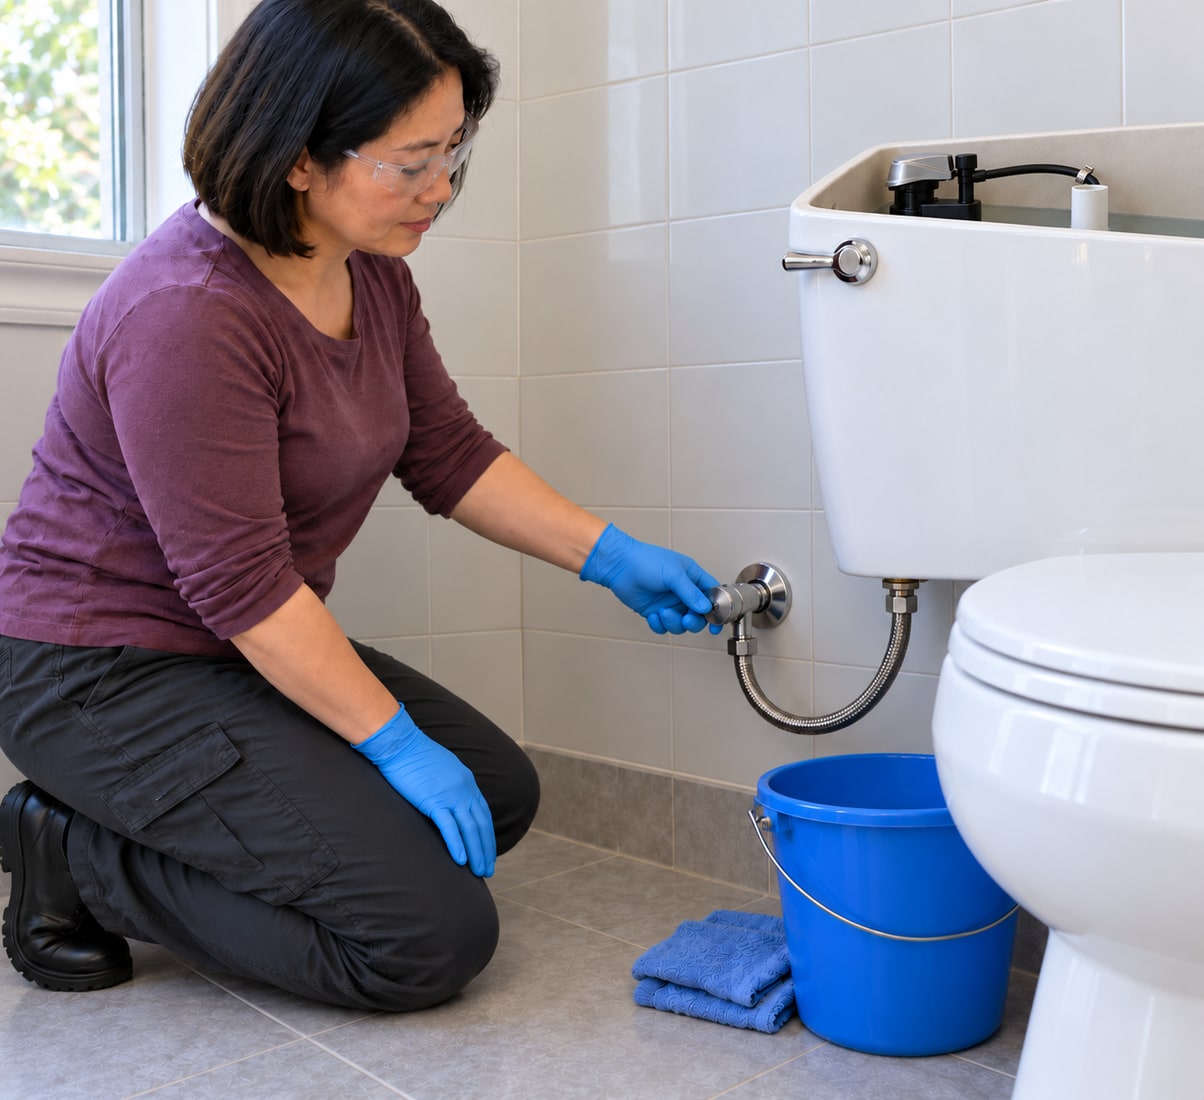
3. Isolate the water and drain before touching connections
Record the factory tank-water mark and refill arrangement. Close the accessible supply gently. If the original flapper timing is known to be correct, make one normal flush without holding the handle and mark the level when it closes, as the flapper guide shows. Do not use a faulty timing reference; obtain the toilet’s listed setting or technical advice instead. Then hold the handle to drain, verify no refilling and sponge out the remainder. Stop for a shutoff that leaks, needs force or will not close. Protect the floor and ceramic lid, use clean gloves and wash afterward.
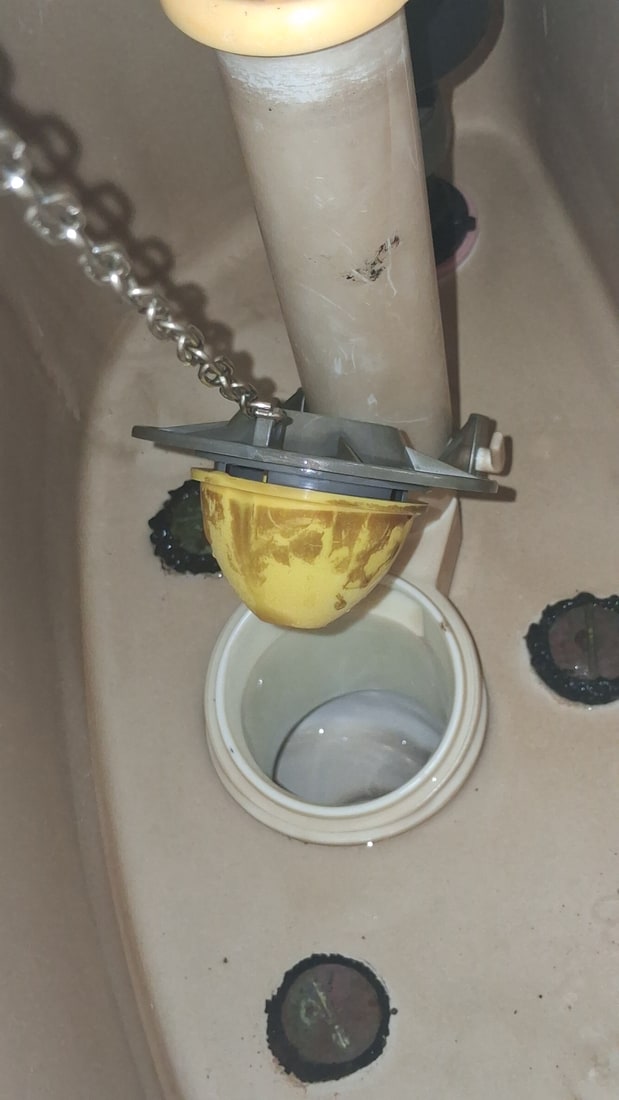
Ranch9613 · CC0 · Orientation normalized, resized and JPEG re-encoded. Diagnostic example of a different Kohler flapper with a missing sealing component; not the No.100 replacement procedure.
4. Remove the faulty flapper and inspect its seat
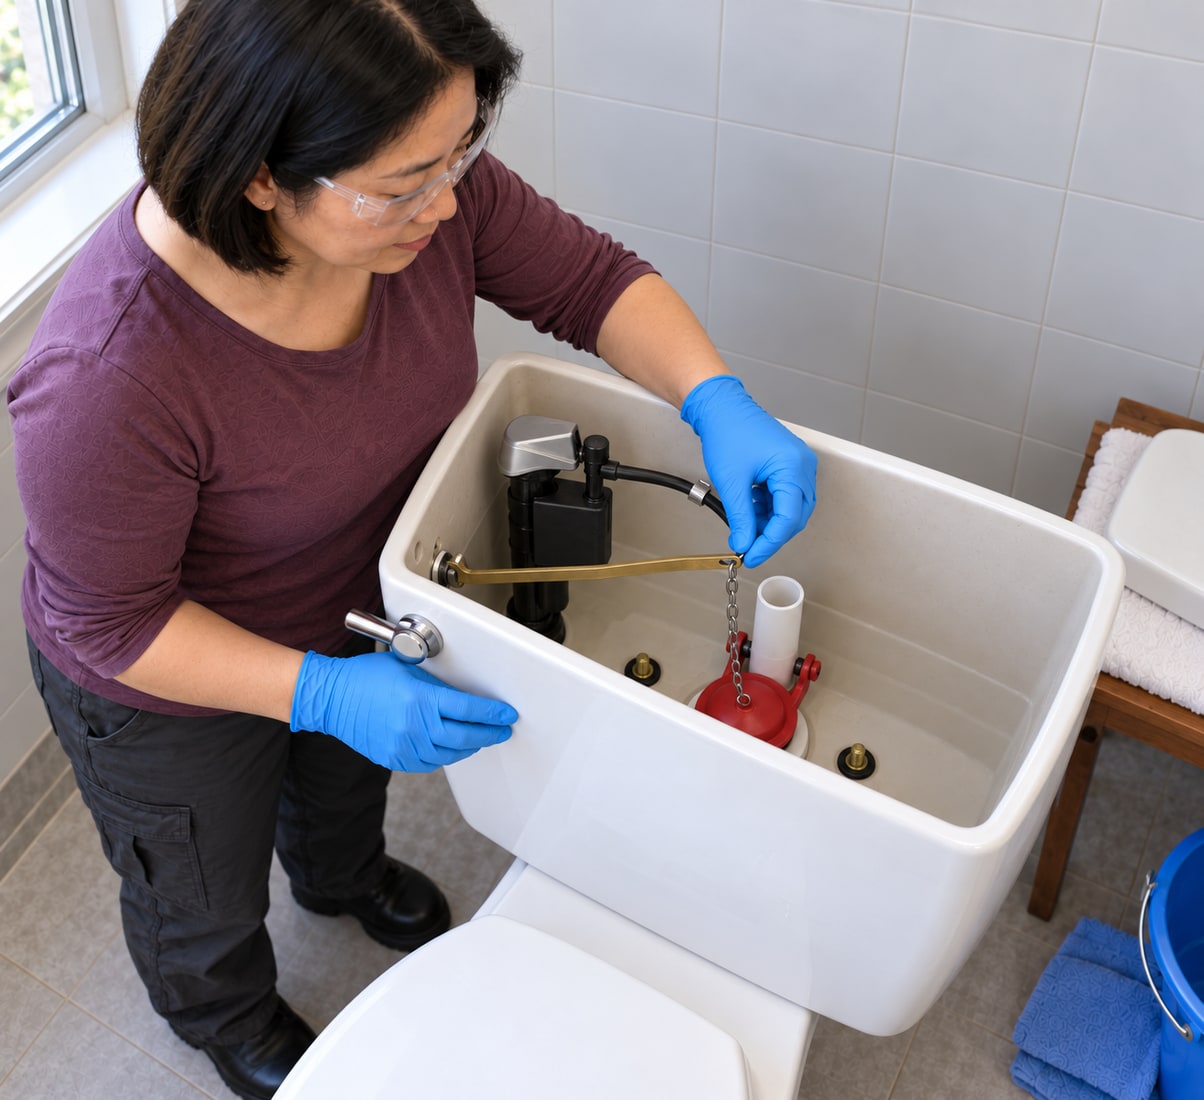
If diagnosis identifies a leaking or worn flapper, disconnect its chain and release its flexible ears from the flush-valve mounting tabs. Keep the flush-valve body fixed; this repair does not remove the tank or its large outlet nut. Compare the replacement opening, hinge arrangement and manufacturer compatibility before fitting. Wipe loose residue from the sealing seat with a soft cloth and inspect for cracks, deep deposits or damage. Do not grind, scrape aggressively or add sealant to disguise a damaged seat. A defective seat or overflow assembly needs a separate verified repair.
Photorealistic illustration · Waey
5. Fit the matched flapper and arrange a free chain
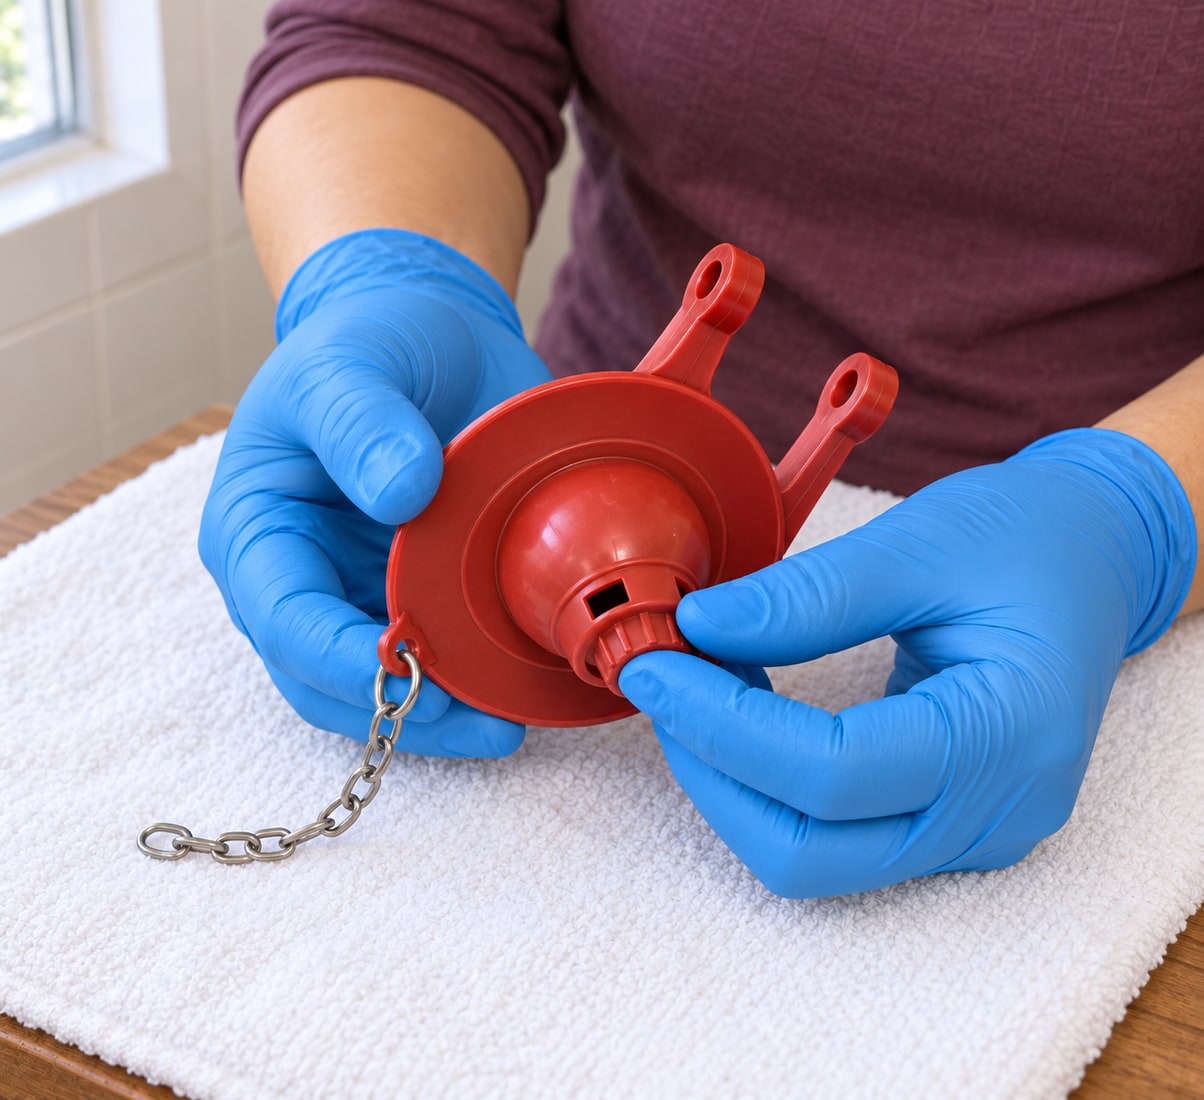
Attach both replacement ears to their correct tabs and check the flapper sits centrally on the clean seat. Connect the chain to the lever hole most directly above it, with minimal slack when closed. The chain must let the seal rest fully, yet lift it without a large wasted handle movement. Keep spare chain clear of the seal, overflow and moving parts. Operate the handle with the supply still isolated and watch for sideways pulling, snagging or a flapper that cannot settle. If the existing flapper is sound and only the fill valve is faulty, retain it.
Photorealistic illustration · Waey
6. Set the adjustable flapper to the toilet’s flush requirement
Use the No.100 instructions and the toilet’s listed setting or a known-correct original closing-level reference; do not copy a faulty old flapper blindly. After a full refill, isolate the supply and flush, comparing the level when the flapper closes with that reference. The guide accepts a difference within 12.7 mm. If adjustment is needed, gently support the flapper, rotate the band hole open and retest. For the guide’s default calibration sequence, lower the numbered dial one setting at a time from 6 toward 1, retesting each cycle; do not override a verified toilet-specific setting. Preserve reliable bowl clearing without double flushing. Continued leakage needs seal diagnosis, not longer opening.
Photorealistic illustration · Waey
7. Replace the fill valve only when the fault requires it
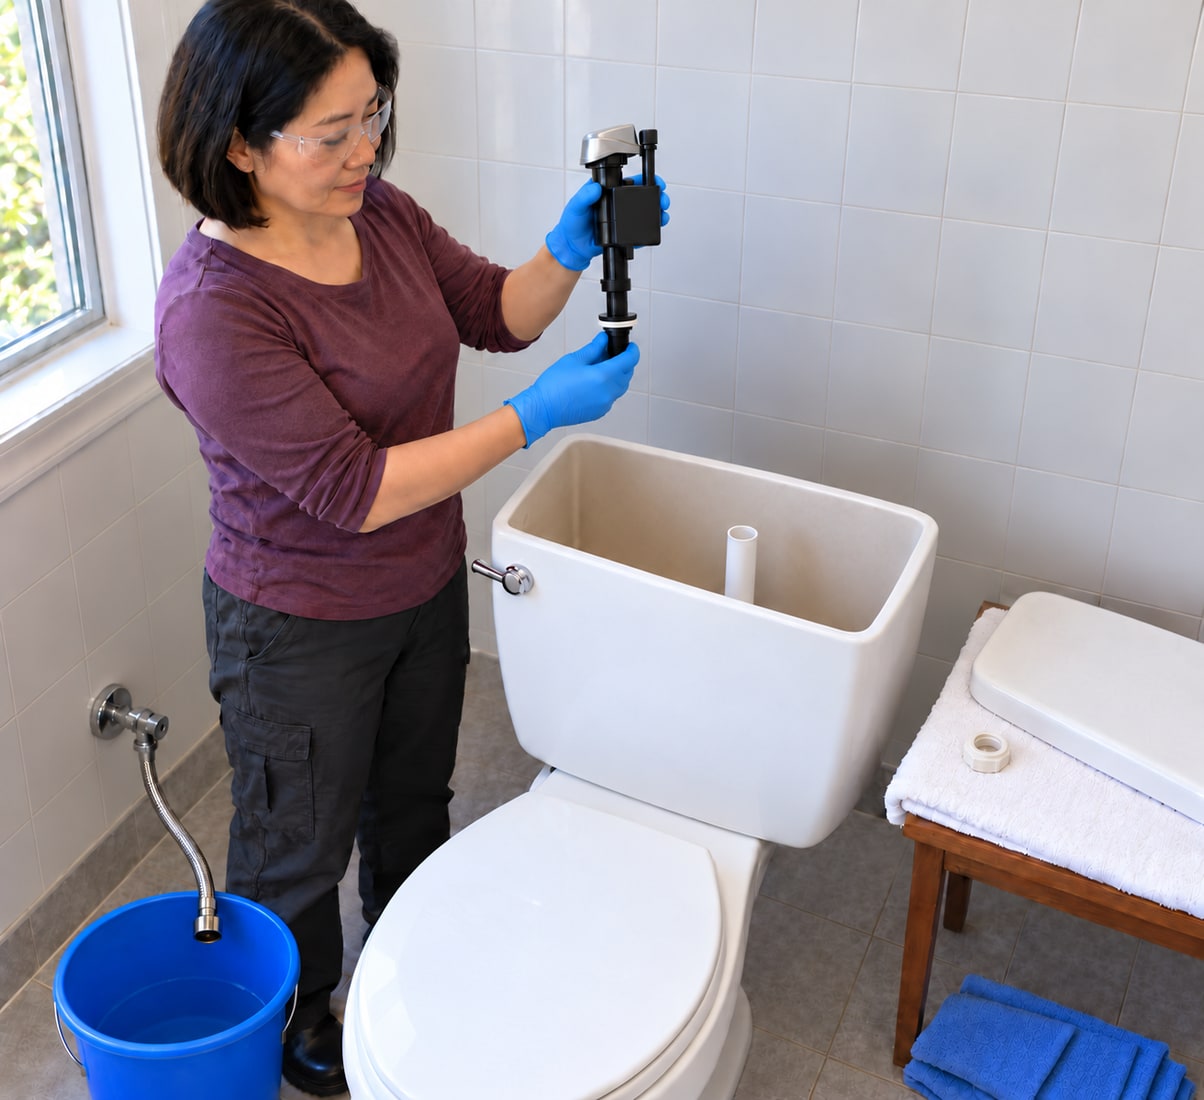
A working fill valve need not be replaced merely because the flapper leaked. If replacement is required, isolate and drain again after the flapper tests. Put a bucket below the inlet, confirm the supply remains off, then disconnect the coupling while supporting the valve. Residual water can escape from the line and tank. Remove the separate mounting nut and lift the old valve out without levering against the ceramic hole. Stop for corrosion, seized fittings or a damaged supply hose; arranging the correct supply repair comes before installing a new valve.
Photorealistic illustration · Waey
8. Set the new valve height and positively lock it
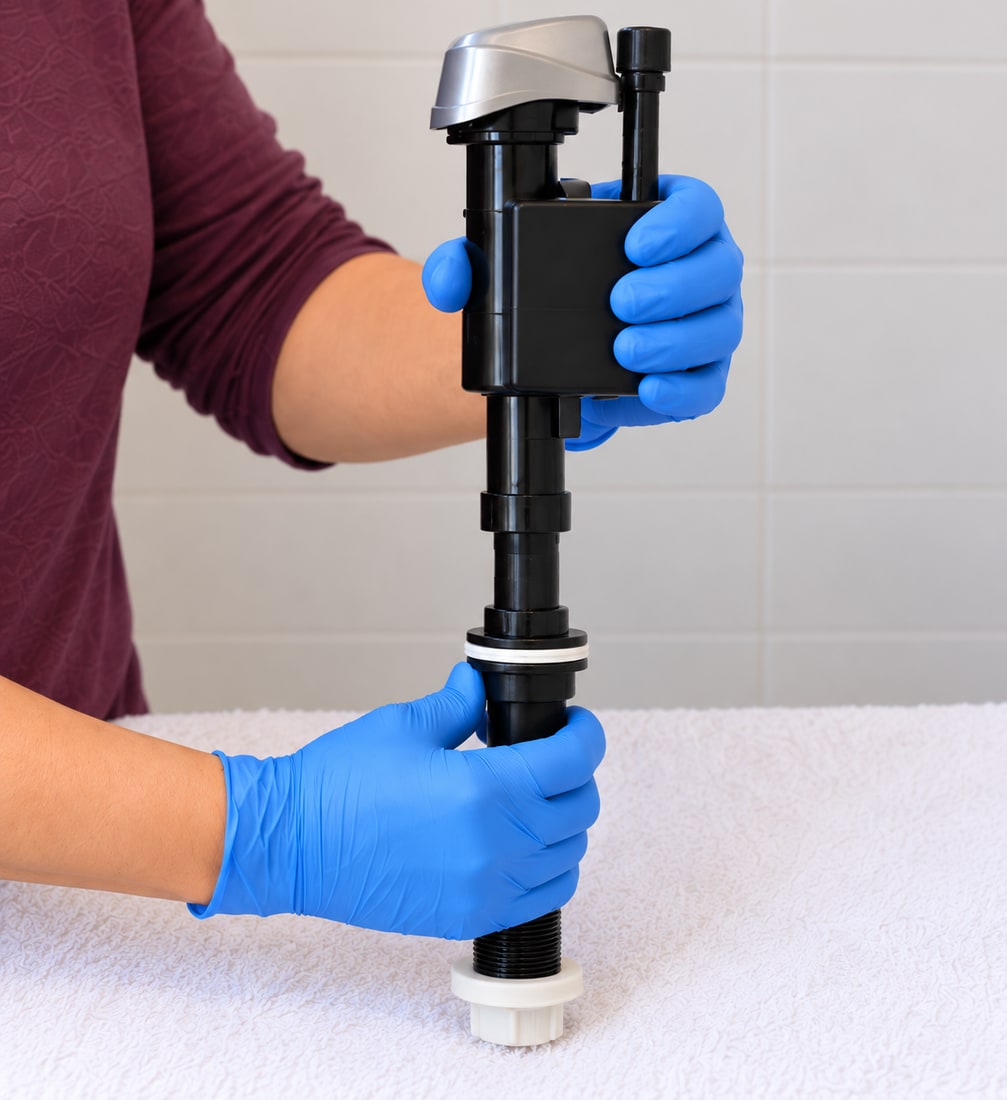
For the illustrated 528MP procedure, hold the lower stem, twist the upper body counterclockwise to unlock and extend the valve, trial-fit it, and set its marked water level about 13 mm below the overflow level. Remove it to lock the upper body clockwise, confirming the rib and peg alignment; it can rise slightly as it locks. Refit and verify the actual C/L mark is 1 inch (25.4 mm) above the overflow level, with lid and lever clearance. The current manufacturer diagram also places overflow at least 1 inch (25.4 mm) below the lever opening. These are this product’s instructions, not permission to change overflow height or override local backflow requirements.
Photorealistic illustration · Waey
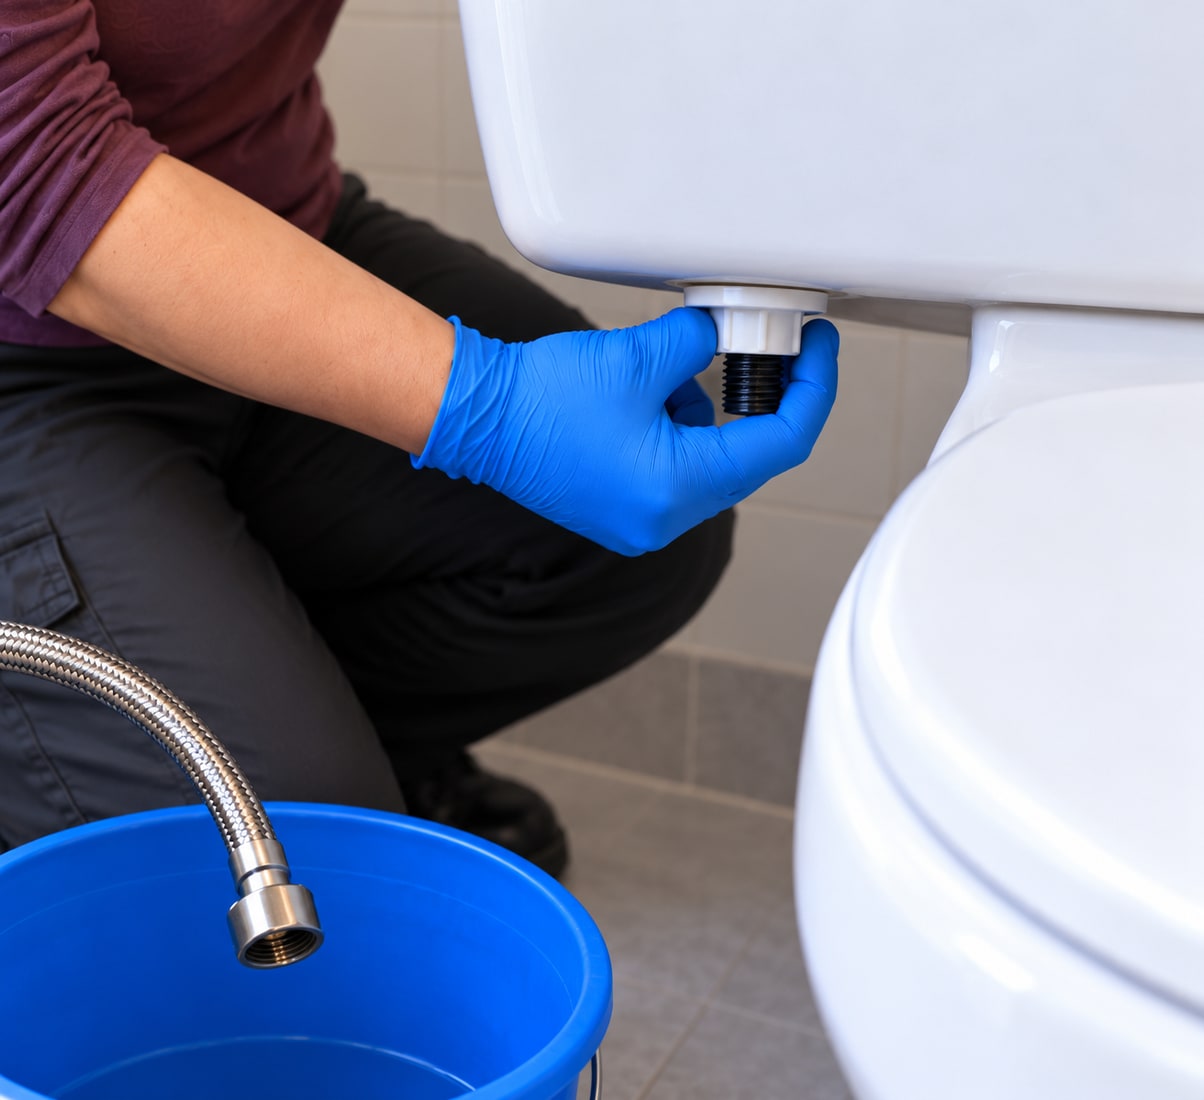
9. Seat the washer and secure the valve without stressing ceramic
Check the supplied sealing washer is correctly seated inside the tank at the inlet hole and the valve is in its locked position. Orient the body so the float chamber, lever and flapper move freely and the refill tube can take a short unobstructed route. Hold the valve in place while fitting the mounting nut below the tank, beveled side upward for this kit. Hand-tighten only as instructed; do not use a wrench to force the plastic nut or twist the valve out of its height lock. Recheck the clearances and critical-level position.
Photorealistic illustration · Waey
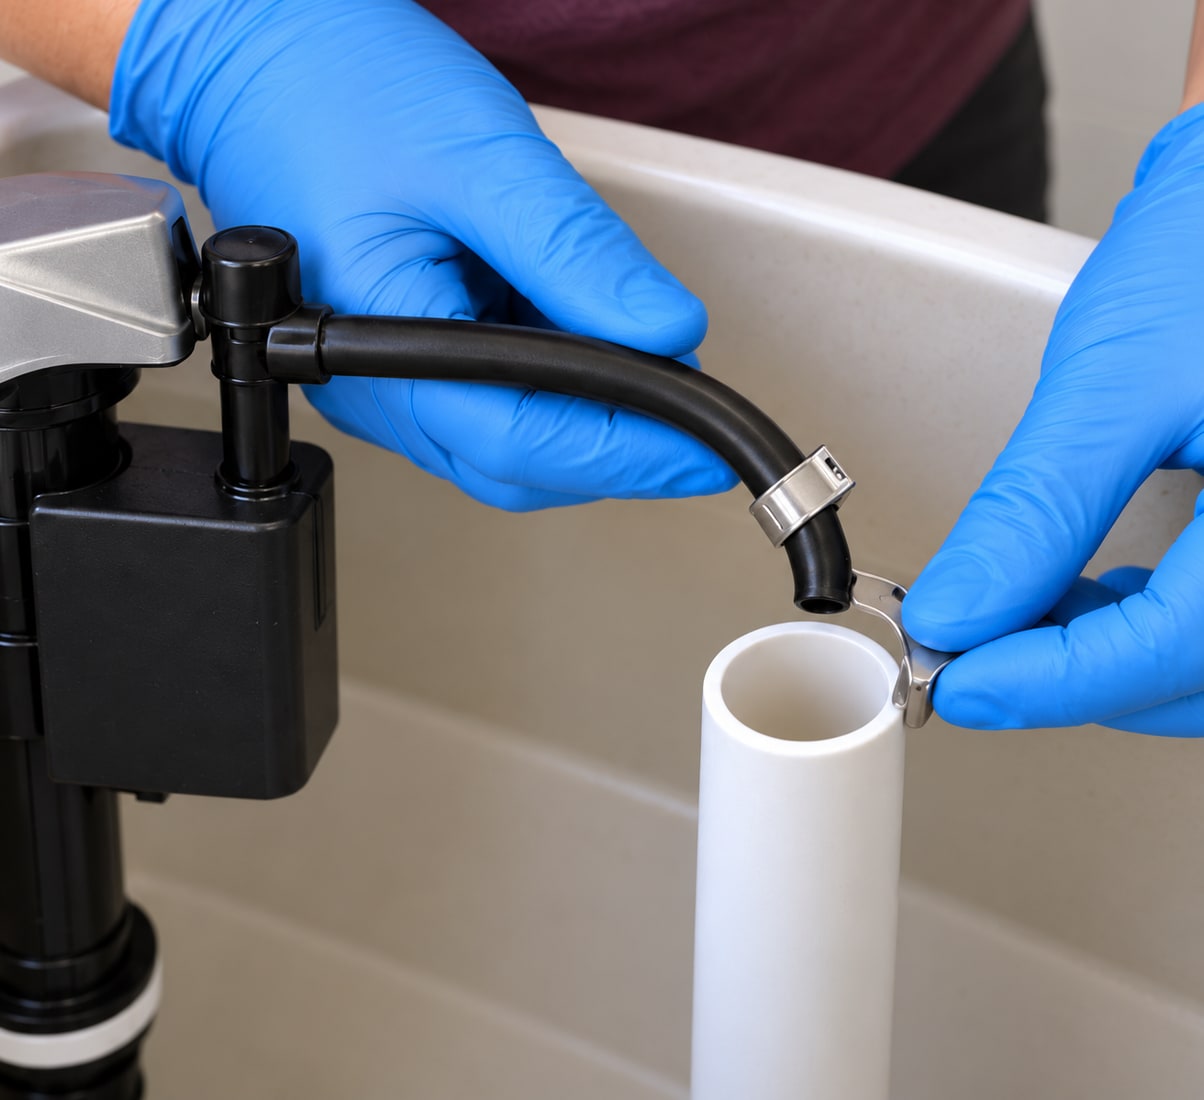
10. Clip the refill tube above the overflow rather than submerging it
Use the supplied new tube and the correct clip for this conventional overflow. Route it without kinks, trimming only as the actual instructions require, and secure the outlet over the overflow opening with the metal clip. Do not push a loose tube down into the overflow or leave its end submerged; siphoning can cause repeated refilling and waste. Keep the tube away from the lever and flapper chain. Tower-specific adapters shown in other demonstrations are outside this example. Check that the clip grips securely and the outlet remains correctly positioned when the lid is fitted.
Photorealistic illustration · Waey
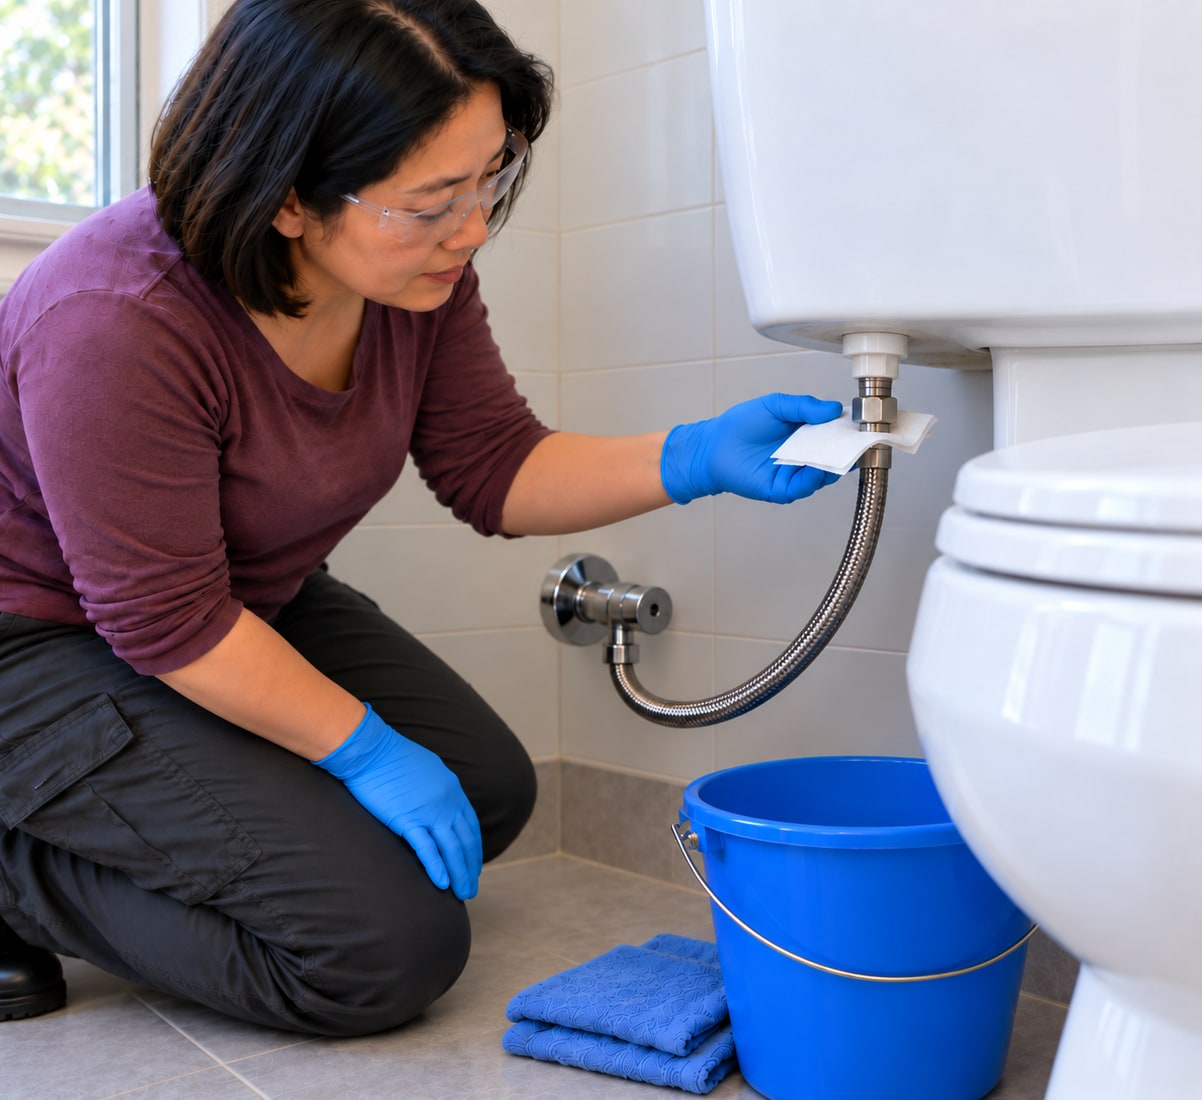
11. Reconnect the supply and watch the first complete refill
Inspect the actual supply connector and its sealing washer, then reconnect it squarely to the matching valve thread. Follow the connector and valve instructions: the selected Korky arrangement is hand-tightened without tape or sealant. Do not force mismatched threads or reuse a damaged hose. Open the shutoff slowly while watching the inlet, coupling and tank underside. Check with dry tissue for fresh moisture. If a leak appears or filling will not stop, close the supply and drain before investigating; tightening a live fitting harder can crack plastic or ceramic.
Photorealistic illustration · Waey
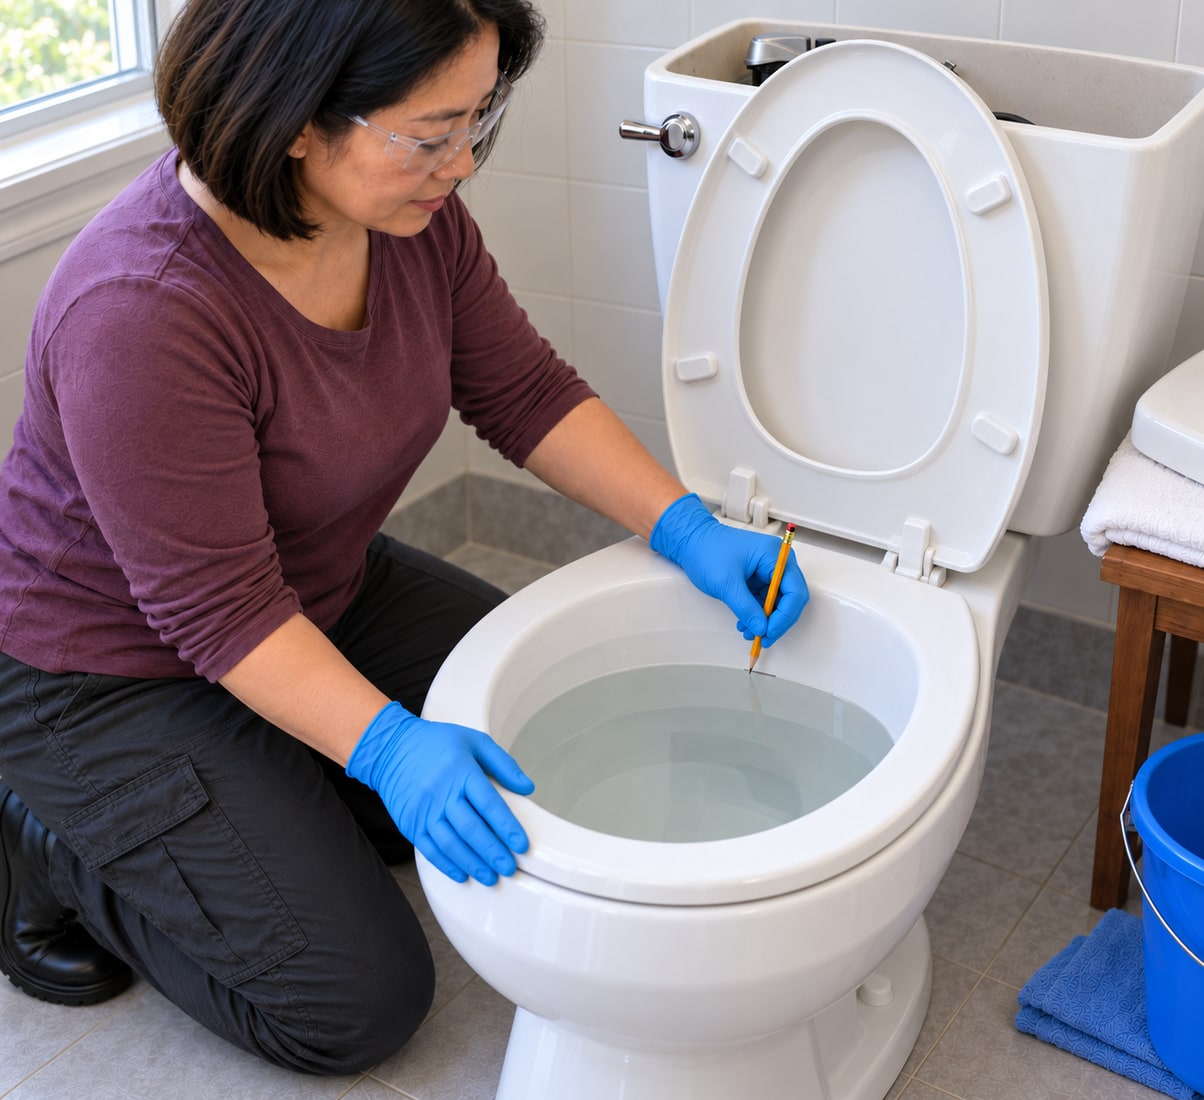
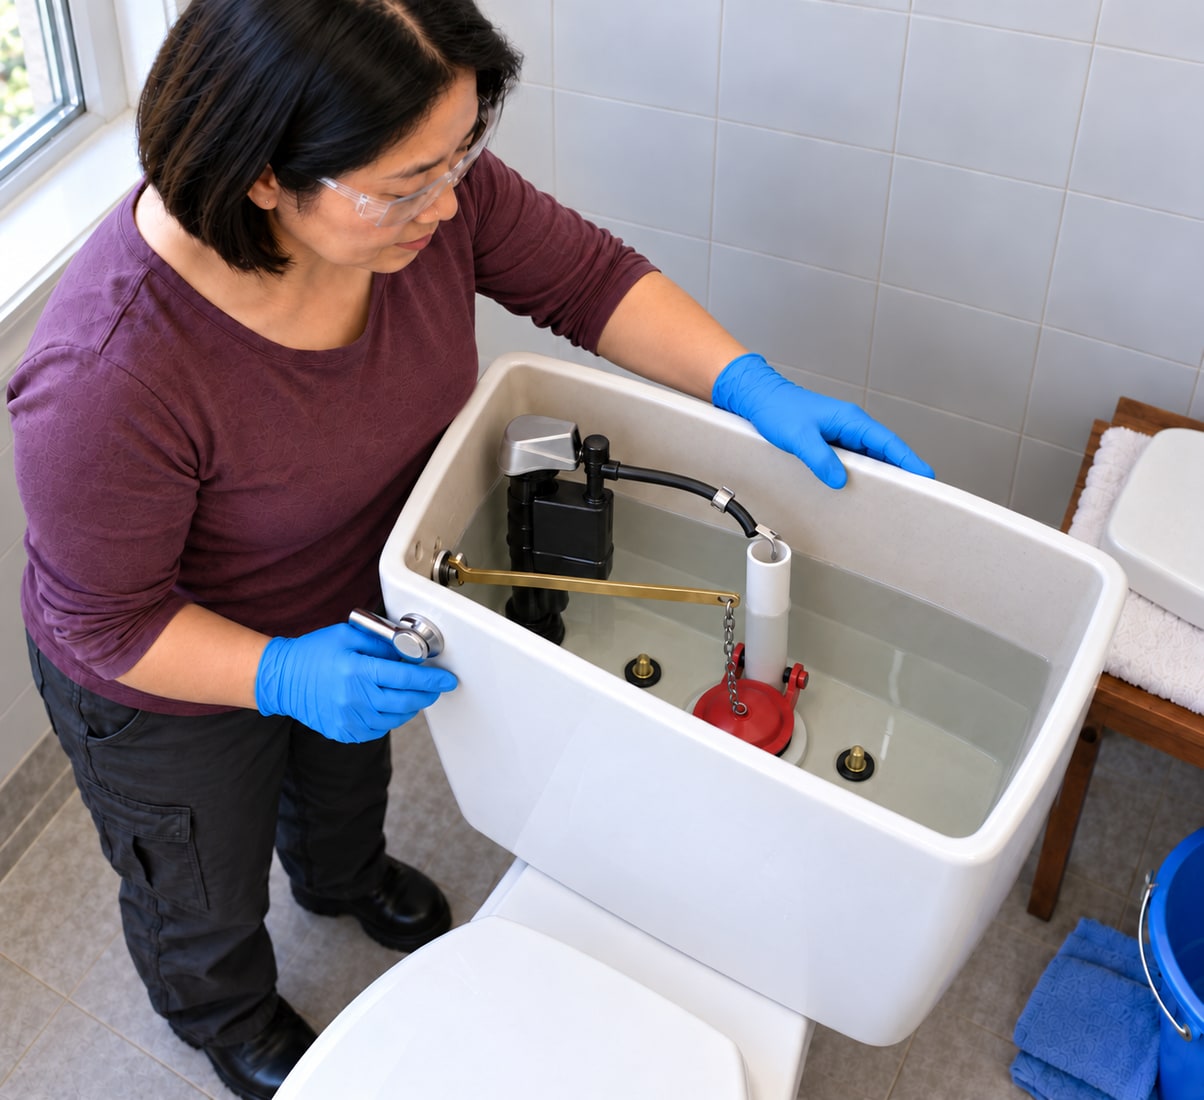
12. Adjust bowl refill separately from the tank shutoff level
For the 528MP refill adjuster, begin fully open as its diagram shows. Flush and wait two minutes for the bowl to settle to its natural water level, then mark that level lightly. Flush again and compare bowl refill with the tank finishing. If the bowl reaches the mark too early, reduce refill flow counterclockwise; if it is still below the mark when the tank stops, increase flow clockwise. Repeat the complete cycle until refill matches the natural level. This dial apportions bowl refill; it does not replace the valve-height or critical-level checks.
Photorealistic illustration · Waey
13. Repeat sealing, shutoff and external-leak checks
Run several complete flushes without holding the handle down, watching the flapper close freely, the bowl clear and refill, and the tank stop at its intended level below overflow. Dry the connections and check again for dampness. For a suspected remaining internal leak, turn off the supply after filling, mark the tank level and observe it for about thirty minutes, as Korky recommends. A falling level needs renewed seal and seat diagnosis. A repeat dye check can confirm leakage, but flush promptly after its ten-minute observation. Do not leave a persistently running or leaking installation unattended.
Photorealistic illustration · Waey
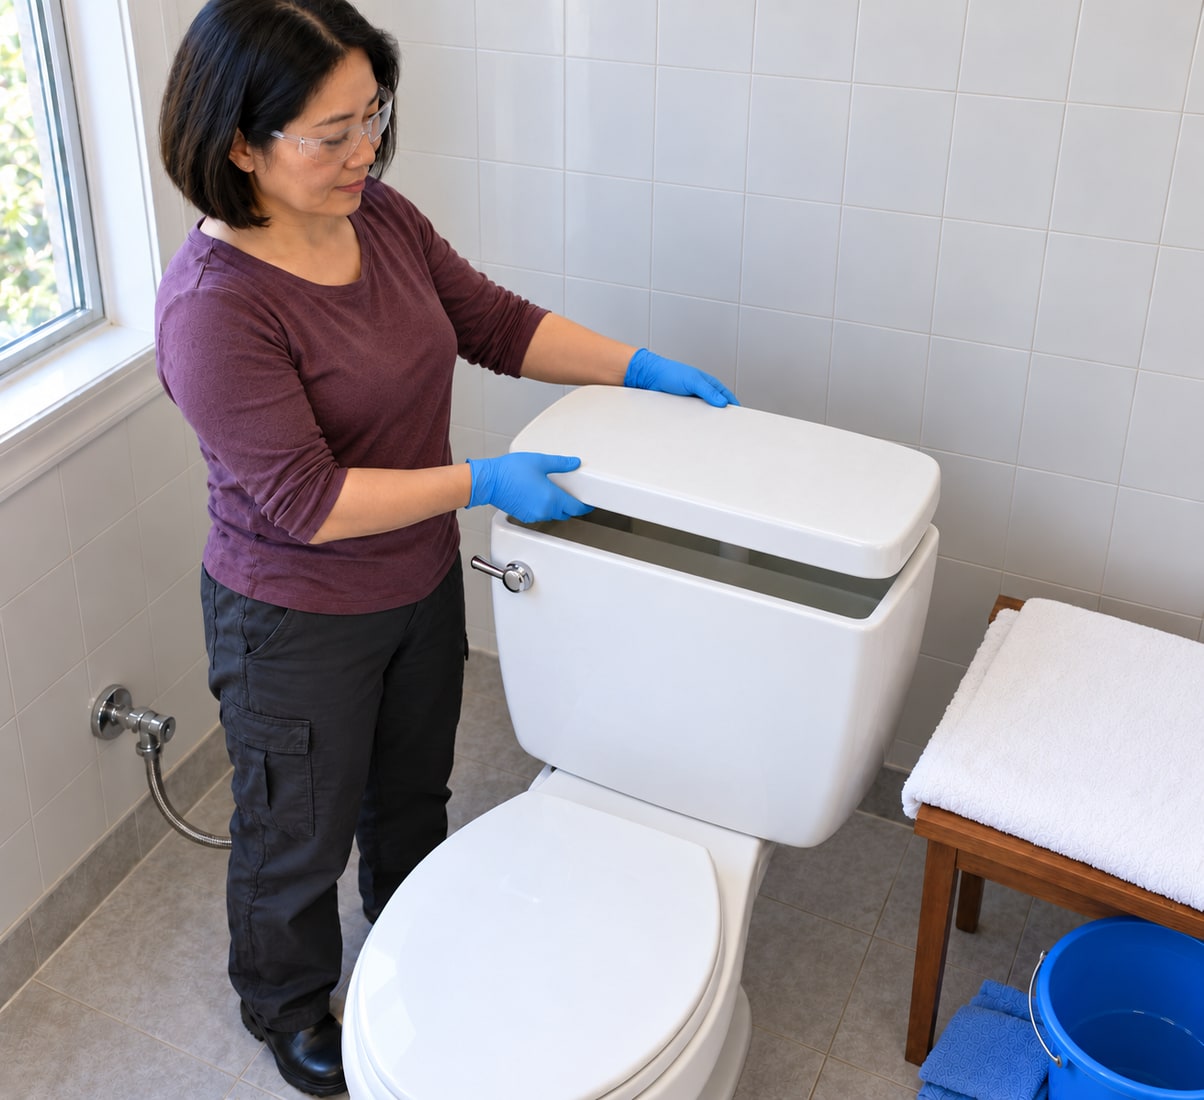
14. Refit the lid and verify the repair after normal use
Check nothing rubs the lid, chain, lever or float, then lift the ceramic cover with both hands and set it down gently. Reopen a sound shutoff to its proper operating position if it was closed for testing. Leave the floor and fittings dry and inspect again after normal use. Retain the toilet model, replacement part numbers and final settings so future maintenance uses the same verified compatibility. Recurring cycling, overflow, poor flushing or external moisture needs diagnosis rather than repeated adjustment. The completed repair must work with the lid fitted, not only with an open tank.
Video demonstrations
How to Install Platinum Toilet Fill Valve & 2" Flapper Kit - 818MP
Exact kit demonstration. Older recording uses visual cover alignment; use the current supplied guide and verify the C/L and overflow marks explicitly.
Korky Toilet Repair · English
Watch on YouTube ↗How to install an Adjustable Ultra Toilet Flapper by Korky
Exact adjustable flapper fitting and flush-duration demonstration. Settings depend on the actual toilet and known-correct reference, not a universal number.
Korky Toilet Repair · English
Watch on YouTube ↗How to Install 528X Korky 2X Long Life Toilet Fill Valve Kit by Korky
Same-family installation/refill demonstration with black-cap 528X, while the example uses silver-cap 528MP. The June2026 written guide covers both; actual supplied parts and instructions govern.
Korky Toilet Repair · English
Watch on YouTube ↗Final checks
No internal dye/level loss, no overflow, free chain and float, correct marked clearances, reliable flush and bowl refill, dry external connections, normal operation with lid fitted.
Sources
Korky818MP actual kit contents and compatibility ↗
Korky818MP kit installation sheet, January2022 ↗
Korky528MP/528X current installation guide, June2026 ↗
KorkyNo100 adjustable flapper instructions ↗
Thirteen original AI photographic illustrations and one CC0 diagnostic photograph are credited individually. The licensed photograph shows a different flapper. Illustrations are not exact branded part diagrams or certified readings; use actual marked components and instructions. Videos belong to their credited creators.