
Remove dry-strippable nonwoven wallpaper
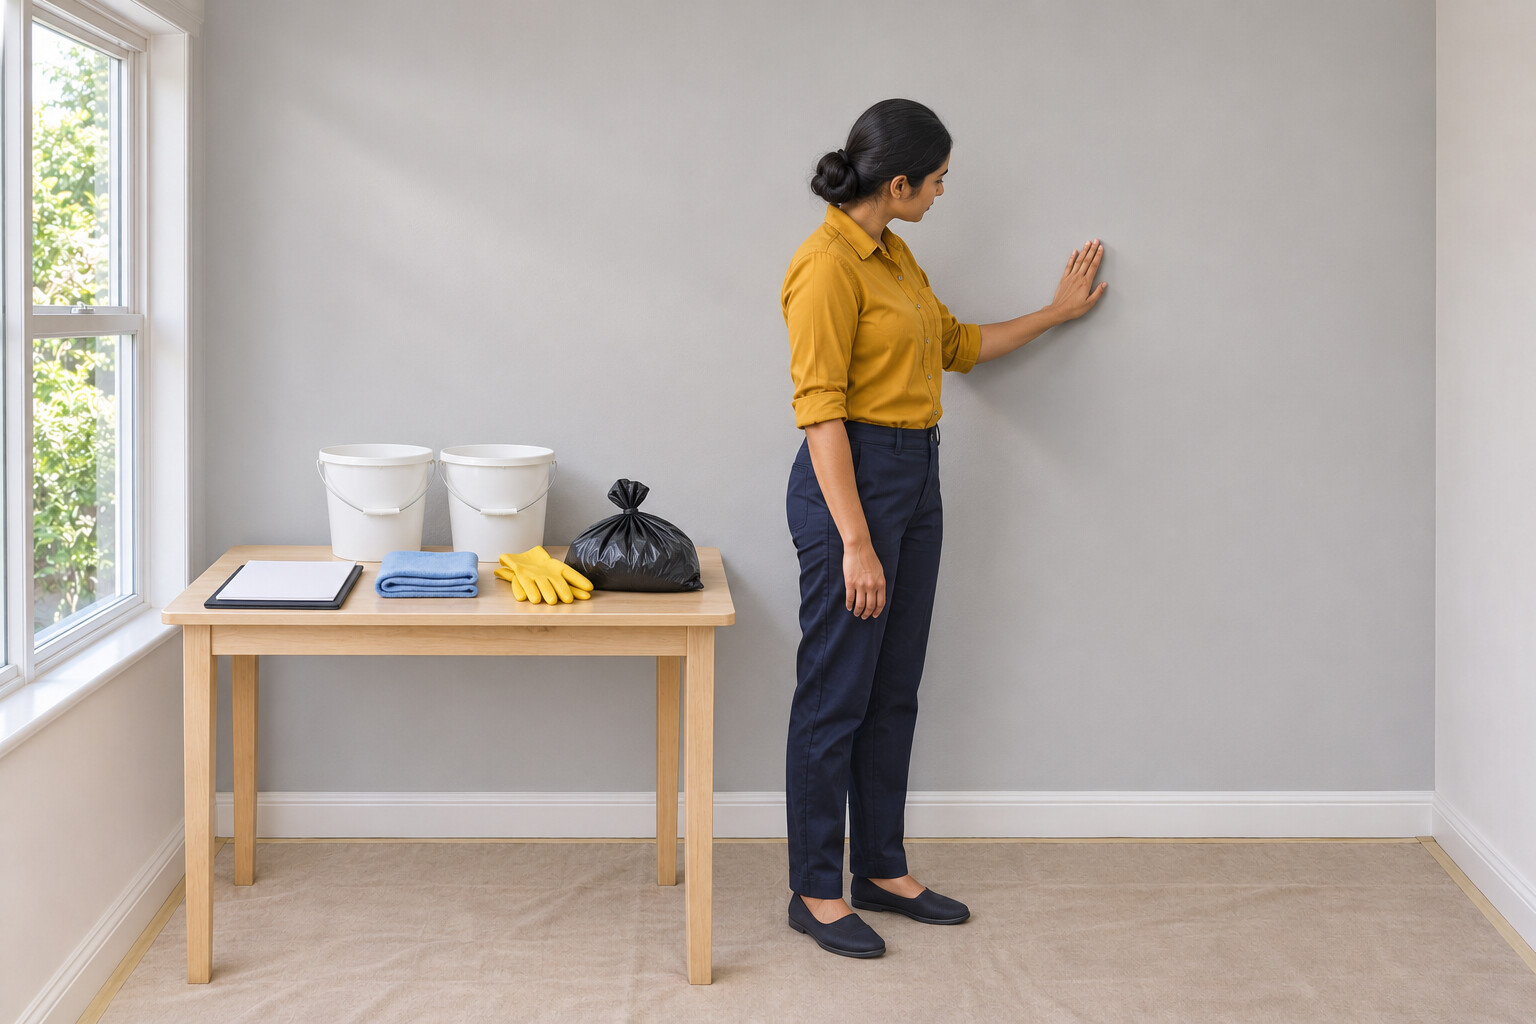
Remove confirmed dry-strippable nonwoven wallpaper and inspect the cleaned, dried wall, using documented material compatibility.
What will you learn?
Remove one confirmed dry-strippable nonwoven feature-wall covering, clean compatible paste residue and inspect the dried wall. Confirm the actual paper, paste and sound prepared substrate from records or a competent decorator before starting. Stop if dry release fails; this method includes no soaking, steam, scoring or wall repair.
Tools
- Competently selected access equipment suitable for two-handed work at the actual height, with its instructions
- Two buckets for cleaning and clean rinse waterSearch Amazon South Africa ↗
- Soft non-abrasive spongesSearch Amazon South Africa ↗
- Clean soft clothsSearch Amazon South Africa ↗
- Protective gloves suitable for the selected cleaning materialsSearch Amazon South Africa ↗
Materials
- Secured nonslip floor protectionSearch Amazon South Africa ↗
- Waste bagsSearch Amazon South Africa ↗
- Warm water
- A little mild washing-up liquid only if the identified paste and wall finish allow itSearch Amazon South Africa ↗
Step by step
Photorealistic illustration · Waey
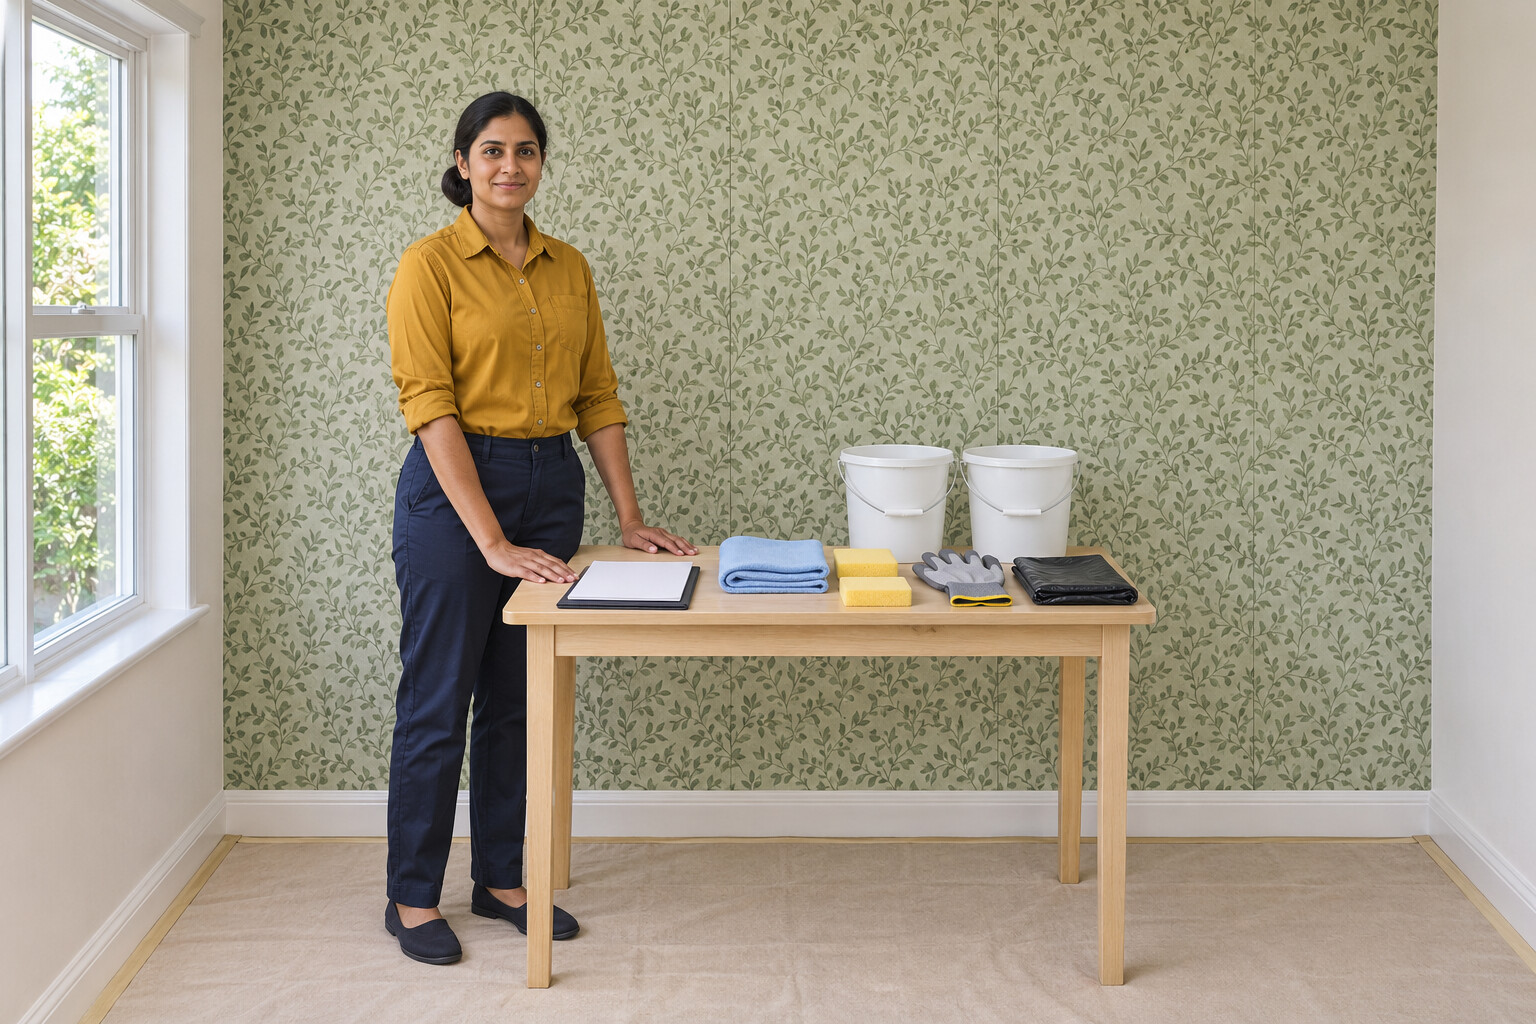
1. Confirm the paper, paste and wall
Use retained product and installation records, or a competent decorator’s assessment, to confirm a single dry-strippable nonwoven covering on a sound prepared wall and the compatible residue-cleaning method. Stop for unidentified layers, painted-over paper, damp, mould, loose plaster or uncertain old coatings. Do not score, sand or disturb an unknown surface.
Photorealistic illustration · Waey
2. Clear and protect the work area
Work from the floor wherever safely reachable. Higher sections need access equipment selected by a competent person for two-handed work, with the required support and fall protection; a stable ladder or stool alone is not approval for sustained pulling. If suitable access cannot be provided, stop and use a decorator. Move furniture away and protect the floor with a secured, nonslip dust sheet. Keep a clear route and a waste bag nearby. Use a suitable stable platform for high sections, following its instructions; never stand on furniture or overreach. Plan to keep electrical fittings dry without removing their covers. Stop if the whole area cannot be reached safely or moisture cannot be kept away from fittings.
Photorealistic illustration · Waey
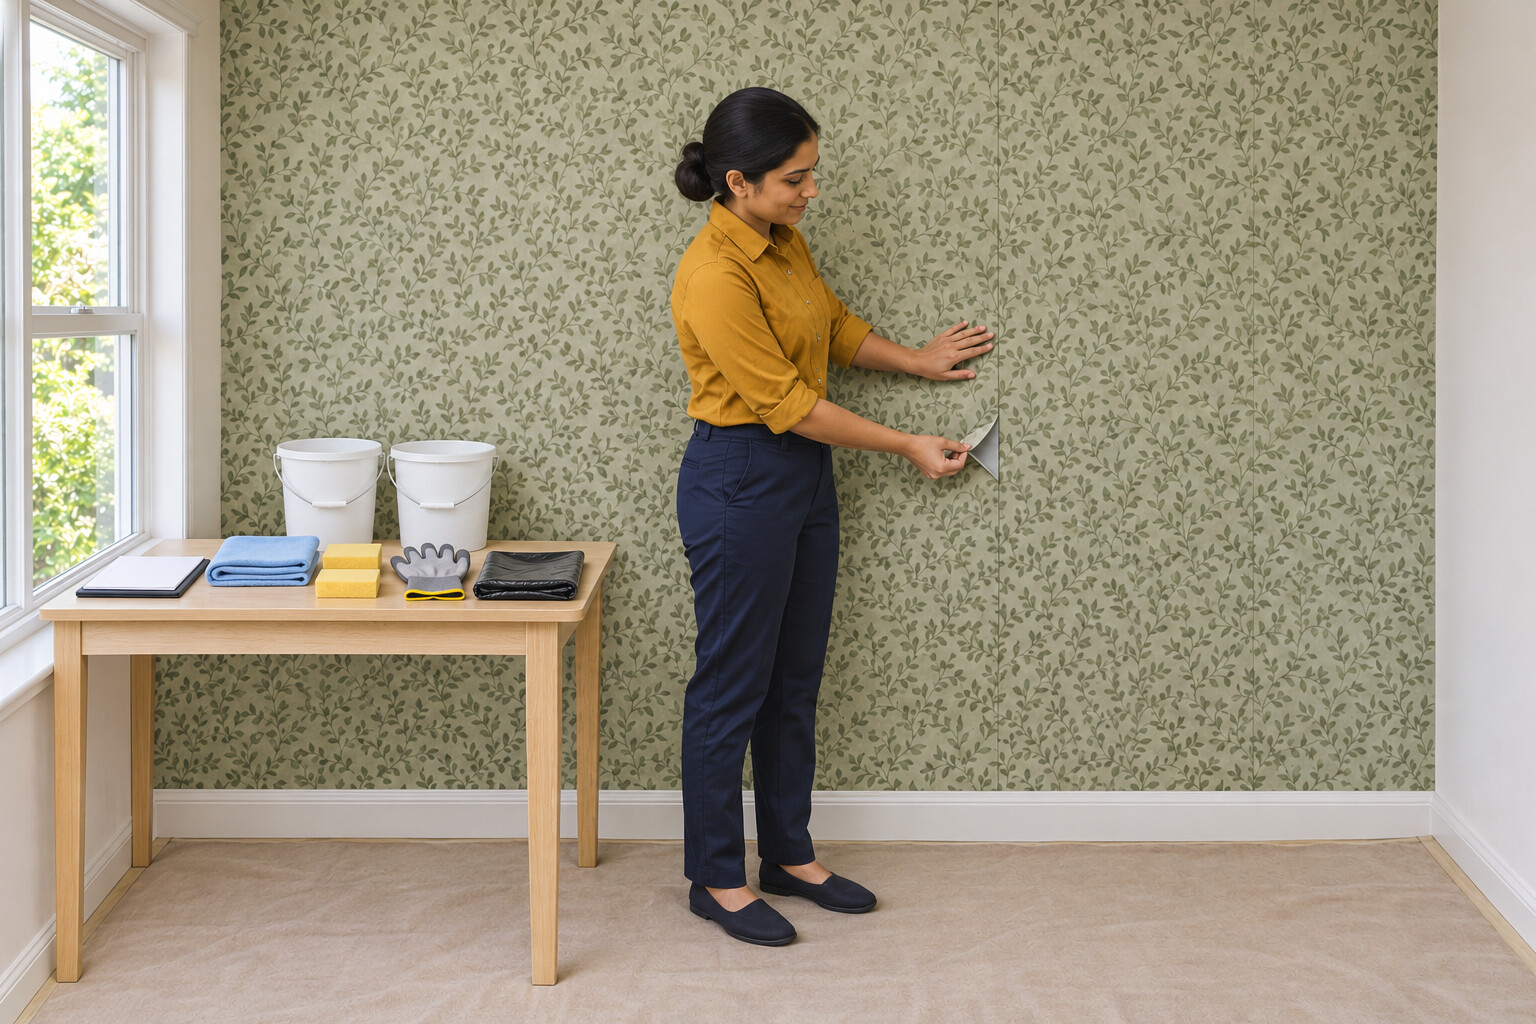
3. Test a small edge before stripping the wall
At a loose seam, gently lift a small edge and pull slowly at a low angle. Continue only if the confirmed dry-strippable paper releases with its backing and the wall face stays intact. Stop if it resists, leaves backing or lifts the wall surface; do not force it or switch to scoring, soaking or steam.
Photorealistic illustration · Waey
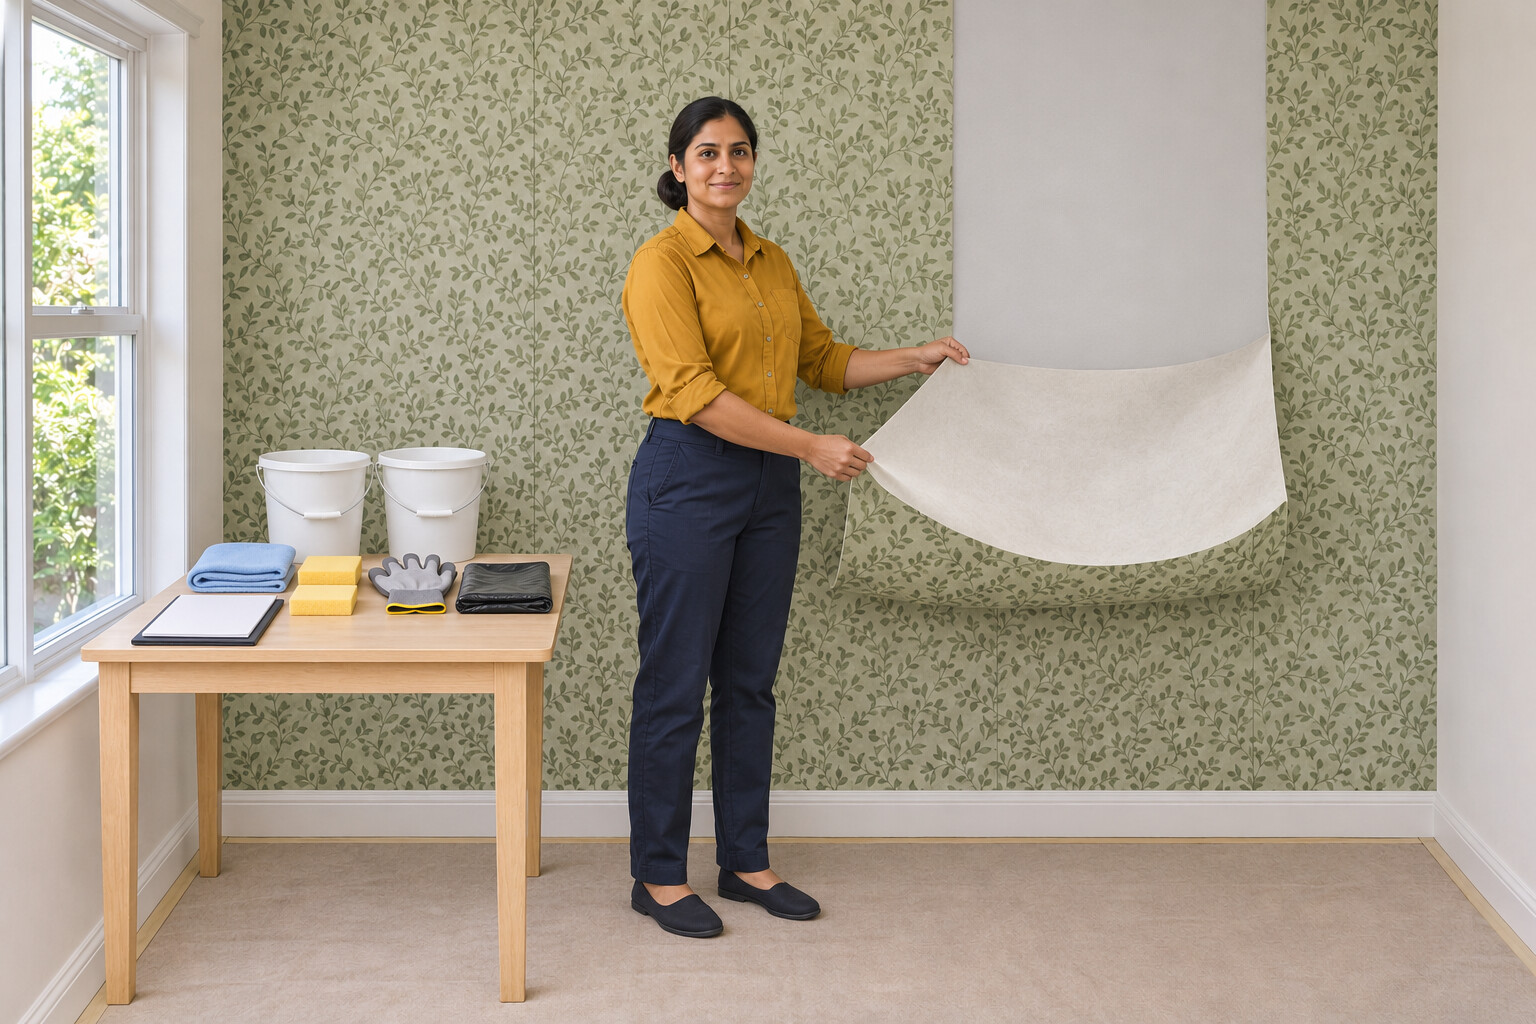
4. Peel each length with control
After the small test succeeds, work one length at a time. Hold the released paper with both hands and draw it back slowly close to the wall, keeping the pull low rather than jerking outward. Step down before repositioning your platform instead of reaching. Gather the loose sheet without pulling on adjacent lengths and bag it as you go. Keep checking the exposed face; stop immediately for tearing wall material, backing left behind or increasing resistance.
Photorealistic illustration · Waey
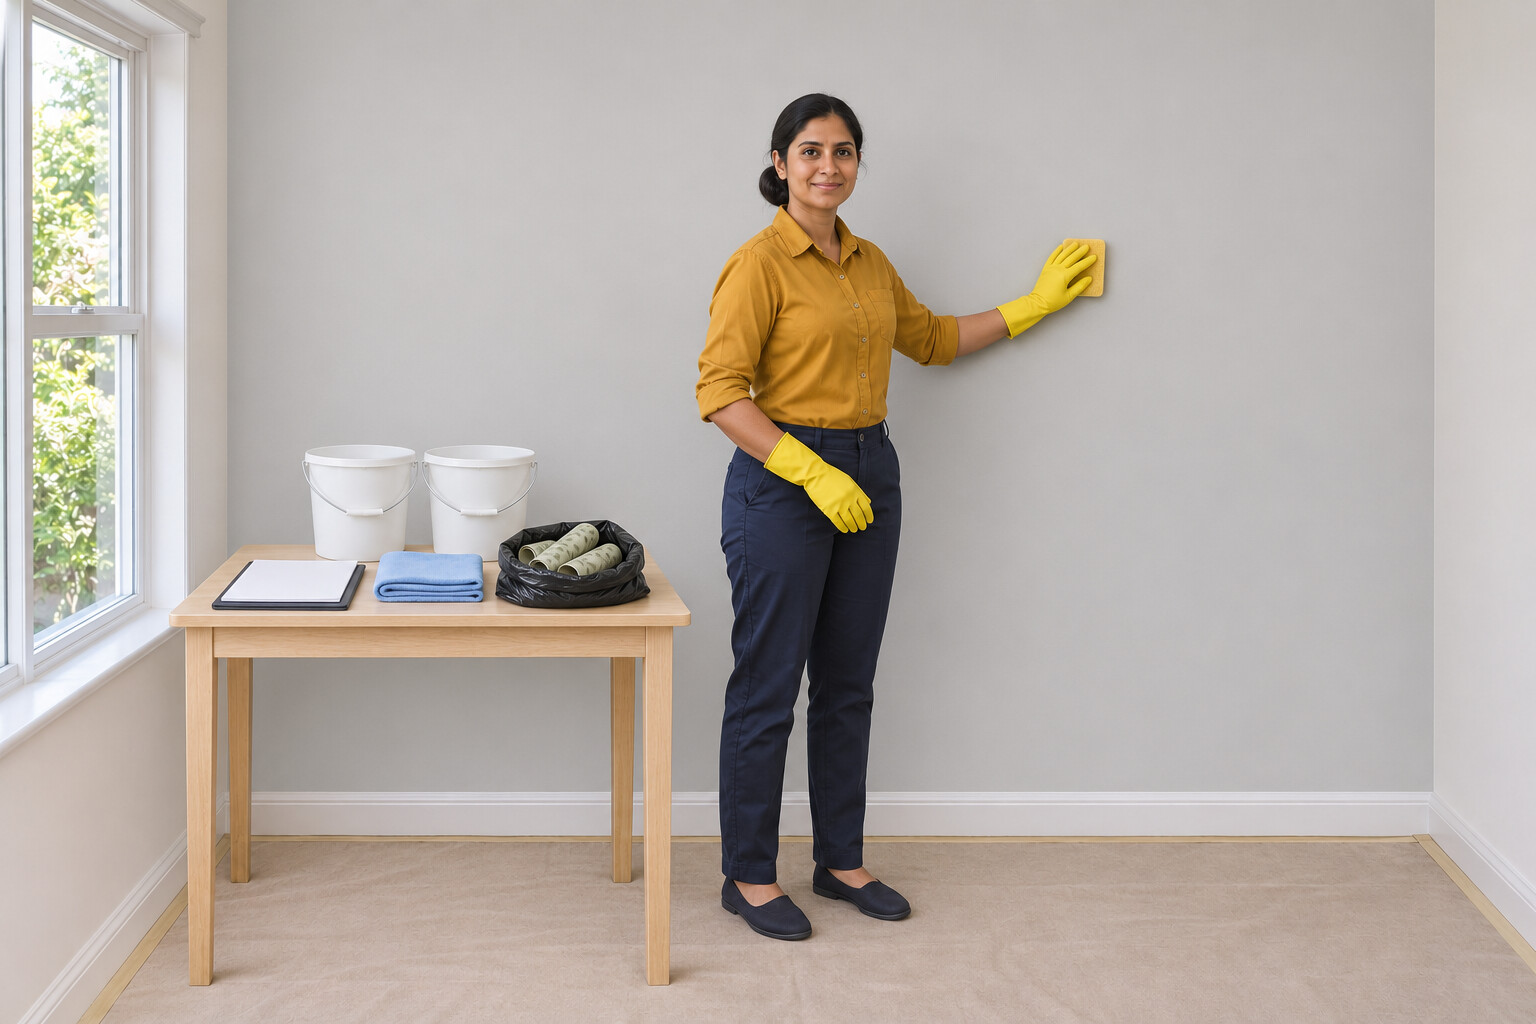
5. Clean paste residue and let the wall dry
After dry removal, check the exposed wall for paste residue. Follow the identified paste and wall-finish instructions, testing gentle cleaning in a small area first. If they allow it, use a well-wrung sponge with warm water and a little mild washing-up liquid, then wipe with clean water on a damp sponge. Change the water often and avoid soaking the wall. Keep moisture away from electrical fittings; do not remove covers or spray the wall. Let it dry fully, then check for tacky paste, loose surface or damage. Stop for stubborn residue or a softening surface rather than scraping harder.
Photorealistic illustration · Waey
6. Inspect before the next finish
Once fully dry, inspect in good light for remaining backing, shiny or tacky adhesive, lifted coating and damaged wall face. A clean-looking dry peel alone does not make a wall ready for paint or new wallpaper. Follow the next finish manufacturer’s preparation and primer requirements only after the surface is sound and clean. Leave repair or uncertain residue to a competent decorator. Remove collected waste and clean the floor before taking away the protection.
Video demonstrations
Removing Non-Woven Paste-The-Wall Wallpaper from Milton & King
Visual reference for handling a released sheet (sample at 0:02). The sample does not verify your paper, paste or wall, safe access or cleanup. Only a muted visual sample was reviewed.
Milton & King · English; audio not reviewed
Watch on YouTube ↗How To Remove Different Types of Wallpaper | Ask This Old House
Reference for comparing wallpaper samples (visual sample at 0:35). Methods vary by wallcovering; this article is limited to confirmed dry-strippable nonwoven paper. The video also includes scoring methods that are outside this tutorial. Only muted visual samples were reviewed.
This Old House · English; audio not reviewed
Watch on YouTube ↗Final checks
Paper and backing removed; no loose wall face or stubborn adhesive; surface fully dry and sound before applying the next finish manufacturer’s preparation requirements. Stop for uncertainty.
Sources
Instruction images generated with OpenAI and reviewed individually and as a sequence. They show visible context, not physical removal tests or wall-condition certification. External photos and video frames were not used as generation inputs.