
Refresh the surface compost of a potted bay shrub
Replace loose, tired surface compost around an established bay without lifting the plant or cutting roots. Keep the original stem level and watering space, then check moisture and plan feeding separately.
What will you learn?
Replace loose, tired surface compost around an established bay without lifting the plant or cutting roots. Keep the original stem level and watering space, then check moisture and plan feeding separately.
Tools
- Gardening glovesSearch Amazon South Africa ↗
- Small rounded hand scoopSearch Amazon South Africa ↗
- Tray for removed compostSearch Amazon South Africa ↗
- Clean bowl for fresh compostSearch Amazon South Africa ↗
- Small watering can with a gentle roseSearch Amazon South Africa ↗
- Cloth for the pot rimSearch Amazon South Africa ↗
Materials
- Peat-free loam-based compost for established bay, such as John Innes No3Search Amazon South Africa ↗
- Water as needed
Step by step
Photorealistic illustration · Waey
1. Check that a shallow refresh is appropriate
Choose a correctly identified, established bay laurel in an accessible outdoor pot. Schedule this routine task for early spring in a year when repotting is not needed. Inspect the plant and surface first: persistent poor growth, a tight root mat, instability or waterlogging call for a fuller assessment. Do not scrape through roots to make room, and do not treat fresh surface compost as a cure for a congested root system.
Photorealistic illustration · Waey
2. Prepare the mix and remember the original level
Read the fresh compost label for suitability, handling and included feed before opening it carefully. Use a loam-based peat-free mix intended for long-term woody container plants, rather than garden soil or a layer of concentrated fertiliser. Note where the current surface meets the woody stem and the space below the rim. Set separate containers for old and fresh material beside the pot so the removed material is not accidentally returned.
Photorealistic illustration · Waey
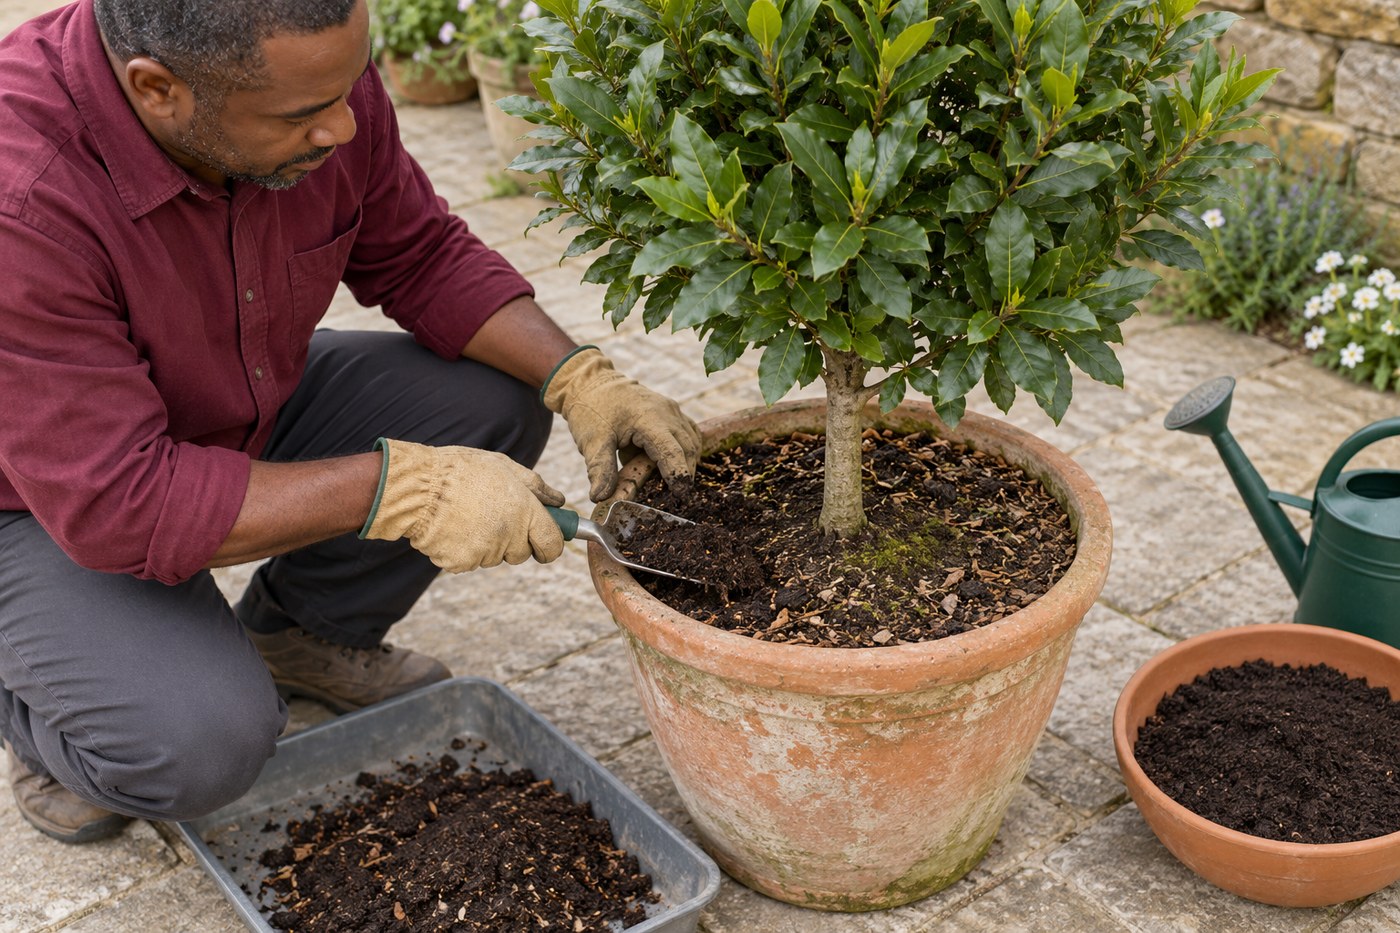
3. Remove only loose surface material
Lift fallen leaves and loose debris by hand, then gently ease away small amounts of accessible old compost with the rounded scoop, working away from the stem. General advice describes the upper few centimetres, but that is not a depth to force through roots. Stop wherever roots resist or become exposed; leave those areas undisturbed. If little loose material can be removed safely, stop the task and seek advice about repotting instead.
Photorealistic illustration · Waey
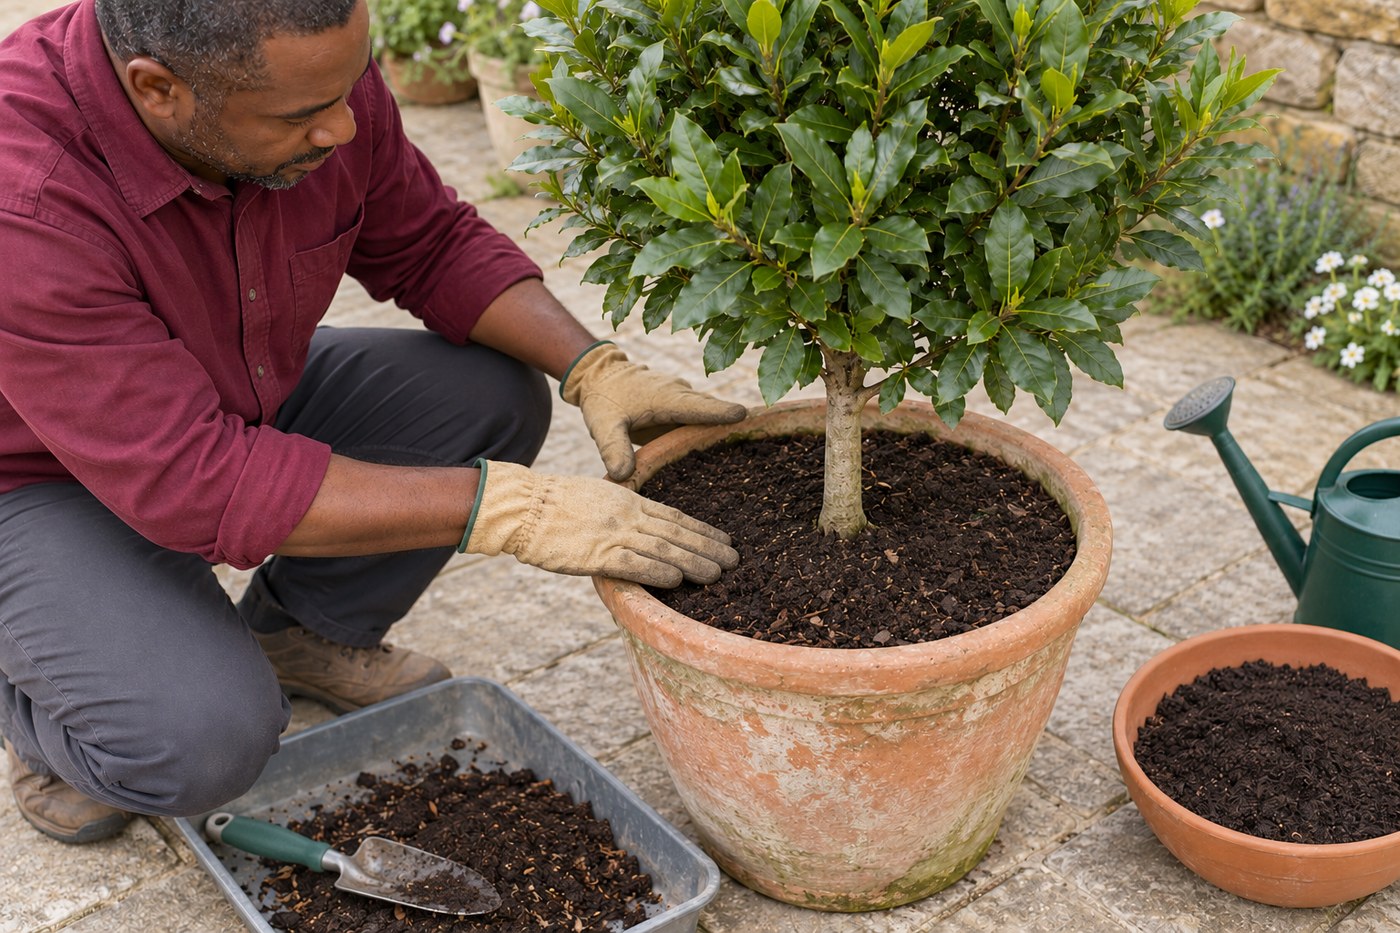
4. Replace the removed amount without raising the stem level
Add fresh mix gradually to the spaces you have cleared, replacing approximately the same volume rather than piling an extra layer on top. Ease it level with gloved fingers and settle it lightly without packing hard. Keep compost off the woody trunk and preserve the original root-collar level and watering headspace below the rim. Do not cover roots by raising the entire surface or add a decorative mulch during this task.
Photorealistic illustration · Waey
5. Check moisture and water gently if needed
Check moisture just beneath an accessible part of the surface without forcing a finger through roots. If watering is needed, use the can’s gentle rose slowly so the fresh mix is not washed away. Allow surplus water to leave through the existing drainage route and avoid leaving the pot standing in collected water. If water pools persistently or drainage is poor, stop adding water and investigate the cause rather than topping up more compost.
Photorealistic illustration · Waey
6. Finish cleanly and plan continuing care
Wipe the rim, collect spilled compost, clean tools and wash your hands. Recheck the surface after settling; correct only small hollows without burying the stem or losing watering space. Record the refresh and any feed already in the compost. Bay still needs an appropriate growing-season feeding plan, following plant and product guidance; this task adds no separate dose. Continue moisture checks and arrange repotting advice if congestion, poor drainage or declining growth persists.
Watch the method
How to Top Dress Plants in Pots or Containers with Lee Bestall
Lee Bestall demonstrates surface top-dressing. Follow the written bay-specific mix and stop at roots; the video also shows other container work.
Spear & Jackson · English (auto-caption metadata; audio unconfirmed)
Watch on YouTube ↗Final checks
Roots and stem base undisturbed; only loose surface compost replaced; original surface level and watering headspace retained; moisture and drainage checked; existing feed recorded and continuing care planned.
Sources
RHS — Container plant maintenance context ↗
Spear & Jackson — Top-dress plants in pots or containers, Lee Bestall ↗
Gardening Express — Container maintenance ↗
AI-generated representative photographic illustrations by Waey using only Waey-generated references. No third-party photographs reused. External video belongs to its credited creator.