
Edge-band a plywood panel with iron-on wood veneer
Cover one straight bare plywood edge with preglued wood veneer, then cool, trim, smooth and check the bond.
What will you learn?
Cover one straight bare plywood edge with preglued wood veneer, then cool, trim, smooth and check the bond.
Tools
- Dedicated household iron with a secure upright restSearch Amazon UAE ↗
- Stable workbench, padded bench vise, and suitable clamps with a wooden backstopSearch Amazon UAE ↗
- Tape measure or rulerSearch Amazon UAE ↗
- ScissorsSearch Amazon UAE ↗
- Smooth wooden pressing blockSearch Amazon UAE ↗
- Sharp utility knife with retractable bladeSearch Amazon UAE ↗
- Sanding blockSearch Amazon UAE ↗
- Sharp wood chisel for controlled edge paringSearch Amazon UAE ↗
- Sacrificial cutting boardSearch Amazon UAE ↗
- Safety glassesSearch Amazon UAE ↗
- Suitable wood-dust extraction/collection and Class M vacuum for cleanupSearch Amazon UAE ↗
- Fit-tested FFP3 particulate respirator for sanding; suitable seal on a clean-shaven faceSearch Amazon UAE ↗
Materials
- Sound bare plywood panel, example 18 mm thickSearch Amazon UAE ↗
- WiseWood preglued real-wood iron-on banding slightly wider than the panel edgeSearch Amazon UAE ↗
- 120-grit abrasive for final edge smoothingSearch Amazon UAE ↗
- Clean cloth for residue removalSearch Amazon UAE ↗
- Small matching plywood offcut and banding for a heat trial
Step by step
Photorealistic illustration · Waey
1. Prepare a sound straight panel edge
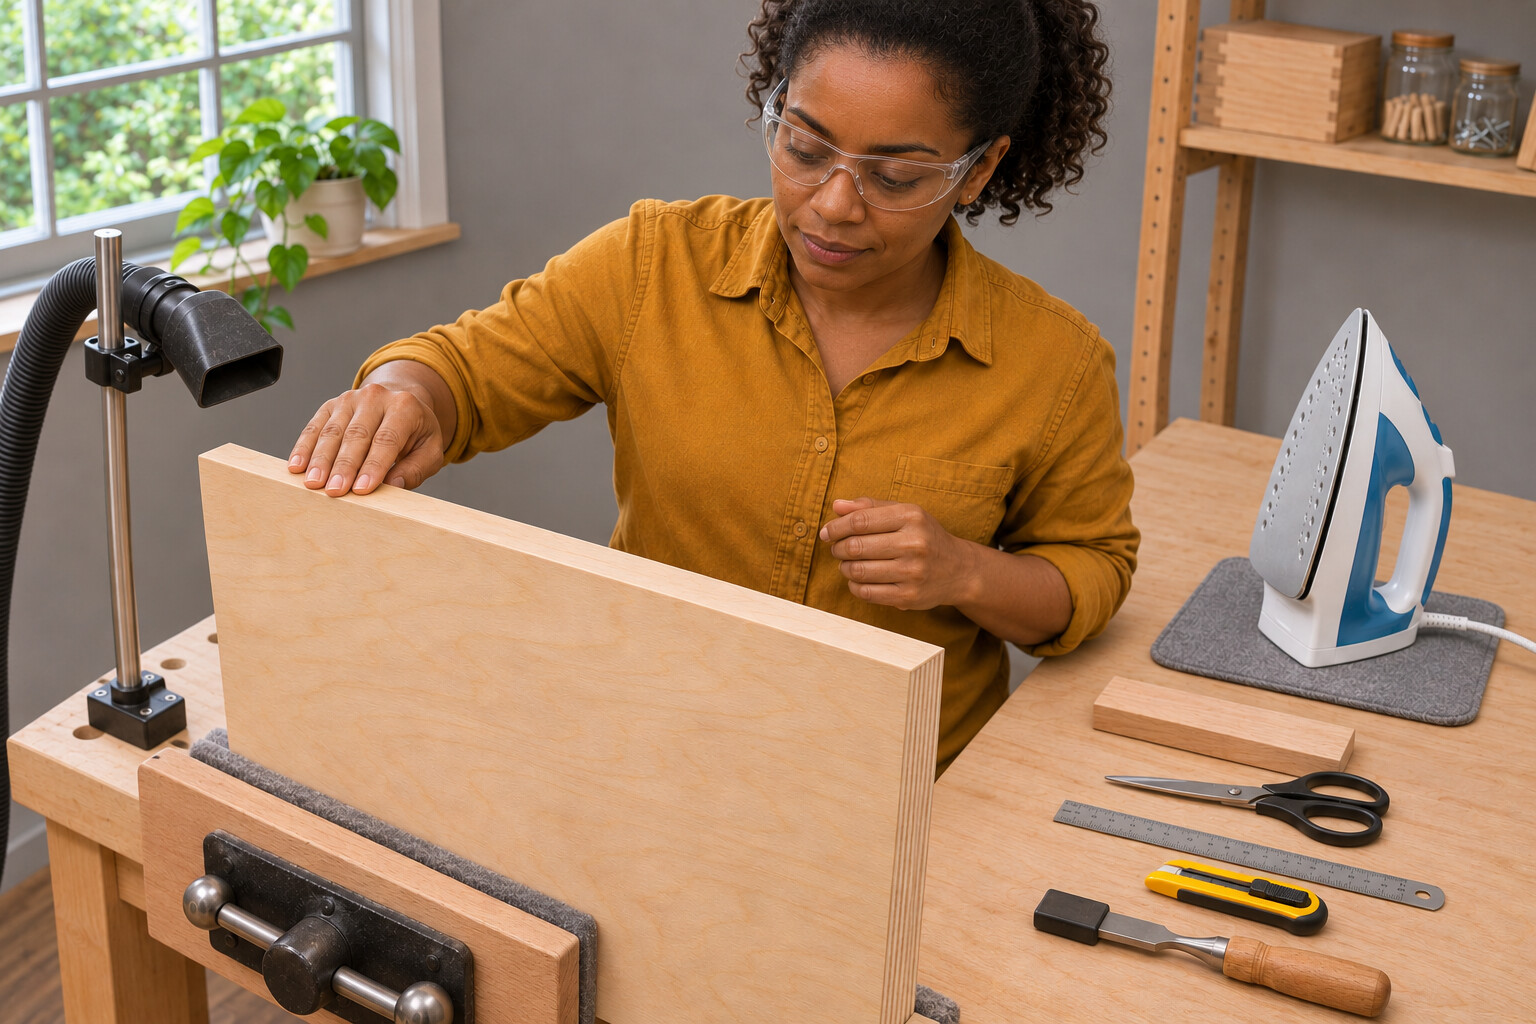
Use a small removable plywood panel with a clean, square edge and no loose layers, swelling or deep voids. Clamp it so the edge is accessible and the panel cannot tip during heating or pressing. Smooth rough saw marks and remove dust before bonding; do not expect thin veneer to bridge damaged material. This guide starts with a sound bare edge, so stop if old banding or an unknown coating must first be removed.
Photorealistic illustration · Waey
2. Cut the matching preglued strip slightly long
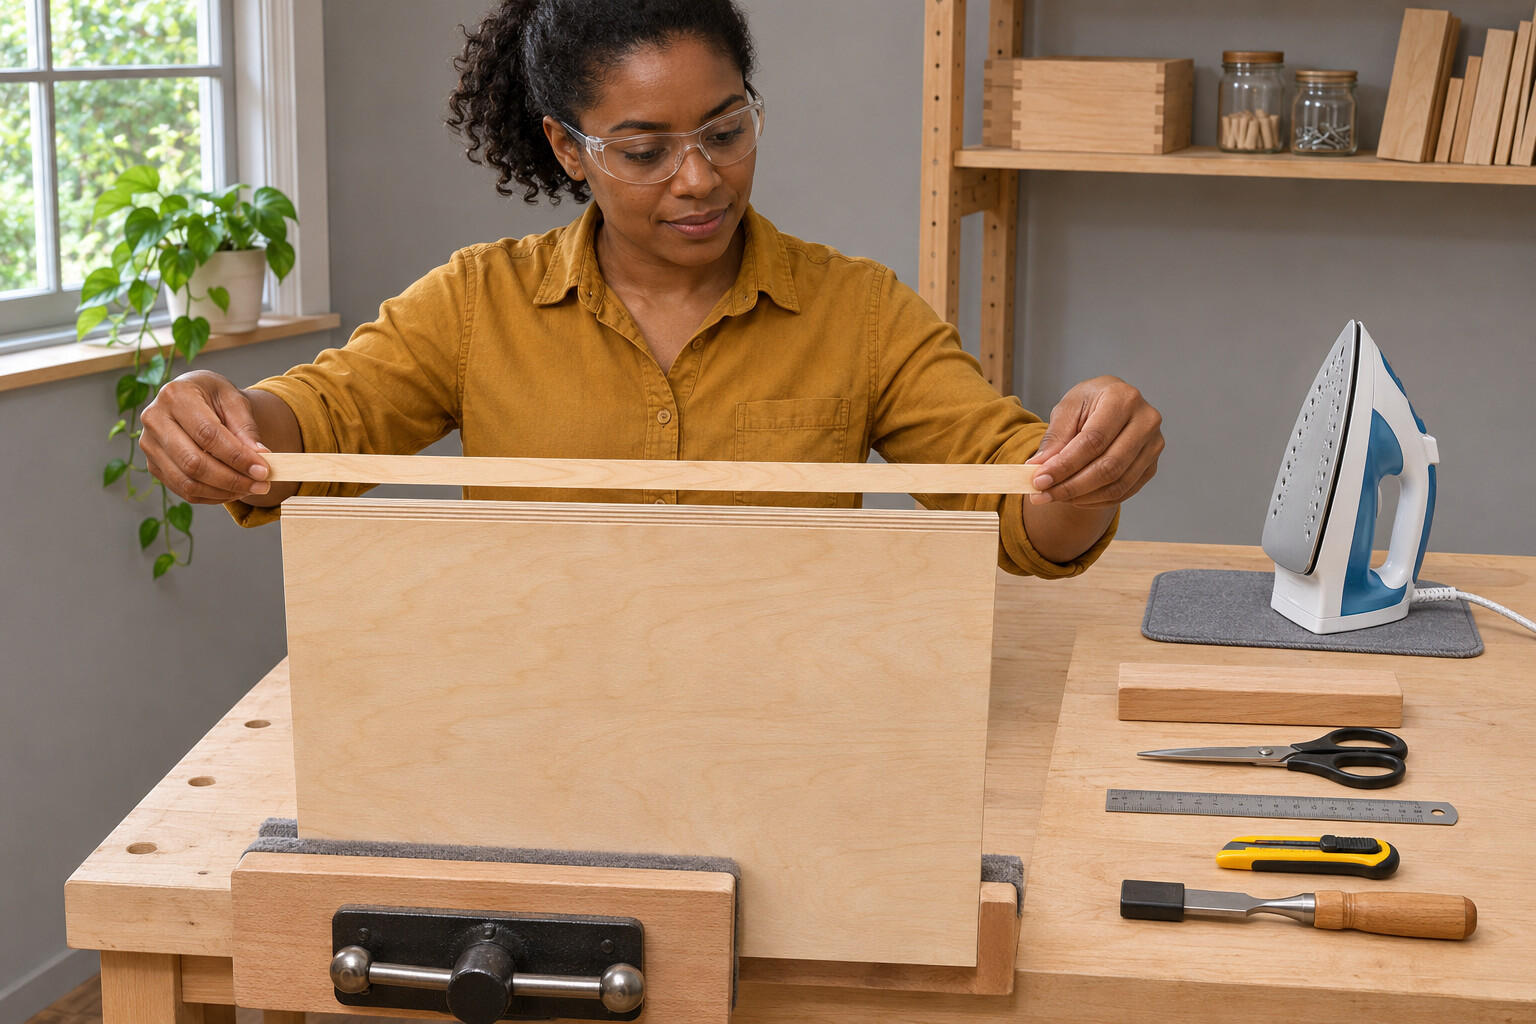
Choose real-wood iron-on banding with its hot-melt adhesive already applied, not pressure-sensitive tape or unglued veneer. Its width must leave a small trimming allowance on both panel faces. Check the grain and avoid a splice in the most visible part of this short edge. For the selected supplier’s method, cut the strip about 13 mm longer than the panel edge and centre it with overhang at both ends. Keep the glue side against the plywood.
Photorealistic illustration · Waey
3. Anchor the first short section with controlled heat
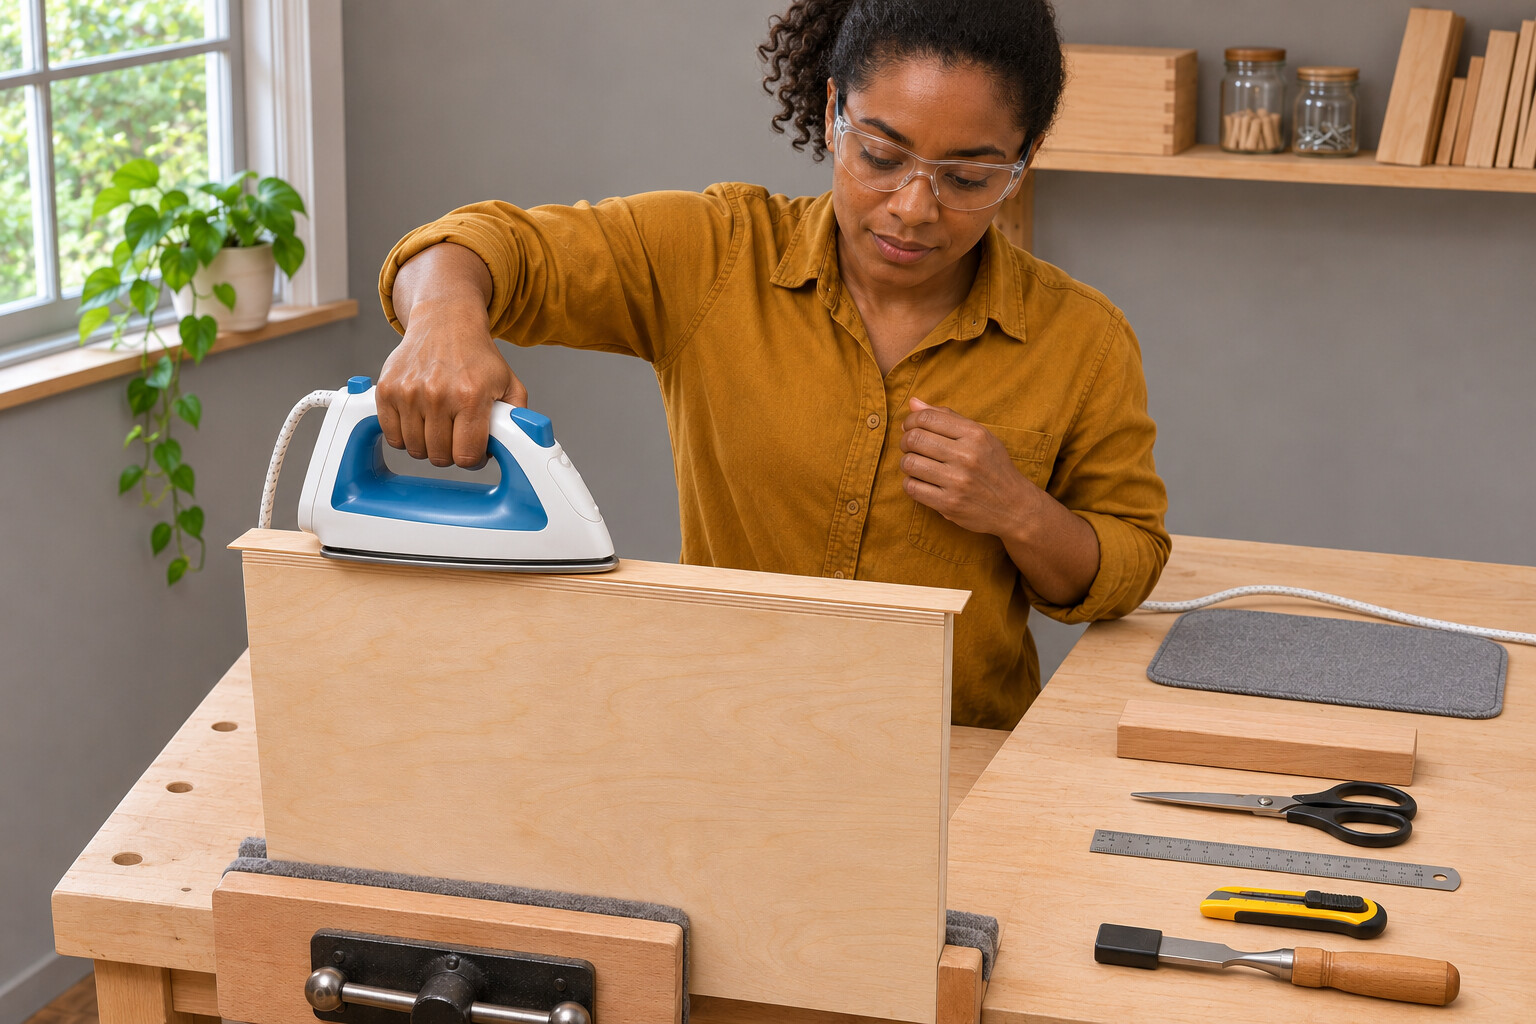
Use a dedicated dry iron with steam off, and try the selected banding on a matching offcut first. The selected WiseWood instructions call for medium heat; another brand’s cotton setting is not a universal substitute. Position the strip, keep your free hand clear of the hot sole and heat the first 100–150 mm with steady downward pressure. Let that short section cool so it anchors the strip before continuing. Stop if the veneer scorches or the panel’s face veneer begins to discolour.
Photorealistic illustration · Waey
4. Bond the length and press any loose spots while warm
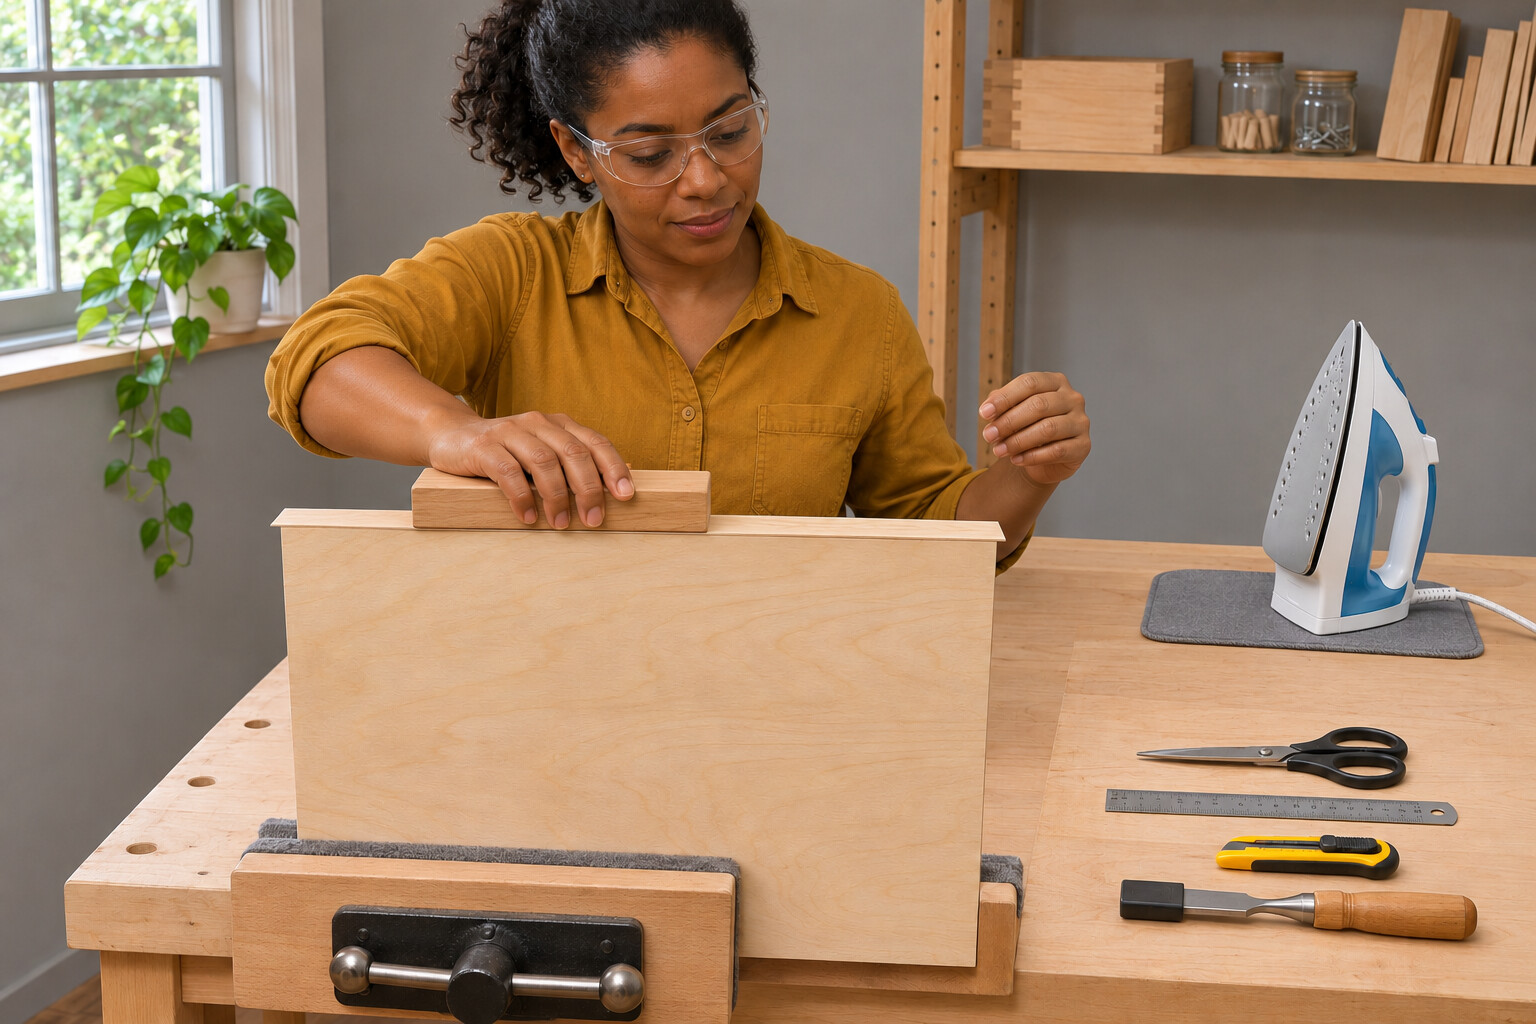
Move the iron steadily along the remaining strip with downward pressure, keeping the band centred instead of dragging it sideways. Check that both margins have bonded rather than heating only the middle. If an area curls or stays loose, reheat that area and immediately press it flat with the smooth wood block. Keep fingers away from the hot adhesive. Work through the full length, then leave it undisturbed to cool completely before any cutting.
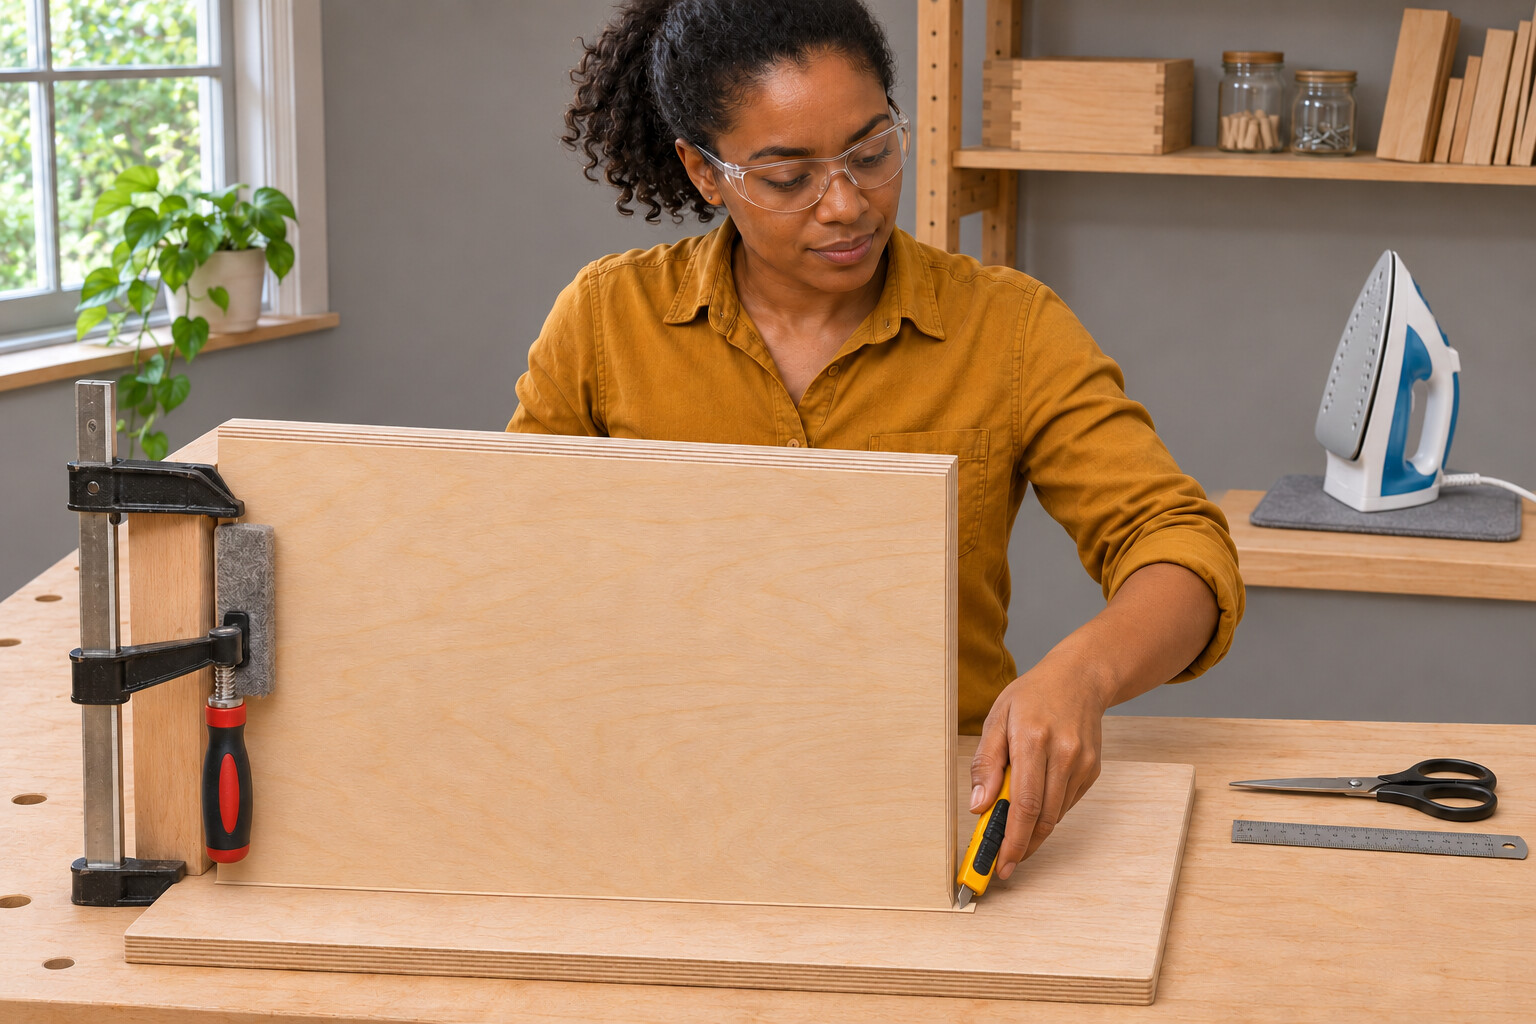
Photorealistic illustration · Waey
5. Trim the cooled ends with supported light cuts
Wait until the band and adhesive have cooled completely, then support the overhanging end on a sacrificial cutting board. Keep the panel clamped and your supporting hand outside the blade path. Use the sharp utility knife to score across the veneer back to the panel end with two or three controlled passes, instead of forcing one deep cut that can split the grain. Retract the blade before moving the work. Repeat at the other end without levering the fresh bond upward.
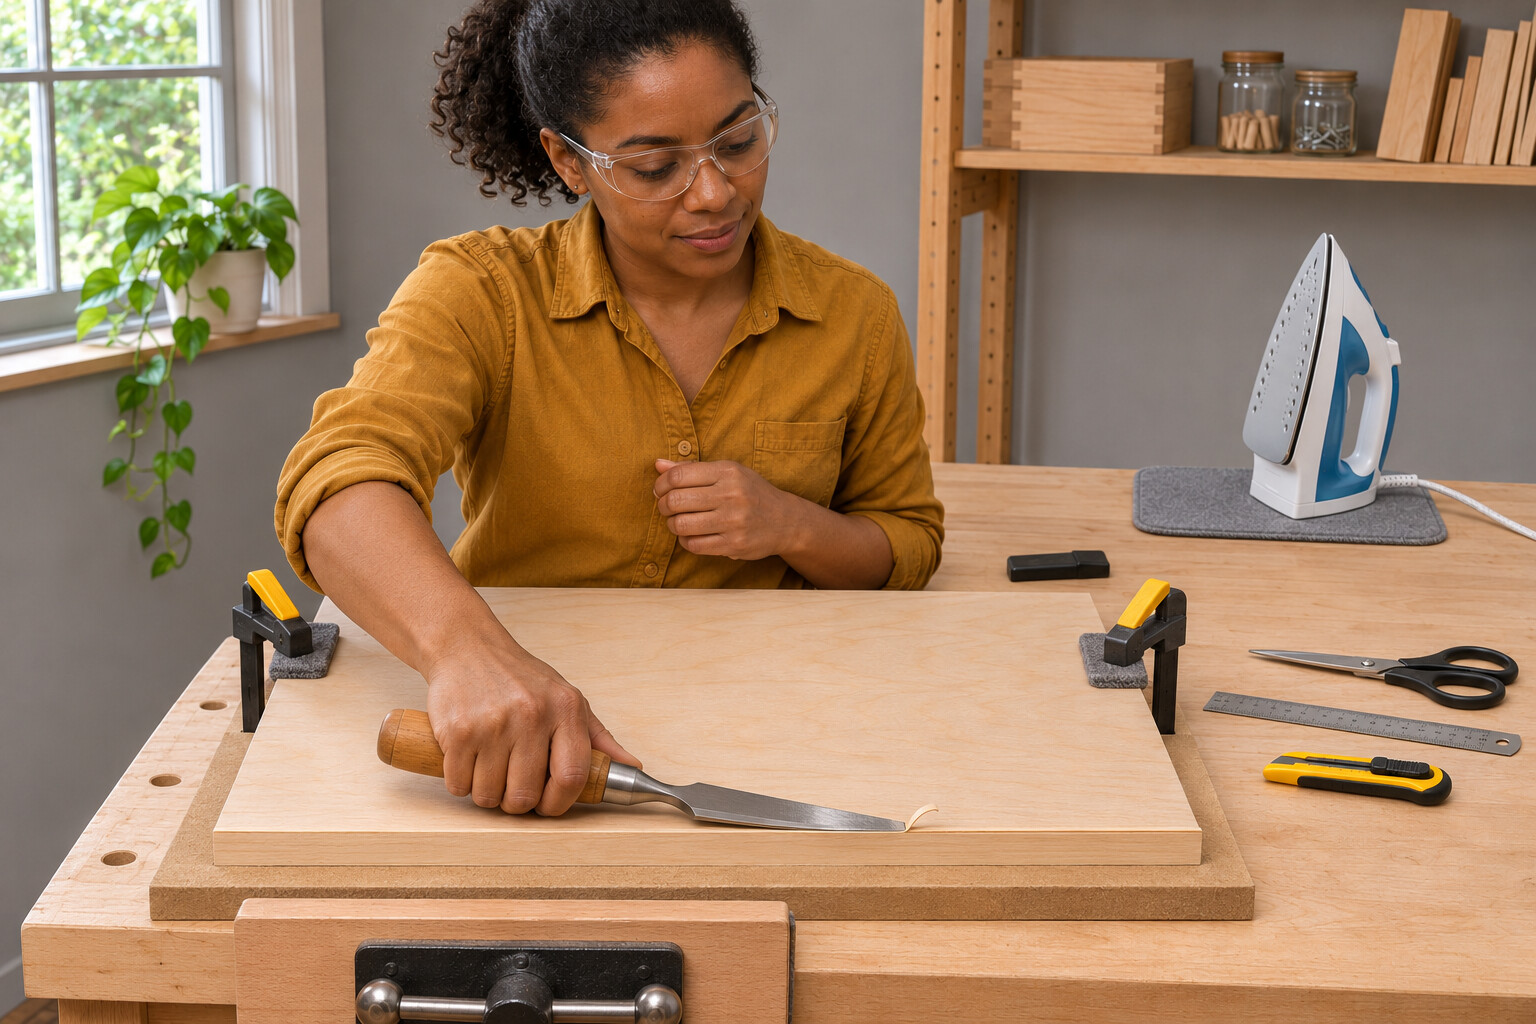
Photorealistic illustration · Waey
6. Pare the long overhangs without gouging the face
Secure the panel for each long side before cutting. Use a sharp chisel at a slight skew to pare the small veneer overhang in short controlled strokes, following the grain where it cuts cleanly. Keep the blade from digging into the plywood face and keep both hands behind its cutting direction. Stop and change approach if the grain starts to tear; do not force a long pass. Leave a very small proud edge for the sanding block rather than gouging the panel to make it instantly flush.
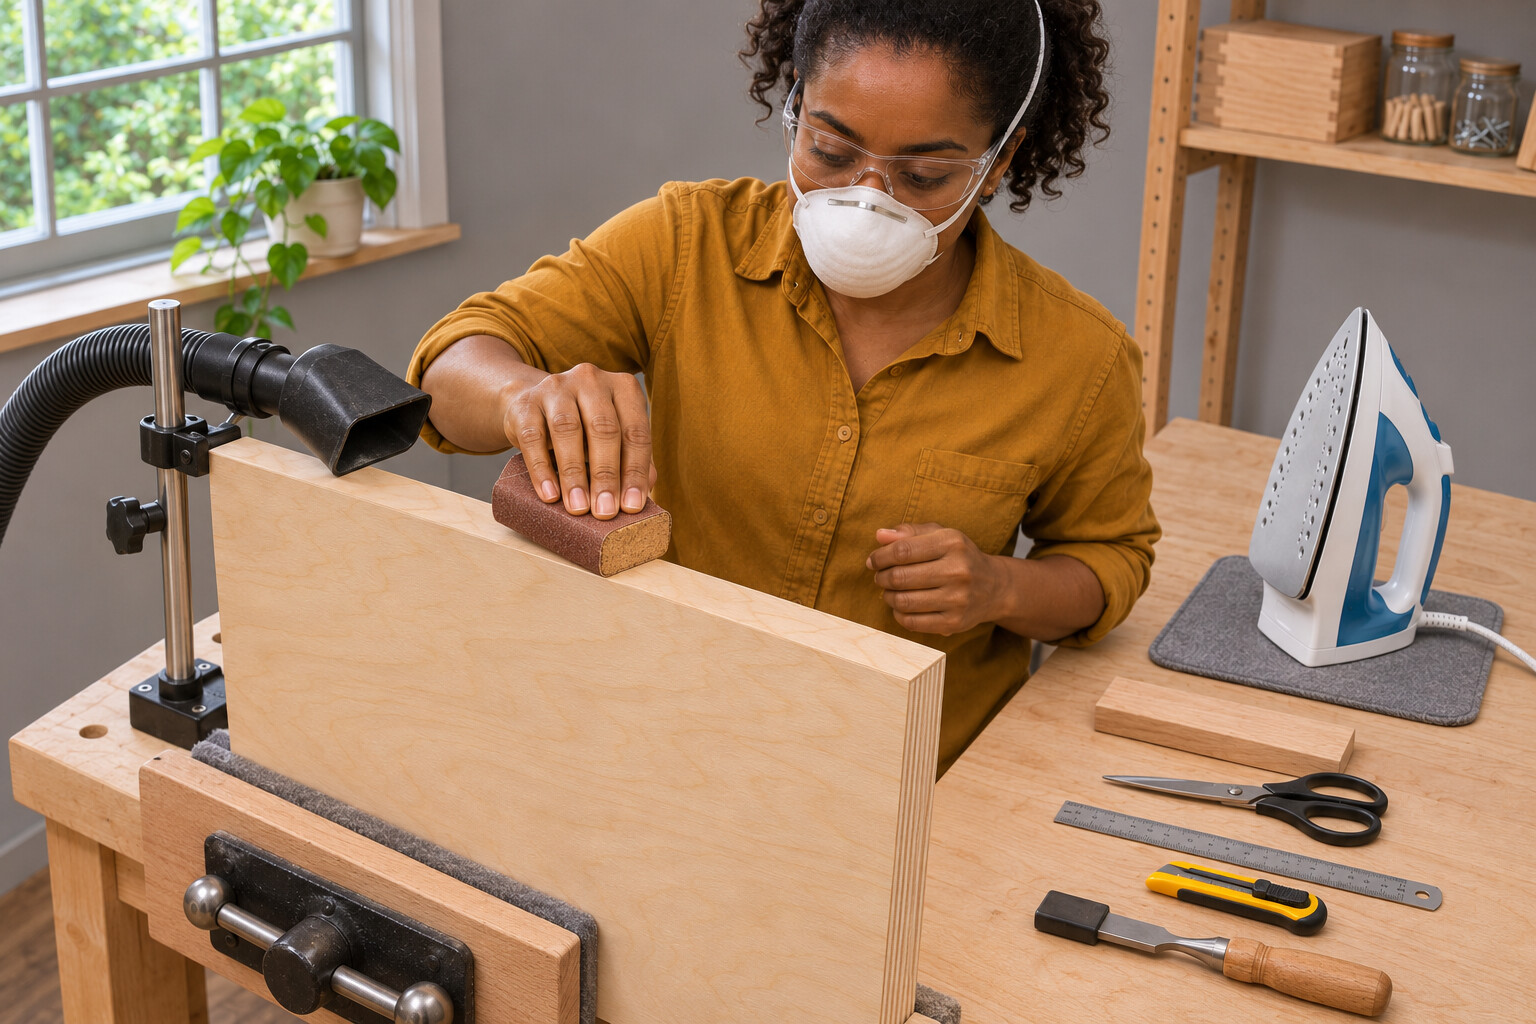
Photorealistic illustration · Waey
7. Ease the edges lightly and collect the dust
Use 120-grit abrasive on a sanding block for the selected supplier’s finishing step. Work lightly at a slight angle to remove the last small overhang and ease the sharp corner, without sanding through the thin face veneer. Use dust collection, eye protection and the selected properly fitted particulate respirator during sanding. Keep dust out of the room and clean with the suitable vacuum; do not blow it off or sweep it dry. Stop when the edge is smooth, not heavily rounded.
Photorealistic illustration · Waey
8. Check the bond before considering a separate finish
Inspect the full cooled edge and both ends for gaps, lifting, sharp splinters or exposed plywood. Correct a loose spot by the supplier’s reheat-and-block method, then let it cool again before touching up any trim. Do not hide a poor bond beneath paint. The edge is complete when the strip is securely bonded and smoothly trimmed. WiseWood specifies waiting 24 hours before staining or finishing; any later coating needs its own compatibility, application and drying instructions. Unplug the iron and let it cool safely before storage.
Video demonstrations
How To Edge Band Plywood - Iron On Veneer Edge Banding
Shows an iron applying veneer banding to a panel edge at 0:52. Follow the selected WiseWood heat, cooling and hand-clearance instructions in this guide.
John Heisz - I Build It · Spoken language unconfirmed
Watch on YouTube ↗Woodworking Tip: How to Use Iron on Edge Banding
Shows a small blade cutting excess banding against a supporting board beside an upright panel at 3:14. Its larger panel and knife arrangement differ from this clamped small-panel method; use the supported cuts and hand positions described here.
Jon Peters - Longview Woodworking · Spoken language unconfirmed
Watch on YouTube ↗Final checks
The whole selected edge and both ends stay bonded, trimmed smooth and free of sharp splinters; correct lifts before coating.
Sources
Instruction photographs generated with OpenAI image generation and reviewed for this guide.