
Install and commission a KE100 smart radiator head
Replace a confirmed compatible thermostatic radiator head, pair its KH100 hub and test a useful heating schedule.
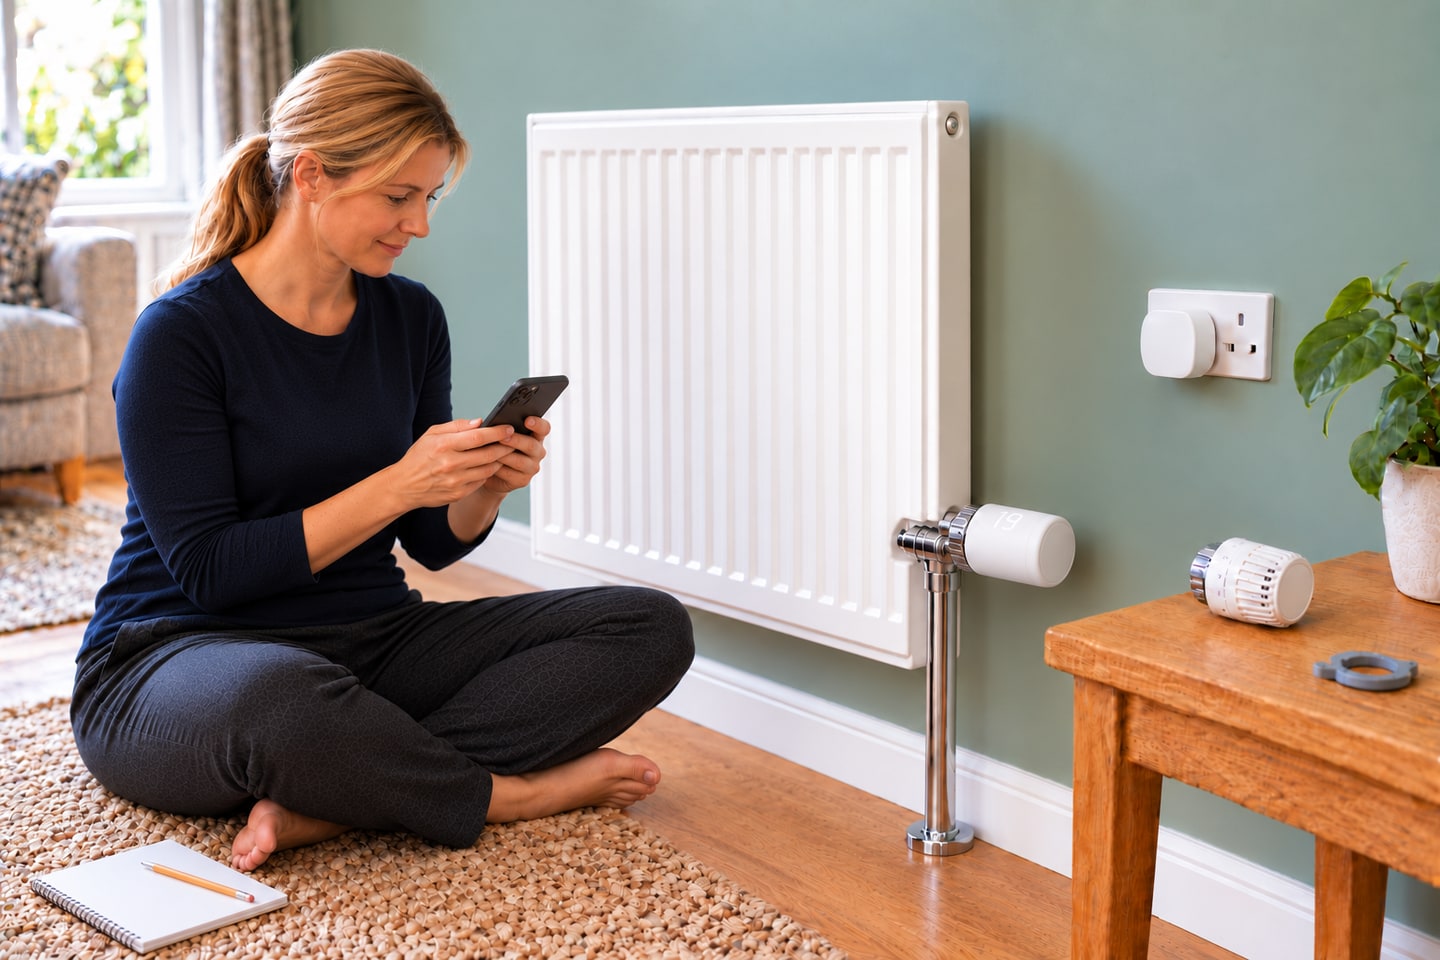
What will you learn?
This project replaces only the dry, removable thermostatic actuator on a sound existing radiator valve. It uses a KE100 EU head and KH100 hub, with a valve positively listed as directly compatible by TP-Link and an M30 × 1.5 connector. A matching thread alone does not establish compatibility. Adapter installations, manual valves, leaking valves and any work on water-containing fittings are outside this guide. Check the exact hardware revision and supplied instructions before buying parts.
Tools
- 1 phone with the current Kasa Smart app
- Exact KE100 revision instructions and current TP-Link valve compatibility guide
- Existing valve identification/manual and a camera for recording the starting arrangement
- KE100 supplied cover-opener
- 1 room thermometer for a later comparisonSearch Amazon UAE ↗
- NotebookSearch Amazon UAE ↗
- PencilSearch Amazon UAE ↗
Materials
- 1 KE100 EU thermostatic head with intact retaining connectorSearch Amazon UAE ↗
- Compatible regional KH100 hubSearch Amazon UAE ↗
- 2 new AA/LR6 1.5 V alkaline batteries of the same typeSearch Amazon UAE ↗
- Existing sound thermostatic valve explicitly confirmed for direct M30 × 1.5 fit
- Existing suitable socket within wireless range
Step by step
Photorealistic illustration · Waey
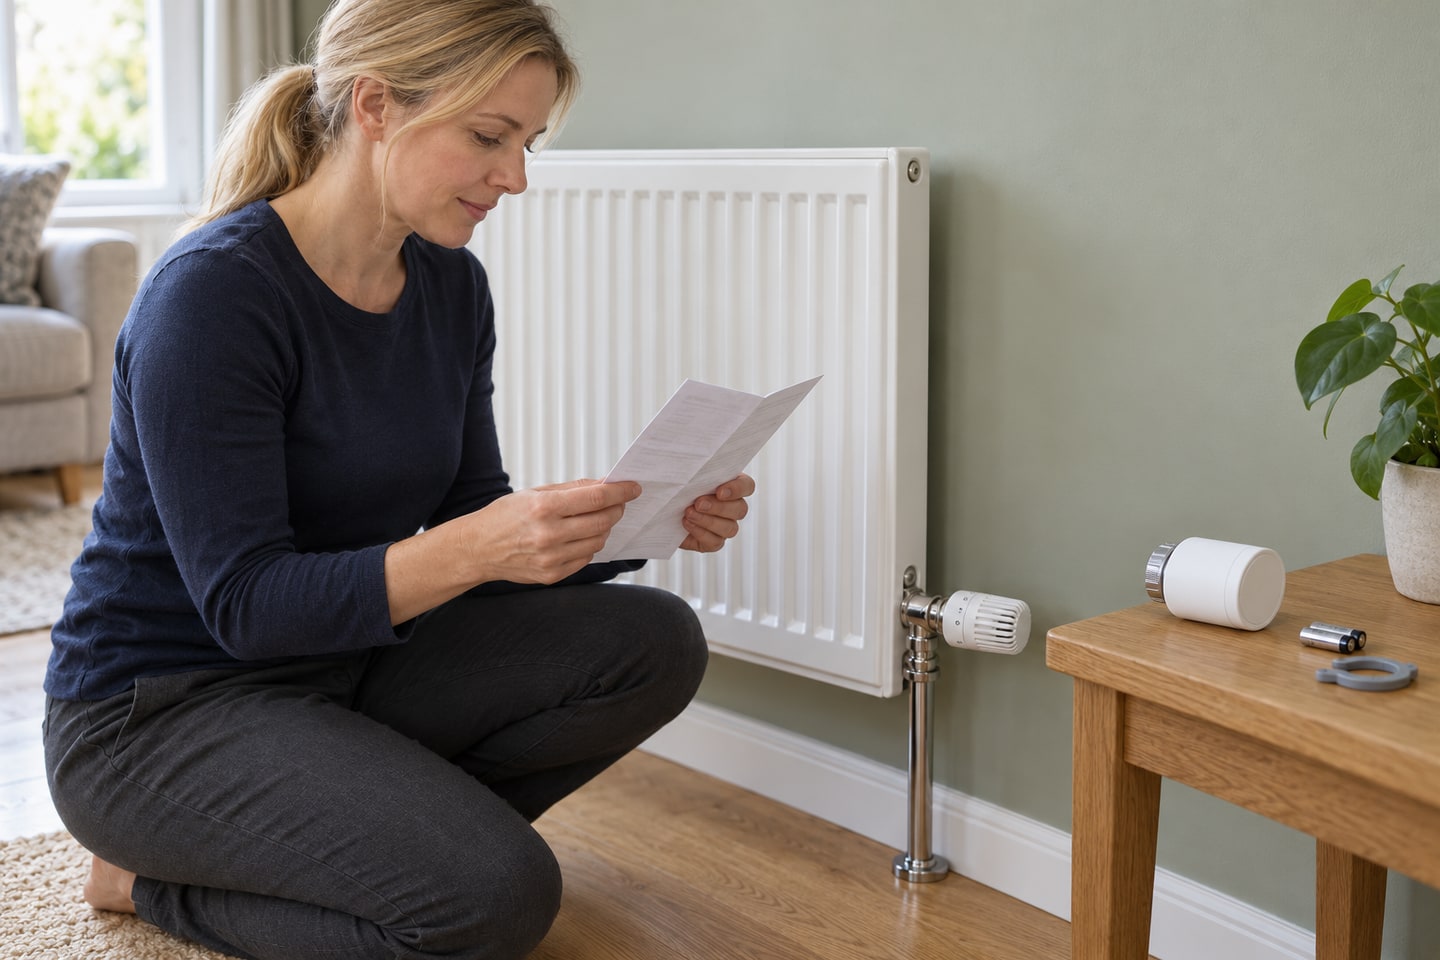
1. Confirm the valve and plan the control zone
Identify the existing valve from its maker and exact model, then compare it with TP-Link’s compatibility guide. This direct-fit route needs both positive compatibility and M30 × 1.5 threads; some valves with that thread are excluded. Identify the head’s retaining collar separately from every plumbing nut. Choose a radiator outside the room containing the main boiler thermostat, as TP-Link advises. Photograph the starting arrangement and record the old setting before disturbing it.
Photorealistic illustration · Waey
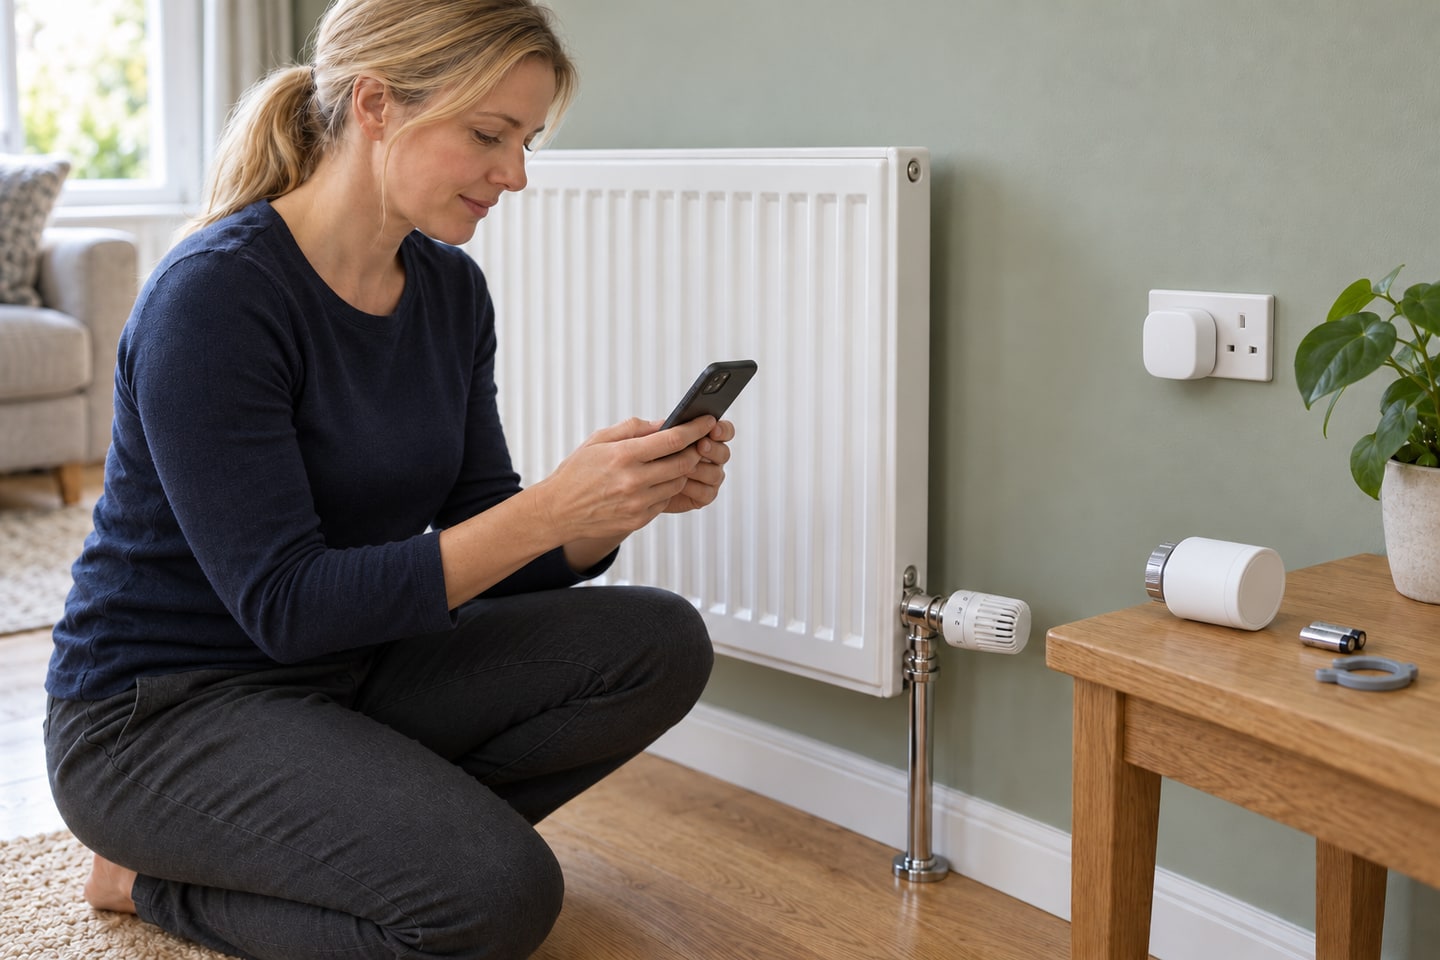
2. Prepare the hub and a cool work area
Turn the heating off through its normal controls and wait until the radiator and valve are cool. Keep the new head unpowered: installation comes before battery insertion. Set up the regional KH100 in Kasa Smart using its supplied instructions and the supported 2.4 GHz Wi-Fi network. Confirm the phone can see the hub online near the intended radiator. Leave clear access to the valve and keep children away from the small opener and loose batteries.
Photorealistic illustration · Waey
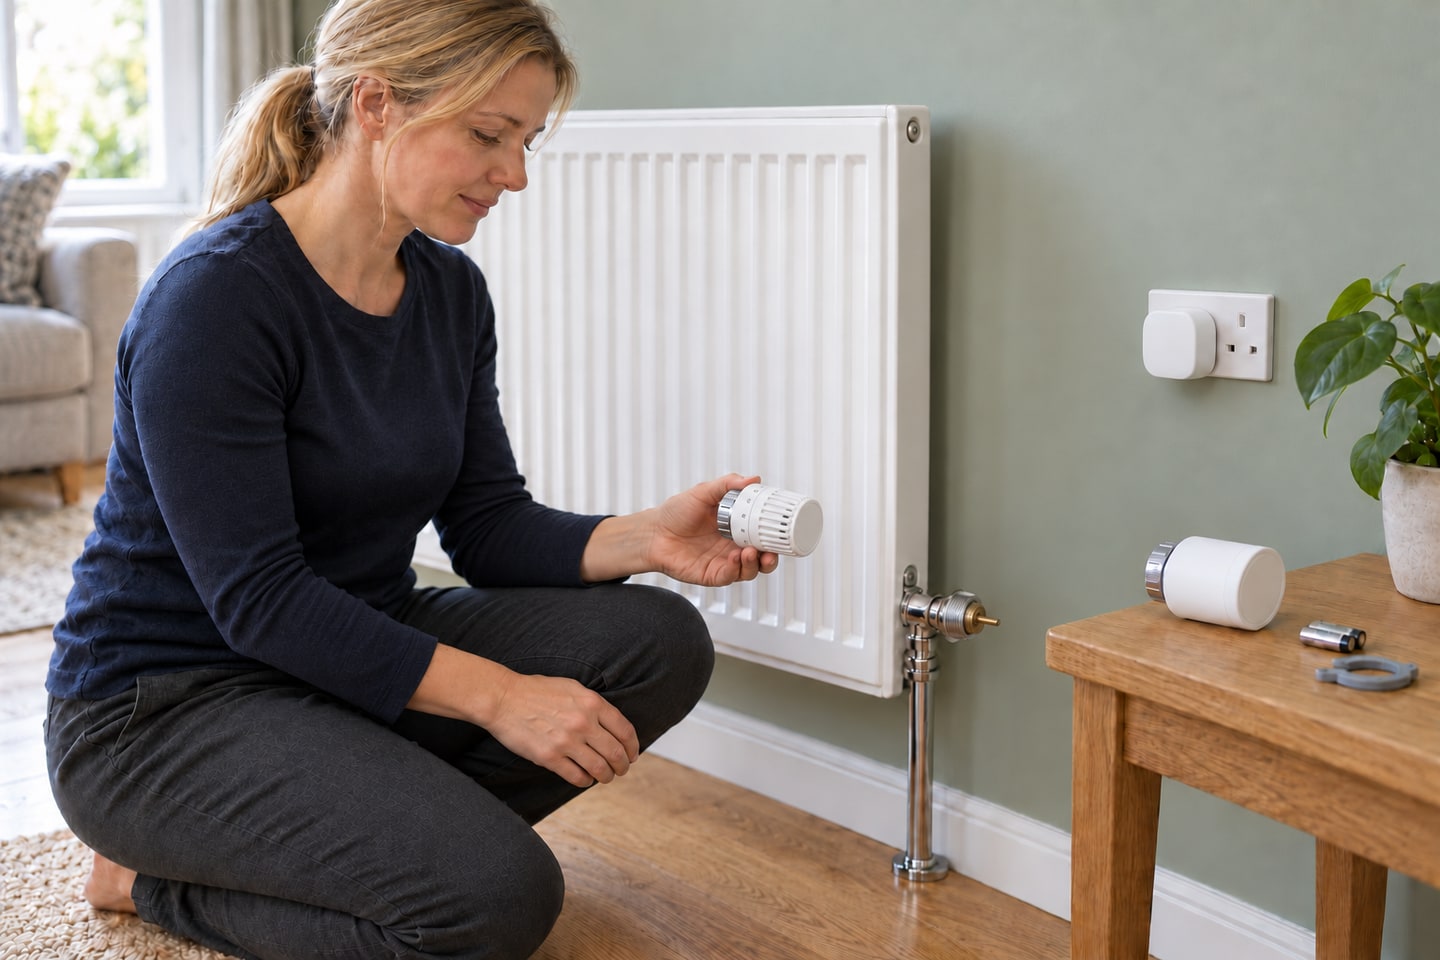
3. Remove only the old actuator head
Follow the old head maker’s removal instructions, including its specified dial position. Support the head while releasing only its retaining collar, then lift the actuator away without turning the metal valve body. The threaded head connection and small valve pin should remain on the sealed valve. Stop if removal needs force, if another fitting moves or if water appears. Do not grip the pin with pliers or remove its surrounding gland to make the new head fit.
Photorealistic illustration · Waey
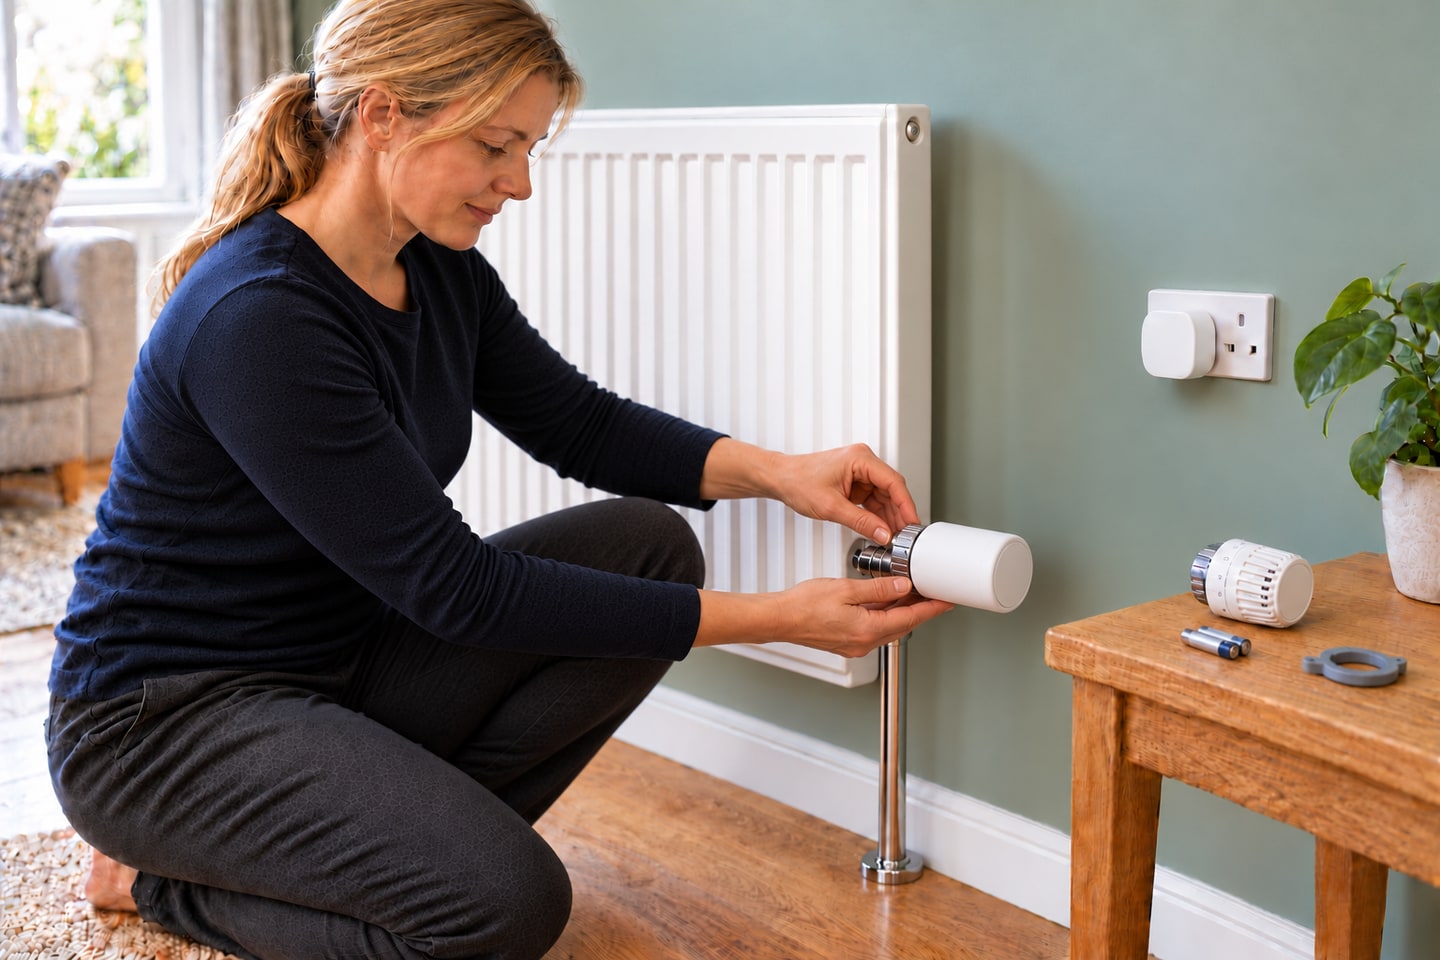
4. Fit the unpowered KE100 squarely
Inspect the new head’s connector for cracks or damaged clips. Align it squarely with the confirmed direct-fit valve, orienting the display with the position mark described in your revision’s guide. Start the retaining nut by hand and tighten that nut directly, keeping the head aligned. Do not use the plastic body as a wrench, cross-thread the nut or force it with pliers. A secure mounting must not depend on tape, glue or a partly engaged thread.
Photorealistic illustration · Waey
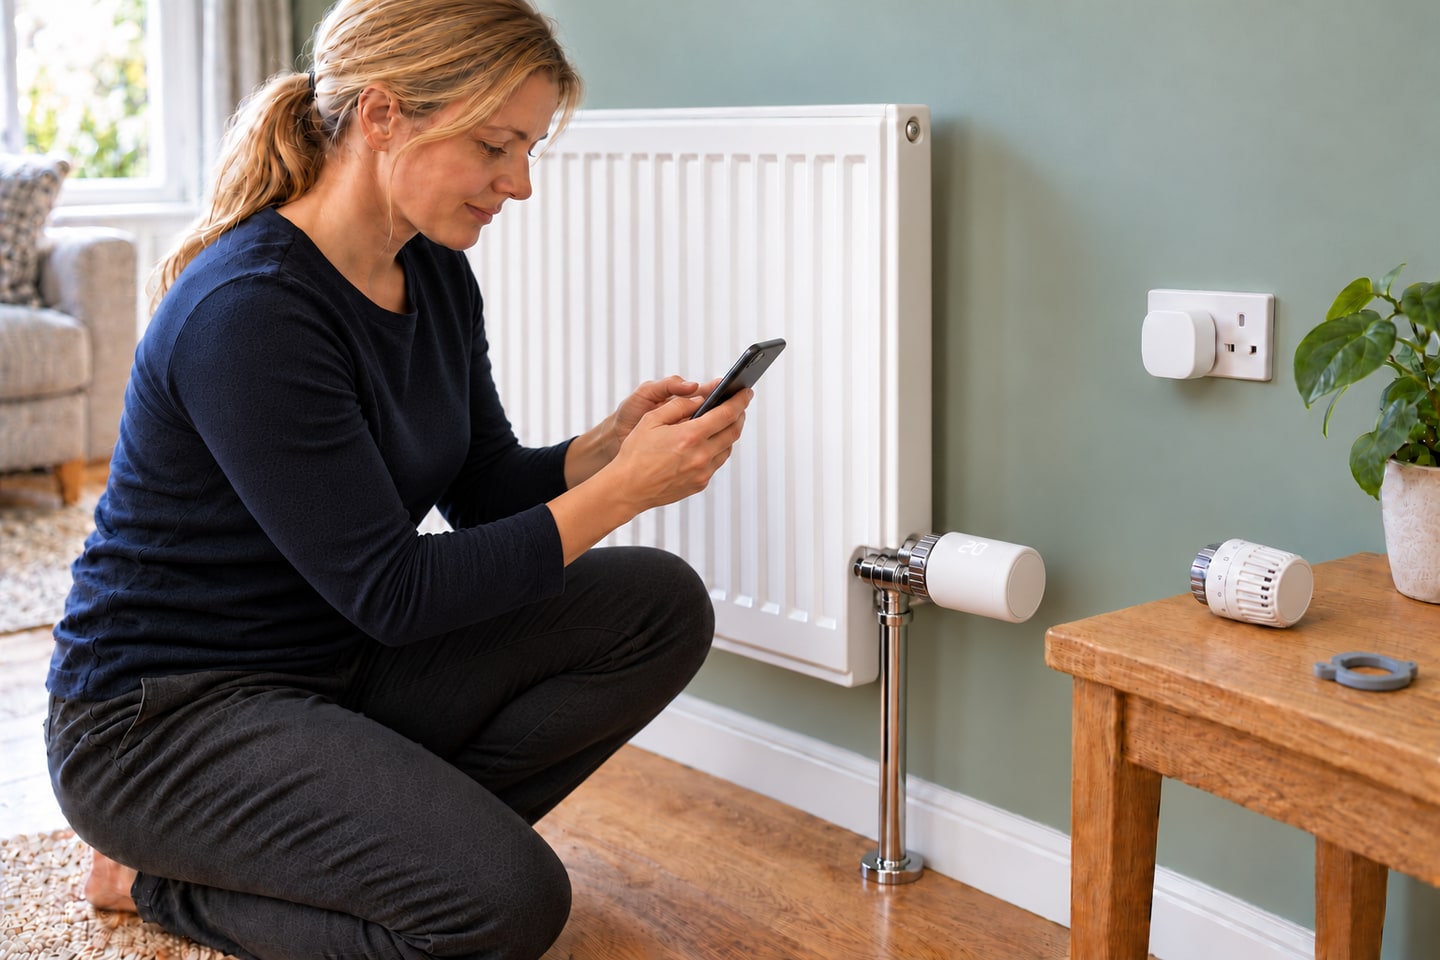
5. Insert the specified batteries and pair the head
With the head mounted, remove its cover using the supplied opener as the guide shows. Insert two AA/LR6 1.5 V alkaline batteries following the compartment polarity marks; do not substitute 1.2 V rechargeables. For a new setup, use the opener to hold SYNC/RESET for five seconds as instructed, then add Smart Thermostats in Kasa Smart and follow the pairing prompts for KH100. Give the device a room-specific name. Refit covers securely without trapping anything.
Photorealistic illustration · Waey
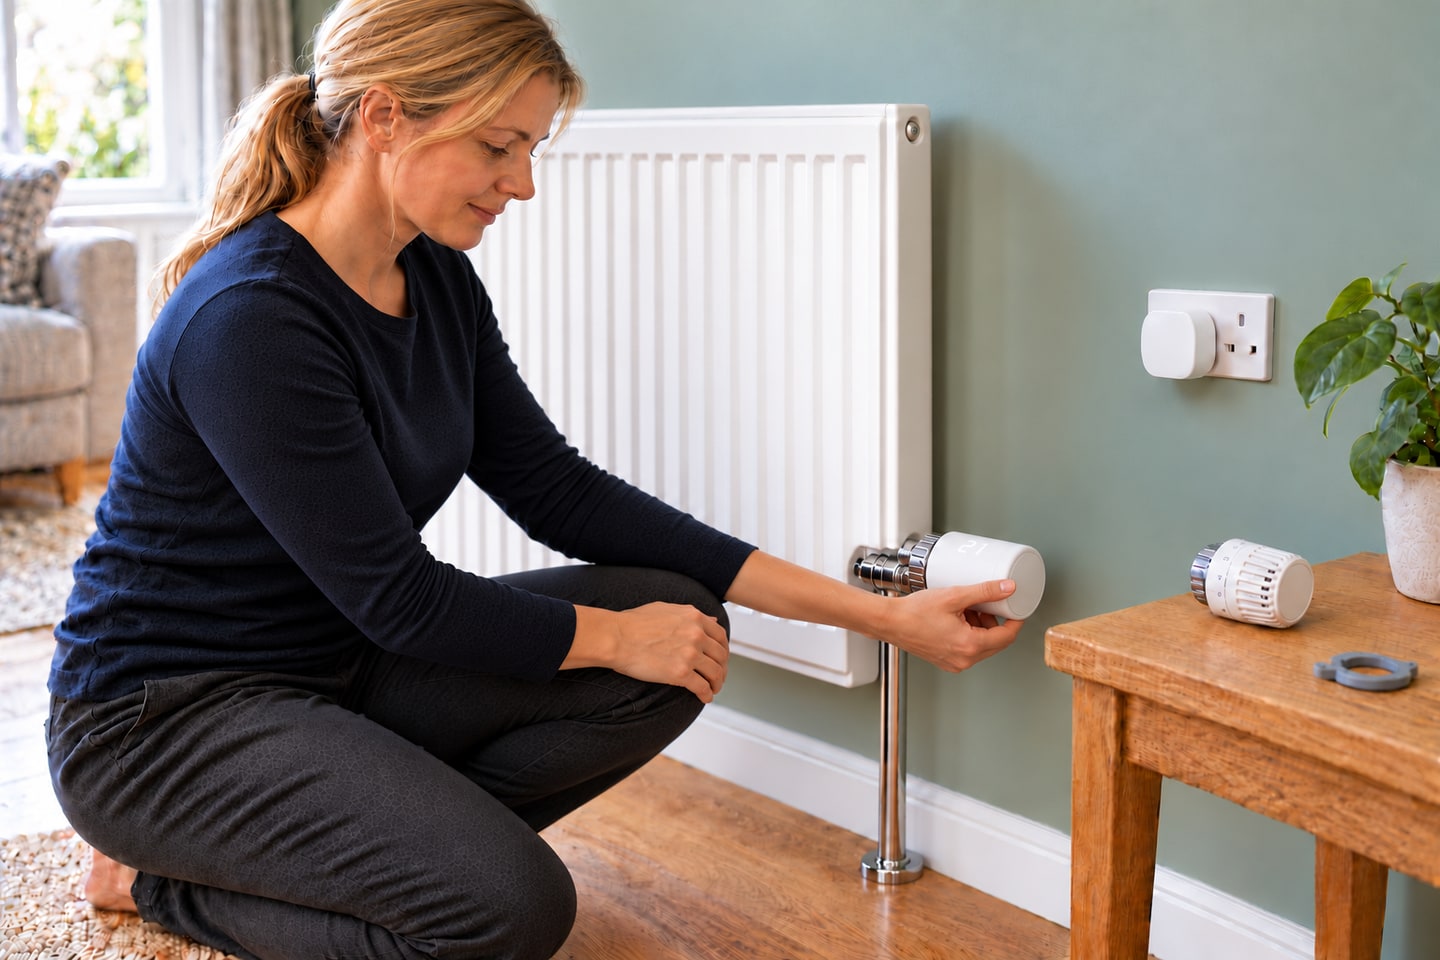
6. Calibrate and check manual control
Complete the app’s setup and calibration so the motor learns the valve’s open and closed positions. Use Device Settings and Calibration if your version requests a separate calibration. Let it finish without changing temperature or interrupting power. Check for successful completion rather than assuming any motor sound means success. Then turn the control knob gently and confirm that the displayed target changes. An error, loose head or repeated calibration failure calls for a compatibility and mounting review, not extra tightening force.
Photorealistic illustration · Waey
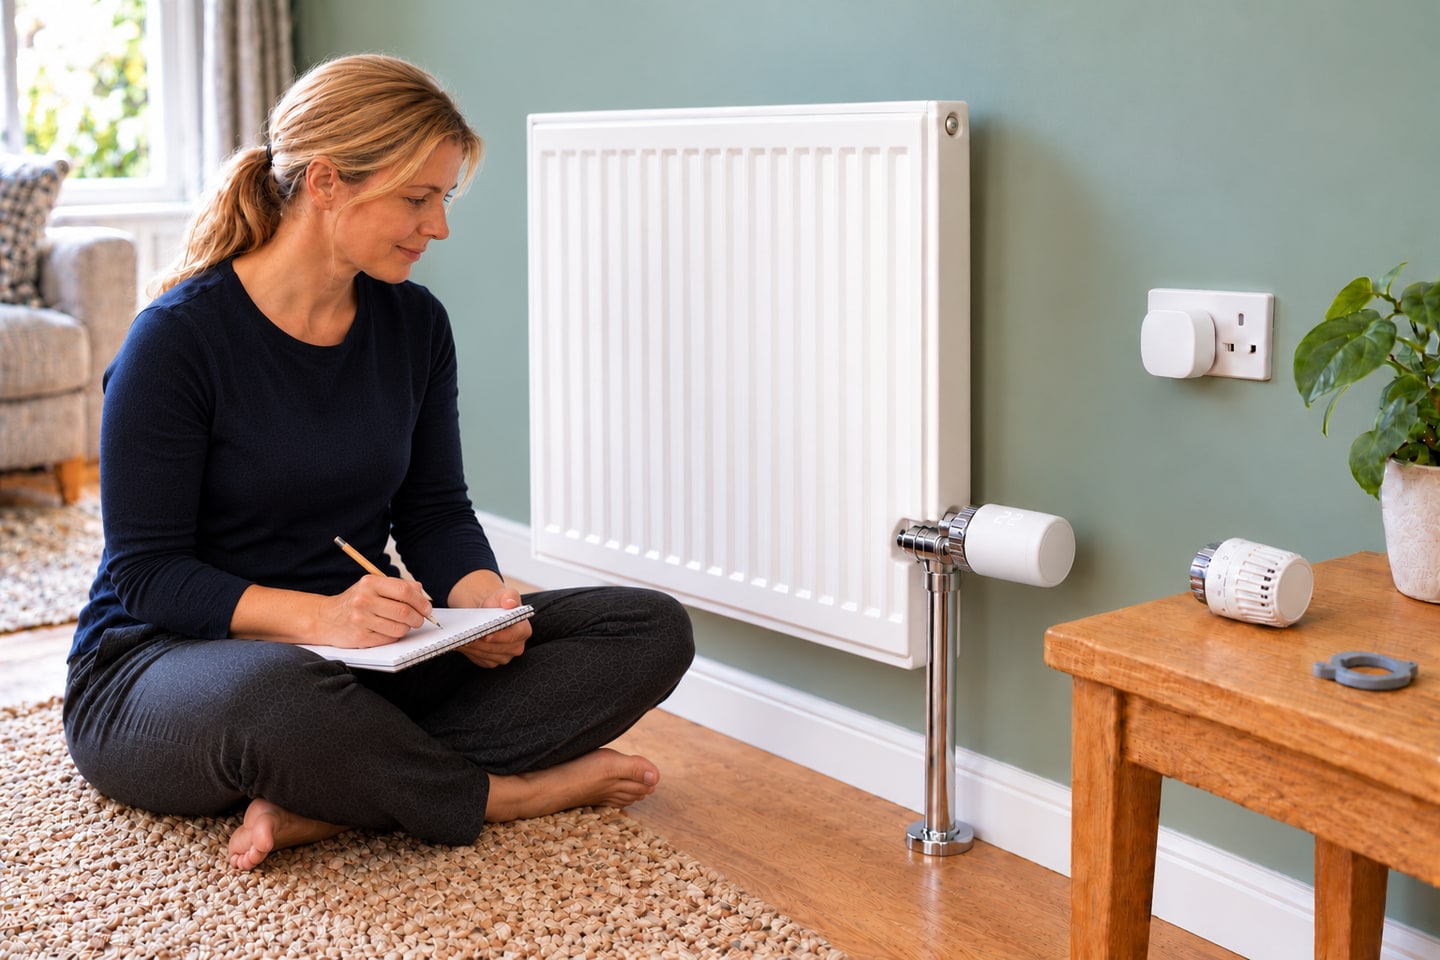
7. Test a heating demand and a lower target
Restore the normal heating program. While the central system is actually supplying heat, briefly choose a target above the measured room temperature and check for a normal response over the heating cycle. Then lower the target and allow time for the radiator to cool; it will not become cold instantly. A radiator head cannot start a boiler that is otherwise off. Stop for leaks or a mounting that shifts. Persistent heating or no response needs the manufacturer’s troubleshooting or professional help.
Photorealistic illustration · Waey
8. Build a schedule and verify it later
Create comfort and setback periods that match actual room use, confirm the selected days and clock, and make sure schedule mode is active. Check a scheduled change at its real time and confirm remote control when away from home Wi-Fi. Compare the reported temperature with a room thermometer after conditions stabilize; only adjust an offset if a consistent difference remains. Keep a suitable frost setting for the property and system. Retain the old head, model details and a reminder to replace low batteries.
Video demonstrations
How to Install & Set Up Your Kasa Smart Thermostatic Radiator Valve KE100
TP-Link shows hub setup, removal of the old actuator head and KE100 pairing. Leave the sealed plumbing valve in place and follow your hardware revision guide.
TP-Link Global Support · English; English automatic captions available
Watch on YouTube ↗Kasa Smart Thermostat (KE100) - installation
Andy Ward shows a KE100 installation and settings. Confirm your exact valve compatibility and follow the matched mounting and calibration instructions.
Andy Ward · English; English automatic captions available
Watch on YouTube ↗Final checks
The mounting is stable, all water fittings remain untouched and dry, pairing and calibration succeed, both higher and lower targets produce sensible responses, and a real scheduled transition works. Stop for unresolved errors or leaks. Review batteries, connectivity and the schedule after router changes or seasonal shutdowns.
Software & apps
Kasa Smart with a compatible regional KH100 hub; check the current app labels against your hardware and firmware.
Sources
TP-Link — KE100 EU user guide, revision 1.2.0 ↗
TP-Link — valve compatibility guide, revision 1.2.0 ↗
Tapo — KE100 kit questions and controls ↗
Original generated instruction illustrations created for Waey. Videos belong to their credited creators.