
Make and check a ferrule-ended bench jumper
Prepare a matched stranded-copper jumper, inspect the crimps, check continuity and practise fitting it to an unpowered push-in terminal.
What will you learn?
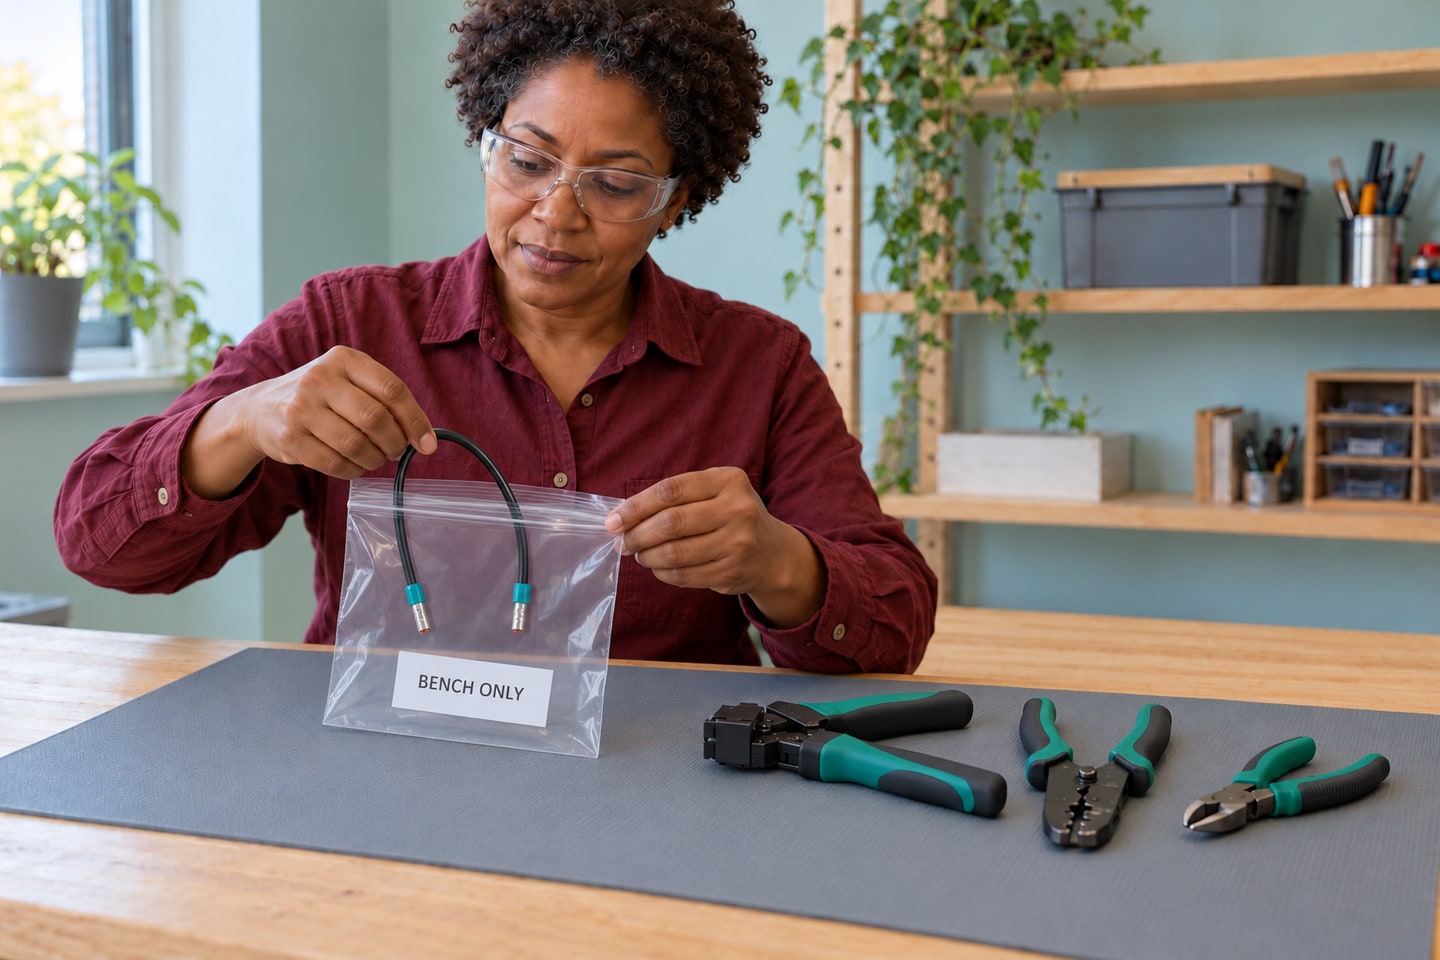
This complete bench exercise makes one short jumper and a practice crimp, using documented matching wire, ferrules, crimper and terminal. Everything remains disconnected from batteries, power supplies and building wiring; only a battery-powered multimeter supplies its small continuity-test signal. The example uses 1 mm² LAPP H05V-K black wire 4510013, Phoenix Contact AI-S 1-8 TQ ferrules 1200293, CRIMPFOX DUO 10 and PT 1.5/S terminal 3208100. It is not a mains test lead, appliance cord repair or current-rated assembly certification.
Tools
- 1 CRIMPFOX DUO 10 crimper, item 1031721, with its instructionsSearch Amazon UAE ↗
- 1 wire stripper suitable for fine-stranded 1 mm² copper, with adjustable stopSearch Amazon UAE ↗
- Side cutterSearch Amazon UAE ↗
- RuleSearch Amazon UAE ↗
- MagnifierSearch Amazon UAE ↗
- 1 battery-powered multimeter with sound leads and continuity/resistance instructionsSearch Amazon UAE ↗
- 1 SZF 0-0.4×2.5 actuation screwdriver, item 1204504, listed for this terminalSearch Amazon UAE ↗
- Safety glassesSearch Amazon UAE ↗
- Stable insulated work matSearch Amazon UAE ↗
- Label penSearch Amazon UAE ↗
Materials
- About 0.5 m LAPP H05V-K 1 mm² black wire, item 4510013; actual insulation outside diameter within 2.8 mmSearch Amazon UAE ↗
- 3 matching AI-S 1-8 TQ slimline ferrules 1200293: one practice and two final; spares for rejected crimpsSearch Amazon UAE ↗
- PT 1.5/S terminal3208100, entirely unpoweredSearch Amazon UAE ↗
- Specified NS35 railSearch Amazon UAE ↗
- D-PT1.5/S end cover3208142Search Amazon UAE ↗
- CLIPFIX35-5 restraints3022276Search Amazon UAE ↗
- Stable fixture baseSearch Amazon UAE ↗
- Suitable rail-to-base mounting screwsSearch Amazon UAE ↗
- 1 small label reading BENCH JUMPER — NOT A MAINS TEST LEADSearch Amazon UAE ↗
- 1 small container for wire/ferrule offcutsSearch Amazon UAE ↗
- Storage pouchSearch Amazon UAE ↗
Step by step
Photorealistic illustration · Waey
1. Verify the component match and the dead bench
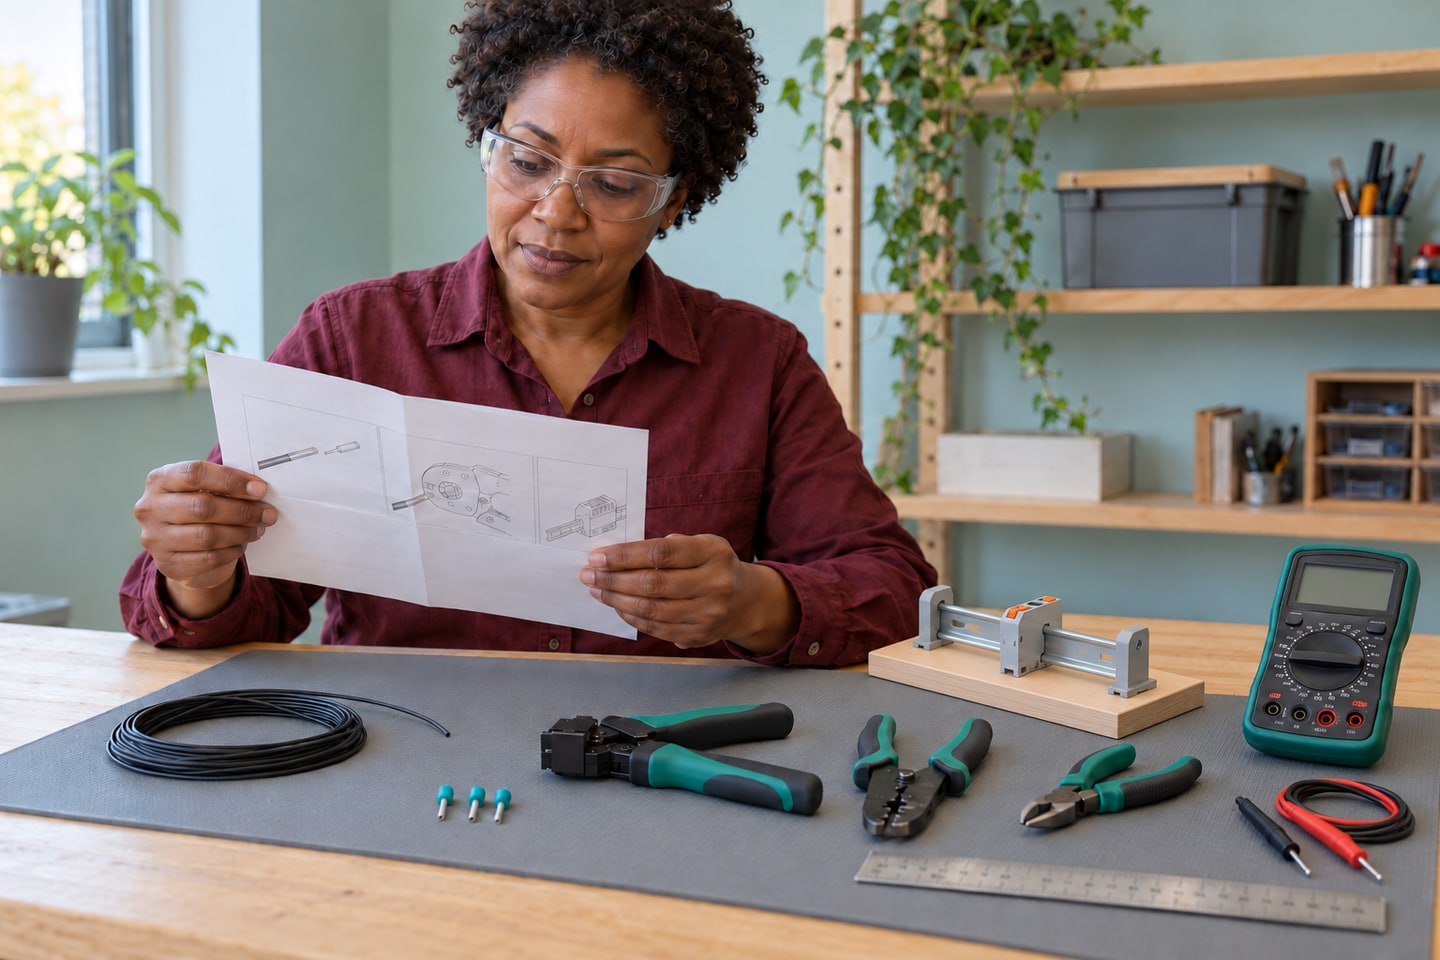
Read the actual item numbers rather than matching ferrule collars by color. The PT 1.5/S has a smaller allowance for insulated ferrules than for bare flexible conductors; this example deliberately uses the recommended slimline 1 mm² ferrule, not a 1.5 mm² insulated substitute. Check the wire insulation fits the ferrule’s 2.8 mm collar limit and that the crimper covers this ferrule type. Keep the terminal fixture entirely disconnected, with no batteries, supply or building wiring attached.
Photorealistic illustration · Waey
2. Cut the jumper and reserve a practice piece
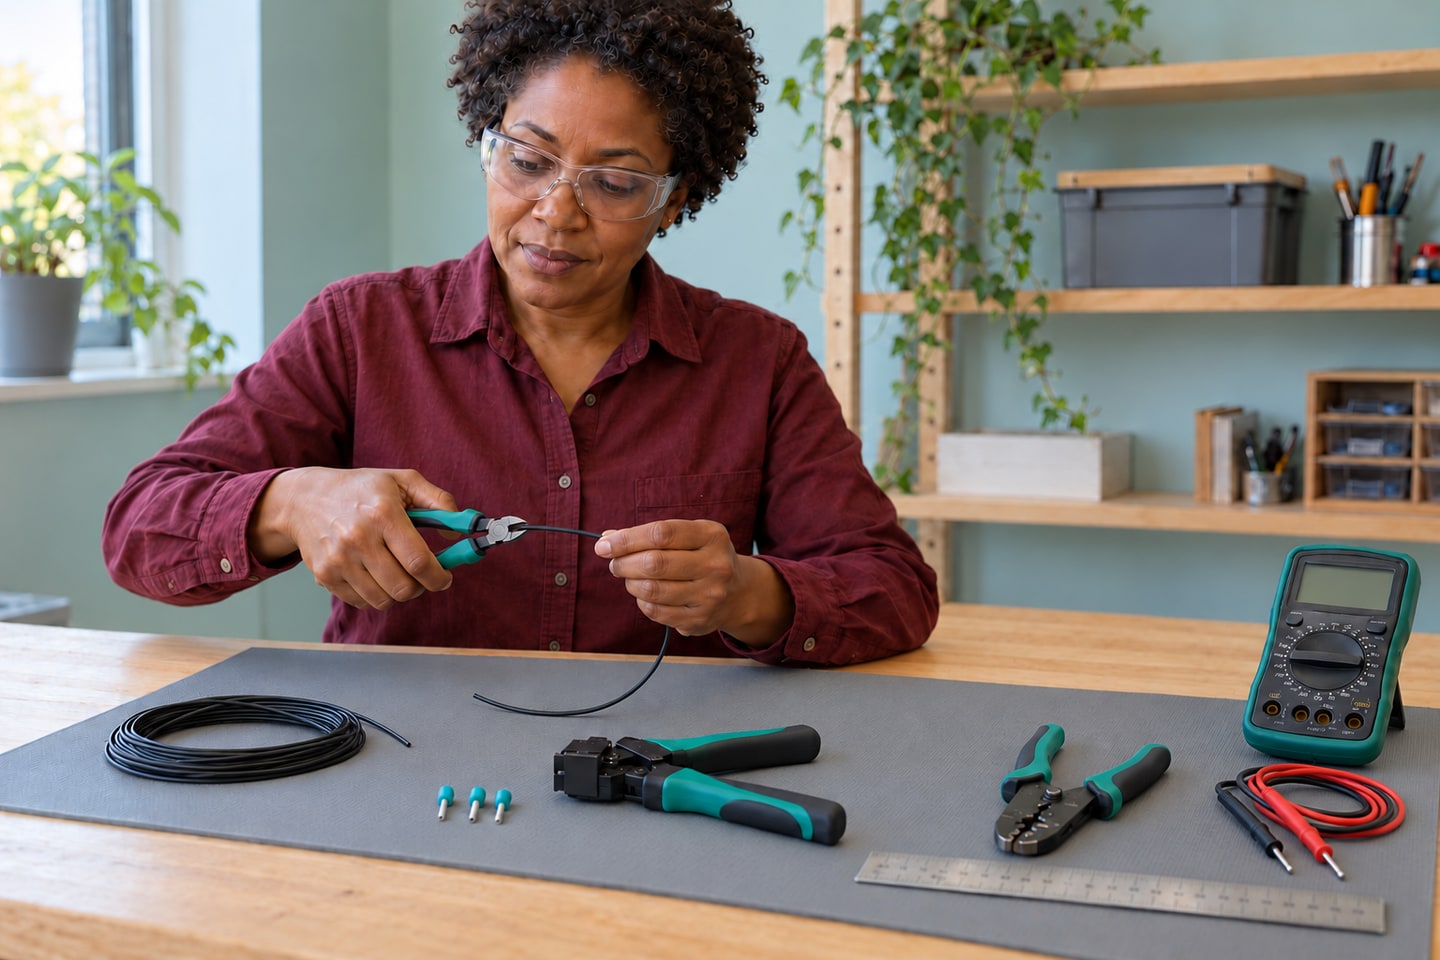
Plan a jumper around 250 mm long so it reaches its intended isolated bench points without tension; this is a convenient practice length, not an electrical rating. Cut the end square with a suitable cutter, then cut a separate short offcut for the trial crimp. Inspect the insulation for cuts or flattened areas. Make a clean end rather than trying to hide damaged strands inside a ferrule. Keep offcuts in the container and leave enough spare length to remake a rejected termination.
Photorealistic illustration · Waey
3. Set the stripping length on the practice sample
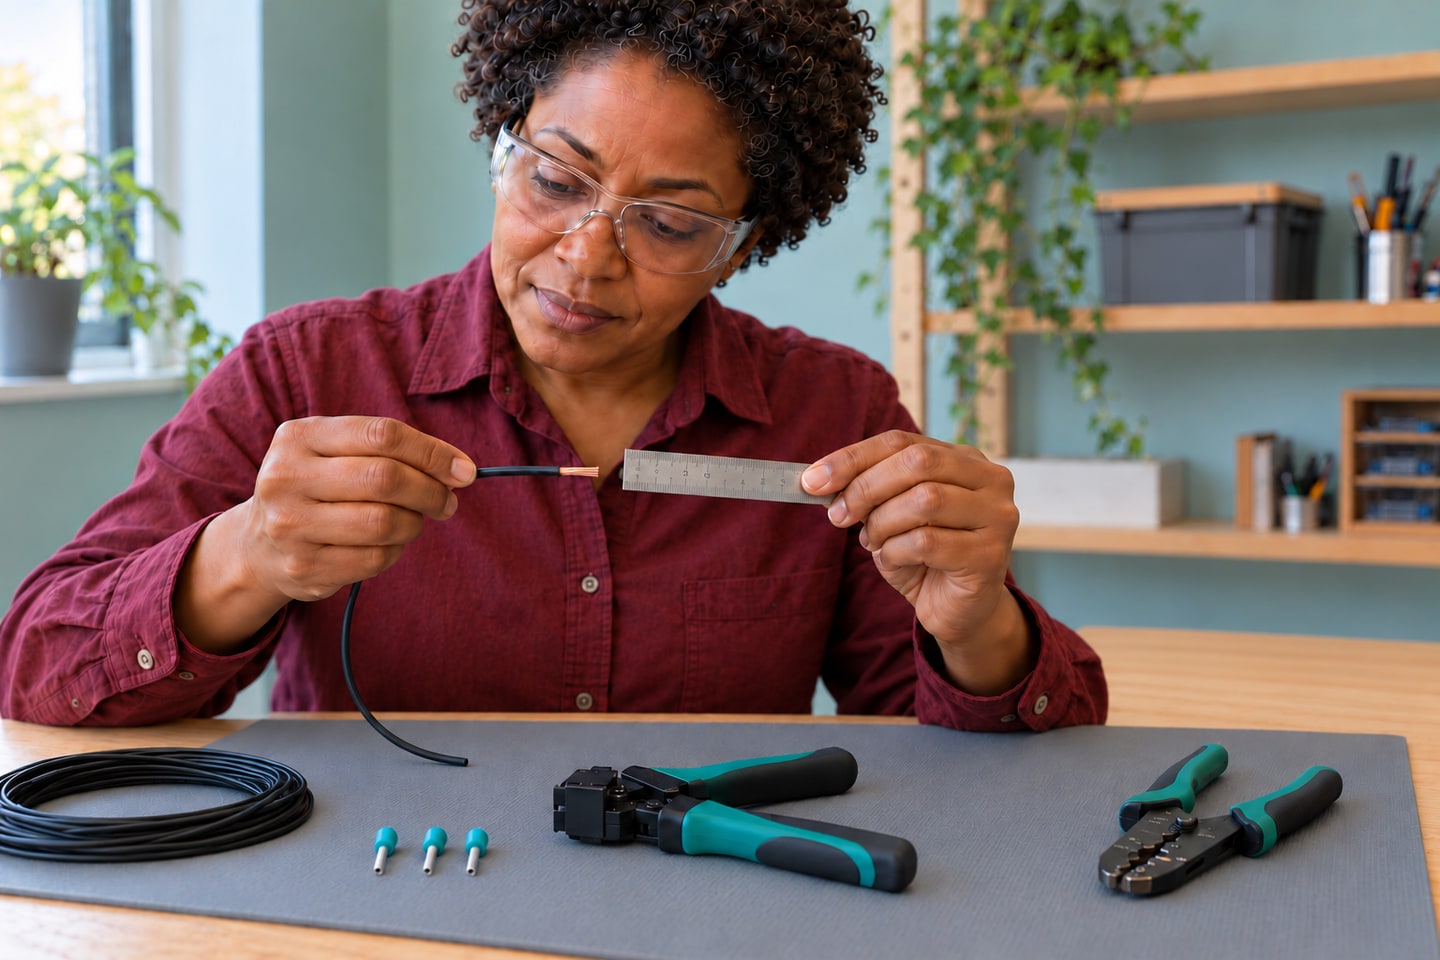
Use the current ferrule instructions to set the stripper: the cited AI-S 1-8 TQ data gives 11 mm stripping length, while its metal contact section is 8 mm. These dimensions describe different things; do not substitute the terminal’s bare-wire stripping range. Strip the trial piece without nicking or losing copper strands. Preserve the original strand lay instead of tightly twisting or soldering it. If copper is scored or strands are missing, cut back and adjust the stripper before continuing.
Photorealistic illustration · Waey
4. Seat the ferrule and complete one controlled crimp
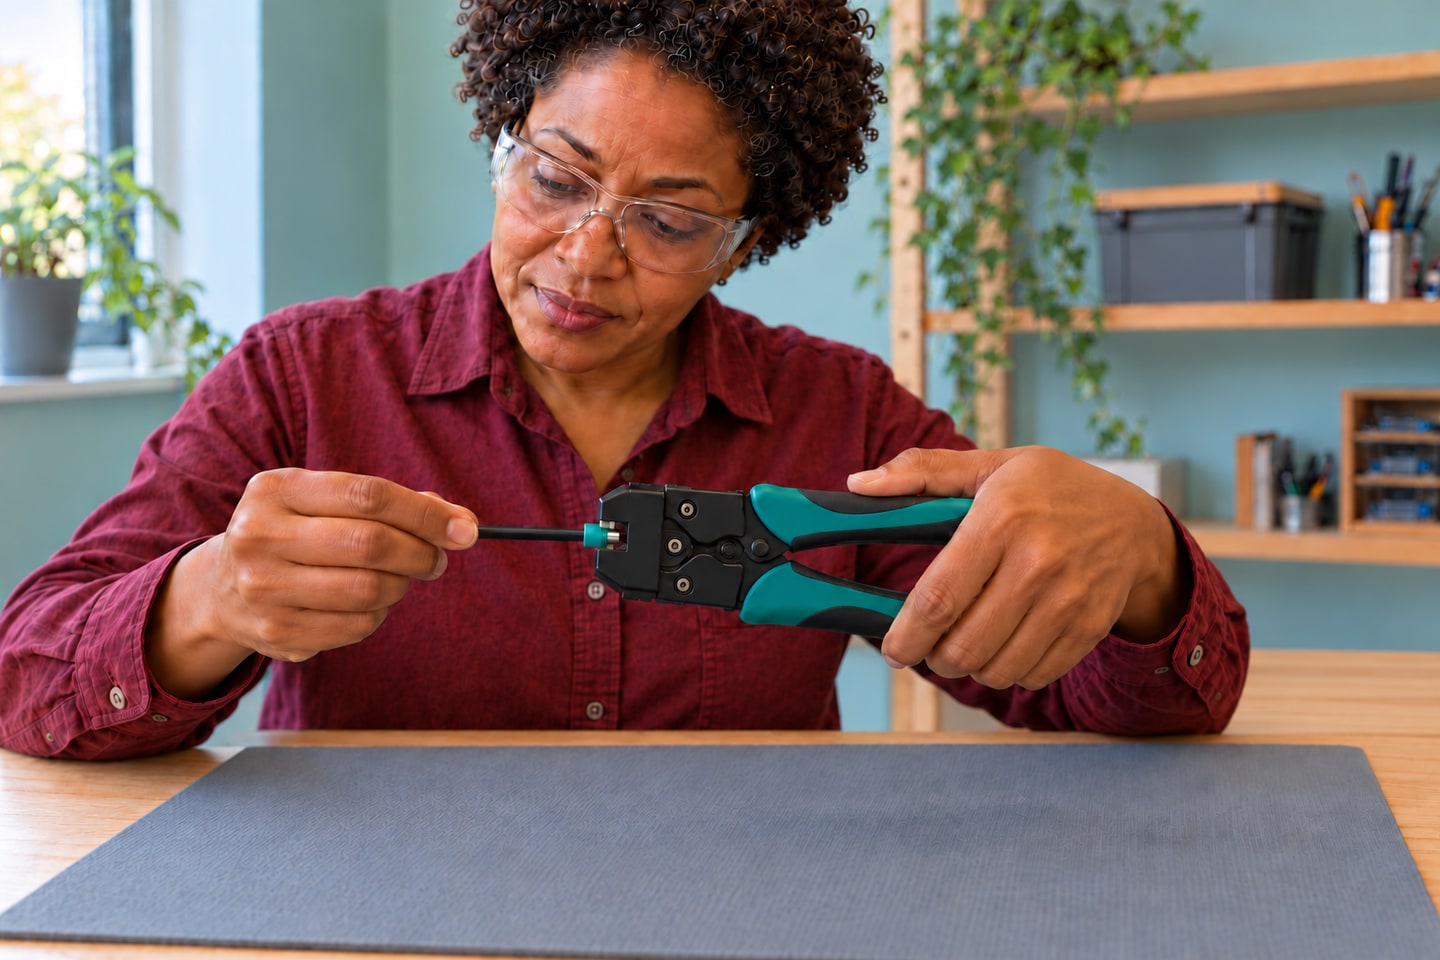
Slide the matching ferrule over all strands without folding any backward at the collar. Check the conductor reaches the front as the maker shows; its processing guidance aims for a small projection of about 0.5 mm. Position the metal sleeve in the crimper’s approved entry, leaving the plastic collar outside the compression area. Keep fingers clear and complete the normal ratchet cycle. Use the tool’s release procedure only as its instructions describe; an interrupted or misplaced crimp is a reject, not something to rescue with ordinary pliers.
Photorealistic illustration · Waey
5. Inspect the sample before making both final ends
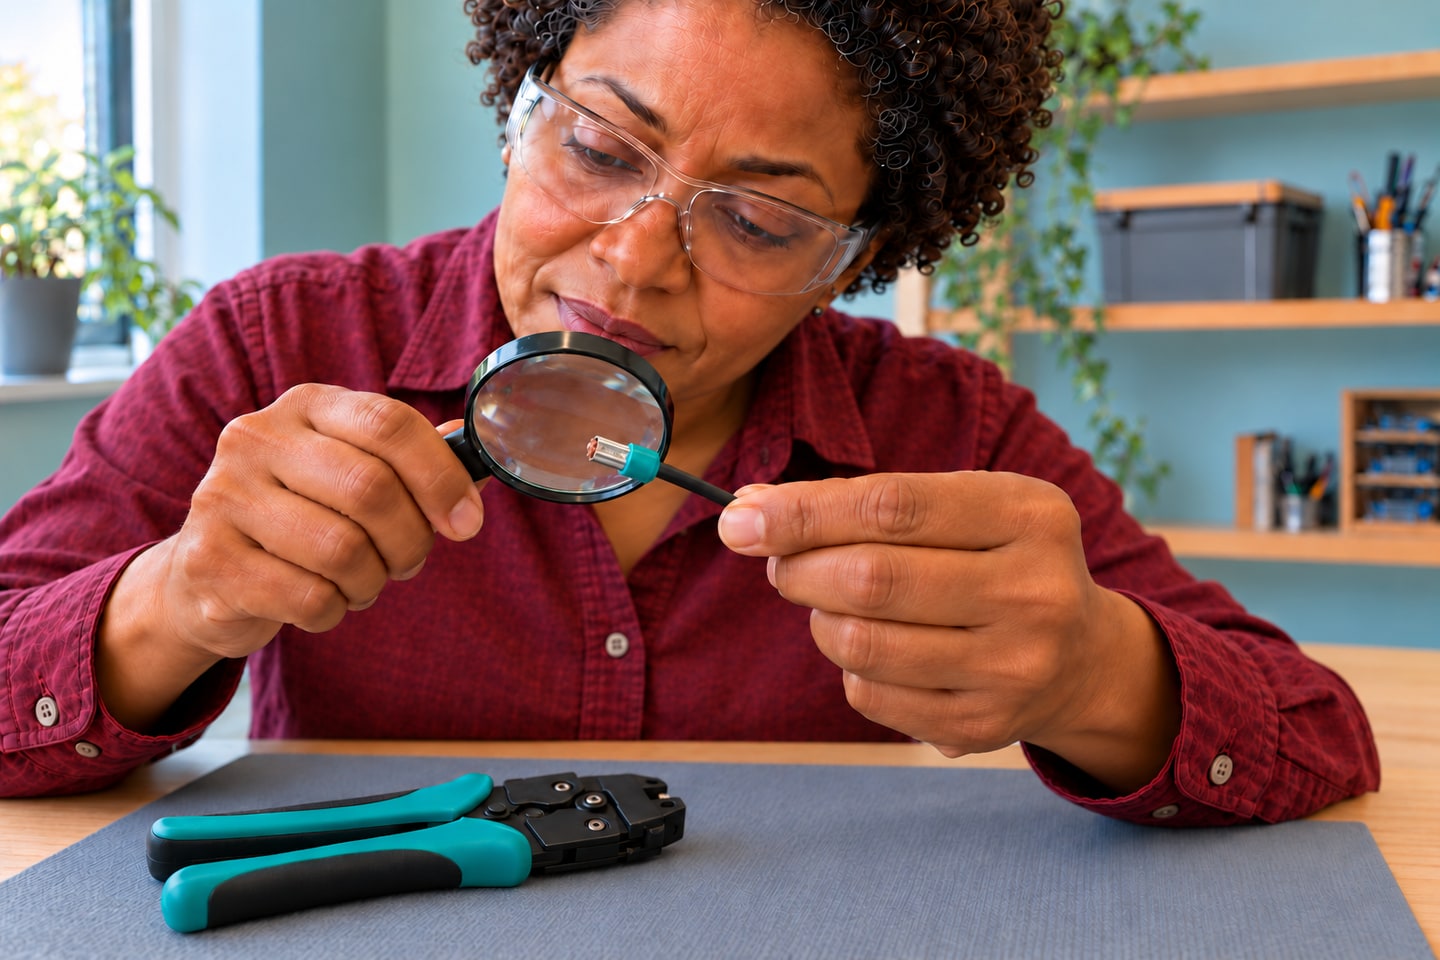
Under magnification, inspect the trial for escaped strands, cracked collar, split metal, misplaced compression or excessive exposed copper. Apply only a modest hand retention check while holding the wire and ferrule separately; it is not a standardized pull test or a substitute for the correct tool. If the ferrule moves, reject it and diagnose the mismatch. Once the process is sound, prepare and crimp each final jumper end using the same verified settings, then inspect both independently.
Photorealistic illustration · Waey
6. Check end-to-end continuity on the loose jumper
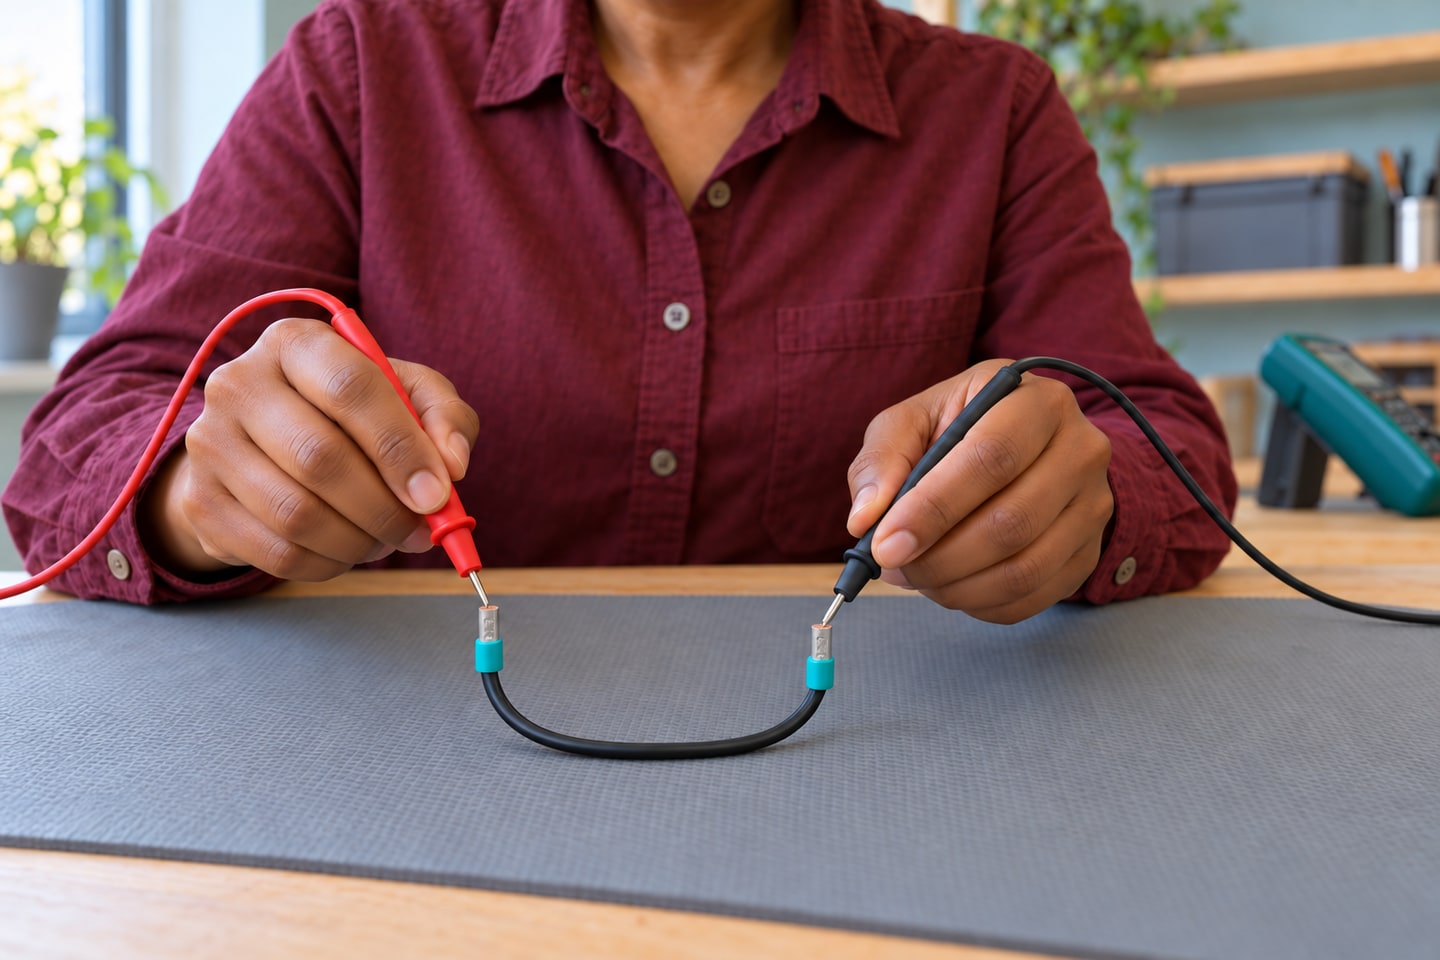
Keep the jumper separate from every circuit. Following the meter manual, put the black lead in COM and red in the resistance/continuity socket, select the proper function and touch probes together to establish the meter’s normal response. Probe the two metal ferrule ends without crushing them. Compare with the shorted-probe baseline and gently move the wire near each end while observing for intermittent readings. A beep alone does not prove low contact resistance, insulation integrity or safe operating current.
Photorealistic illustration · Waey
7. Practise terminal insertion and controlled release
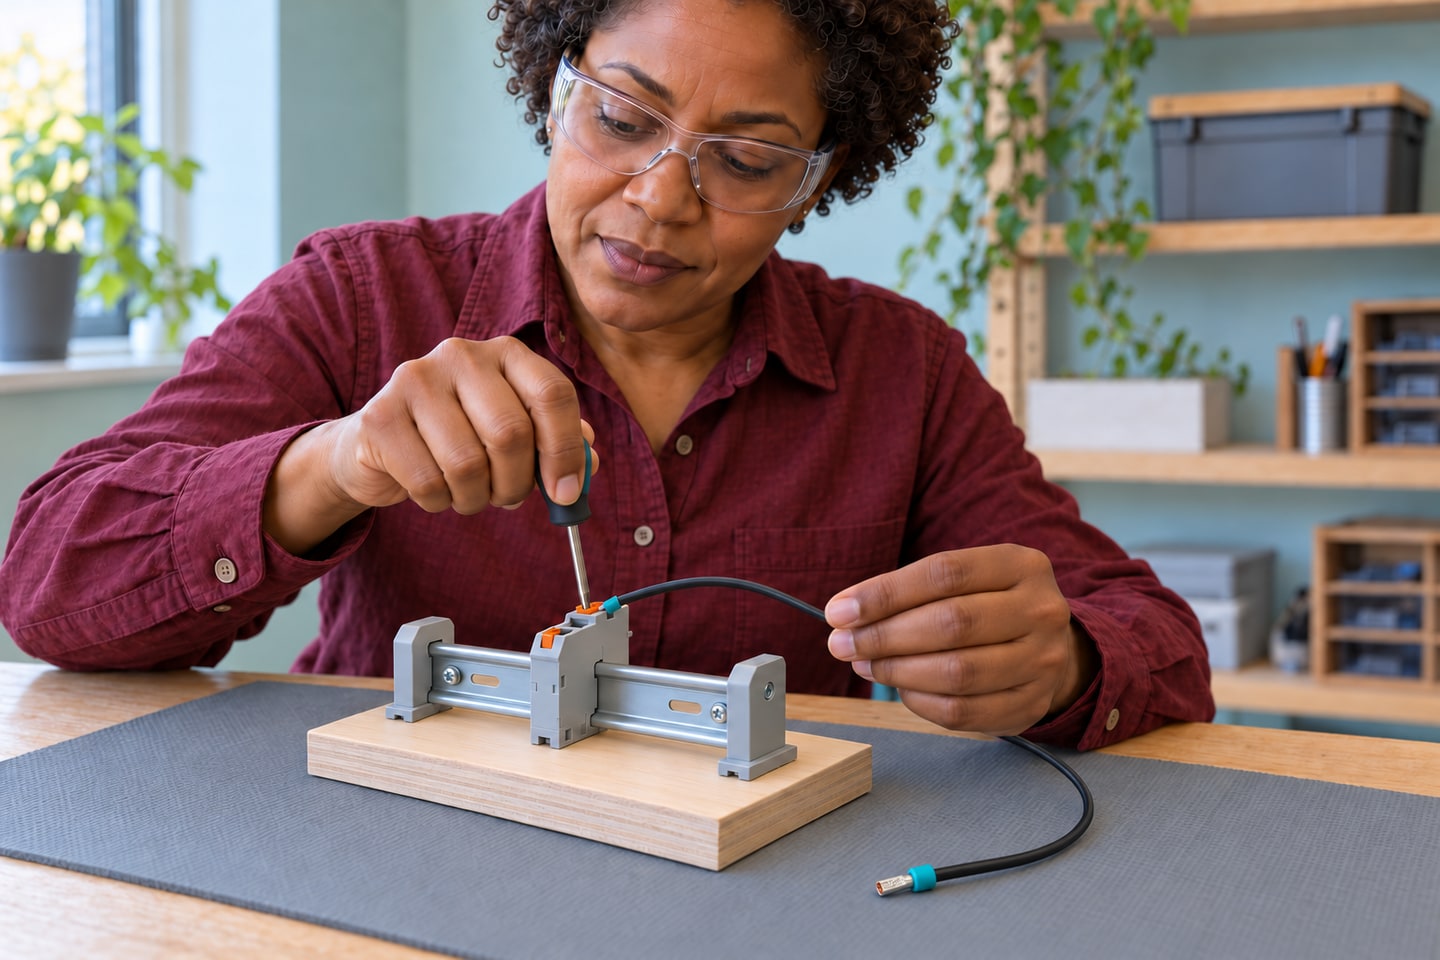
On the securely mounted, still-unpowered PT terminal, insert one finished ferrule into the correct conductor opening until it seats as the terminal instructions specify. Do not push into the test aperture or force the plastic collar into the clamp. Check there is no inappropriate bare copper outside and apply a gentle retention check. For removal, use the correctly sized screwdriver on the designated orange release actuator while withdrawing the jumper. Never pull it out by force or leave the actuator wedged open.
Photorealistic illustration · Waey
8. Reinspect, label and define the permitted use
After release, examine the sleeve and strands again and repeat the loose-jumper continuity check. Reject a loose or damaged end rather than hiding it with tape. Label and store the jumper so nobody mistakes it for a rated mains meter lead. Its future use must be restricted to an explicitly designed, isolated and current-limited low-voltage bench circuit with suitable protection and verified ratings for the entire assembly. This exercise establishes preparation and fit skills; it does not authorize connection to an arbitrary supply.
Video demonstrations
How to crimp a ferrule
Phoenix Contact demonstrates ferrule preparation with WIREFOX E-10 and CENTRUS10S. This guide uses a different crimper; follow its matched instructions.
Phoenix Contact Technical · English title/description; narration language not independently assessed
Watch on YouTube ↗Push-in connection for terminal blocks
Phoenix Contact animates push-in connection and release. Use the exact PT1.5/S data to identify openings and conductor limits.
Phoenix Contact · English title/description; narration language not independently assessed
Watch on YouTube ↗Final checks
Both crimps retain all strands, collars and sleeves are sound, continuity is stable compared with the meter baseline, and the end inserts and releases without force in the documented terminal. No part has been connected to an external power source. Keep the practice sample separate; use formal quality procedures when an application requires certified pull force or electrical performance.
Sources
Phoenix Contact — PT 1.5/S 3208100 terminal data ↗
Phoenix Contact — AI-S 1-8 TQ 1200293 ferrule data ↗
Phoenix Contact — CRIMPFOX DUO 10 1031721 data ↗
Phoenix Contact — What you should know about ferrules ↗
LAPP — H05V-K conductor data, 2025 catalogue ↗
Phoenix Contact — CRIMPFOX DUO 10 rotating-die handling brochure, 2018 ↗
Original generated instruction illustrations created for Waey. Videos belong to their credited creators.