
Make a covered accordion sketchbook
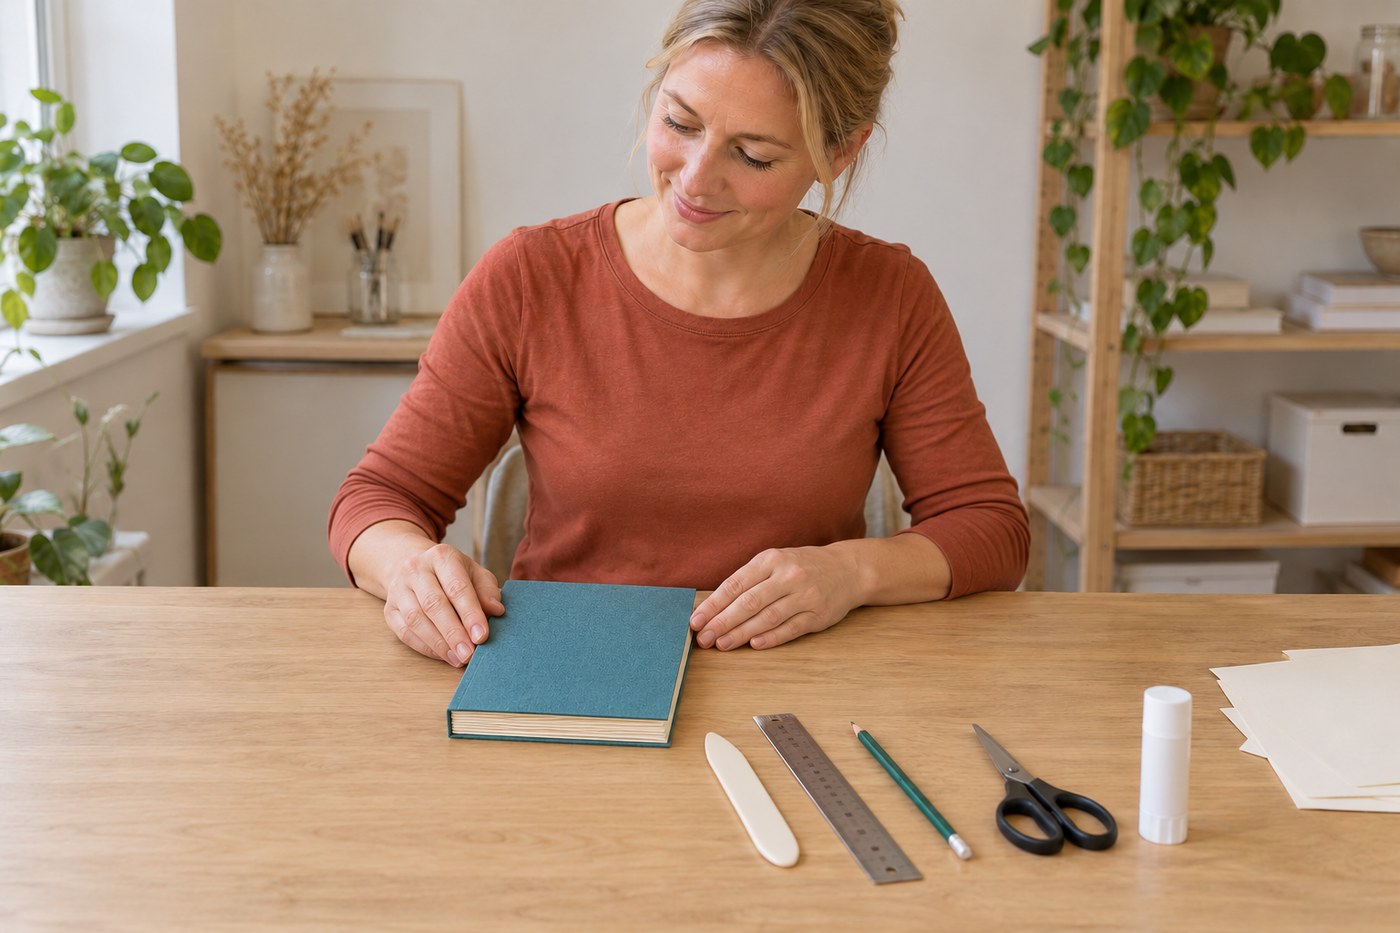
Turn one continuous paper strip into a compact eight-panel sketchbook with wrapped board covers. Practise accurate folding, neat corners and cover alignment without sewing a spine.
What will you learn?
Turn one continuous paper strip into a compact eight-panel sketchbook with wrapped board covers. Practise accurate folding, neat corners and cover alignment without sewing a spine.
Tools
- RulerSearch Amazon Ireland ↗
- PencilSearch Amazon Ireland ↗
- Scissors suitable for thin boardSearch Amazon Ireland ↗
- Bone folder or smooth blunt folding toolSearch Amazon Ireland ↗
- Clean scrap paper
- Two clean protective sheets
- Two flat pressing boards and a modest even weight
Materials
- One foldable drawing-paper strip, 80 × 15 cm, approximately 120–160 gsm; test a scrap firstSearch Amazon Ireland ↗
- Two thin or pre-cut cover boards, each 10.5 × 15.5 cmSearch Amazon Ireland ↗
- Two cover-paper rectangles, each 13.5 × 18.5 cmSearch Amazon Ireland ↗
- Suitable non-toxic paper glue stick, used as labelledSearch Amazon Ireland ↗
Step by step
Photorealistic illustration · Waey
1. Choose paper and establish the cut plan
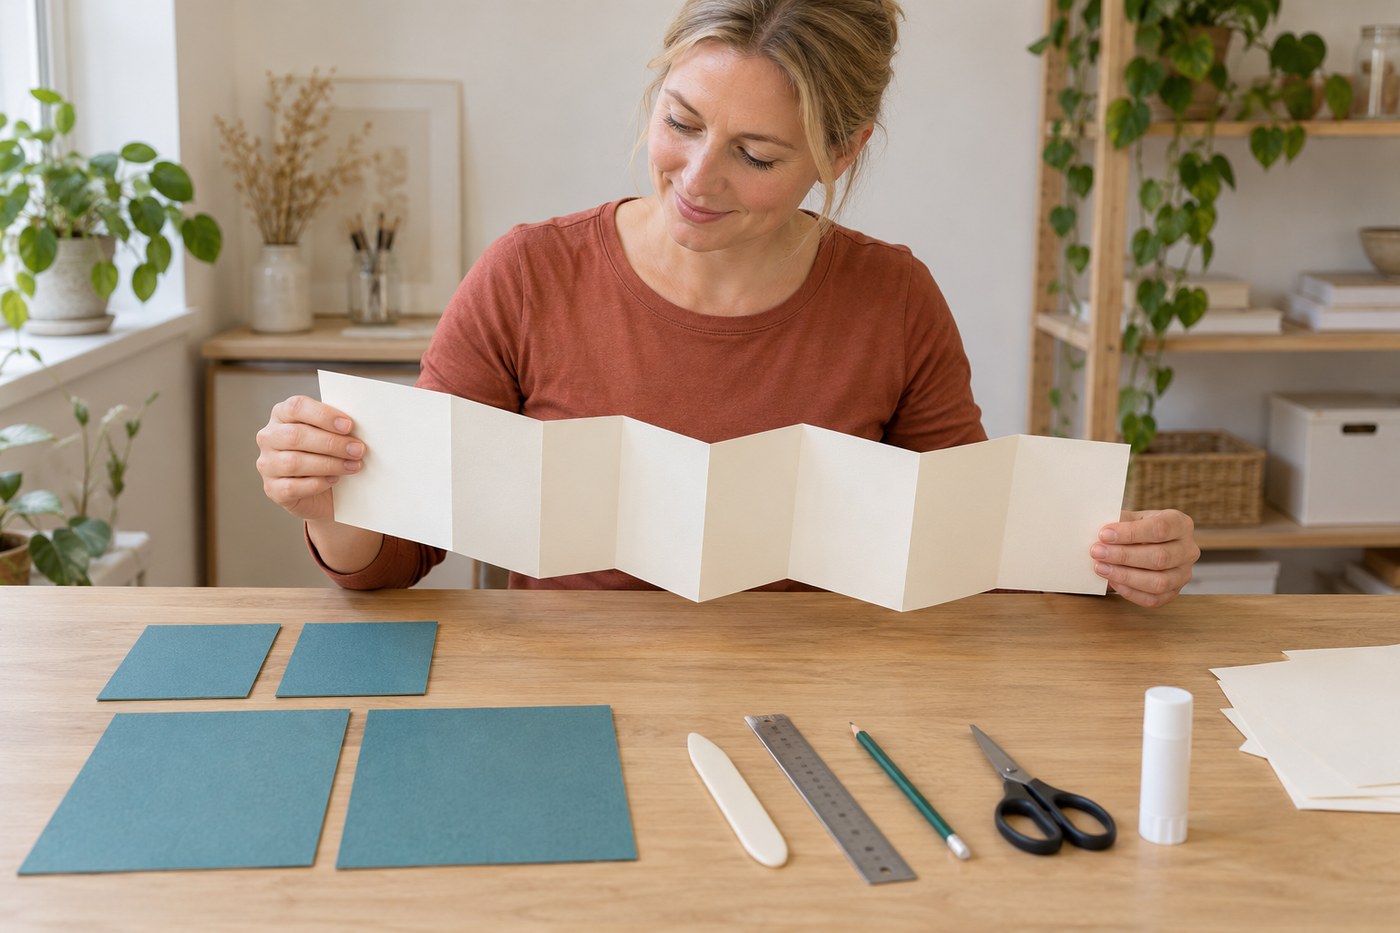
Make a small trial fold across a scrap of the proposed paper. Prefer the direction that folds smoothly without surface cracking, then cut one square-ended strip 80 × 15 cm. This original layout gives eight 10 × 15 cm panels; the two end panels will attach to covers. Check the strip width at several points, since a taper produces a skewed stack even if each fold is carefully made.
Photorealistic illustration · Waey
2. Mark equal panels without scoring through the sheet
Lay the strip on clean paper and measure from the same short end. Make light matching marks at 10, 20, 30, 40, 50, 60 and 70 cm along both long edges. Use the ruler to locate each fold square across the strip. Do not cut or press a sharp blade along these lines; a weakened surface may split when the finished book is repeatedly opened.
Photorealistic illustration · Waey
3. Fold a continuous alternating zigzag
Start at one end and fold the first panel back on itself along its paired marks. Align the long edges before firming the crease with the blunt folder. Reverse the direction at the next line and continue alternating valley and mountain folds. Close the stack after every two panels to check alignment. Correct a wandering crease early instead of forcing the remaining panels to follow a crooked edge.
Photorealistic illustration · Waey
4. Cut and test-fit both cover boards
Cut two matching thin boards 10.5 × 15.5 cm, or use pre-cut boards. Centre the closed 10 × 15 cm paper stack on each board: the intended protective border is about 2.5 mm on every side. Check the covers against each other and trim a rough edge before applying glue. Leave the accordion folds free; this construction has two independent covers and no rigid strip joining their spines.
Photorealistic illustration · Waey
5. Wrap the boards with tidy corner turn-ins
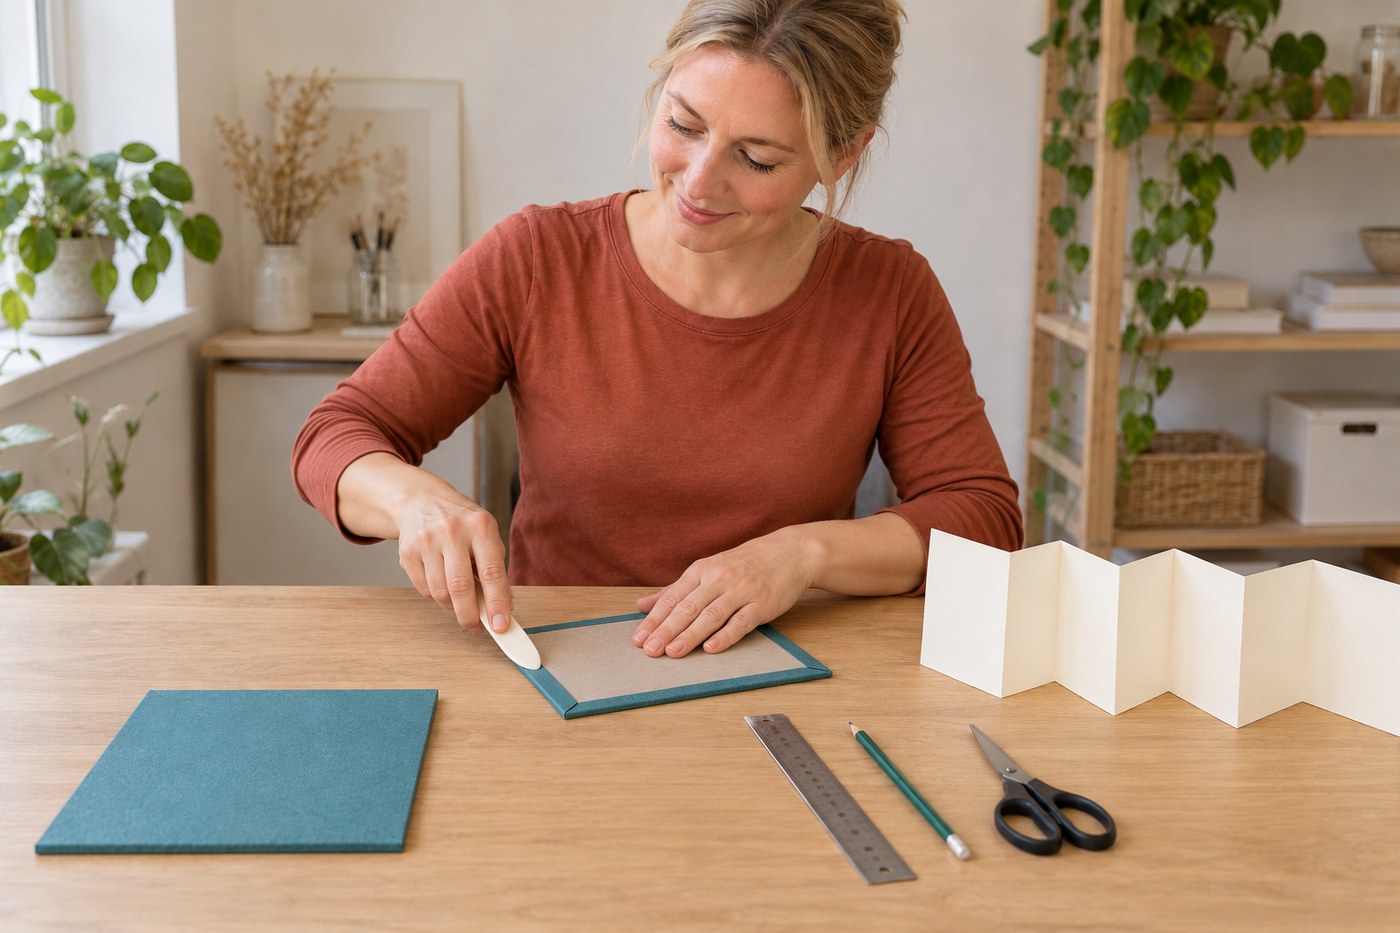
Centre each board on its 13.5 × 18.5 cm cover paper, leaving a 15 mm turn-in. Glue the outer board face evenly and smooth it onto the paper on fresh scrap. Trim the paper corners diagonally while leaving enough paper beyond each board corner to cover its thickness. Fold and glue opposite long turn-ins, tuck the small corner tips, then close the short turn-ins without exposing board or creating a bulky lump.
Photorealistic illustration · Waey
6. Attach the first end panel cleanly
Allow the wrapped covers to lie flat and handle them only when the adhesive permits. Dry-fit the first end panel on the inside of one cover, hiding its turn-ins beneath the page. Protect the neighbouring fold with scrap paper and apply a thin even adhesive layer to the end panel. Centre it within the border, press from the middle outward and remove scrap before any glue can bond the next panel shut.
Photorealistic illustration · Waey
7. Align the second cover and dry under even pressure
Close the accordion naturally to identify the exposed face of the last end panel. Dry-fit the second cover so its top and bottom match the first, then glue that end panel to its inside. Place clean protective sheets outside the covers and press the closed book lightly between flat boards for the adhesive’s stated drying time. Do not trap damp glue against decorated pages or add enough weight to crush the folds.
Photorealistic illustration · Waey
8. Open, check and use the sketchbook
After drying, open each fold gently and check for stuck edges, lifting cover corners and unequal borders. Support the opened strip on the table rather than pulling the covers apart in the air. Add pencil or other dry-media sketches to the free panels, allowing any optional wet decoration to dry completely before closing. Keep bulky additions away from folds and store the book closed and dry so the covers protect its paper edges.
Video demonstrations
Accordion Book 1: How to Make an Accordion Fold
The CCAD library demonstrates accordion folds. Use this guide’s eight-panel layout and scissors or pre-cut board; skip the video’s knife-cutting method.
CCAD Packard Library Information Literacy · Automatic caption metadata only; spoken language unconfirmed
Watch on YouTube ↗Accordion Book 2: Making the Cover Boards
The CCAD library demonstrates covering boards and folding corner tabs. Use the sizes and glue stick listed here; skip knife cutting and sanding.
CCAD Packard Library Information Literacy · Automatic caption metadata only; spoken language unconfirmed
Watch on YouTube ↗Accordion Book 3: Attaching the Cover to the Text Block
The CCAD library demonstrates attaching covers to the end panels. Its sizes and adhesive differ; check the alignment and drying time for your own materials.
CCAD Packard Library Information Literacy · Automatic caption metadata only; spoken language unconfirmed
Watch on YouTube ↗Final checks
Eight equal panels, seven alternating folds, two pasted end panels, free-moving remaining folds, square matching covers and no wet adhesive. Re-glue a lifting corner locally and let it dry before use.
Sources
Georgia Museum of Art: wrapped accordion-book covers ↗
Original generated instruction illustrations created for Waey. Videos belong to their credited creators.